Walking into a room with bare walls feels like living in a waiting room. I remember my first apartment in Chicago back in 2018. I had five beautiful thrifted frames and a box of random nails. By the end of the night, my living room wall looked like a practice range for a Swiss cheese factory. I felt defeated. I had holes everywhere and not a single straight frame. Most people quit right there. They assume they lack the eye for design. In reality, you just lack the right gear.
The stakes are higher than you think. A falling heavy frame can crack your flooring or injure a pet. In my experience, using the wrong hardware costs more in drywall repair kits than the tools themselves. This guide fixes that. You will learn exactly what to buy to create a professional gallery wall on your first try. I have tested these tools across three different homes. I know which ones hold up and which ones fail when the humidity hits.
Why You Can Trust These Tool Choices
I have spent the last seven years obsessed with home wall trends. I have hung everything from 50 pound mirrors to tiny polaroids. I once tried to hang a heavy oak frame with cheap adhesive strips. It crashed at 3 AM and took a chunk of paint with it. That failure taught me that every wall type and frame weight needs a specific partner.
You will find realistic price points here. I researched current 2024 market rates for all these items. I also looked at thousands of user reviews on Reddit and DIY forums to see what happens long term. This is not just a list of products. This is a strategy to ensure your home feels finished and safe.
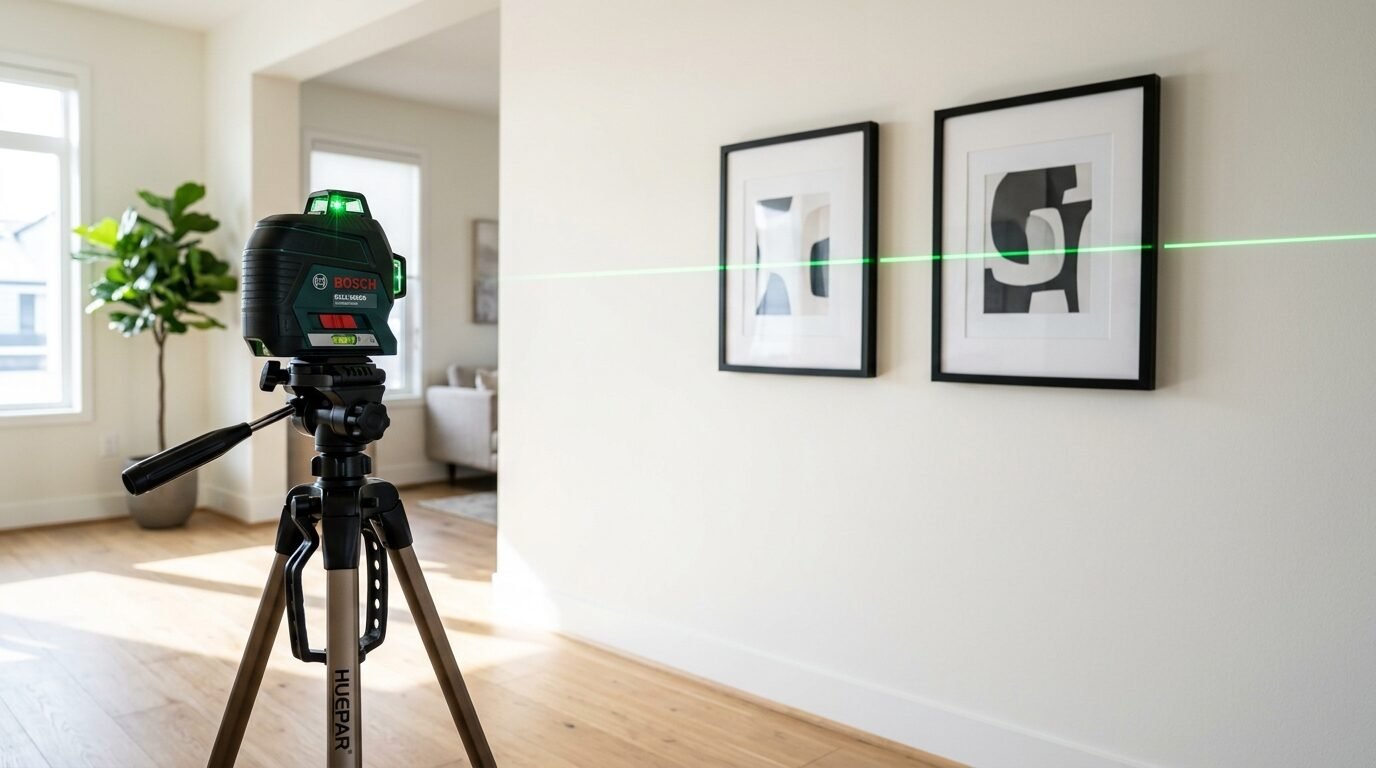
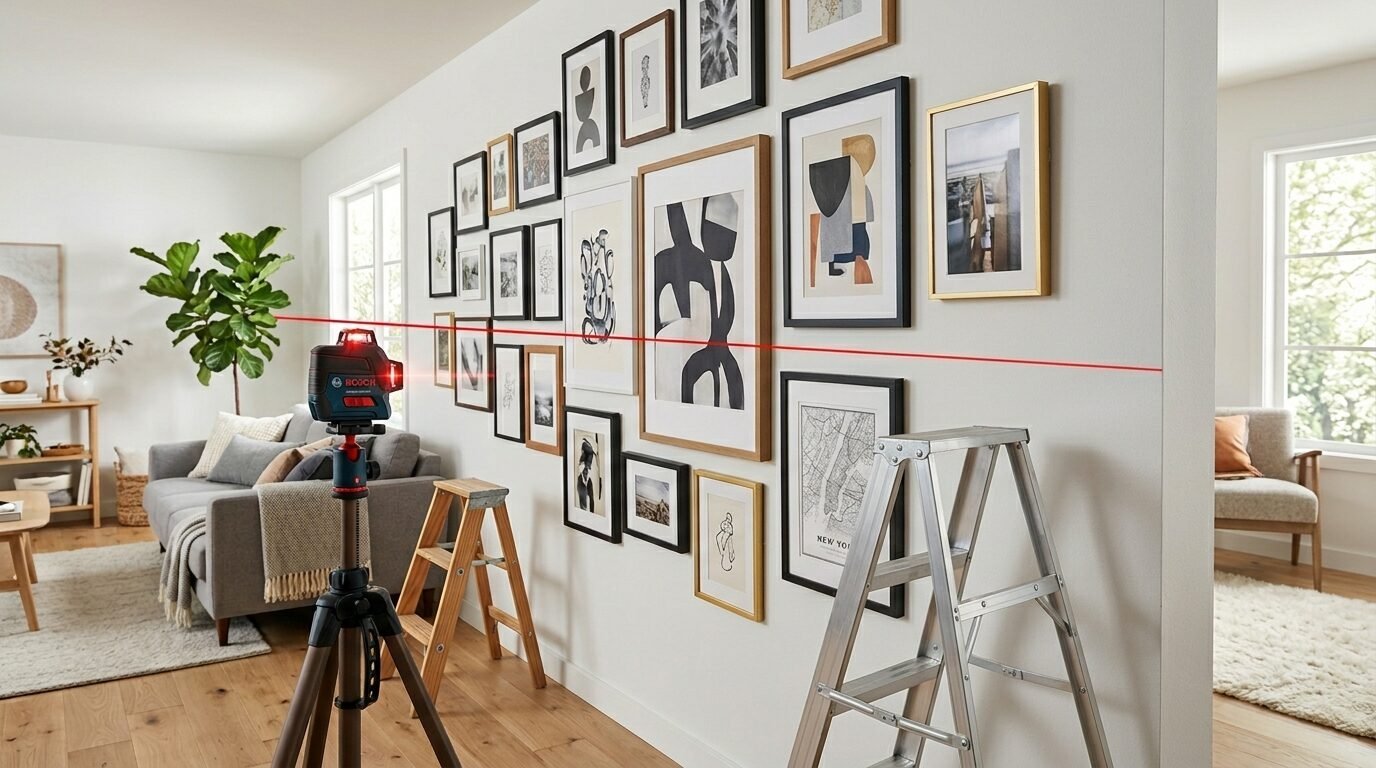
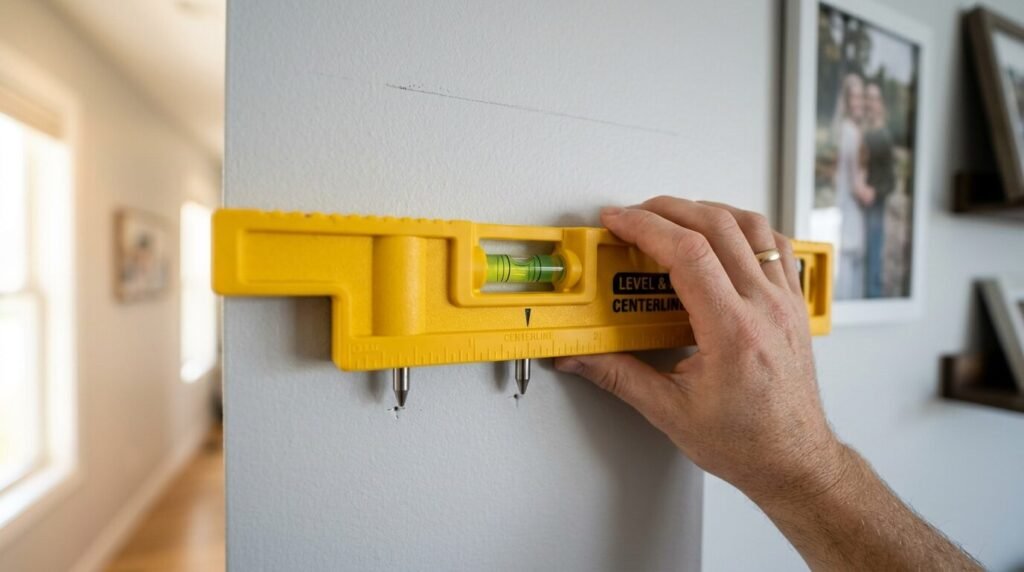
1. The Self Leveling Laser Level
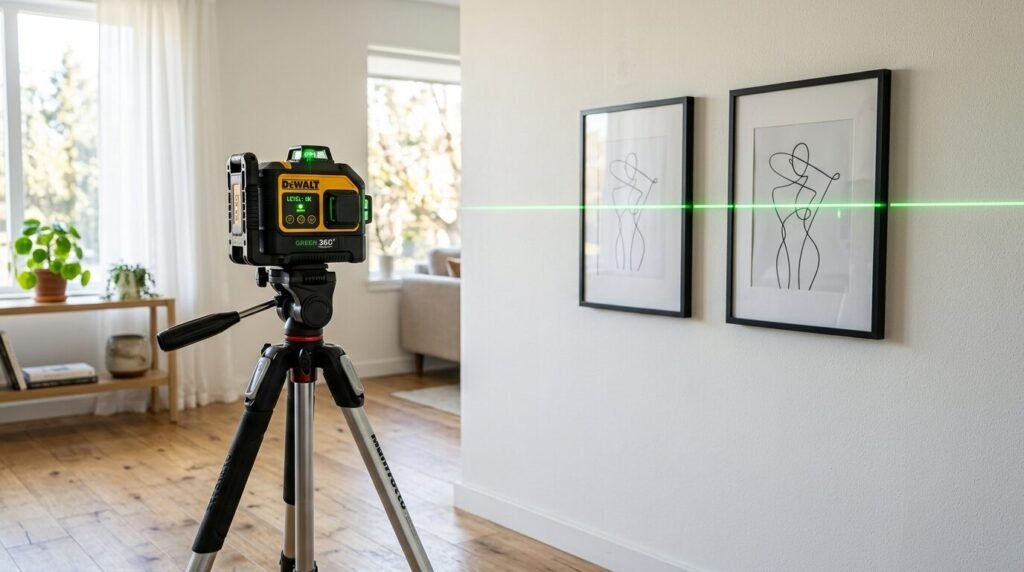
Precision is the biggest hurdle for any beginner. I used to use a bubble level and a pencil. I always ended up with slanted lines because I moved the level while marking. A self leveling laser level changed everything for me. You set it on a tripod or a stack of books. It projects a perfectly straight red or green line across the entire wall.
I recommend the Bosch GLL25 or the Ryobi AirTact. These usually cost between 40 and 60 dollars at major retailers. In my experience, the green lasers are much easier to see in bright rooms. I used this tool when I helped a friend hang a 12 frame grid in her hallway. We finished the layout in twenty minutes. Without the laser, we would have been there for hours.
Here is a trick I learned. Always check the battery before you start. A low battery can cause the laser to dim or flicker. This tool is essential because it allows you to see the relationship between multiple frames at once. You can align the tops or the centers of your art with zero guesswork. It is the closest thing to having a professional contractor standing in the room.
2. Low Tack Painter Tape
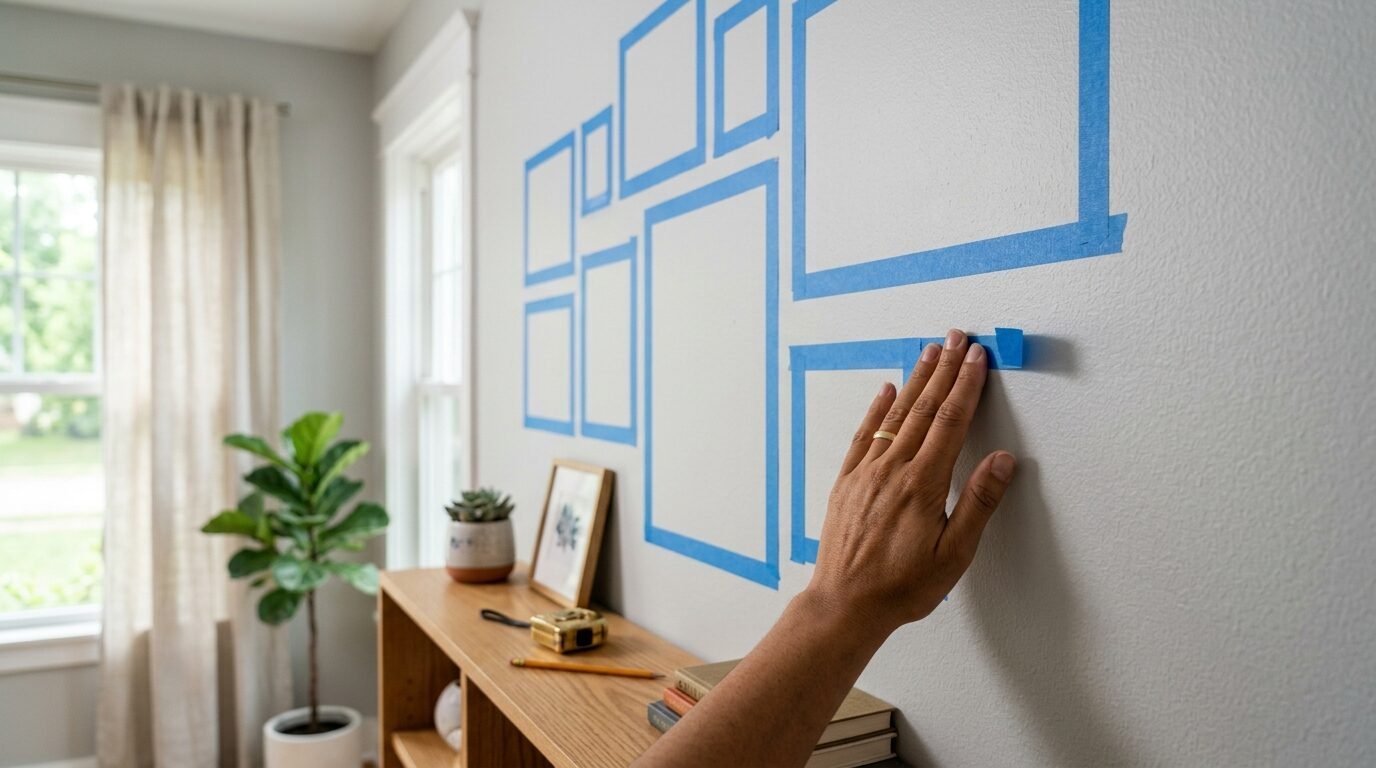
Professional decorators never start by hammering. They start by visualizing. Painter tape is the most underrated tool in the gallery wall process. It allows you to map out your entire design without touching a single nail. I have seen people use masking tape, but that often peels the paint off. Low tack blue or green tape is the only safe option for your walls.
I always buy the ScotchBlue brand. A single roll costs about 7 dollars. My process involves measuring my frames and cutting tape strips to those exact sizes. I stick the tape templates on the wall and live with them for a day. This helps me see if the layout feels too crowded or too high.
I once worked on a project where the client wanted a floor to ceiling gallery. We moved the tape templates five times before we found the balance. Imagine if we had used nails. The wall would have been ruined. This tape also serves as a perfect guide for your drill bits. You can mark your hole location directly on the tape. It prevents the drill from slipping and scratching the paint.
4. Adhesive Hanging Strips
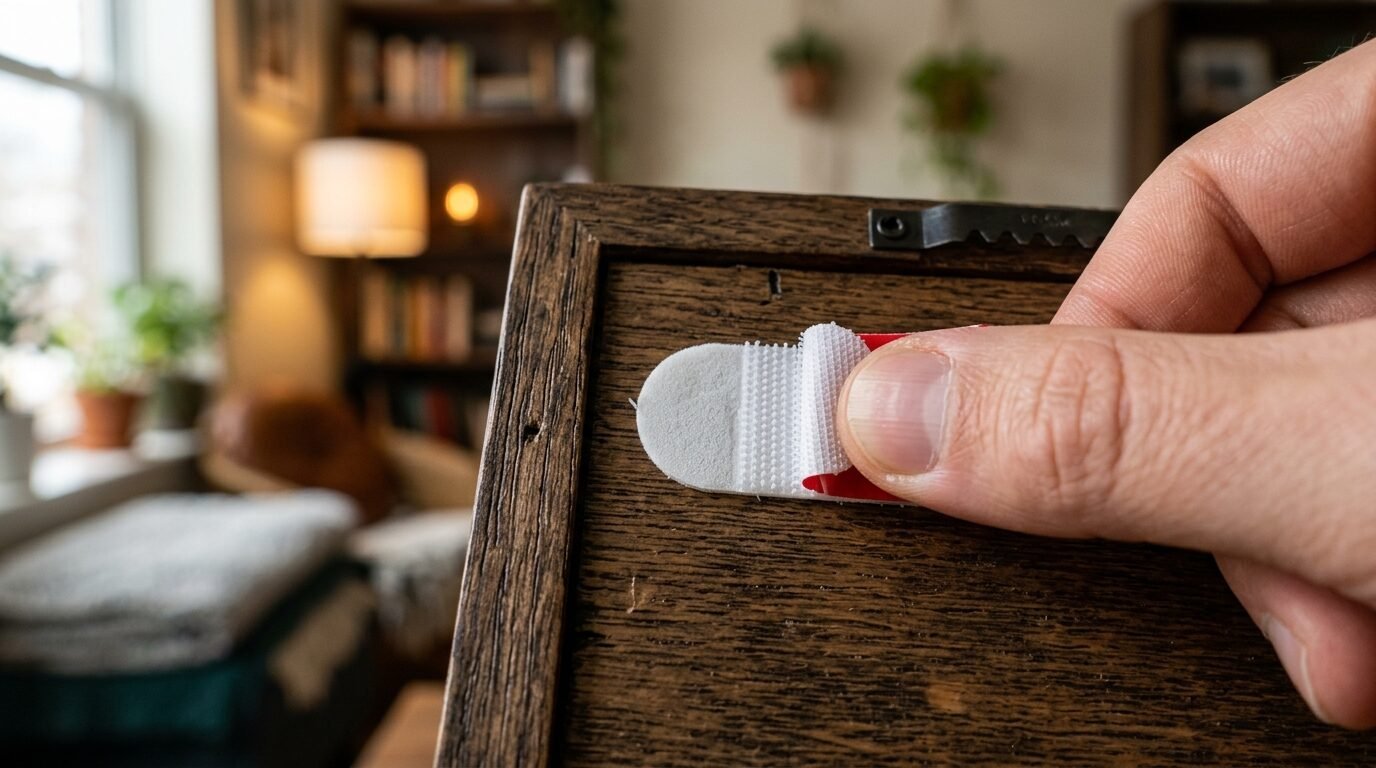
Renters often feel trapped by white walls. You want personality but you cannot risk your security deposit. This is where 3M Command Strips become your best friend. They use a hook and loop system that holds frames flat against the wall. I have used these for years in every rental I have owned.
A large pack costs around 15 dollars. They are rated for different weights. Always check the weight of your frame on a kitchen scale first. In my experience, these strips fail because people do not wait. You must clean the wall with rubbing alcohol first. Then you must wait one hour after applying the strip before you hang the frame.
I once ignored the wait time and hung a frame immediately. It fell within ten minutes. Now I am patient. I have seen these hold heavy frames for years without moving. The best part is the removal. You pull the tab slowly and the strip stretches off. No holes and no stress. Just ensure your paint is not peeling or textured. These work best on smooth, cured surfaces.
5. The Point and Mark Frame Tool
The hardest part of hanging a picture is finding where the nail goes. Frames often have wire backs or two separate hooks. Measuring the distance from the top of the frame to the hook is a nightmare. A picture hanging tool like the Hang It Perfect or the Go Hang It solves this. These tools have built in levels and sliding pointers.
I bought my first one for 20 dollars after struggling with a heavy mirror. You hook the frame onto the tool and hold it against the wall. When you like the position, you press a button or a pin. It leaves a tiny mark exactly where the nail needs to go. This eliminates the need for math.
I have noticed this tool works best for beginners who feel overwhelmed by measuring tapes. It simplifies the movement. You see the frame on the wall before the nail exists. I used this to hang a heavy gallery in a dark basement. The pointers made it impossible to miss. It turned a two person job into a solo task.
6. Heavy Duty Drywall Anchors
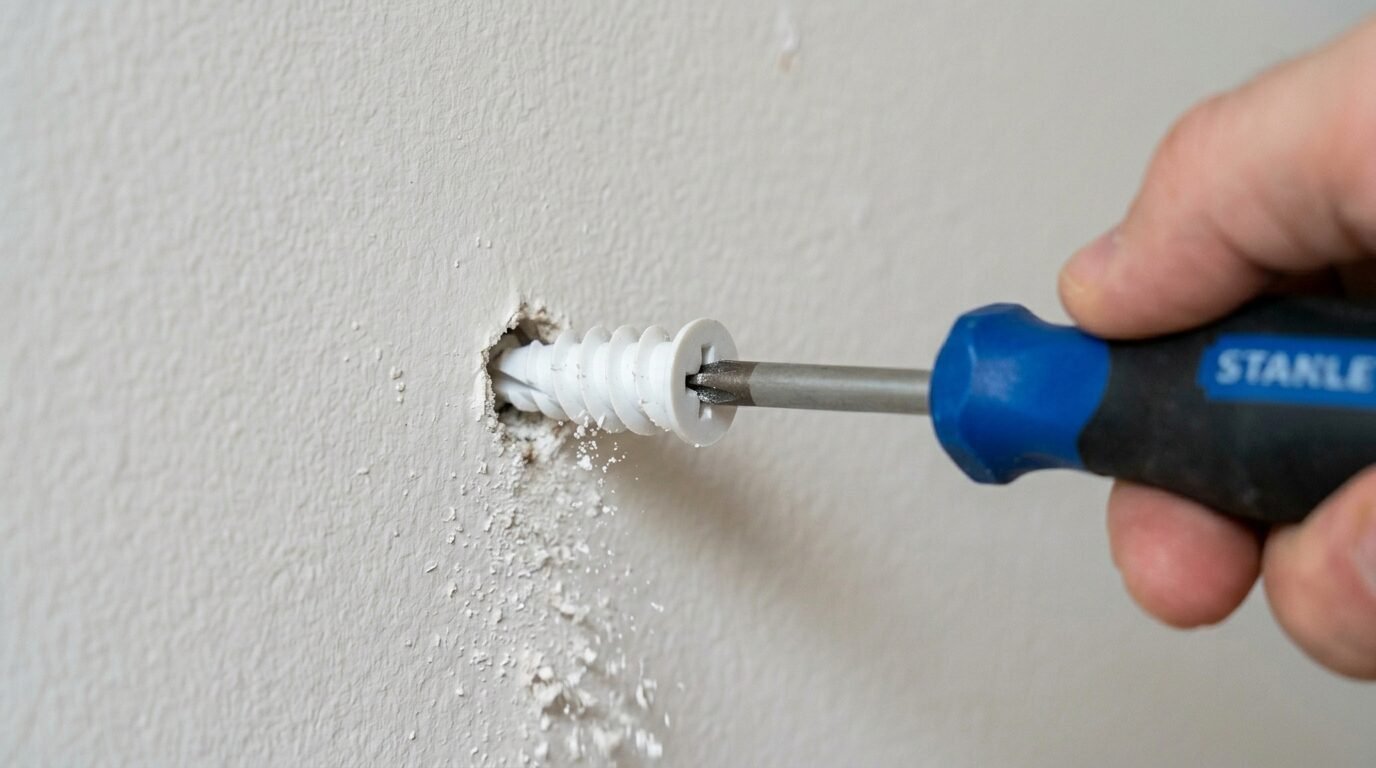
Nails are fine for small photos. They are dangerous for heavy art. If you are hanging anything over 10 pounds, you need anchors. I have seen too many frames pull nails straight out of the drywall. It happens because drywall is just compressed chalk. It cannot grip a smooth nail under pressure.
I swear by the E-Z Ancor brand. These are self drilling anchors that look like large plastic screws. You do not even need a drill. You can just use a screwdriver. A pack of 20 costs about 10 dollars. I used these to hang a massive framed map in my office. It has not budged in three years.
In my experience, the plastic ribbed anchors that come free in frame kits are useless. They often fold or get stuck. Buying a box of high quality threaded anchors is a small investment for peace of mind. You want to hear that satisfying click when the screw bites into the anchor. That sound means your art is safe.
7. Museum Putty or Quake Hold
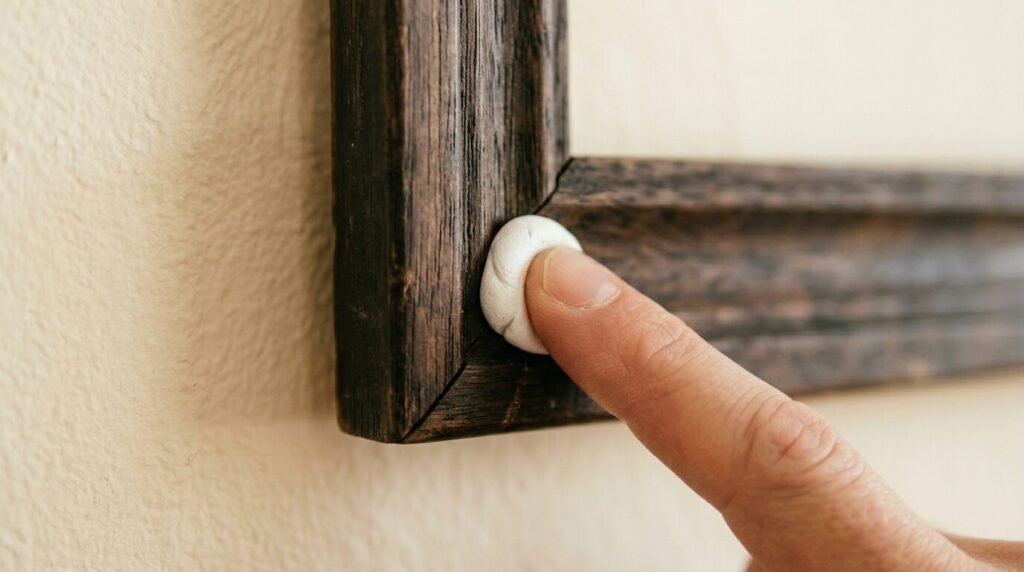
Have you ever walked past a gallery wall and noticed one frame is slightly crooked? It drives me crazy. Vibrations from footsteps or closing doors move frames over time. Museum putty is the secret weapon of professional curators. It is a reusable, non toxic tack that keeps frames perfectly straight.
A small container costs 5 dollars and lasts for years. You take a tiny pea sized amount and place it on the bottom corners of your frame. Press it against the wall. The frame is now locked in place. I first saw this used in a gallery in San Francisco. It protects art during minor tremors.
I use it on every single item I hang. It prevents the frames from rattling when the wind blows or the kids run by. It also protects the wall from scuff marks. Because the frame stays still, the wood does not rub against the paint. It is a tiny detail that makes a DIY project look like an expert installation.
8. Steel Wall Hooks

If you want the easiest way to hang a picture on the wall, buy steel hooks. These are often called Monkey Hooks or Gorilla Hooks. They are made of thin, high strength steel. You do not need a hammer or a drill. You simply push the sharpened end into the drywall and twist.
A pack of 30 hooks costs roughly 12 dollars. These are my go to for quick changes. I can hang a 30 pound frame in ten seconds. I have noticed they leave a hole no bigger than a pinprick. This makes them great for people who change their minds often.
I used these for a seasonal gallery wall where I swap art every three months. They are sturdy and reliable. However, they only work on drywall. If you have plaster or brick, these will not penetrate. For standard modern homes, they are the fastest tool in the box. They handle the weight by using the back of the drywall for leverage.
Essential Steps for a Perfect Gallery Wall
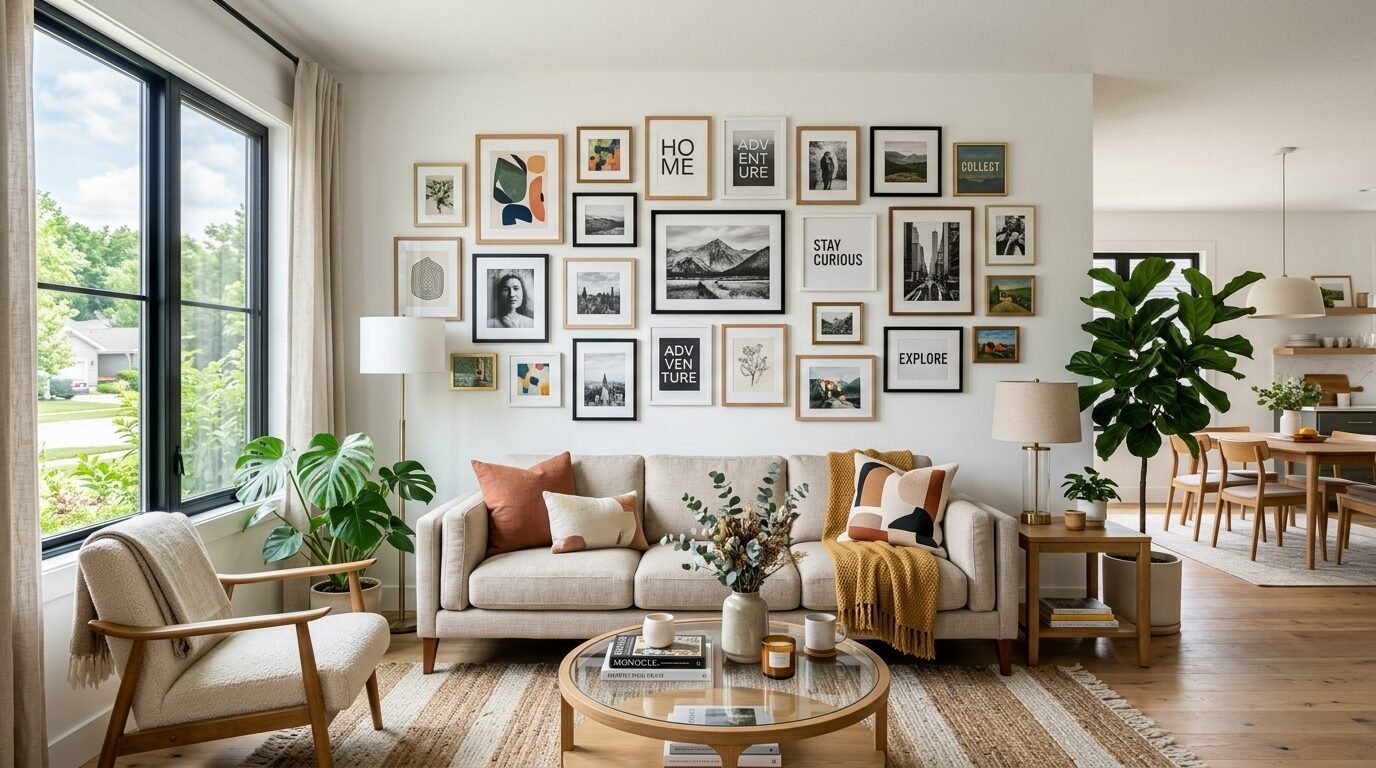
Success starts with a plan. I always begin by measuring the total wall space. I mark the center point at eye level. This is usually 57 to 60 inches from the floor. Most beginners hang their art too high. This creates a disconnected feeling in the room. Keeping the center at eye level makes the art feel integrated with the furniture.
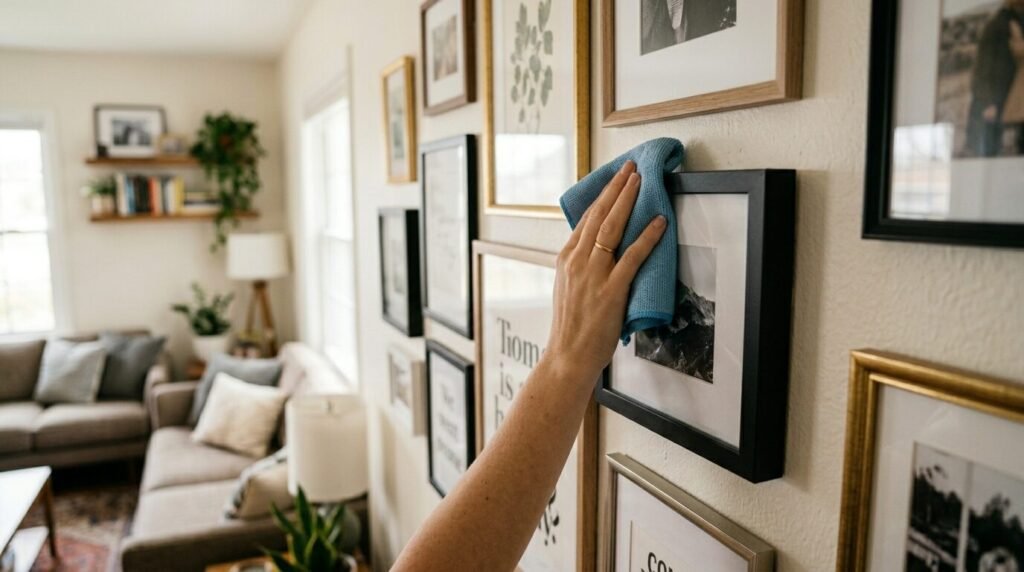
I then clean my wall surfaces. Dust and oils prevent adhesives from sticking. A quick wipe with a dry cloth is usually enough. I gather all my tools in one bucket. Searching for a pencil in the middle of a project ruins the flow. I have seen people lose momentum because they could not find their level.
I also suggest working from the center outward. Pick your largest or favorite piece and place it first. Everything else grows from that anchor point. I aim for a 2 to 3 inch gap between frames. This provides enough breathing room without making the wall look sparse. Consistency in spacing is more important than perfect alignment.
Maintenance and Long Term Care
Walls move and settle. Check your frames every six months. I have noticed that frames near windows might need their anchors tightened due to temperature shifts. If you used adhesive strips, check the edges to ensure they are not lifting. This is especially true in bathrooms where steam is a factor.
I keep a small touch up kit in my closet. It contains a bit of matching wall paint and a small brush. If I ever move a frame and see a mark, I fix it immediately. This keeps the room looking fresh. I also use a microfiber cloth to dust the tops of frames. Built up dust can eventually settle into the wall paint and cause staining.
I have found that high quality tools make the process enjoyable. Instead of a chore, hanging art becomes a creative outlet. You gain confidence with every frame you hang. You stop seeing a wall as a barrier. You start seeing it as a canvas.
Frequently Asked Questions
How do I hang a heavy frame without nails?
You can use heavy duty adhesive strips if the frame is under 15 pounds. For heavier items, you might consider professional strength mounting tape. However, for true safety, steel hooks that leave tiny holes are a better alternative to traditional nails. In my experience, these hooks provide better support without the damage of a large nail.
What is the best way to hang pictures on a concrete wall?
Concrete requires specialized hardware. You cannot use standard nails or push pins. I recommend using masonry screws or hard wall plastic hooks. You will need a hammer drill to create a pilot hole first. I have seen people try to glue frames to concrete, but the moisture often causes the glue to fail over time.
How do I make hooks for hanging light items?
You can create DIY hooks using sturdy paperclips or wire. Bend the paperclip into an S shape. This works well for hanging lightweight photos or ornaments from existing ledges or wires. I have used this trick for temporary holiday decor. Just ensure the weight is very low to avoid bending the wire.
Can I hang frames on textured walls with strips?
Adhesive strips need a flat surface for a strong bond. If your walls have a heavy orange peel or popcorn texture, the strips will likely fail. I have tried this in older homes and the frames usually fall within a week. For textured walls, it is safer to use small nails or specialized drywall hooks.
How do I find the right height for a gallery wall?
The center of your arrangement should be about 57 inches from the floor. This is the standard height used in many art galleries. It aligns the art with the average human eye level. I have noticed that hanging art based on the ceiling height often leads to it being placed too high.
What are some tricks to hanging pictures straight?
Using museum putty on the bottom corners is the best trick. It prevents the frame from tilting. You can also use two nails instead of one for wider frames. This creates two balance points and makes it much harder for the frame to shift. A laser level is also a game changer for keeping a long row of photos aligned.
How do I hang things on the wall without nails in a rental?
Command strips and tension rods are your best options. You can also use decorative easels on furniture to display art without touching the walls. I have also seen people use large grid panels that lean against the wall. You can then clip your photos to the grid.
Is it safe to hang a heavy mirror with just wire?
Wire can stretch or snap over time. For very heavy mirrors, I prefer using D-rings or a French cleat. A French cleat distributes the weight across a wider section of the wall. In my experience, this is much safer than relying on a single wire and a nail.
Final Thoughts on Your Wall Project
Creating a home you love takes time. Do not rush the process. I have seen many people buy a whole set of art and try to hang it in one hour. This leads to mistakes and frustration. Start with one or two pieces. Learn how your tools feel in your hands.
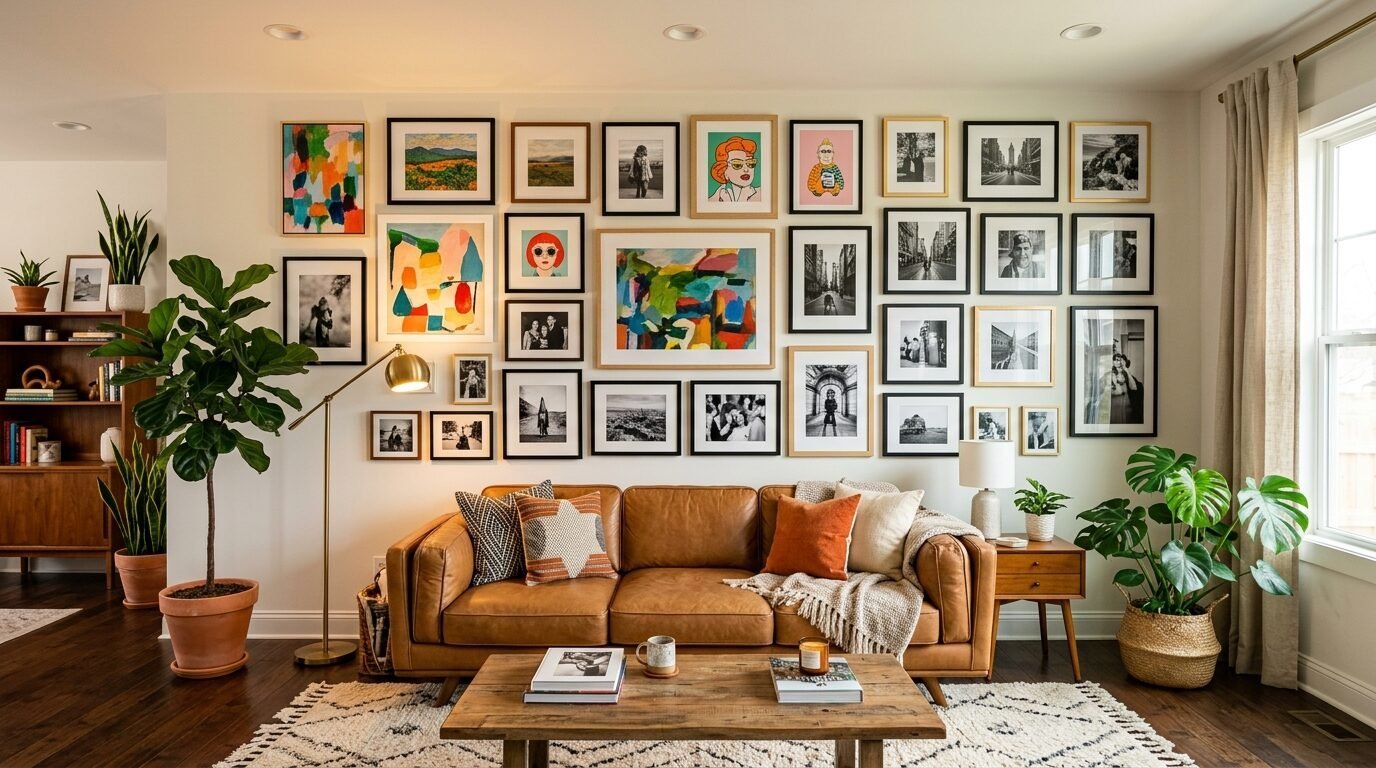
I have noticed that the best gallery walls grow over time. They tell a story of your travels and your family. By using the right tools, you protect those memories. You ensure your art stays on the wall where it belongs. I hope these tips help you turn your blank space into something beautiful.
I would love to hear about your projects. Have you tried any of these tools? Do you have a favorite hack that I missed? Leave a comment below and share your experience. Your insights might help someone else who is staring at a blank wall today.

Anya Castellan is the Founder and Editor-in-Chief of Home Wall Trends. An art history graduate of the Rhode Island School of Design with twelve years of experience writing for leading American design publications, she specializes in composition, gallery wall theory, and the quiet architecture of domestic space. A former contributing editor at Architectural Digest and guest lecturer at Parsons School of Design, Anya personally reads and signs off on every piece before it is published.