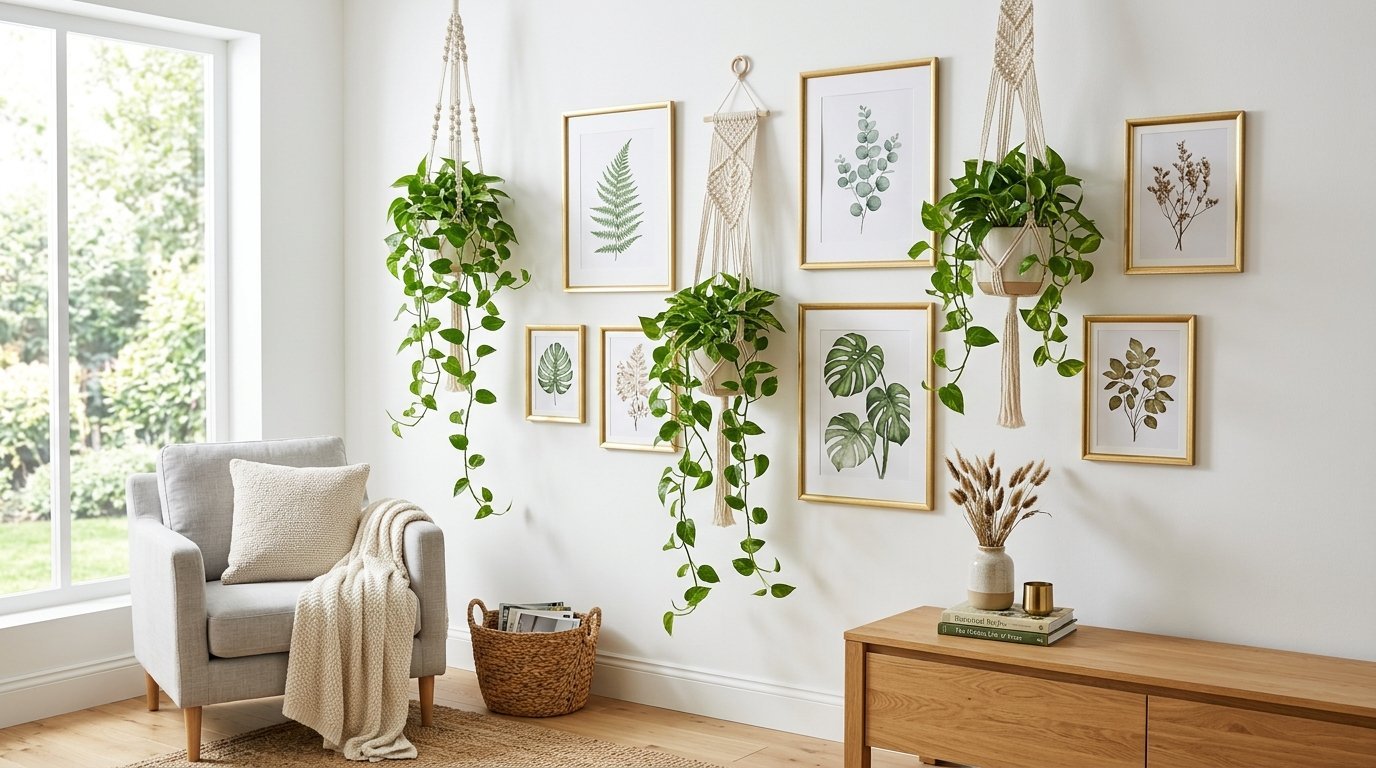
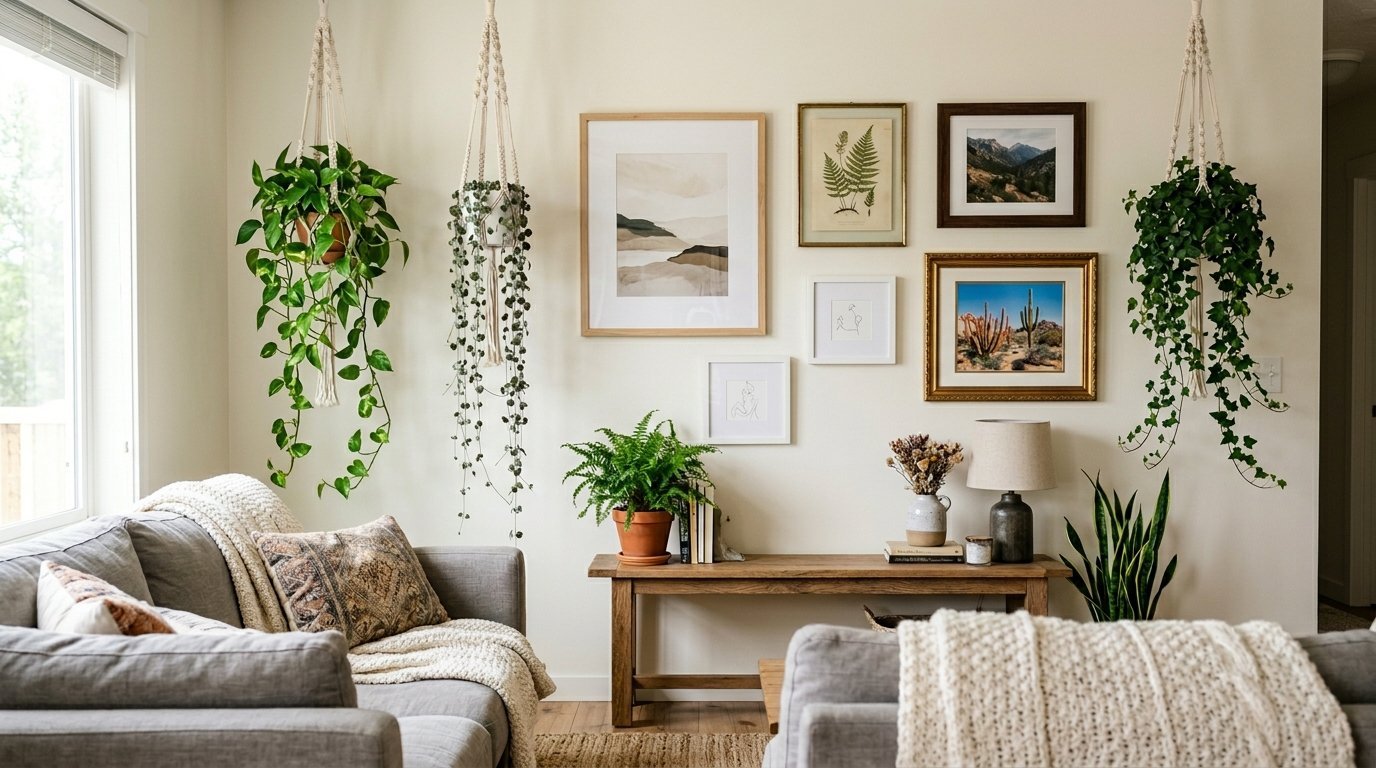
Three months ago my living room looked completely bare. I stared at a blank white space for weeks. I wanted something fresh and alive. I decided to blend woven textiles with live greenery and framed art. The first attempt failed completely. I hung a heavy ceramic pot on bare drywall. It crashed down hours later. I spent the next weekend fixing holes in the paint. Now I know exactly how to secure heavy items safely. I will show you how to place every hook and choose every leaf. You will see exactly how to style a breathtaking room. You do not need to hire a high priced designer. You just need the right plan and a free afternoon.
You will finish this entire room project in under three hours. You will spend less than two hundred dollars total. We will cover exact anchor placements for heavy pots. You will get my exact watering schedule for vertical gardens. I share real steps to care for round glass and ornate frames safely. You will bypass common drywall mistakes completely. I will walk you through pairing soft cotton textures with live greenery. You will style a space that feels curated and lived in. This guide gives you the exact tools you need. You will walk away with a stunning display that friends will talk about.
1. Measure Your Available Room Space
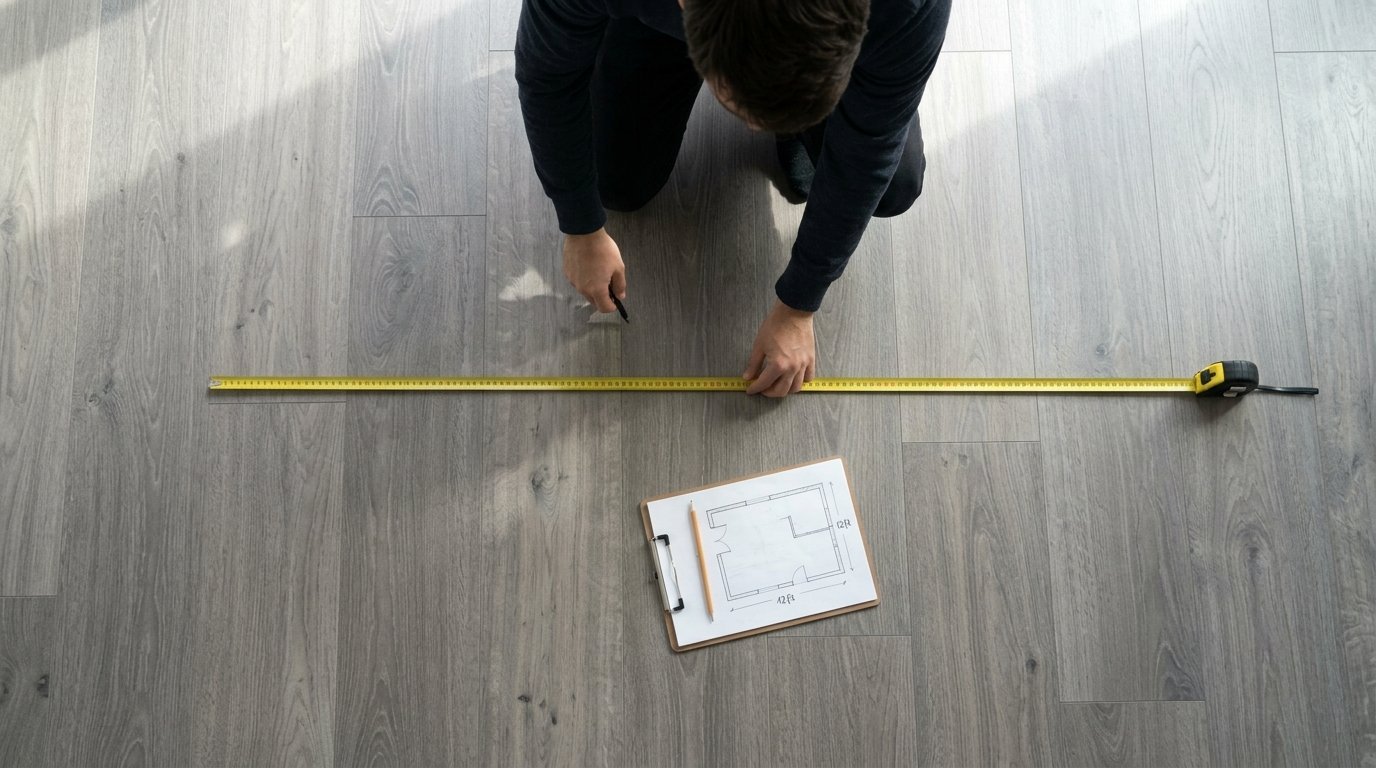
You need to know your exact dimensions first. Grab a reliable tape measure. Write down the height and width on a piece of paper. I prefer to leave two feet of empty space near the ceiling. This keeps the room feeling tall and spacious. I tried filling an entire space once. It made the room feel incredibly small and cluttered. I had to take everything down and patch twelve holes. Do not skip this initial planning move. You will save yourself hours of frustration.
Find the True Center
You must find the exact center of your space. Measure the total width. Divide that number by two. Make a tiny pencil mark at that spot. Measure from the floor to the ceiling. Divide that number by two. Make another mark. This gives you the true dead center. You will build your entire design outward from this single point. It guarantees everything looks symmetrical and planned.
Map Out the Borders
You need to establish clear borders next. Decide how far out your design will go. I like to stop eighteen inches away from any window frame. This prevents the wall from looking too crowded. Use small pencil dots to mark your outer edges. Stay inside these boundaries as you plan.
2. Draft a Visual Blueprint
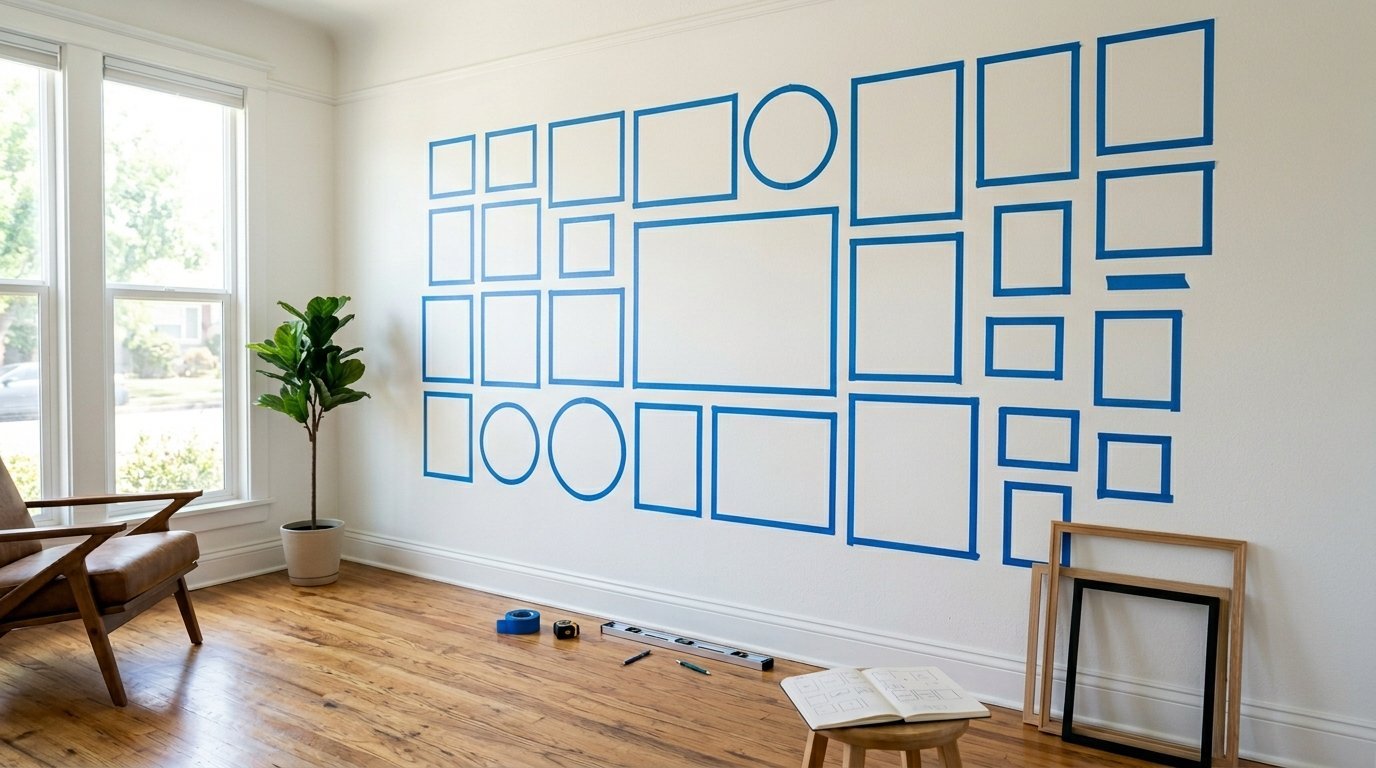
You need a plan before you drill any holes. Get a roll of ScotchBlue tape. Map out the layout directly on the paint. Place tape squares where you want your frames. Place tape circles where you want your Hanging Plants. Stand back and look at the whole picture. Move the tape around until it feels balanced.
Balance the Heavy Pieces
Look at the visual weight of your tape marks. Do not put all the heavy ceramic pots on one side. Spread them out evenly across the space. Place a large piece of woven art in the very center. Frame it with smaller items on the sides. This creates a calm and pleasing look.
Test the Walking Path
Walk past the tape layout several times. Notice if any pieces stick out too far. You do not want a heavy pot hanging right at head level. Someone will bump into it eventually. Move any protruding items higher up. Keep the walking path completely clear.
3. Find Wall Studs Properly
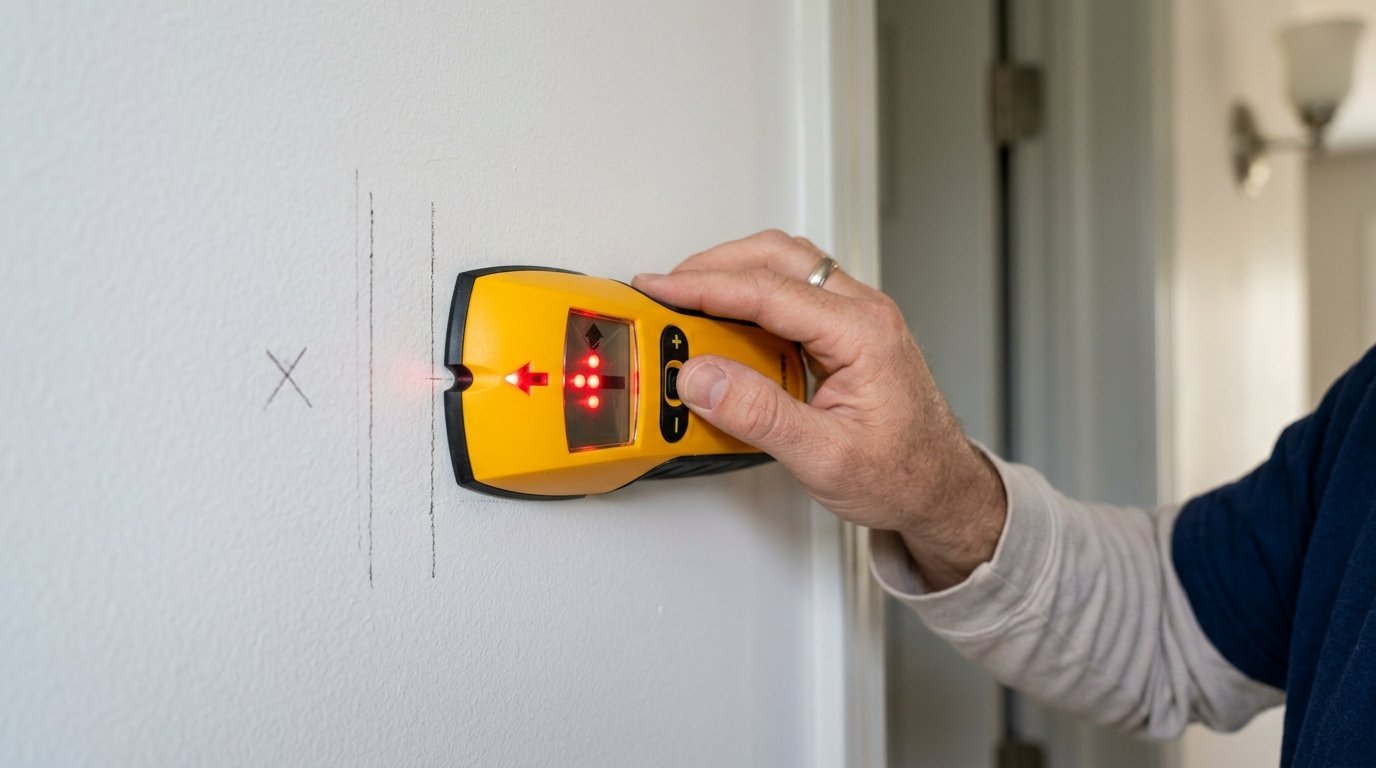
You cannot hang heavy pots on bare drywall. The drywall will eventually rip open. I learned this the hard way two years ago. A massive ceramic pot crashed onto my floor. You must find the wooden studs hidden behind the paint.
Using a Reliable Sensor
I recommend the Franklin Sensors ProSensor 710. It lights up brightly when it finds wood. Place the sensor flat on the paint. Slide it slowly to the right. Watch the lights turn red. Mark the center with a pencil. You will drill your holes exactly on these pencil marks.
Avoiding Hidden Wires
Never drill blindly into a space. You might hit a hidden power line or water pipe. Stop pushing if you feel strange resistance. Move your layout slightly to the left or right. Safety comes first when building a Plant Wall. You do not want an electrical fire.
4. Pick the Right Hardware and Tools
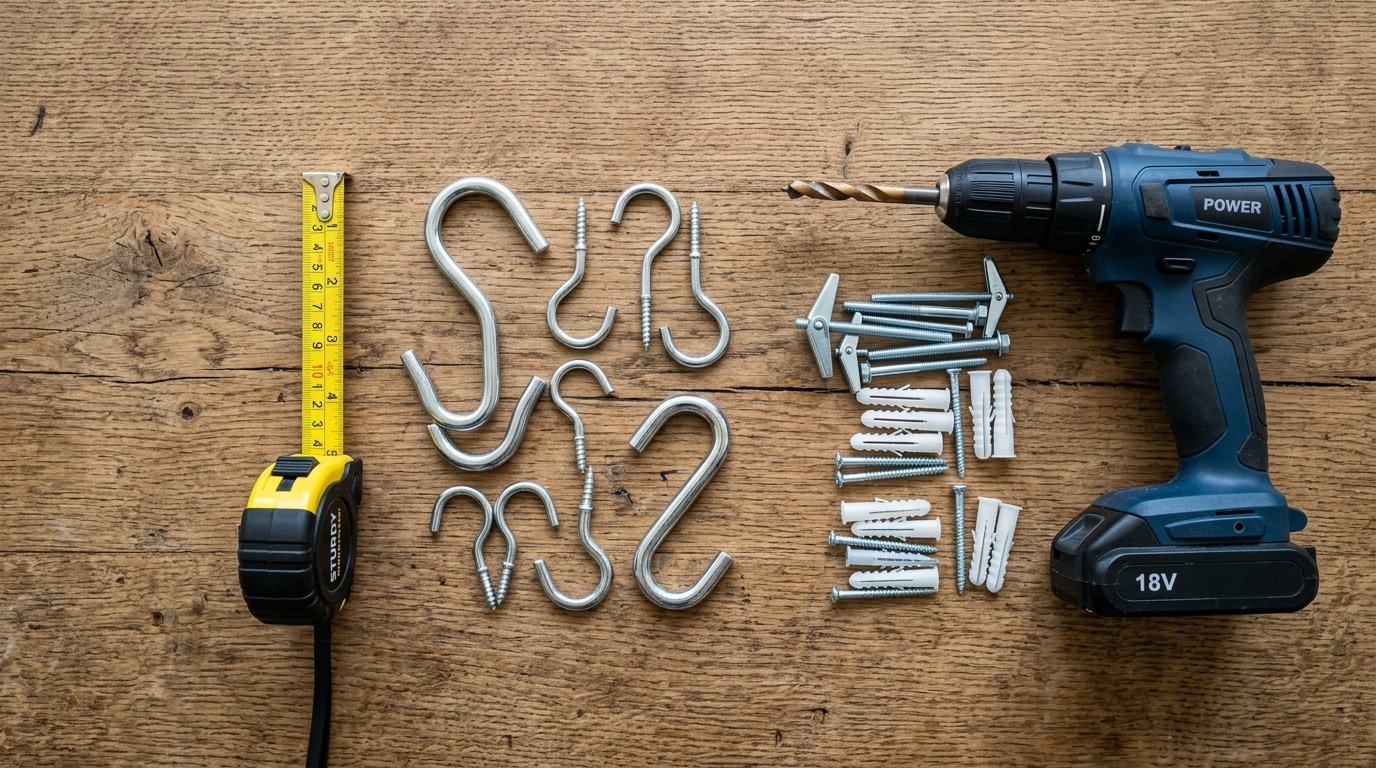
Your hardware choices dictate how long your art stays up. Cheap plastic hooks will bend and snap over time. You need metal hardware rated for heavy weights. The right tools make the installation incredibly fast.
Heavy Duty Anchors
I rely on TOGGLER Snaptoggle anchors for heavy items. They hold up to two hundred pounds in drywall. You drill a hole and slide the metal bar inside. It flips open behind the drywall. This creates a rock solid hold for your heaviest pots.
Simple Picture Hooks
Use standard Monkey Hooks for your framed prints. They push right through the drywall by hand. You do not even need a drill for these. They leave a tiny pinhole when you remove them. They hold up to thirty five pounds easily. I use them for all my small frames.
5. Select Authentic Woven Art
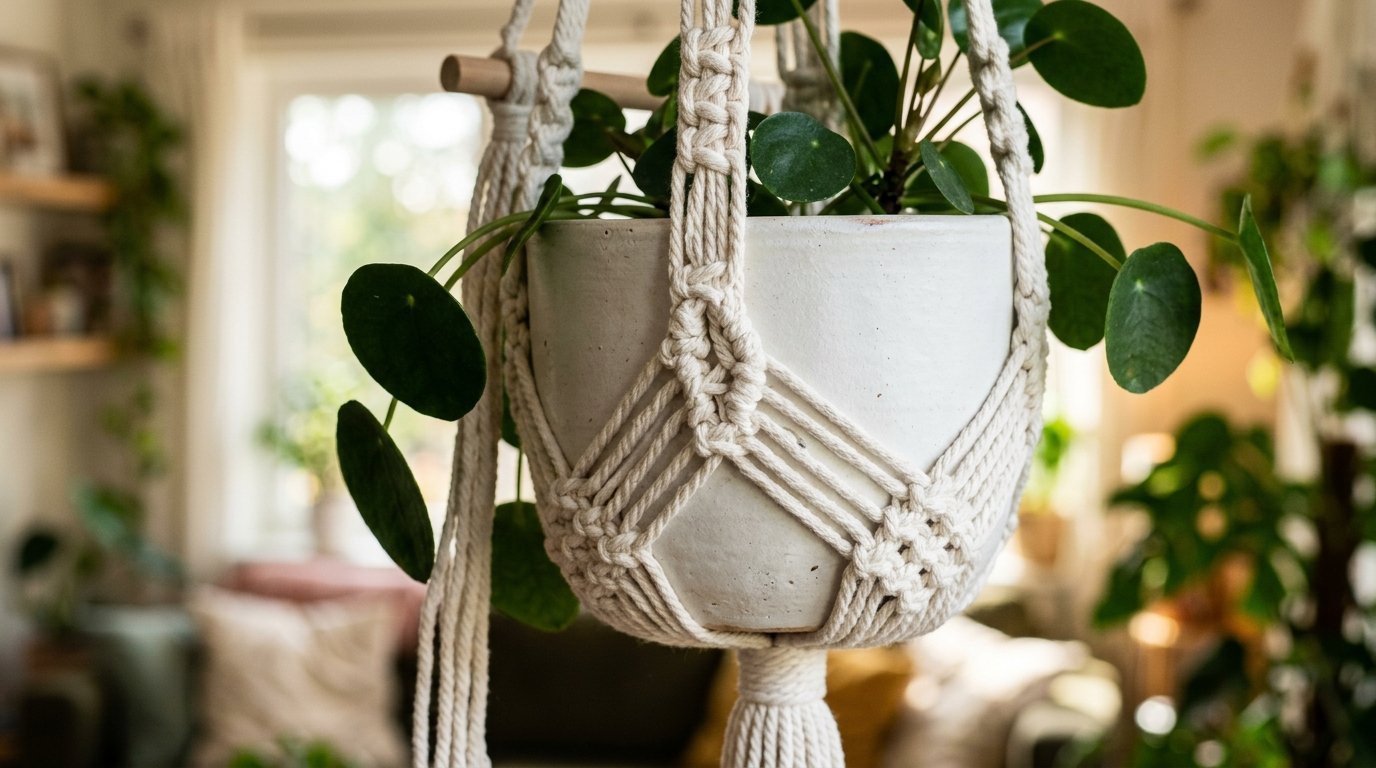
Woven textiles bring beautiful softness to a room. They contrast perfectly with hard glass frames and rigid ceramic pots. You want natural cotton rope for this look. Do not buy cheap synthetic plastic cords.
Pick Quality Cotton
Look for one hundred percent natural cotton cord. It hangs straight and feels incredibly soft. Synthetic cords look shiny and feel stiff. I buy my woven hangers from Mkono. They craft beautiful pieces that hold up for years. The knots stay tight even when supporting heavy weights.
Check Weight Limits
Read the tag carefully before you buy a hanger. Some woven pieces only hold tiny plastic cups. You need heavy duty hangers for mature greenery. Check the bottom knot especially. A weak bottom knot will unravel under the pressure of a wet ceramic pot.
6. Pick the Right Planters

Your pots dictate your weekly watering routine. You must choose pots that make watering easy and safe. A leaking pot will ruin your floors instantly. The right pot looks great and functions perfectly.
Plastic Versus Ceramic
Ceramic pots look beautiful but weigh a ton. Plastic pots weigh almost nothing but can look cheap. I use a clever trick. I put the greenery in a cheap plastic nursery pot. I drop that plastic pot inside a beautiful ceramic shell. This keeps the overall weight manageable.
Drainage Needs
Never plant directly into a pot without drainage holes. The water will sit at the very bottom. The roots will rot and die quickly. The double pot trick solves this completely. You take the plastic pot out. You water it in the sink. You wait for it to drain. Then you put it back.
7. Select the Best Greenery
You need vines that drape gracefully. Stiff, upright greenery looks awkward hanging from the ceiling. You want leaves that cascade down the woven cords. The right leaf shape changes the whole feel of the room.
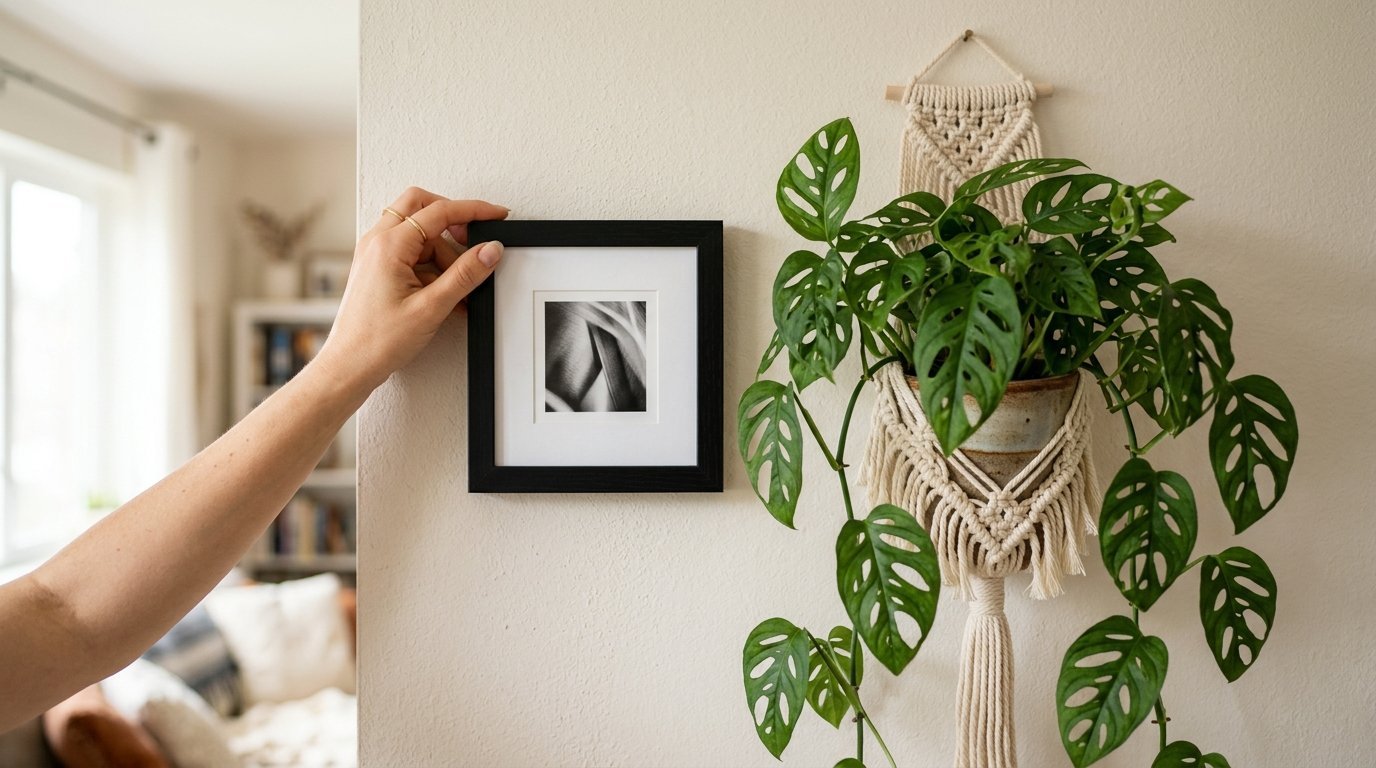
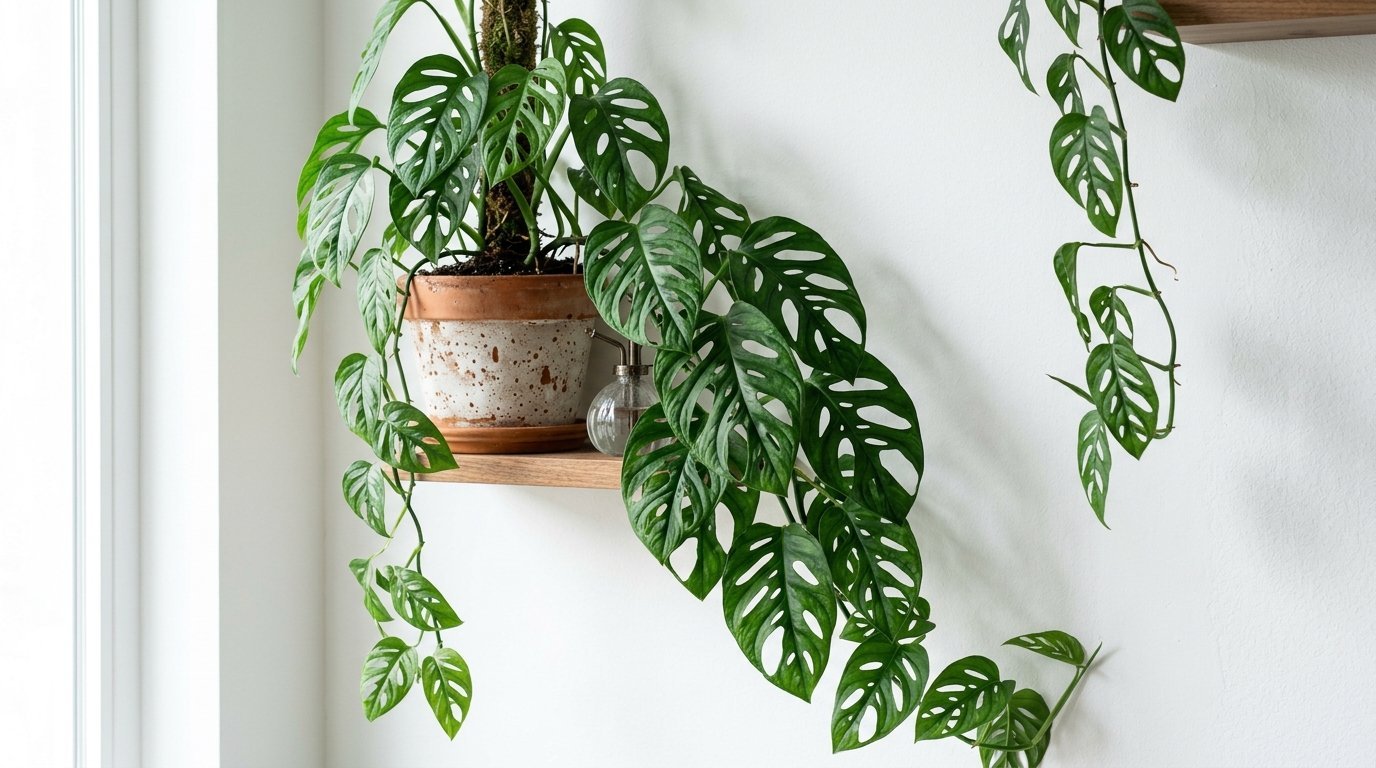
Using a Monstera Leaf
A single large Monstera Leaf looks incredible in a floating glass frame. It brings bold organic shapes to your display. If you want a live plant, choose a Monstera Adansonii. It vines downward beautifully. The holes in the leaves catch the sunlight perfectly. It creates stunning shadows on the paint.
Trailing Vines
Golden Pothos is the easiest choice for beginners. It survives in low light and forgives missed watering days. I have a pothos that grew three feet in one single year. Philodendron Brasil is another great choice. The neon green stripes pop brilliantly against plain white paint.
8. Curate Meaningful Art Prints
Art anchors the whole display visually. It gives the eye a place to rest between the wild vines. Choose pieces that mean something to you personally. Do not buy generic stock photos.
Frame Selection
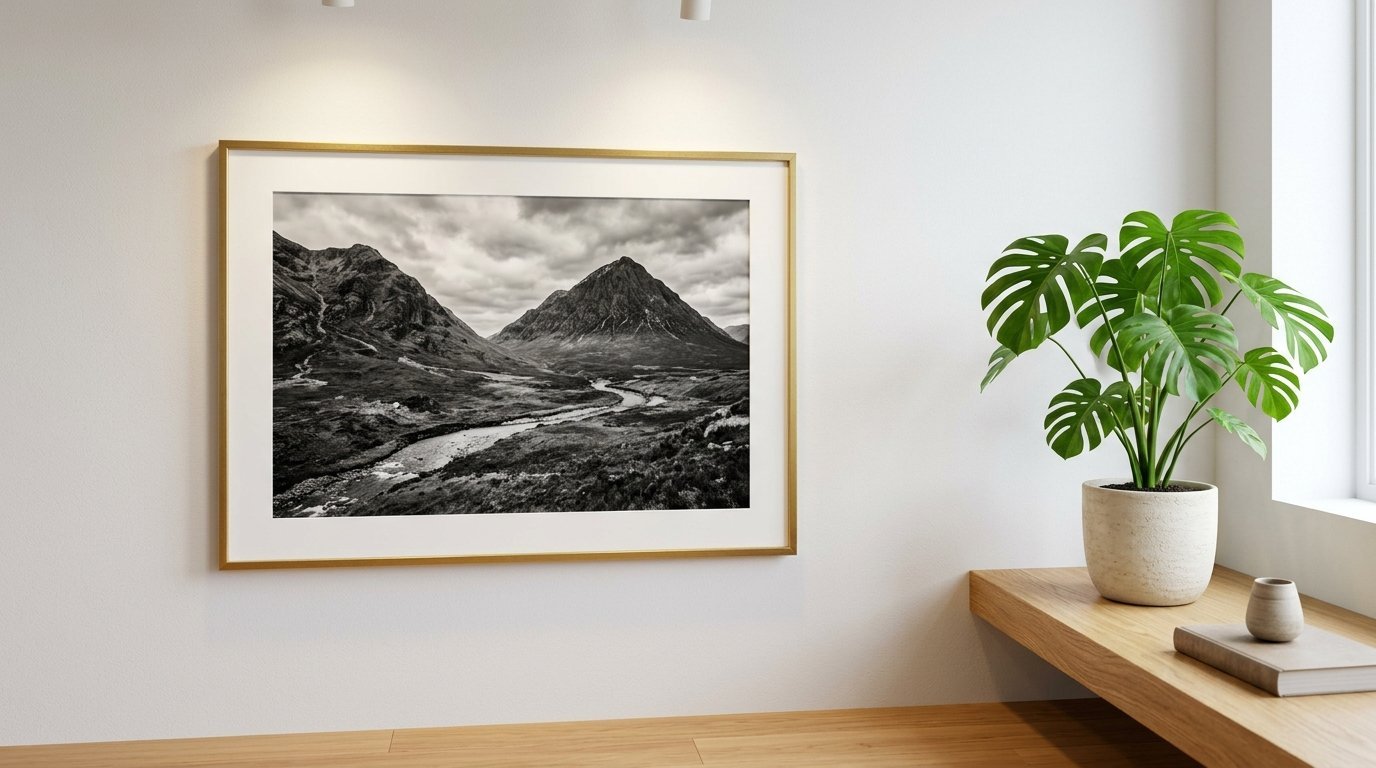
Mix your frame styles carefully. I like to use one large gold frame in the center. Then I surround it with simple black frames. This keeps the display from looking like a uniform catalog page. Mixing metals gives the room a collected, vintage feel.
Match the Room Style
Your art should match your Elegant Living Room Decor. Use soft watercolor prints or striking black and white photography. Avoid neon colors or busy graphic designs. Keep the mood calm and relaxed. The art should complement the green leaves, not fight them for attention.
9. Execute the Installation Safely

You are ready to put everything on the wall. Take your time here. Rushing this step leads to crooked frames and messy holes. Grab your drill and your level.
Order of Operations
Hang your largest woven piece first. This serves as your anchor. Hang your heaviest pots next. Secure them directly into the wooden studs. Finally, fill the empty spaces with your framed art. This exact order guarantees you do not run out of room for the big items.
Check Your Work
Step back constantly. Look at the balance from the couch. Look at it from the doorway. Adjust the smaller frames if something feels visually off. Use a small laser level to keep everything perfectly straight. A crooked frame ruins the entire aesthetic instantly.
10. Care For Round Glass and Ornate Frames
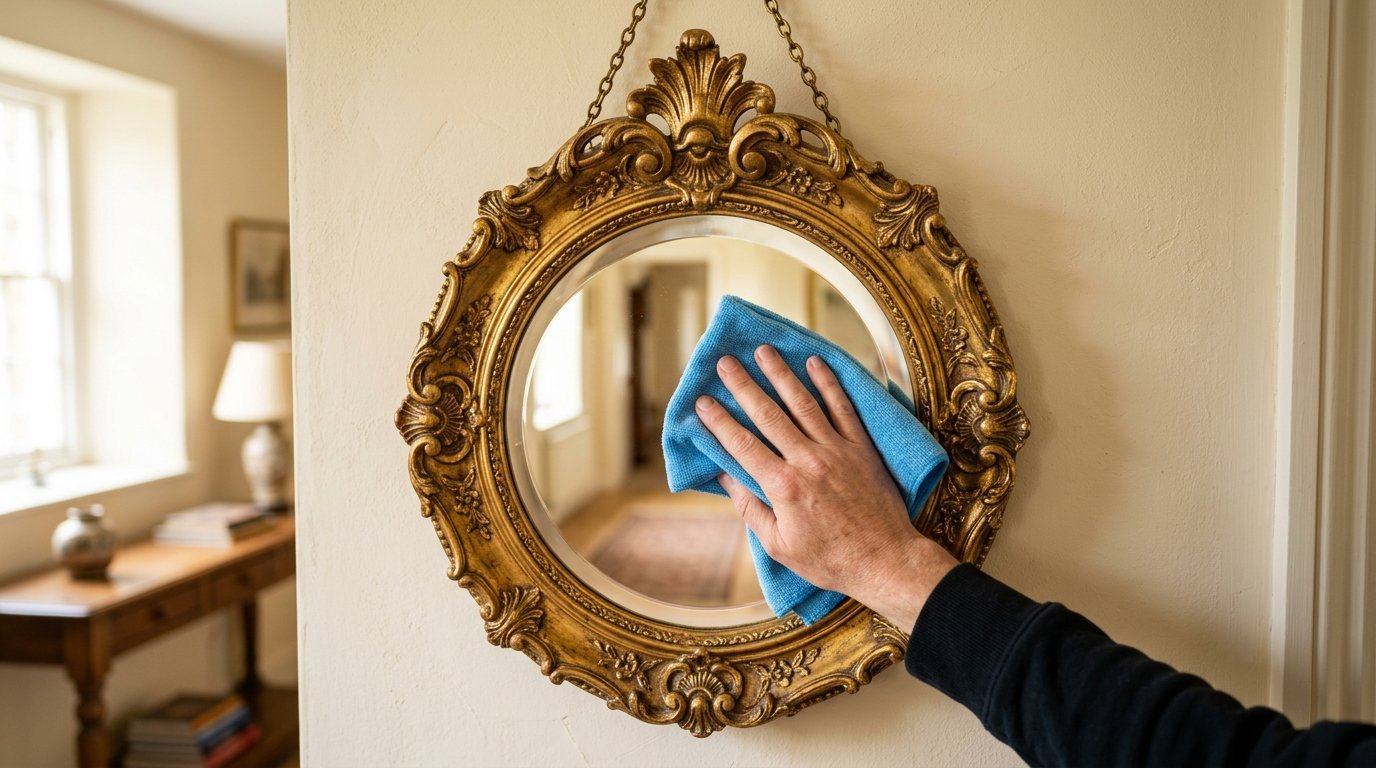
You must keep your artwork sparkling clean. Dust falls from the soil directly onto your pictures. I share real steps to care for round glass and ornate frames safely here.
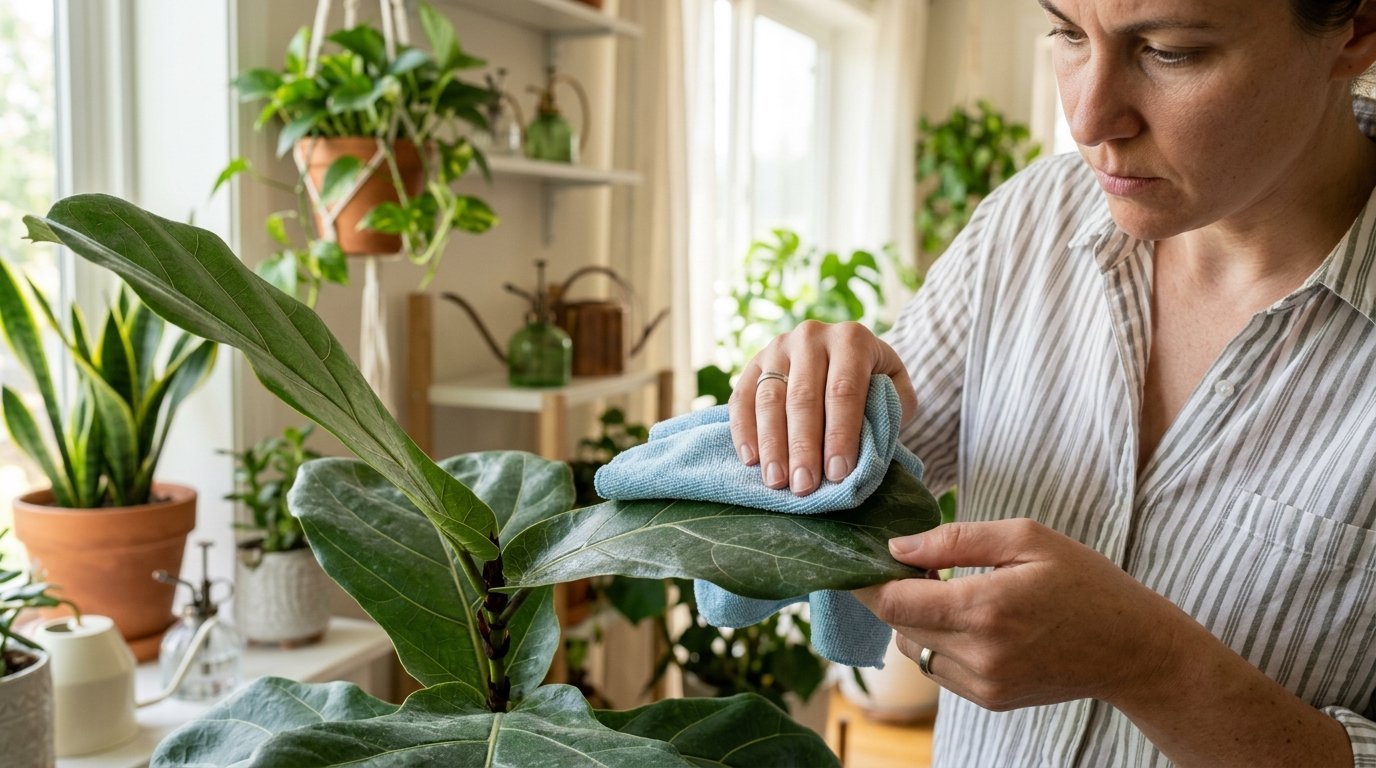
Safe Washing Supplies
You need specific supplies to clean glass without making a mess. I use ninety percent isopropyl alcohol. It melts hairspray drops or sticky residue quickly. I recommend the Norwex cloth or the 3M microfiber line. They grab dust without scratching. This keeps your glass perfectly clear.
Preventing Damage
Never spray liquid directly onto the frame. Liquid can seep behind the glass. This will ruin your prints forever. It also damages the delicate silver backing on vintage mirrors. I spray the cloth directly first. Top products like Sprayway and Method work perfectly here. I also keep Invisible Glass nearby for tough spots. My steps save you time and preserve your high end styling pieces for decades.
11. Water Your Vertical Garden
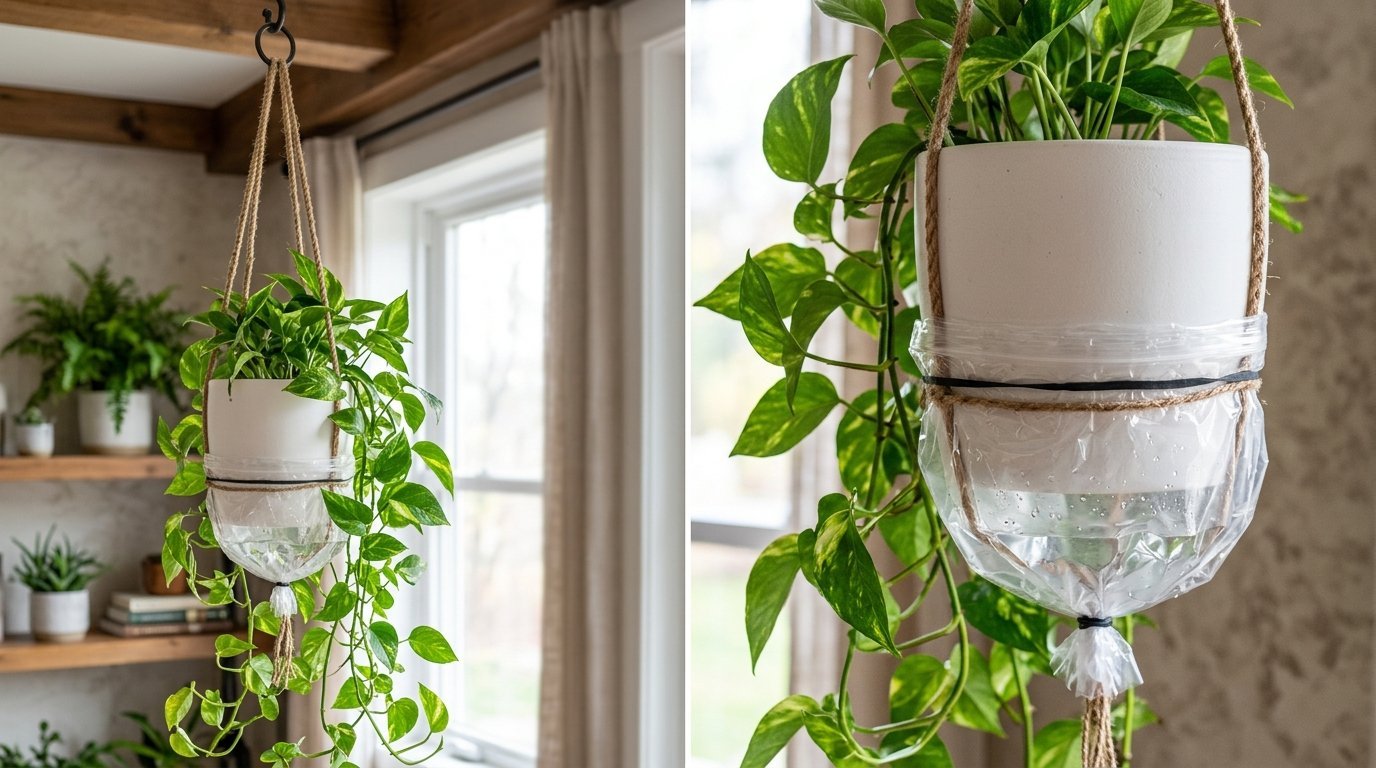
Watering hanging pots sounds incredibly messy. It does not have to be. You just need a strict routine and a few household items. The right routine keeps your floors completely spotless.
Using Plastic Bags
I use a simple trick to catch drips. I slip a gallon Ziploc bag around the bottom of the pot. I water the soil slowly. The bag catches every single drop of extra water. I leave the bag on for ten minutes. Then I remove it and throw the water away. Your floors stay completely dry.
Watering Schedule
Check the soil every Sunday morning. Stick your finger one inch into the dirt. If it feels totally dry, give it a drink. If it feels wet, wait another full week. Most trailing vines prefer to dry out completely between drinks. Overwatering kills more indoor greenery than underwatering.
12. Mix Textures for Elegant Living Room Decor
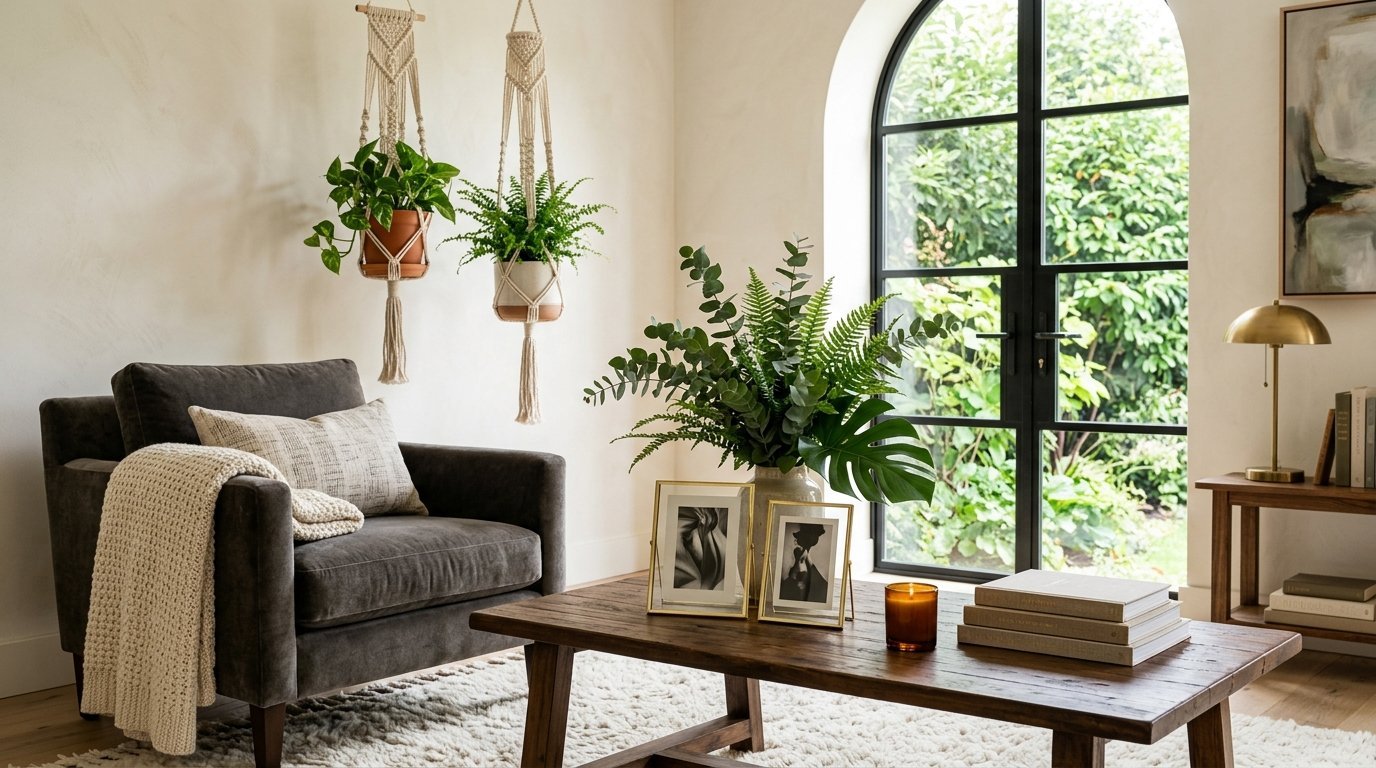
A flat room feels incredibly boring. A styled room has deep visual interest. You create depth by mixing very different materials together deliberately.
Creating Depth
Pair soft cotton ropes with hard metal frames. Place smooth glass next to rough ceramic pots. Let a wild, organic Monstera Leaf drape over a perfectly straight picture frame. This sharp contrast makes the whole display look expensive and thoughtfully planned.
Matching Table Centerpieces
Your room needs to feel deeply connected. Look at your Table Centerpieces right now. If you have gold Table Centerpieces, use gold frames on the wall. If you have dark wood on the table, use dark wood on the wall. This ties the whole room together effortlessly.
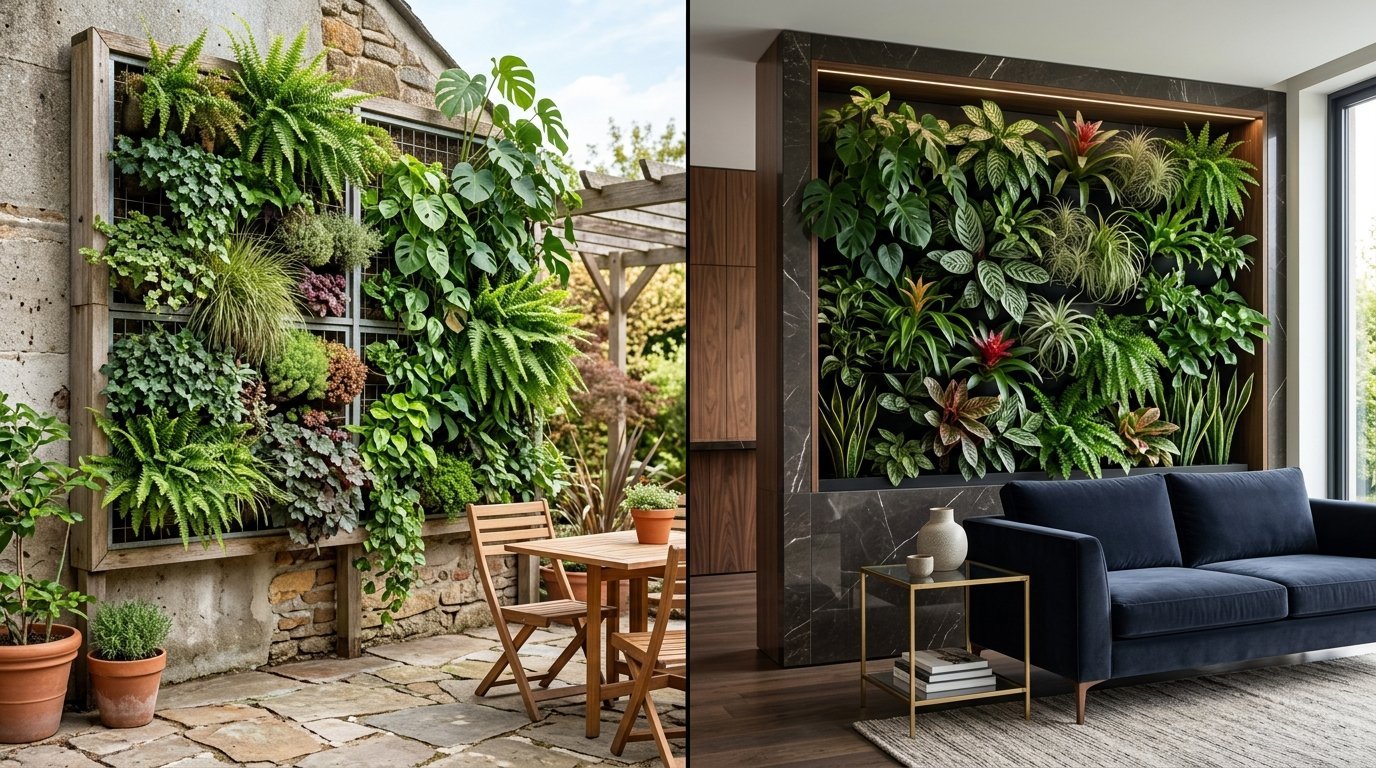
13. Adjust for Room Lighting Conditions
Lighting makes or breaks a Plant Wall. You must place your greenery based on the nearest window. A poorly placed pot leads to yellow, dropping leaves.
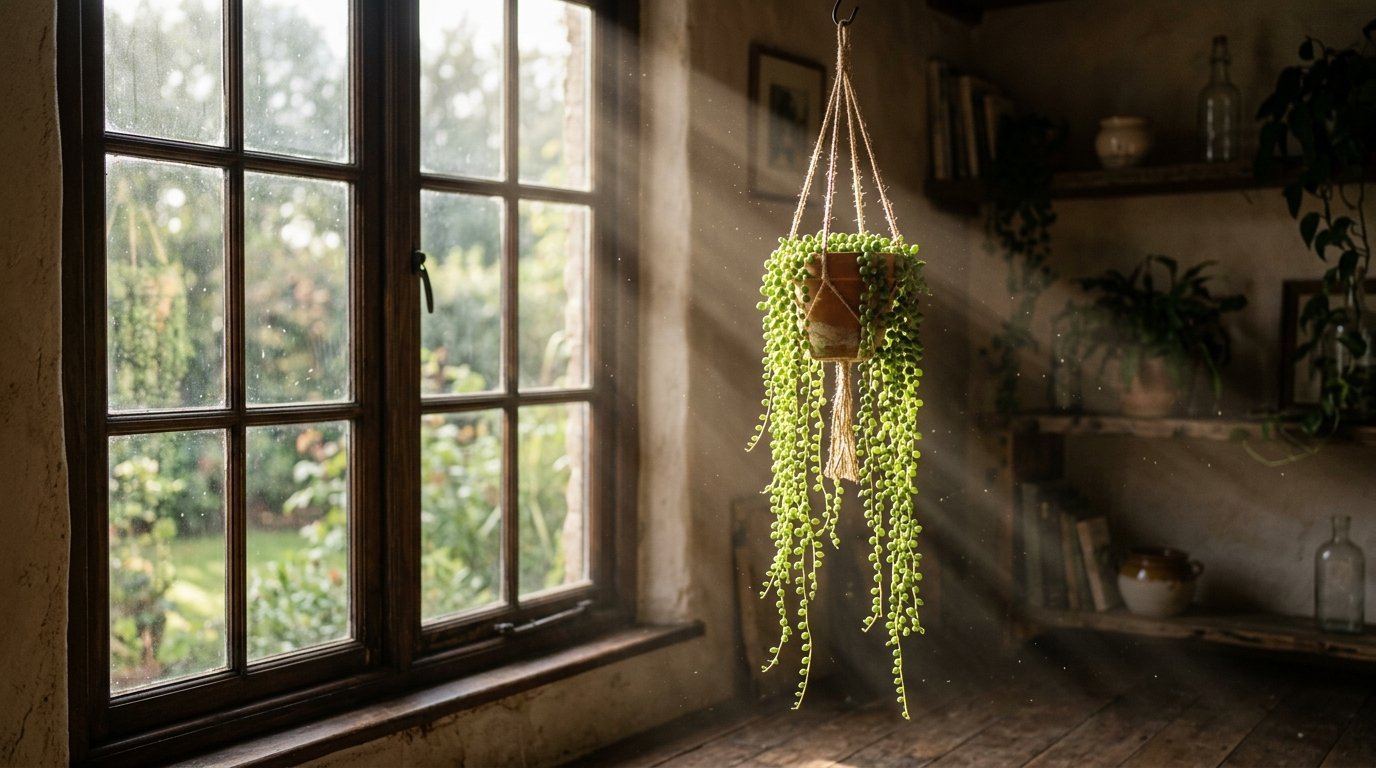
High Light Areas
Place your sun loving greenery nearest the window glass. Succulents and String of Pearls need hours of direct morning sun. They will stretch and look stringy if they sit in the dark. Keep them as close to the natural light as possible.
Low Light Spots
Place your pothos and snake plants in the darker corners. They tolerate heavy shade incredibly well. I have a ZZ plant sitting twenty feet away from a window. It still looks flawless three years later. Match the leaf type to the shadow intensity.
14. Deal with Common Pests Fast
Bugs happen in any indoor garden. You need to catch them early before they spread across your entire Plant Wall. A fast response saves your entire collection.
Spotting Problems
Check the leaves closely when you water. Look for tiny webs or white sticky spots. Spider mites love dry, warm air. Fungus gnats love soggy soil. I noticed tiny gnats flying around my pothos last summer. I had to act fast to save it.
Simple Fixes
I use a simple mix of water and mild dish soap. I wipe down every single leaf carefully with a soft cloth. For gnats, I let the soil dry out completely for two straight weeks. The bugs disappear quickly when you remove their water source.
15. Rotate Your Greenery Seasonally
Your living room environment changes throughout the year. The sun hits the windows differently in December than it does in July. You must adapt to these shifting conditions.
Summer Care
The sun shines much brighter and hotter during summer months. Move sensitive leaves away from the glass. Direct summer sun will burn a pothos leaf crisp in one afternoon. Water your pots twice a week during hot spells. They dry out much faster.
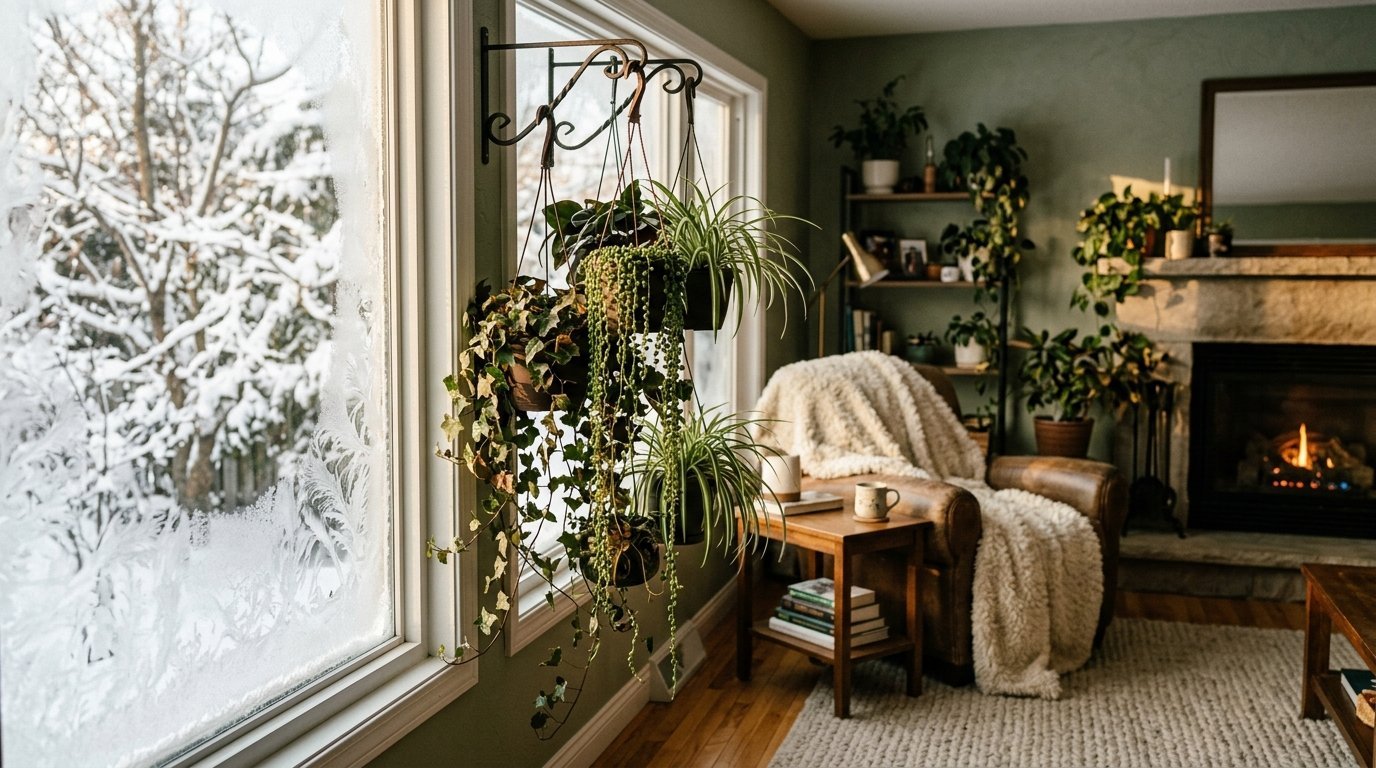
Winter Care
Winter brings dry air and dark afternoons. Move your pots closer to the windows. The winter sun stays low in the sky. Group the pots closer together to trap natural humidity. Back off your watering routine. They drink much less when they are not actively growing.
Frequently Asked Questions
People ask me questions about this setup constantly. Here are the most common things people want to know before they start drilling holes.
Can I use this setup in Exteriores De Casas?
Yes you can adapt this for Exteriores De Casas easily. You must use outdoor rated textiles. Normal cotton will mold and rot in the rain quickly. Use synthetic outdoor ropes instead. Choose planters that will not crack in freezing winter weather. Pick greenery native to your specific climate zone for the best results.
How do Table Centerpieces fit into this room design?
Your Table Centerpieces should mirror the wall exactly. If you hang trailing vines, put a small trailing vine on the table. If you use black frames, place a black tray on the table. This connects the horizontal and vertical spaces visually. It makes the entire room feel cohesive.
What is the best Monstera Leaf variety for walls?
Monstera Adansonii is the absolute best choice. It vines gracefully and stays relatively small. The massive Monstera Deliciosa grows too large and heavy for most hanging setups. Stick to the smaller vining varieties for elevated displays. They are much easier to manage.
How do I keep Elegant Living Room vibes intact?
Keep your color palette incredibly tight. Stick to three main colors. I use crisp white, deep green, and warm gold. Too many colors look messy and chaotic. Hide all plastic nursery pots inside nicer ceramic shells. Keep your glass frames completely free of dust using the cleaning steps above.
Do Hanging Plants ruin the paint?
They only cause damage if you install them incorrectly. Never hang a heavy pot on a simple nail. You must use proper toggle anchors or drill directly into a wooden stud. Water damage is another big risk. Always use the Ziploc bag trick to catch drips before they hit the paint.
Final Styling Thoughts
You now have the exact blueprint to create a breathtaking display. You know how to find the studs safely. You have my exact routine to care for round glass and ornate frames. You know which textiles hold up over time. Take this project one single step at a time. Buy your tape and mark your layout today. Order your hardware tomorrow. Pick out your favorite prints this weekend. Your blank space is waiting for a fresh, organic heartbeat. Put on your favorite music and get to work.

Anya Castellan is the Founder and Editor-in-Chief of Home Wall Trends. An art history graduate of the Rhode Island School of Design with twelve years of experience writing for leading American design publications, she specializes in composition, gallery wall theory, and the quiet architecture of domestic space. A former contributing editor at Architectural Digest and guest lecturer at Parsons School of Design, Anya personally reads and signs off on every piece before it is published.