Empty walls make a house feel incredibly cold. Putting metal nails into fresh drywall causes instant anxiety. You constantly worry about hitting a water pipe. You constantly worry about losing your expensive security deposit. I woke up at midnight to a terrifying crash. My massive oak frame ripped right out of the plaster. The broken glass flew everywhere across the floor. The painted drywall sustained deep visible gouges. I needed a safer way to hang my heavy decor. I tested every single adhesive strip on the market. I spent six months checking exact weight ratings daily. I watched how they perform on different wall textures. I found exactly what holds tight. I also found what fails miserably and ruins walls. I will share the exact strips for your specific weights. You will save your plaster walls from holes. Your favorite art will stay exactly where you put it.
Hanging heavy art requires exact math and careful steps. You must match the adhesive rating to your exact item weight. Putting the wrong strip on a heavy mirror guarantees a crash. I cataloged the exact limits for the eight top choices. You will see precise surface preparation steps below. You will get the exact cure times for maximum hold.
- Large strips for sixteen pound loads.
- Medium strips for twelve pound gallery pieces.
- Small hooks for delicate macrame cords.
- Heavy duty hooks for fifteen pound winter coats.
- Poster strips for paper and sketches.
- Clear clips for invisible string lighting.
- Bath hooks for steamy showers and mirrors.
- Canvas hangers for thick wooden frames.
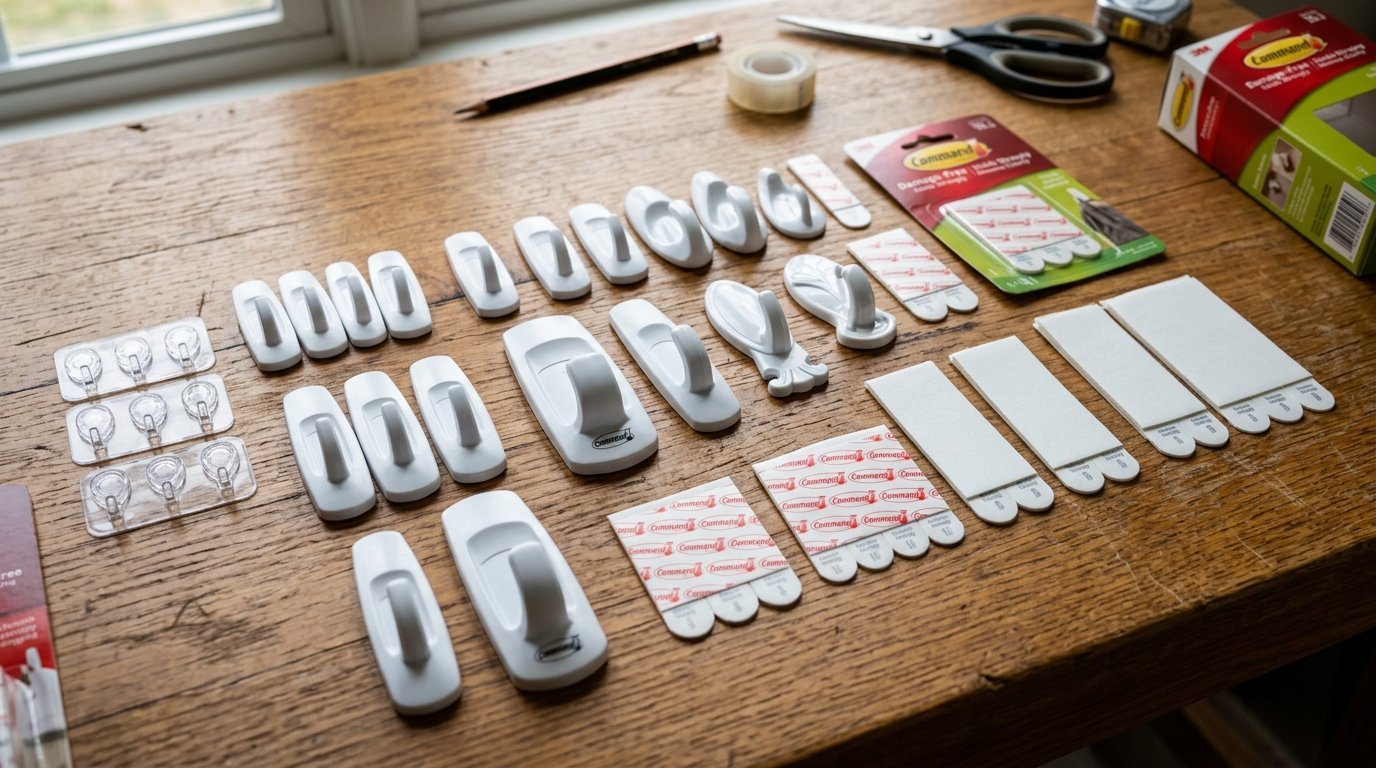
These are the tools that actually work for damage free decorating. I included options for humid bathrooms and rough textures. Your next room update will stay securely in place forever. You will know exactly which product fits your specific items.
1. 3M Command Large Picture Hanging Strips
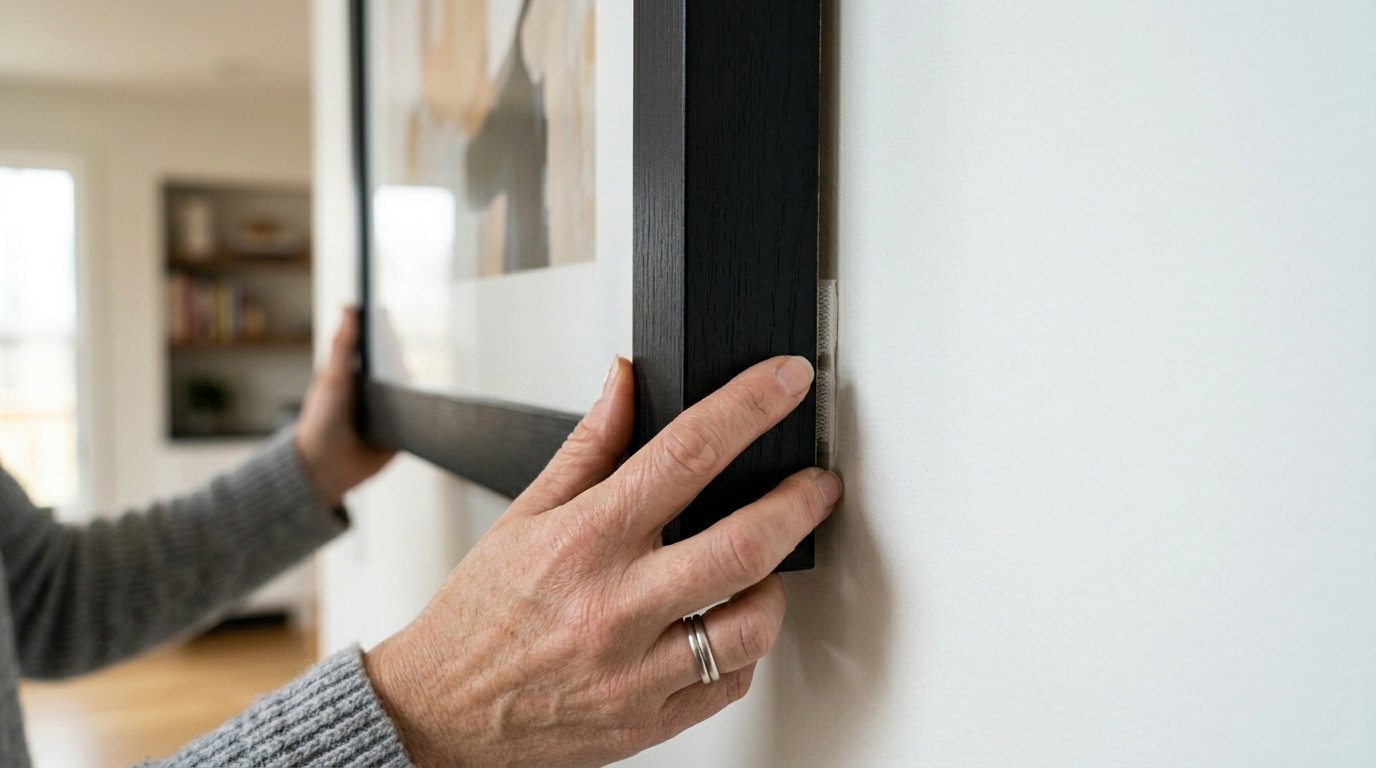
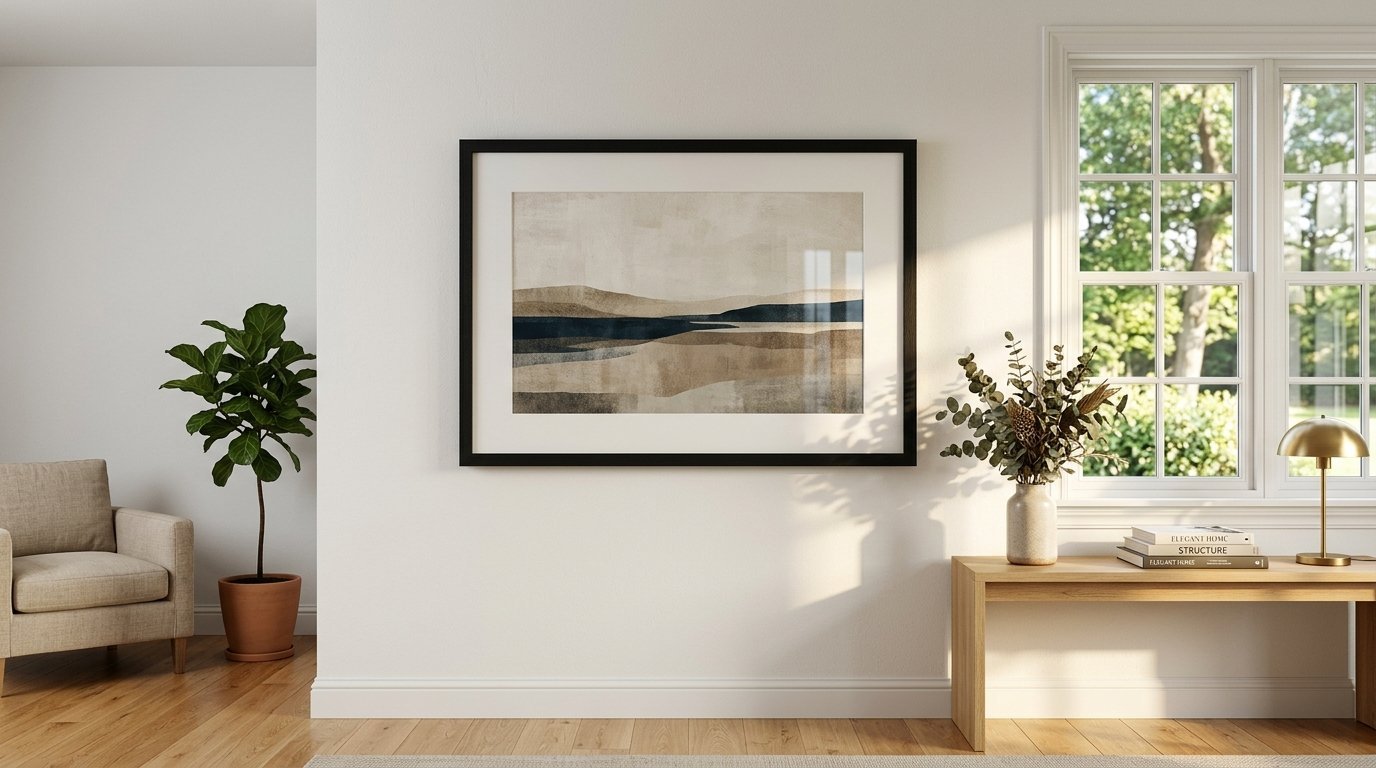
The large picture hanging strips carry heavy loads easily. I trust them for my biggest wooden frames. Each pair holds exactly four pounds of weight. Four pairs hold sixteen pounds total on flat drywall. I use these for large farmhouse styling pieces. I recently hung a massive Black Picture frame in my living room. The frame weighed fourteen pounds on my bathroom scale. These strips held it perfectly against the wall. The secret lies in the strict preparation steps. You must wipe the surface with high purity isopropyl alcohol. I wipe the wall using a clean Norwex microfiber cloth. This removes invisible oils and trapped dust. Regular soapy water leaves a slippery film behind. Never skip the alcohol wipe step. You must press the two strips together until they snap. That clicking sound means they locked tightly. You press the frame against the drywall for thirty full seconds. Then you carefully lift the frame off the bottom. You let the wall strips cure for a full hour. This waiting period allows the adhesive bond to solidify completely. Hanging the frame immediately always causes absolute failures. I saw this happen when I rushed a project last year. The heavy frame slid right down the fresh paint. Follow the one hour waiting rule every single time. You must never pull them straight off the wall. You pull the bottom tab straight down toward the floor. The foam stretches and lets go of the paint safely. It leaves the wall completely bare and clean. These standard large strips hate massive humidity changes. Keep them strictly in climate controlled living spaces. Never use them in a steamy bathroom environment. The hot steam melts the sticky backing very quickly. They work flawlessly in dry bedrooms and long hallways.
2. Command Medium Picture Hanging Strips

Medium strips hold lighter standard frames perfectly. A set of four pairs holds twelve pounds. I reach for these during a Room Makeover Bedroom project. They work perfectly for a uniform geometric gallery wall. I love creating bohemian style spaces in my home. Gallery walls define the true boho aesthetic. You need precise spacing for a gallery layout. Metal nails make precise spacing nearly impossible. One wrong hammer swing ruins the entire layout. These strips let you adjust pieces easily. You stick the strips to the frame first. You press the frame against the wall exactly where you want it. You pull the frame away from the bottom corner. The wall side stays stuck to the paint perfectly. You wait the mandatory one hour. You snap the frame back into place. You get a perfectly level gallery without a single hole. I use these for standard eight by ten wooden frames. They also hold my medium sized hallway mirrors. I always keep a huge pack in my toolbox. They make changing my decor incredibly fast. I update my gallery walls every single season. These strips make those seasonal updates completely painless. The back of your frame must be completely flat. Cardboard backing materials often peel away under weight. The strip sticks to the cardboard perfectly. The cardboard then tears away from the wooden frame. Check your frame backing for solid wood or metal. Only stick these to a completely solid flat border. They will not stick to fuzzy felt backing. They will not grip uneven stapled canvas edges either.
3. Command Small Wire Hooks
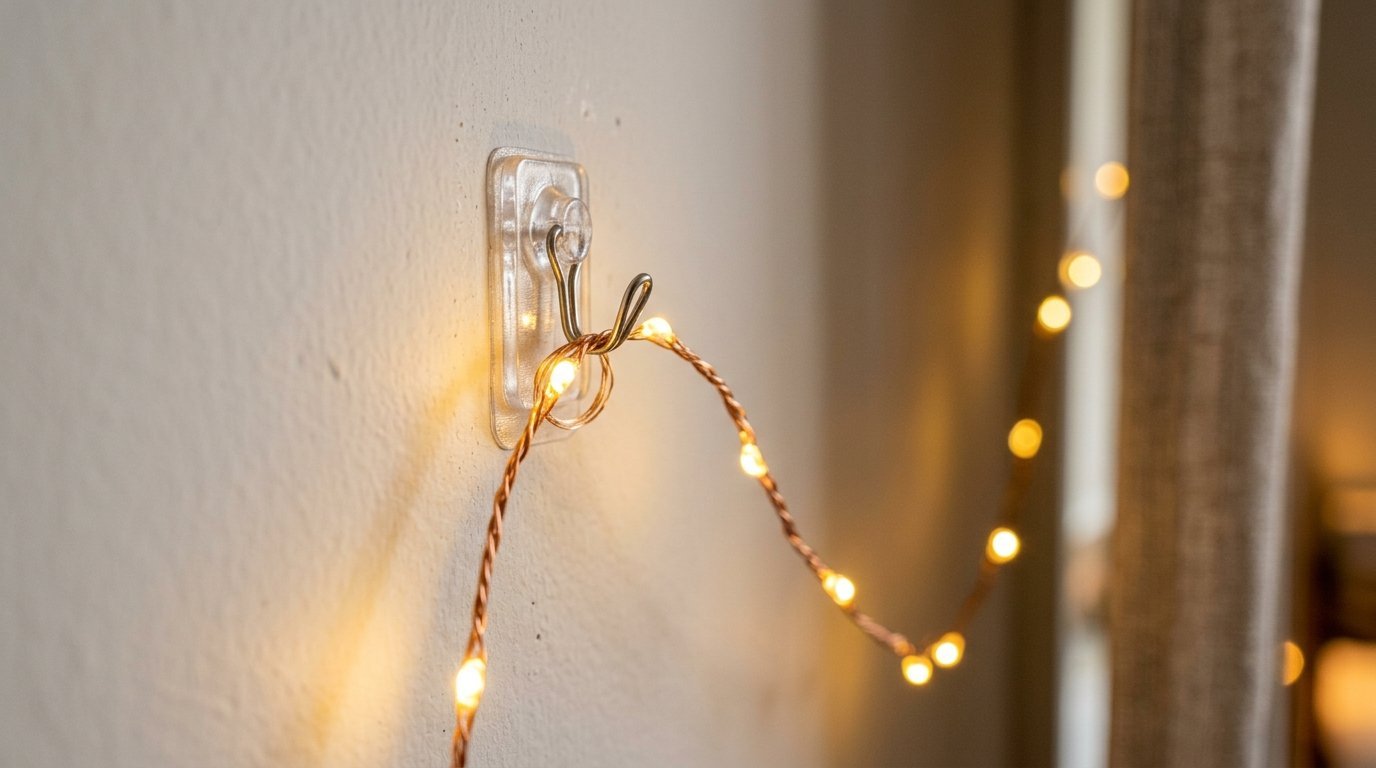
Small wire hooks handle lightweight decorative items. They hold exactly half a pound per hook. The metal wire flips up and down smoothly. This thin wire hides behind the thinnest hanging strings. I create custom macrame wall hangings in my studio. My intricate macrame pieces weigh very little. I hate seeing a thick plastic hook behind my delicate rope work. These small wire hooks vanish completely from sight. They also hold string fairy lights flawlessly. I string lights across my bedroom ceiling corners. The tiny hooks grip the thin copper wire perfectly. You simply wipe the wall with alcohol first. You press the adhesive backing onto the plastic base. You press the entire hook against the drywall for thirty seconds. You wait one hour before hanging your macrame piece. I use these hooks inside my kitchen cabinets too. They hold plastic measuring spoons perfectly on the door. I stick them to the inside of my bathroom doors for lightweight necklaces. They organize small items instantly. They leave zero sticky residue when you pull the tab straight down. You stretch the tab slowly against the wall. The hook falls right off into your hand. The thin metal wire swings freely on a tiny hinge. This movement prevents the plastic base from snapping. When you bump the hanging item the wire moves gently. The base stays securely locked to the drywall paper. I use them for my lightweight holiday decorations. They hold thin metallic garlands across my living room. You can take them down in January very quickly.
4. Command Heavy Duty Wall Hooks
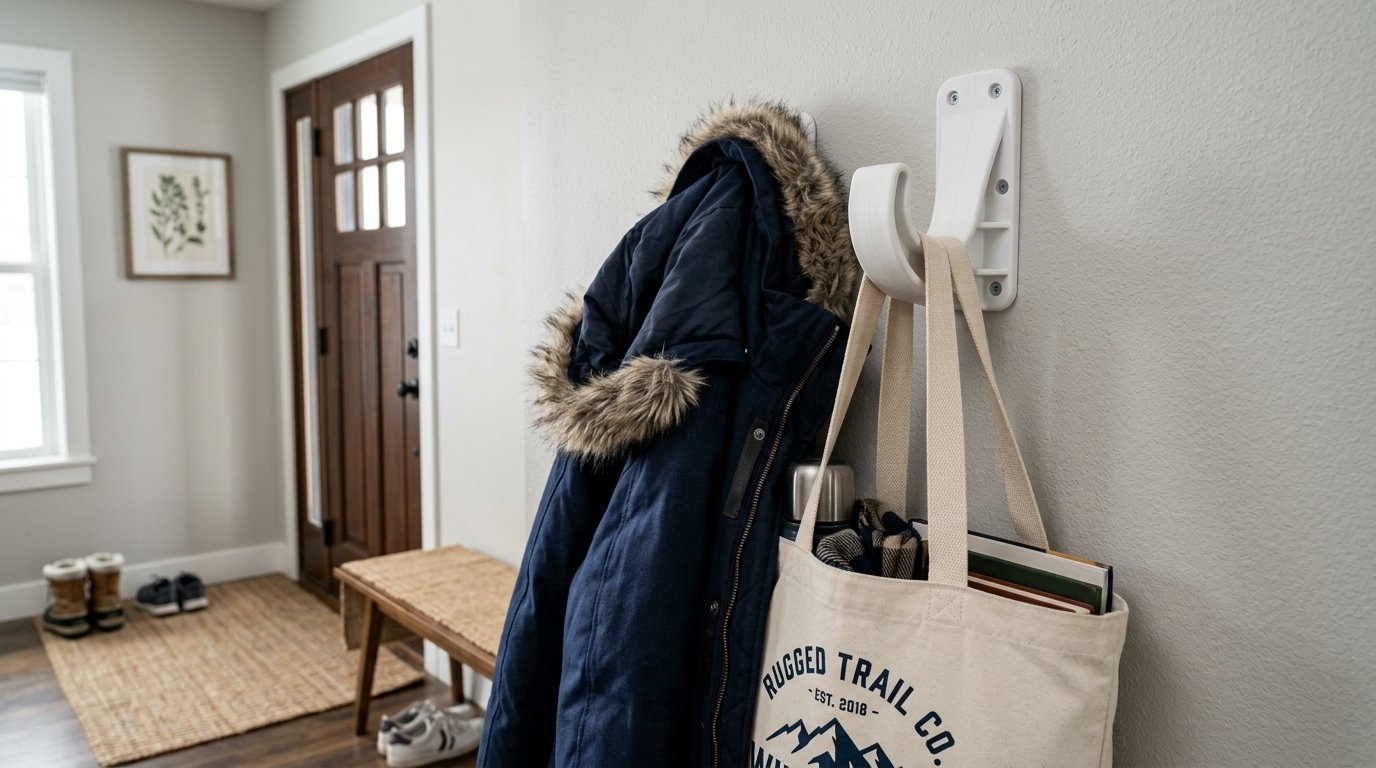
Heavy items require heavy duty choices. These large single hooks hold up to fifteen pounds. I use them for my strict Home Organization projects. They easily hold winter coats and heavy backpacks. I place them right inside my front entryway. Three months ago I threw a fresh piece of pine right into the trash. I tried to craft a large farmhouse welcome sign. It weighed fourteen pounds. I used the wrong flimsy hook. The plastic hook snapped in half immediately. The pine board crashed and cracked perfectly down the middle. I found out my limits regarding weight ratings. I switched to these heavy duty hooks for all heavy items. They feature a massive adhesive backing pad. This giant pad spreads the weight across a larger surface area. You must apply intense pressure during installation. I lean my entire body weight onto the hook for a full minute. The one hour cure time remains strictly mandatory. I hang my heavy canvas tote bags on them every day. They never budge or slide down the wall. The plastic hook feels incredibly solid and thick. They look surprisingly sleek and modern too. The hook itself features a massive curved lip. This deep curve stops heavy straps from sliding off. My heavy winter coats never fall onto the floor. I put one near my back door for dog leashes. The large metal clip fits perfectly over the deep hook. You get instant organization without drilling any holes. The plastic feels thicker and much denser than standard models.
5. Command Poster Strips
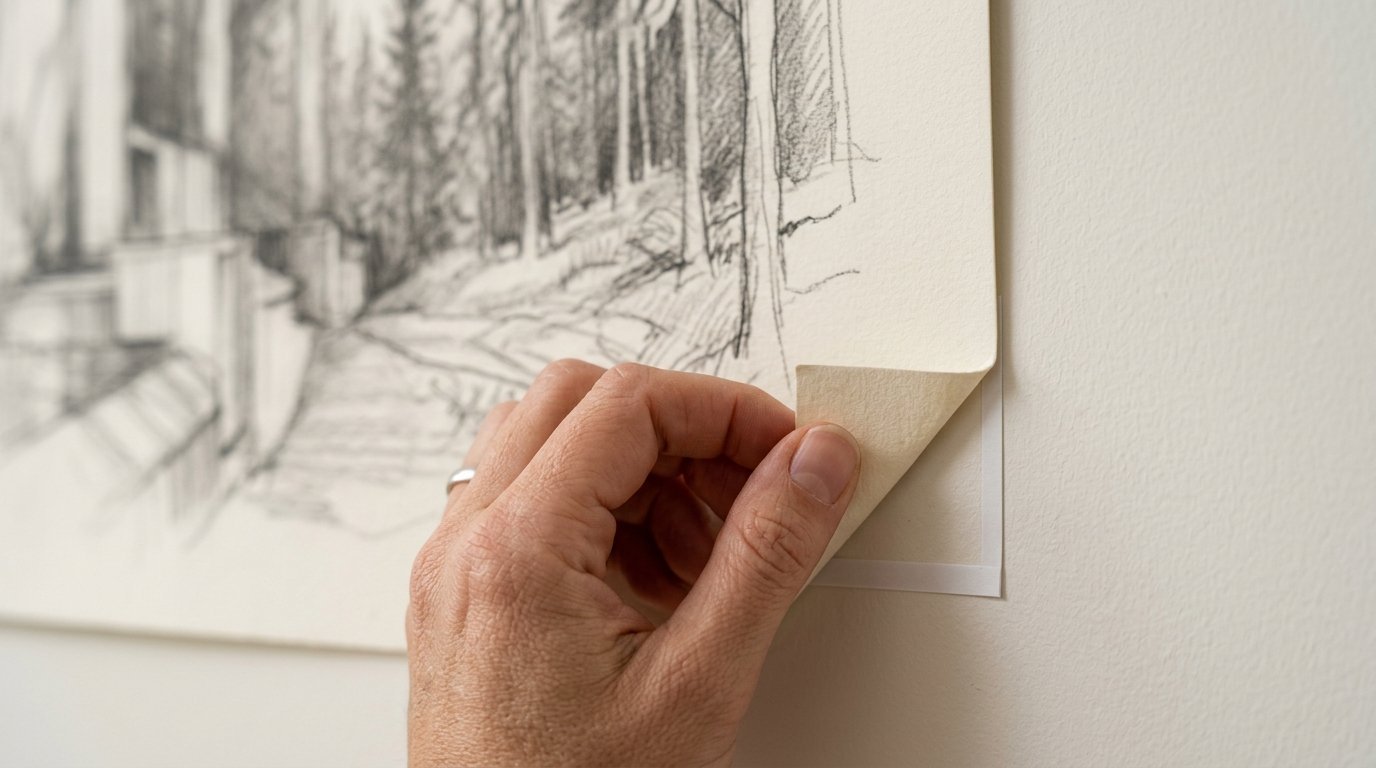
Thin paper requires a very delicate touch. Standard adhesive tears paper right in half instantly. These poster strips fix that exact problem perfectly. They hold one pound maximum. They stick flat against the paper and the wall. You cannot use them on framed art. You cannot use them on anything with glass. I use them for my initial Wall Painting sketches. I sketch out large farmhouse murals on tracing paper. I stick the massive paper sketches directly to the drywall. I step back to check the proportions. These strips hold the paper flat against the wall without curling. Teenagers love these strips for band posters. They keep dorm room walls completely damage free. You stick one strip to all four corners of the poster. You press the poster directly onto the wall. Removing them requires a slow and steady hand. You hold the poster corner flat against the wall. You pull the tab slowly downwards. The adhesive stretches and releases its grip safely. The poster remains perfectly intact. The wall paint remains completely undisturbed. Some art prints come on extremely thin rice paper. Even these poster strips might grip that paper too tightly. Test a small corner of your cheap prints first. I stick them on the back of my printed photographs. They hold glossy photo paper without any weird wrinkling. You can arrange a massive grid of family photos. The edges stay flat and flush against the paint. They never leave grease spots on the front of the pictures.
6. Command Clear Decorating Clips
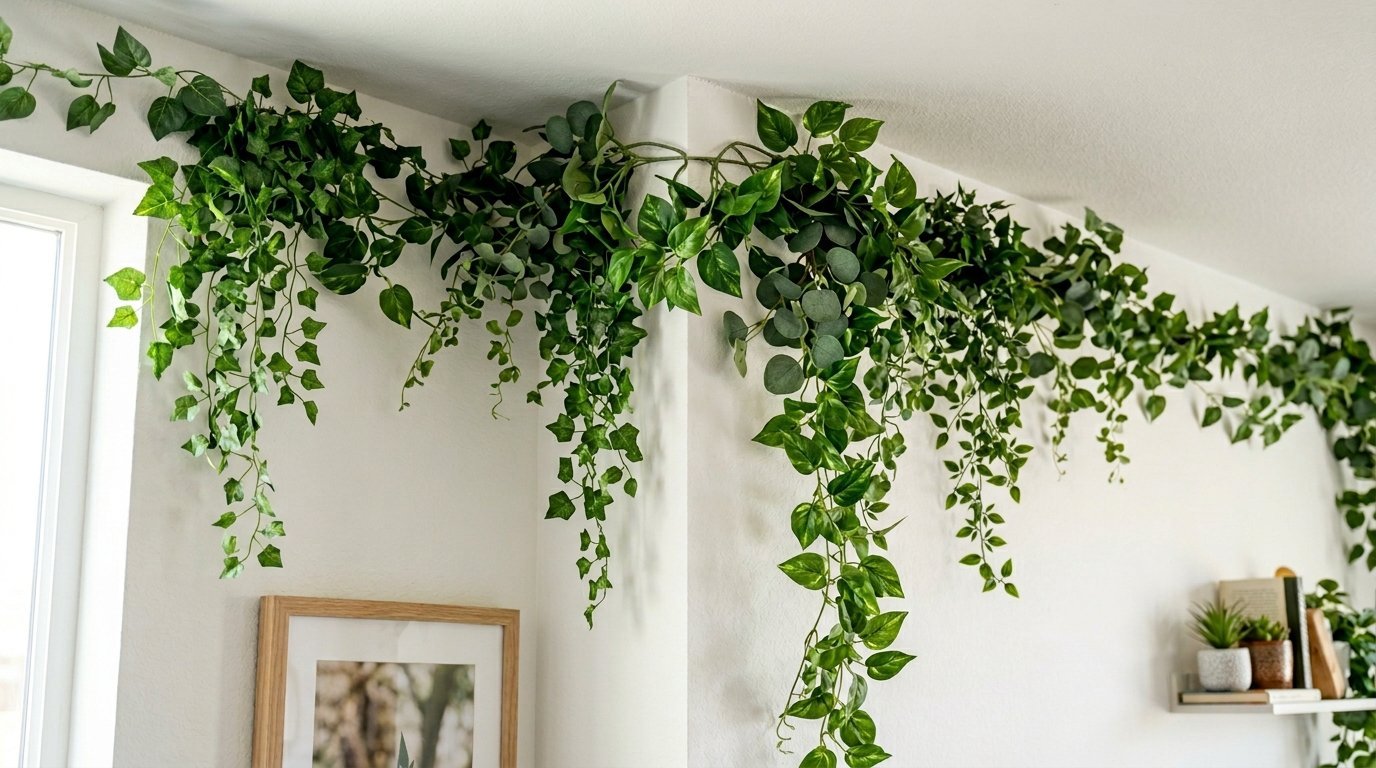
Creating an aesthetic room requires invisible hanging tricks. Big plastic hooks distract from the actual decor. These clear decorating clips fix the visibility problem. The clip and the adhesive strip are entirely transparent. They hold exactly half a pound per clip. I use them extensively for bohemian vine decor. Fake ivy vines need multiple touch points along the ceiling. You space these clear clips every two feet. You weave the plastic vines right through the small hooks. You step back and the clips completely disappear. The vines look like they grew straight out of the ceiling. You can run thin extension cords along the baseboards with them. They keep ugly wires completely out of sight. I use a clean 3M microfiber cloth to prep the clear plastic. You press the clear strip onto the clip firmly. You push the clip against the wall for thirty seconds. Waiting the full hour guarantees a strong hold. I outline my windows with string lights every winter. These clear clips make the lighting look professional and seamless. You can hide these clips in plain sight easily. The transparent plastic reflects your wall paint color perfectly. I put them directly onto my white ceiling corners. They completely vanish from a normal viewing distance. You must clean the wall vigorously before placing them. Any trapped dirt will show straight through the clear plastic. Use the alcohol wipe to make the wall totally spotless. Dirty walls make the clear strips look terrible.
7. Command Bath Water Resistant Hooks
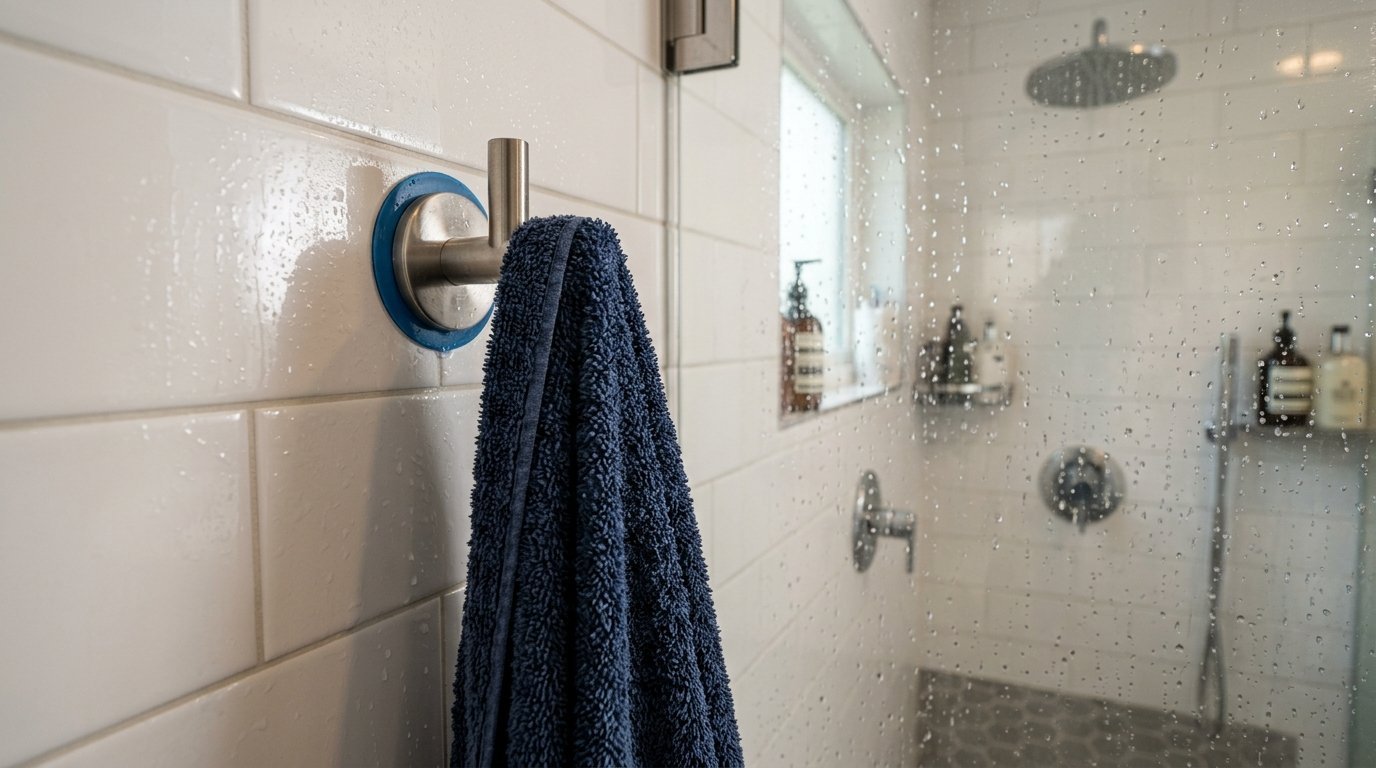
Moisture absolutely destroys standard adhesive strips. The sticky backing turns into a slimy mess. Heavy humidity causes regular strips to slide straight down the wall. These specific water resistant hooks survive hot showers. They handle up to five pounds of wet towels. They stick aggressively to glass tile and fiberglass. I know exactly what moisture does to home decor. I saw this destroy a beautiful piece in my hallway three years ago. The damp air got behind the frame and caused black spots. I dealt with a similar headache recently. I noticed this issue with a gold framed circle mirror in my Classy Bedroom last summer. Every time I wiped the glass water gathered at the absolute bottom curve. The moisture ruins everything it touches over time. I now strictly use distilled water for cleaning mirrors. I combine this with a few Home Remedies for streak free shines. These water resistant strips use a completely different chemical compound. The blue backing indicates the waterproof formula. You can hang them directly inside your shower enclosure. They hold wet loofahs and heavy bath brushes without slipping. Cleaning around these hooks requires some careful attention. You cannot spray harsh bleach directly onto the plastic base. The bleach will eventually eat through the waterproof foam strip. I wipe around them using a wet microfiber cloth. I use distilled water to prevent hard water spots. The blue foam stays totally solid for many years. You can take hot showers daily without any worries.
8. Command Universal Canvas Hangers
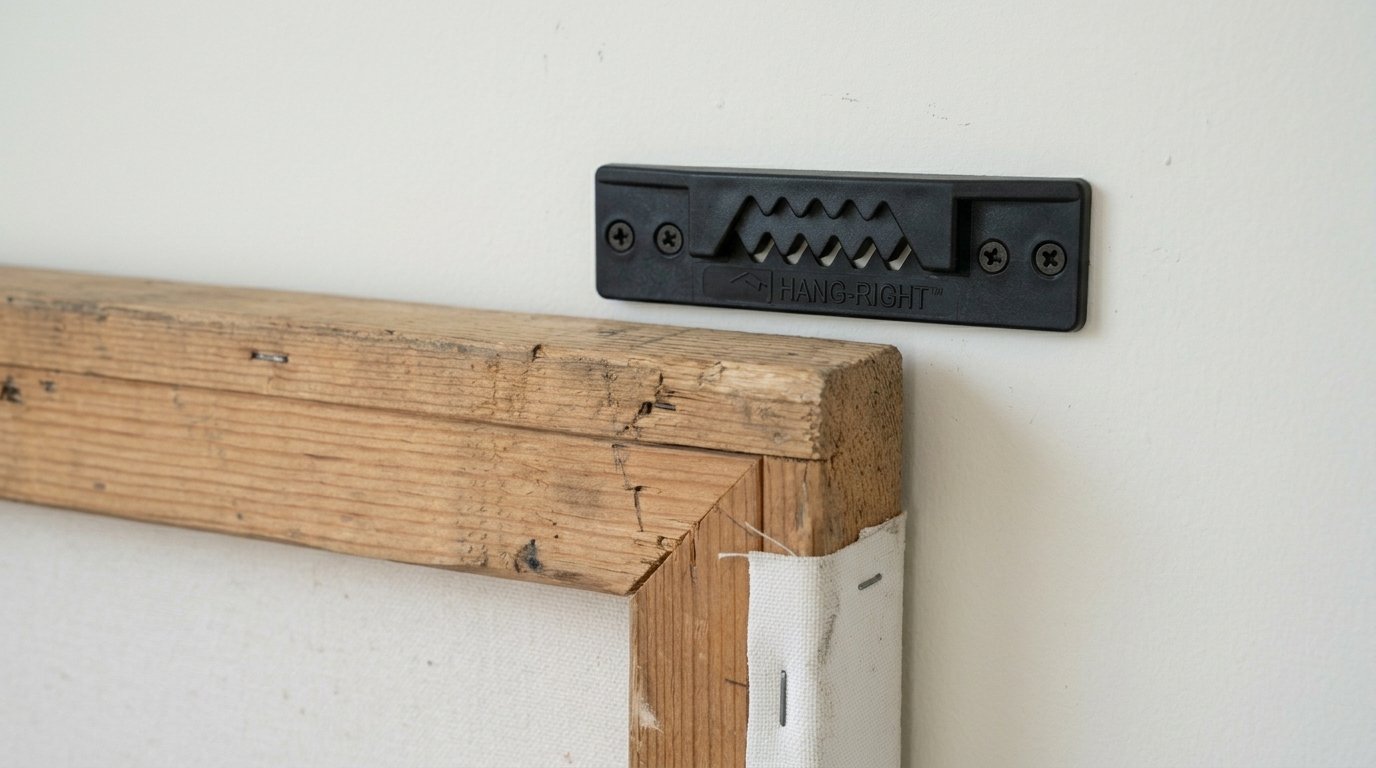
Canvas art lacks the standard hardware found on wooden frames. Canvases have an open back and a thick wooden stretcher bar. Standard hooks do not grip that thick wooden bar correctly. The universal canvas hanger features a small saw toothed ledge. This ledge catches the inside of the wooden stretcher bar perfectly. One hanger holds three pounds. You can use two hangers for a six pound piece. Last year I hung a beautiful printed canvas from a trip to Malta. It was a massive panoramic shot of the coastline. I used two canvas hangers spaced two feet apart. The canvas sits perfectly flush against the drywall. It never tilts or swings. When I do my weekly chores I use Cleaning Hacks to dust the art. I simply run a dry Norwex microfiber cloth over the top edge. The canvas stays completely locked in place on the wall. I never have to level the art again after dusting. You press the adhesive strips to the back of the plastic hanger. You press the hanger to the wall for thirty seconds. You wait one hour then drop your canvas onto the ledge. The sawtooth ledge makes leveling incredibly simple and fast. You can slide the canvas slightly left or right. The teeth catch the wood frame at different exact points. You do not need to reinstall the hanger to move it. This gives you an inch of horizontal adjustment instantly. I line up my multi panel canvas prints perfectly. The gaps between the panels stay perfectly even.
Frequently Asked Questions
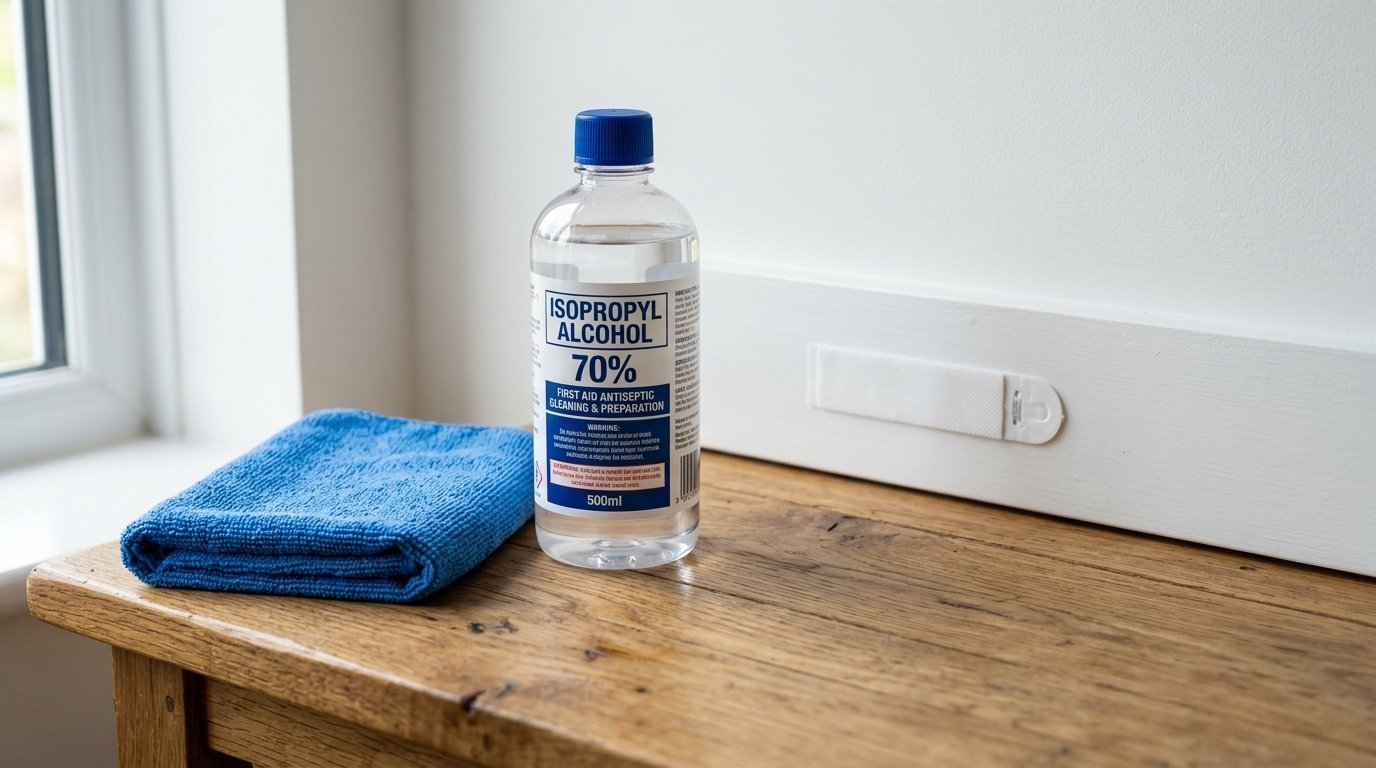
How do you properly prep a wall for adhesive strips?
Surface preparation dictates your complete success or total failure. You must remove all dust and invisible grease. I strictly use high purity isopropyl alcohol for this step. Pour a small amount onto a 3M microfiber cloth. Rub the exact spot where the strip will go. Wait exactly one minute for the alcohol to evaporate completely. Never use household glass cleaners or multi surface sprays. Those sprays leave a slippery chemical film behind. The adhesive will stick to that slippery film instead of the paint. The item will crash to the floor within hours. Proper alcohol prep guarantees a permanent bond until you decide to remove it.
Can you use these strips on freshly painted walls?
Fresh paint looks dry within an hour but it takes weeks to cure. You must wait a minimum of twenty eight days before applying any adhesive. Paint releases invisible gases as it fully hardens. These trapped gases will push the adhesive strip completely off the wall. I found out the hard way during a dining room makeover. I hung a wooden sign three days after painting. The sign fell and took a huge chunk of fresh paint with it. Write the painting date on your calendar. Count out four full weeks. Do not risk your new paint job just to hang things faster.
What happens if you skip the one hour waiting period?
The adhesive needs time to flow into the microscopic pores of your paint. When you first press the strip the bond sits on the very top surface. Waiting one full hour allows the sticky compound to settle and grip properly. If you hang a heavy mirror immediately the constant downward force shears the fresh bond. The mirror will inevitably slide down the wall. You must press the empty hook or strip to the wall first. Walk away and do something else for sixty minutes. Come back and hang your item securely. Patience always prevents shattered glass and ruined floors.
How do you remove a strip without peeling the drywall?
Removing them incorrectly guarantees massive drywall damage. You must never pull the strip straight out toward your body. You must hold the top of the plastic hook firmly with one hand. Grab the bottom stretch tab with your other hand. Pull the tab straight down against the wall. Pull very slowly and steadily. The foam will stretch up to fifteen inches long. The stretching action releases the chemical bond perfectly. The hook will literally fall into your hand. If the tab snaps off you must heat the remaining foam with a hair dryer before scraping it gently with dental floss.
Do these strips work well on textured ceilings or walls?
These adhesive strips require maximum surface contact to hold any weight. Heavily textured walls like popcorn or heavy orange peel prevent proper contact. The strip only touches the highest peaks of the bumpy texture. This drops the holding power by over eighty percent. Your heavy frames will absolutely fall. They work flawlessly on smooth drywall painted cinder block and flat tile. If your walls have a very slight eggshell texture use the heavy duty versions and double the strips. Press extremely hard during installation to force the foam into the shallow valleys of the paint.
Can you use these products outside in the cold weather?
Standard strips completely fail in freezing temperatures. The adhesive becomes brittle and loses all sticky properties. The plastic hooks can also snap in extreme cold. You must buy the specific outdoor rated product line for exterior use. Those specific outdoor strips use a gray foam backing. They withstand temperature swings from negative twenty to one hundred twenty degrees Fahrenheit. I use the outdoor hooks for my exterior holiday wreaths. I stick them directly to my glass front door. They survive snow freezing rain and brutal summer sun without budging an inch.
How do you hang a wire backed frame with these strips?
Picture hanging strips are designed for flat wooden or metal frame borders. They do not work with thin hanging wires. If your frame has a wire you must use a standard plastic hook. You stick the hook to the wall and drape the wire over the plastic peg. If you prefer the flush look of the velcro style strips you must remove the wire completely. Unscrew the metal D rings from the back of your frame. Apply the large picture hanging strips directly to the bare wood corners. This method keeps the frame perfectly flat against your drywall.
Are these safe to use on expensive removable wallpaper?
You must never use standard adhesive strips on any type of wallpaper. The adhesive forms a grip that is much stronger than the wallpaper paste. When you pull the stretch tab it will rip a massive hole in your expensive paper. The downward weight of your frame can also cause the wallpaper to buckle and slide. They sell specific products designed exclusively for delicate surfaces. Those delicate surface strips use a much milder adhesive compound. Even with the delicate version you must proceed with extreme caution on wallpaper. Test a hidden corner near the baseboard first.
How many pairs of strips do you need for a massive mirror?
Weight distribution dictates how many pairs you need. You cannot just guess the weight of a massive mirror. You must step on a bathroom scale while holding the mirror. Subtract your own weight to get the exact number. Four pairs of the largest strips hold exactly sixteen pounds. If your mirror weighs twenty pounds you cannot just put extra strips. The weight limit strictly maxes out at sixteen pounds per item. Putting extra strips does not increase the maximum capacity. You must switch to heavy duty wall anchors and metal screws for anything over sixteen pounds.
What is the best way to clean items hung with adhesive?
Dusting fragile items on the wall requires a very gentle touch. Do not press hard against the frame. Upward pressure can unclick the velcro strips. I strictly use a dry Norwex microfiber cloth for weekly dusting. I lightly drag the cloth across the top edge. For glass I spray distilled water directly onto my cloth first. Never spray liquid directly onto the glass. The liquid drips down the frame and ruins the adhesive strip behind it. Wipe gently to keep everything secure. Regular dusting stops heavy buildup without straining the plastic hooks.
Do they expire or lose their stickiness in the package?
The chemical compound definitely has a limited shelf life. If you buy a massive bulk pack keep them inside a sealed plastic bag. Store them in a temperature controlled drawer inside your house. Never store them in a boiling hot garage or a freezing shed. Extreme temperature swings degrade the foam backing rapidly. If you peel the paper backing and the adhesive feels hard or dry throw it away. A fresh strip feels incredibly sticky and leaves a slight residue on your thumb. Only use fresh strips for your heavy and expensive wall art.
How do you fix a broken pull tab during removal?
A snapped pull tab causes immediate panic. Do not grab a screwdriver to pry the hook off. Prying will rip the drywall paper completely off the studs. Take a standard hair dryer and set it to medium heat. Aim the hot air directly at the plastic hook for sixty seconds. The heat softens the hardened adhesive behind the plastic. Take a piece of wax coated dental floss. Wrap the floss around your index fingers. Slide the floss behind the top of the hook. Saw the floss back and forth slowly downwards. The floss will slice right through the softened foam perfectly.
Can you reuse the plastic hooks after pulling them down?
The plastic hooks and clips are completely reusable forever. The adhesive foam strip is strictly a single use item. Once you stretch and remove the foam it goes straight into the trash. You can buy cheap refill packs of just the double sided foam strips. Keep the plastic hooks in a small box for future projects. I have heavy duty hooks from five years ago that I still use today. You just wipe the old plastic backplate with rubbing alcohol to clean off any old residue. Stick a brand new foam strip onto the clean plastic backplate.
Do they work inside a steamy kitchen near the stove?
Kitchens generate massive amounts of airborne grease and boiling steam. Standard strips will fail near a busy stovetop. The grease settles onto your walls constantly. Even if you prep with alcohol perfectly the steam degrades the top edge of the adhesive over time. If you want to hang cooking utensils near the stove use the blue water resistant bath hooks instead. The waterproof formula repels the constant steam. You must also scrub the wall heavily with a degreasing dish soap before doing the final alcohol wipe. Kitchen walls hide layers of invisible cooking oils.
How do you perfectly level a frame using picture strips?
Getting a perfectly level frame takes exactly two minutes. Stick all four pairs of strips onto the back of your frame first. Press them firmly into the wood. Hold a small bubble level on the top edge of your wooden frame. Place the frame lightly against the wall. Adjust the corners until the bubble sits perfectly dead center. Once the bubble is centered push the top two corners into the drywall firmly. Then push the bottom two corners into the drywall. Your frame is now perfectly straight. Pull the frame off the bottom to let the wall side cure.
Can you paint over the adhesive wall strips?
You should never paint directly over any adhesive hanging product. The paint will dry and form a hard plastic shell. When you try to stretch the tab the paint cracks. The pulling action will rip the fresh paint right off. You must remove all strips before opening your paint cans. Apply brand new strips after the fresh paint fully cures. Painting around them looks terrible anyway. Take the time to remove everything properly. Your newly painted walls deserve a perfectly smooth finish.
Do they work on heavy brick fireplace walls?
Standard adhesive strips fail completely on rough masonry and brick. The porous clay absorbs moisture and repels the sticky foam. The deep mortar lines prevent the foam from sitting flat. You must drill masonry anchors directly into the brick face. Do not trust your expensive art to foam strips on brick. The item will crash onto your hearth within a few hours. Stick to perfectly smooth surfaces for these specific products. Brick fireplaces require heavy metal hardware every single time.
Are they safe to use inside a hot car?
Vehicle interiors reach brutal temperatures during the summer months. The extreme heat melts the chemical adhesive bond completely liquid. Your attached items will fall off the dashboard very quickly. You must buy automotive specific mounting tape instead. That tape handles extreme temperature swings inside a baking vehicle. Keep standard strips strictly inside your climate controlled home. Using them in a car creates a sticky mess that ruins your dashboard plastic. Stay within the temperature limits printed on the back of the package.
Final Thoughts
My terrifying midnight frame crash changed my entire decorating approach. I never want to sweep up shattered glass again. You now possess the exact weight ratings for every hanger. Start by weighing your heaviest living room wall art today. Buy the large strips for those heavy wooden frames first. The adhesive technology gets stronger and safer every single year. Future strips will eventually hold fifty pounds without any drywall anchors. I test every new hanging product inside my own studio. I share those hard lessons directly with my decorating community.

Anya Castellan is the Founder and Editor-in-Chief of Home Wall Trends. An art history graduate of the Rhode Island School of Design with twelve years of experience writing for leading American design publications, she specializes in composition, gallery wall theory, and the quiet architecture of domestic space. A former contributing editor at Architectural Digest and guest lecturer at Parsons School of Design, Anya personally reads and signs off on every piece before it is published.