A basic frameless mirror costs twenty dollars at local hardware stores. A designer version from an upscale boutique costs four hundred dollars. Last March, I refused to pay that high price. I transformed a plain glass sheet using five dollar wood molding. The finished item looked identical to a high-end luxury piece. You can change your space without spending a fortune. This guide shows you exactly how to execute high-end designs at home.
Executive Summary
This guide delivers actionable instructions to upgrade basic glass into high-end wall decor. You will see seven distinct framing styles using affordable retail supplies. We cover total costs, real timelines, and tool requirements for every design. Readers will see clear steps to avoid loose frames or ruined glass backing. Expect an upfront investment of fifteen to fifty dollars total. The entire upgrade takes under three hours of hands-on work.
Why Frame a Plain Glass Sheet Yourself
Buying commercial wall decor strains your budget. Store options often feature cheap plastic frames painted to mimic wood. Making your own frame lets you control the quality. You select real pine, solid oak, or custom clay elements.
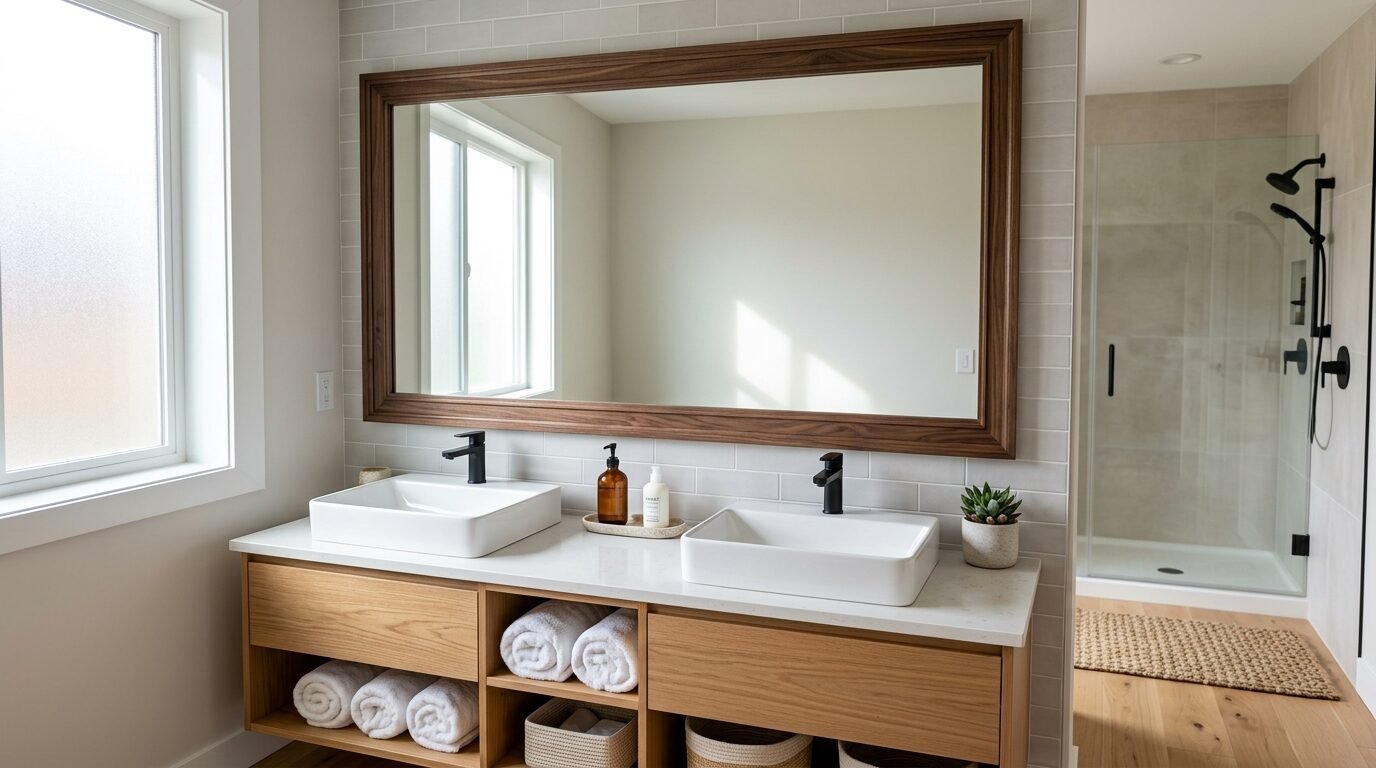
In my experience, ready-made mirrors rarely fit specific room dimensions. A custom frame solves this issue. You buy raw glass cut to your exact wall measurements. Then, you attach a border that complements your room styling. This approach works perfectly for Wall Mirror Ideas in small spaces.
I noticed that framing flat glass alters room brightness. A wider frame reflects light differently across the room. It makes tight spaces feel larger and open. You save money while tailoring the design to your exact taste.
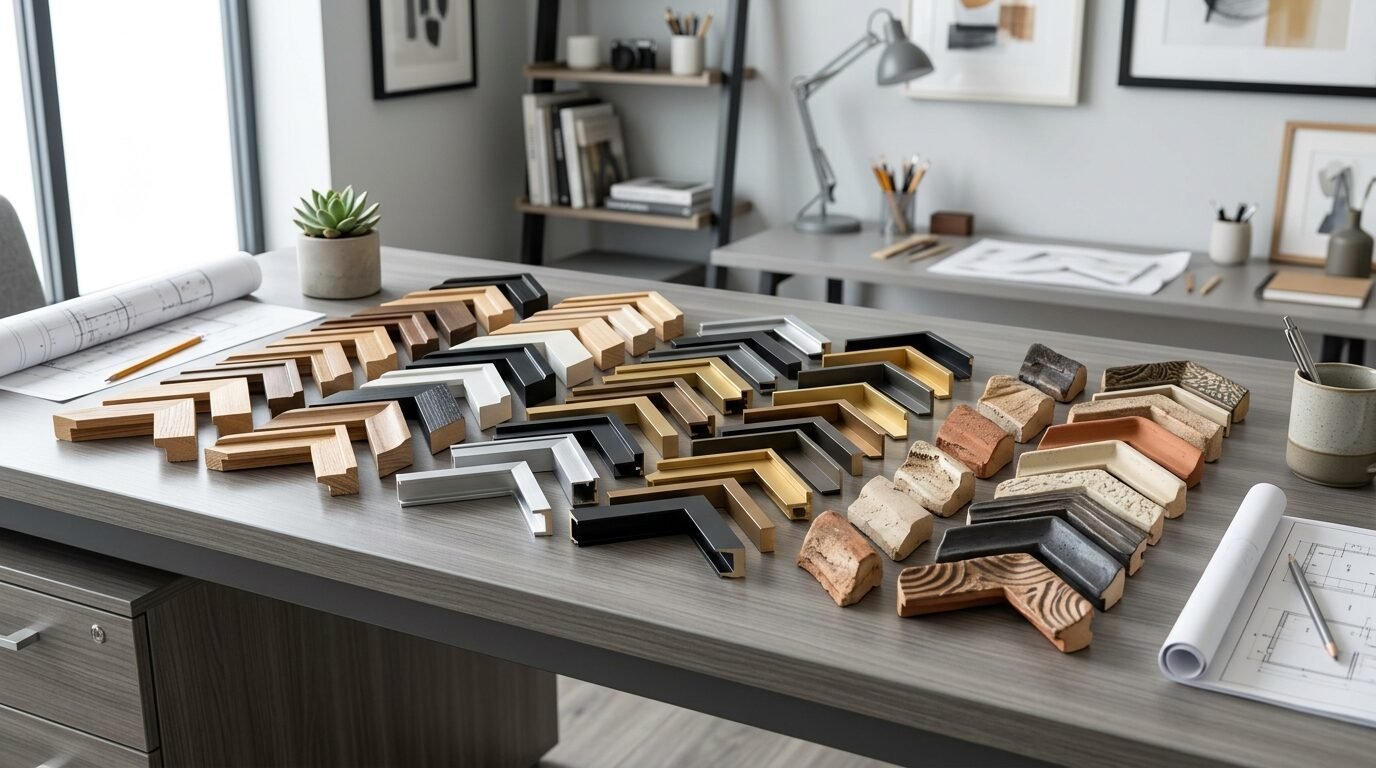
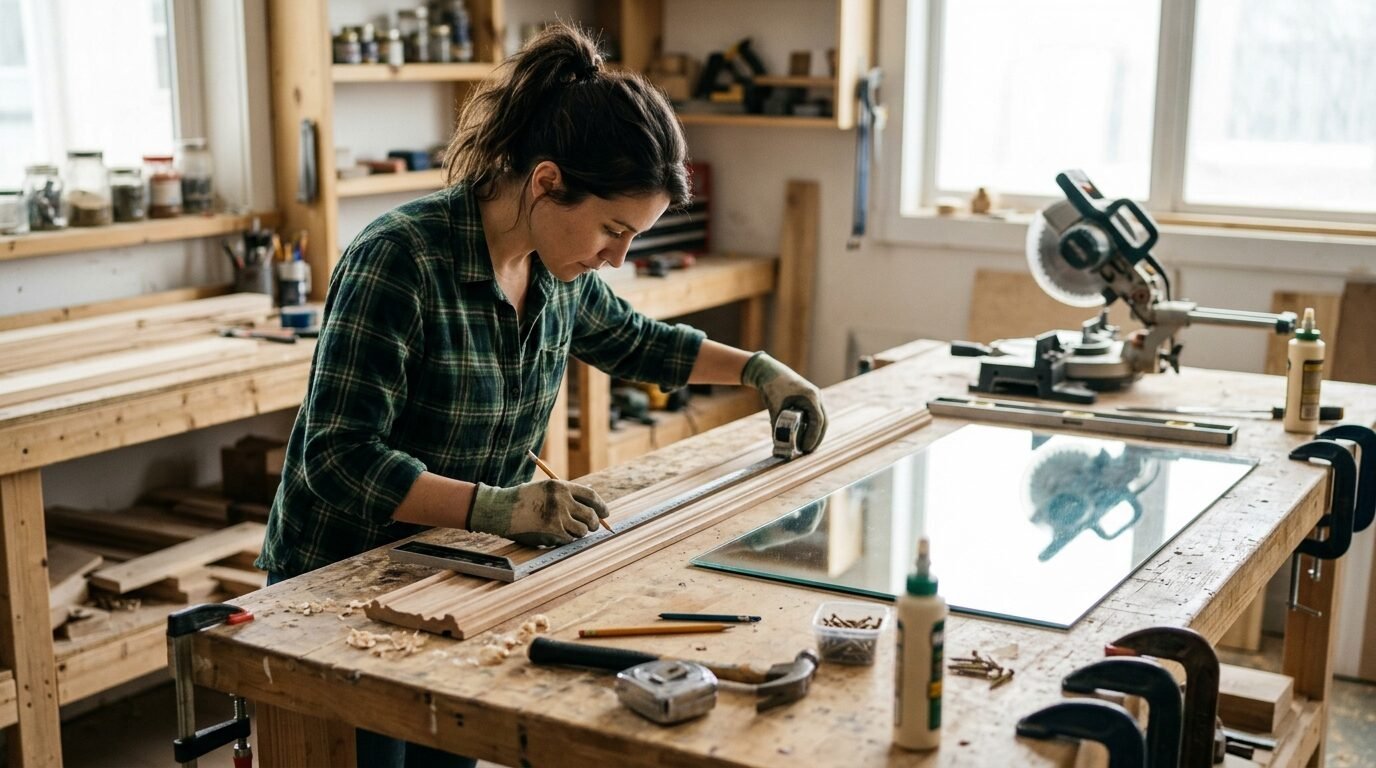
Tools and Materials for Your Mirror Project
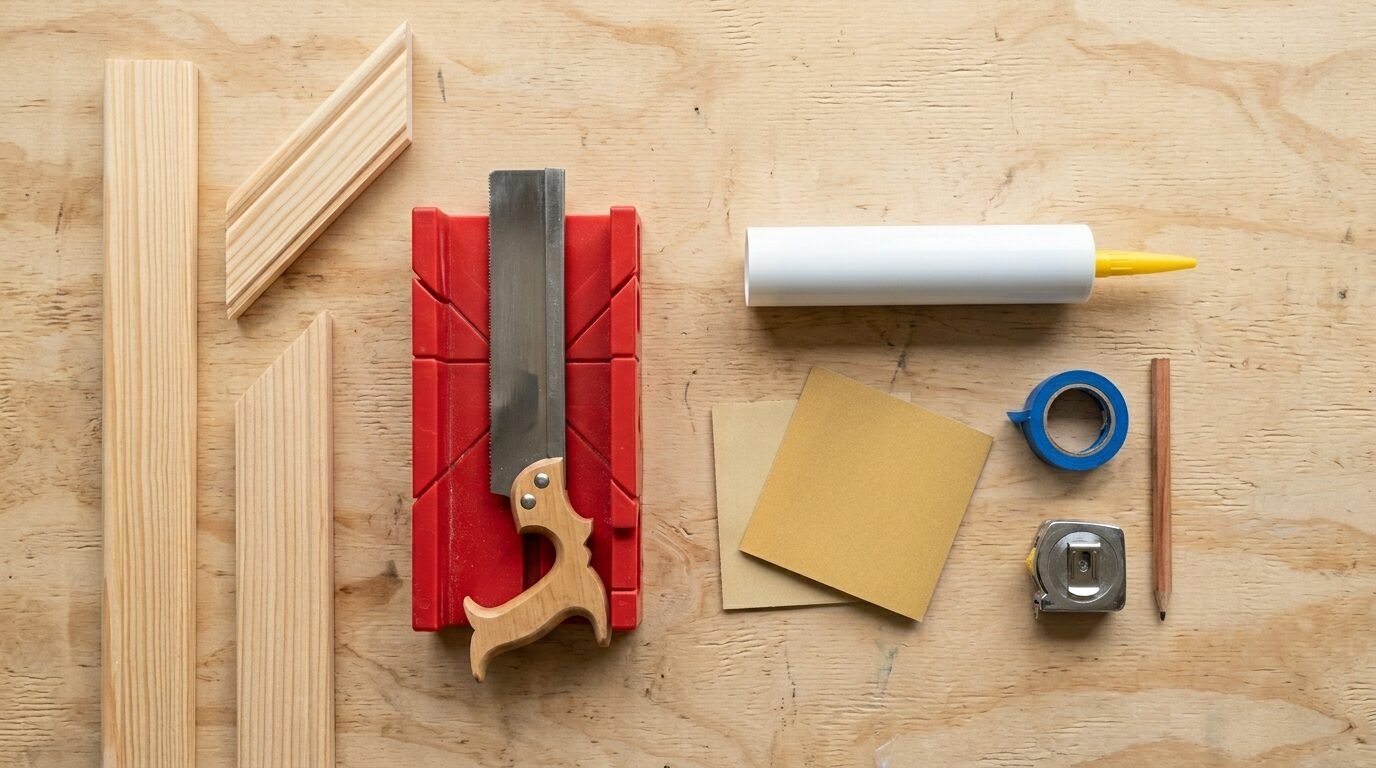
Having the correct supplies ensures a clean finish. I bought these items at a local supply store last month.
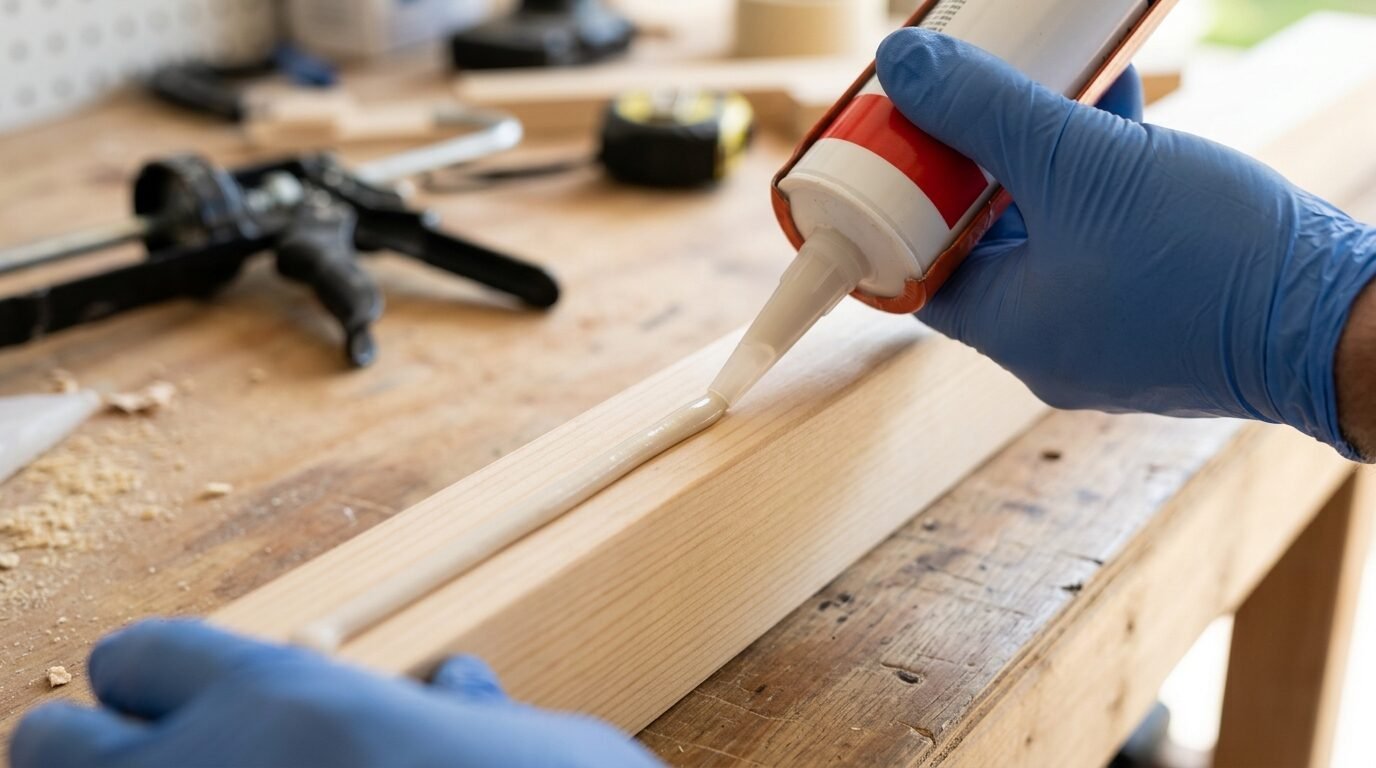
- Liquid Nails Mirror Adhesive costing six dollars
- Miter box and hand saw costing fifteen dollars
- Wood molding trim pieces costing twelve dollars
- Air dry modeling clay costing eight dollars
- Fine grit sandpaper costing four dollars
- Painter tape costing five dollars
- Matte black paint primer costing nine dollars
Ensure your adhesive specifically states it is mirror safe. Standard glues contain chemicals that destroy silver backing.
Seven Creative Ideas for Your Wall Border
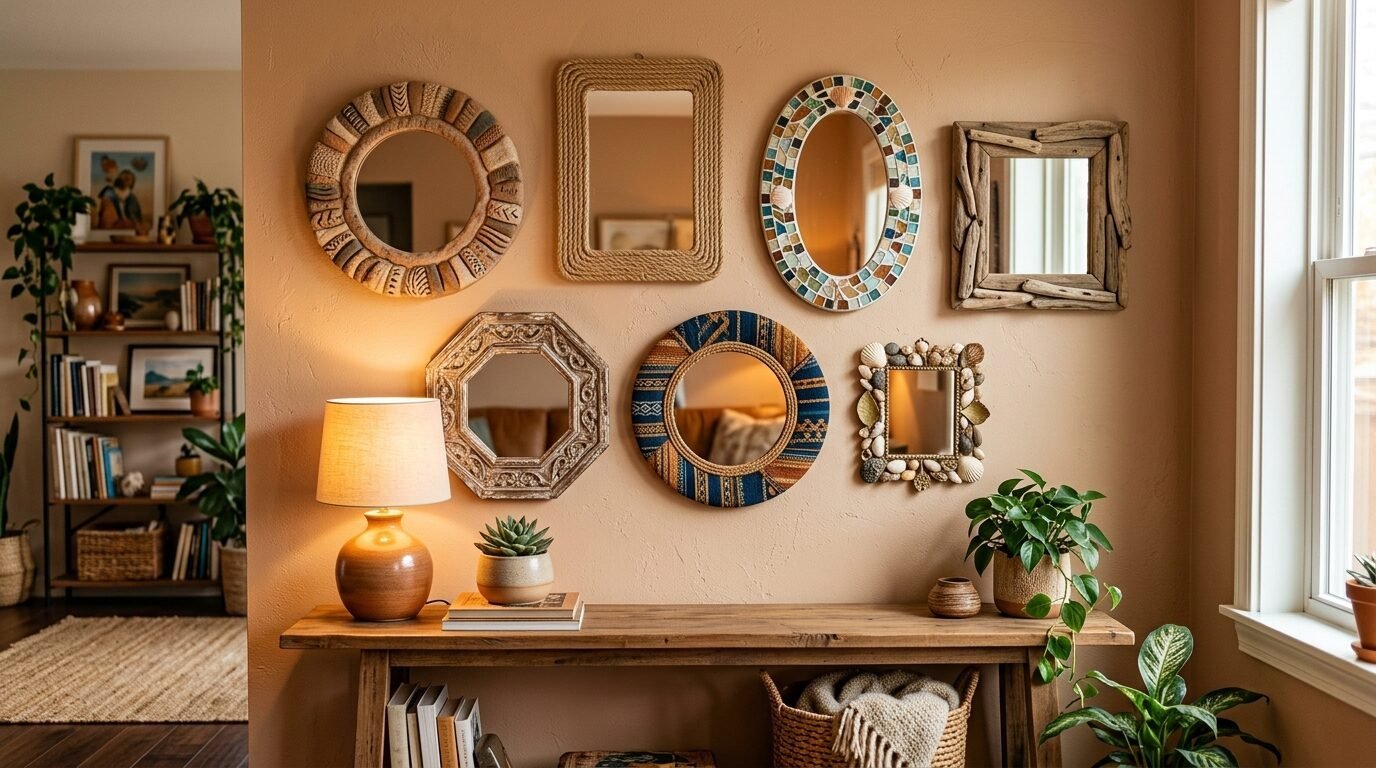
These choices work perfectly for Mirror Diy Ideas. They provide excellent options for Small Mirror Decorating Ideas.
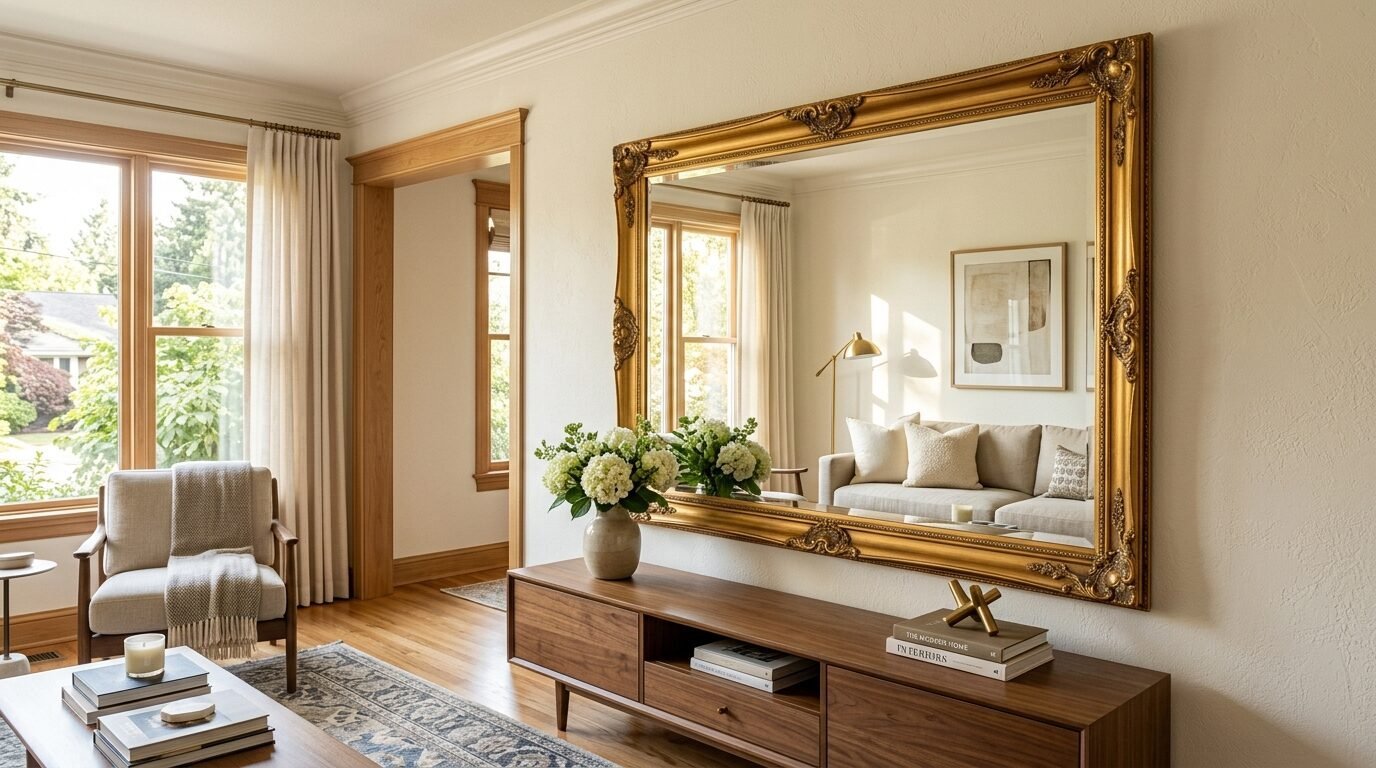
1. Traditional Wood Molding Style
Classic wood trim offers a clean look. Cut four pieces of trim at forty-five degree angles using your miter box. Sand the rough edges until smooth. Apply mirror-safe adhesive directly to the back of the wood. Press the pieces firmly against the glass edge. Secure the corners with painter tape while the glue cures for twenty-four hours. This style matches traditional home styling.
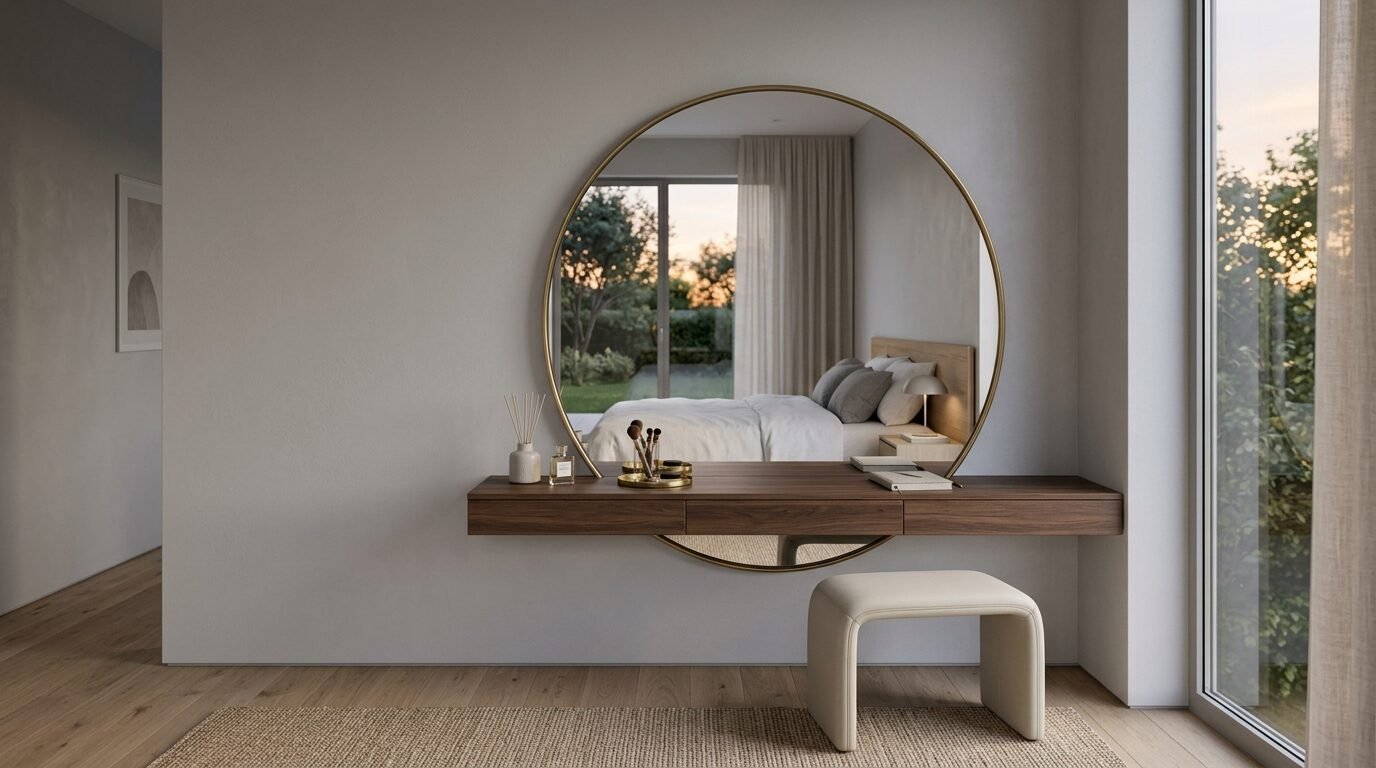
2. Aesthetic Mirror Diy Clay Details
Use air-dry clay to make custom shapes. This works wonderfully for Mirror Clay Ideas. Roll clay into long ropes or small spheres. Press them along the border of a frameless mirror sheet. I tried this on a round vanity glass last September. The scalloped edges gave it a vintage European look. Let the clay dry completely for forty-eight hours before applying a coat of chalk paint.
3. Modern Minimalist Metal Trim
Thin aluminum channels provide an industrial look. Buy silver or black metal channels from the hardware store. Cut them to match the exact dimensions of your mirror side. Slide the channels onto the glass edges using clear silicone sealant inside the groove. This fits minimalist rooms perfectly. It takes less than thirty minutes to finish.
4. Vintage Corner Ornamentation
Look for plastic or resin furniture appliques online. Glue these decorative pieces to the four corners of your glass. Paint the entire frame with gold metallic spray paint. Sand the high spots lightly to reveal dark undertones. This gives the appearance of an expensive antique find.
5. Foam Cloud Border Style
Spray expanding insulation foam around the perimeter of a cheap mirror. Let the foam expand and harden for three hours. Shape the hardened foam with a utility knife if needed. Paint the surface white or pastel pink. This playful look fits teenage rooms or fun dressing areas.
6. Mosaic Tile Trim
Buy a sheet of glass mosaic tiles from a flooring store. Cut the mesh backing into strips two tiles wide. Glue these strips directly onto the front perimeter of the mirror. Grout the joints with white premixed grout. Wipe the excess film off the glass with a damp sponge.
7. Nautical Rope Border
Thick sisal rope makes great rustic trim. Wrap three rows of rope around the outer edge of the glass. Use hot glue to anchor the rope tightly. Secure the loose ends with twine to prevent fraying. This look fits beach houses or neutral bathrooms.
Comparison of Framing Styles
Here is a breakdown of the different options for your project. This table details expenses and time requirements.
Advantages and Disadvantages of DIY Mirror Framing
Evaluate these details before starting your Mirror Deco selection.
Advantages
- You save hundreds of dollars compared to retail boutique prices.
- You select the exact colors and sizes for your wall space.
- Framing covers old chipped edges on used mirrors.
- Basic hand tools are sufficient for excellent finishes.
Disadvantages
- Miter cuts require extreme precision to avoid corner gaps.
- Incompatible glues ruin the reflective silver coating.
- Heavy wood frames require stud mounting for safety.
Common Mistakes to Avoid
In my experience, small errors ruin the appearance of your final piece. I made these mistakes during my first attempt so you can avoid them.
First, never use standard liquid nails. Regular adhesive eats through the silver reflective backing. It leaves dark black marks on your glass after three weeks. Always purchase glue labeled mirror safe.
Second, avoid painting the frame after assembly. The glass reflection shows the unpainted underside clearly. Paint the inner lip of your frame before gluing it down. This prevents bare wood from showing in the reflection.
Third, failing to use a level causes crooked placement. Small Mirror Decor looks messy if the frame sits out of alignment. Use a spirit tool during wall mounting.
Frequently Asked Questions

What glue is safe for framing a raw mirror?
Use explicit mirror mastic or silicone labeled safe for mirror backing. Standard construction glues contain solvents that destroy the reflective silver layer over time.
Can you frame a mirror already fixed to the wall?
Yes. You can glue lightweight wood trim directly onto the face of a wall-mounted mirror. Use painter tape to secure the pieces while the adhesive cures.
How do you paint a frame without marking the glass?
Place painter tape along the inner edges where the frame meets the glass. Press the tape down firmly with a plastic tool to prevent paint bleeding.
How heavy can a DIY mirror frame be?
Lightweight pine contributes minimal weight. If you use heavy hardwood, attach the frame directly to wall studs using metal hanging brackets rather than relying on glass glue.
Can I use hot glue for permanent frames?
Hot glue works well for lightweight rope or foam designs. It fails over time on heavy wood or metal frames due to temperature shifts.
How do I fix gaps in the mitered corners?
Fill small corner gaps with paintable wood putty. Let it dry for one hour, then sand it smooth before applying your final coat of paint.
Final Thoughts
Framing an inexpensive glass sheet alters the feel of your entire home. You do not need expensive workshop machinery to make beautiful Wall Mirror Ideas. Start with a small vanity glass to practice your cuts. Choose a style that matches your existing furniture colors. With patience and cheap supplies, your plain mirror will look like a premium designer piece.

Anya Castellan is the Founder and Editor-in-Chief of Home Wall Trends. An art history graduate of the Rhode Island School of Design with twelve years of experience writing for leading American design publications, she specializes in composition, gallery wall theory, and the quiet architecture of domestic space. A former contributing editor at Architectural Digest and guest lecturer at Parsons School of Design, Anya personally reads and signs off on every piece before it is published.