Walk into any big box decor store today. You see rows of identical pieces hanging on the walls. They all look exactly the same. The painted letters look flat and lifeless. The fake distressed edges look completely unnatural. You want something much better for your home. You want a piece with real character and charm. I felt the exact same way last fall when decorating my space. I got tired of buying generic store decor that everyone else had. I started making my own pieces entirely from scratch. You can do this exact same thing at home. I will walk you through exactly how I make custom pieces. Your neighbors will think you bought it from a high-end boutique. Making a diy sign board is easier than you think.
We will cover everything you need for this weekend project. You will pick the right materials directly from the lumberyard. You will find out specific painting tricks for real authentic texture. You will see how to weather the piece perfectly. We will review the exact supplies I use in my own garage. You can finish this whole project in one single weekend. Your front porch will look completely different by Monday morning. I will share all my personal mistakes so you avoid them entirely. You will have a beautiful new piece by tomorrow afternoon.
What Makes Store Bought Signs Look Cheap
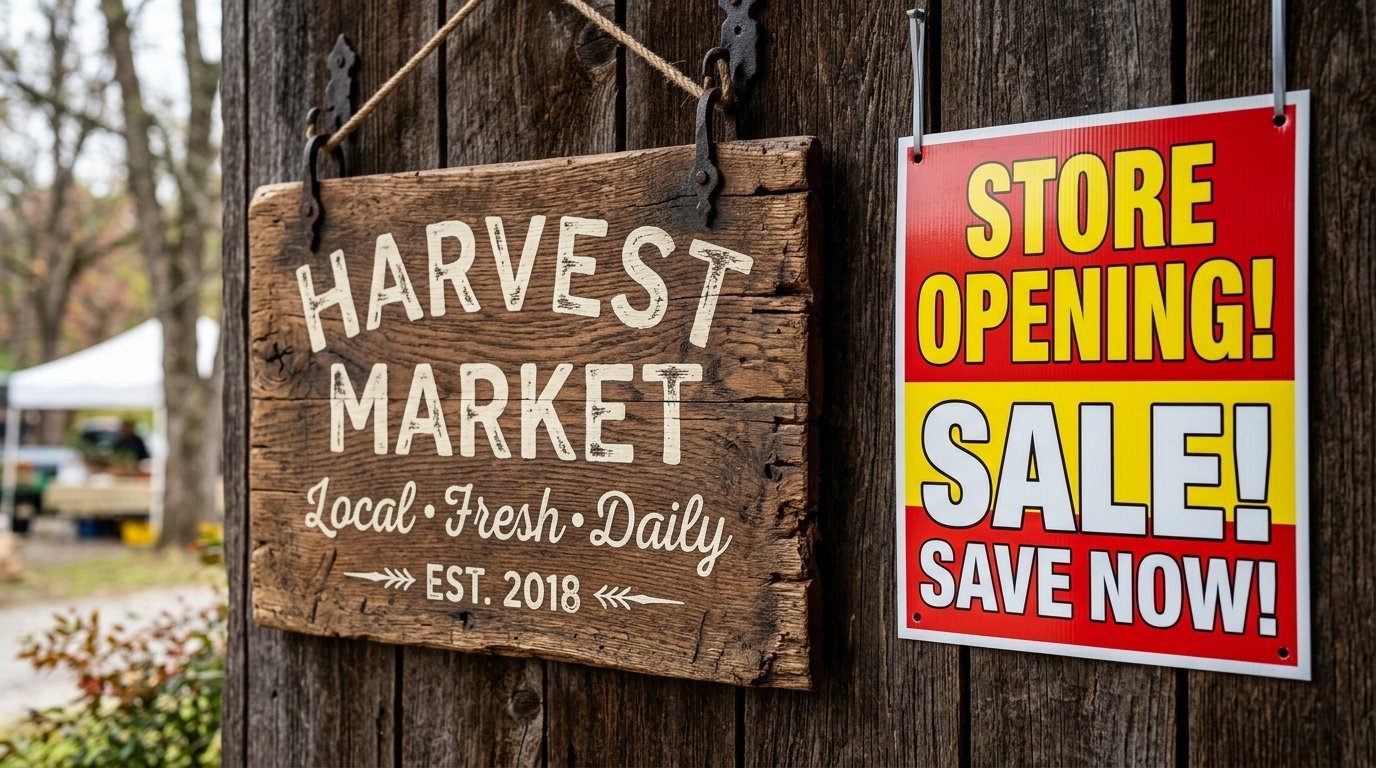
A cheap piece screams factory made from a mile away. The letters sit on top of the base like plastic stickers. The base material feels like lightweight cardboard. Authentic pieces have real heavy texture. You can see the natural grain running through the boards. The paint sinks right down into the porous surface.
In my experience, vinyl lettering is the biggest mistake beginners make. People slap shiny stickers over flat matte paint. The sunlight hits the plastic finish totally wrong. It ruins the whole rustic vibe instantly. We will skip the vinyl stickers entirely for this project. We want the paint to look naturally aged and faded. We want the piece to look like it has lived outside for years.
Selecting The Best Canvas For Your Artwork
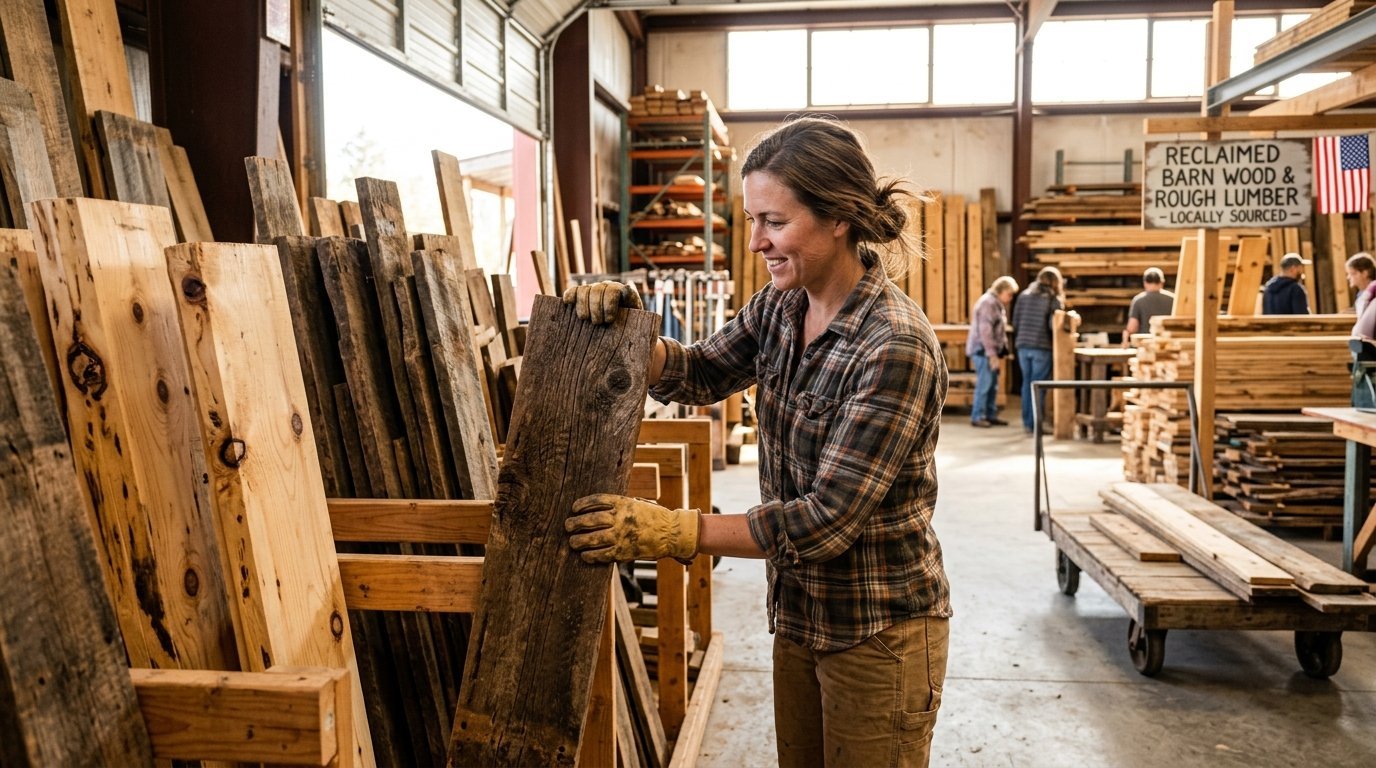
Your diy sign board needs a very solid base to survive. Do not buy cheap particleboard or thin craft wood. They warp quickly when exposed to morning humidity. Go straight to the contractor lumber aisle at your local hardware store.
Pine is cheap and very easy to find anywhere. Oak is much heavier and has beautiful deep grain patterns. Reclaimed barn wood is the absolute best choice for authenticity. I go to local salvage yards for the really good stuff. The natural knots give your project instant history and charm. A thick base makes the whole piece feel expensive. I have noticed that a one inch thick board looks the best.
Essential Tools And Supplies
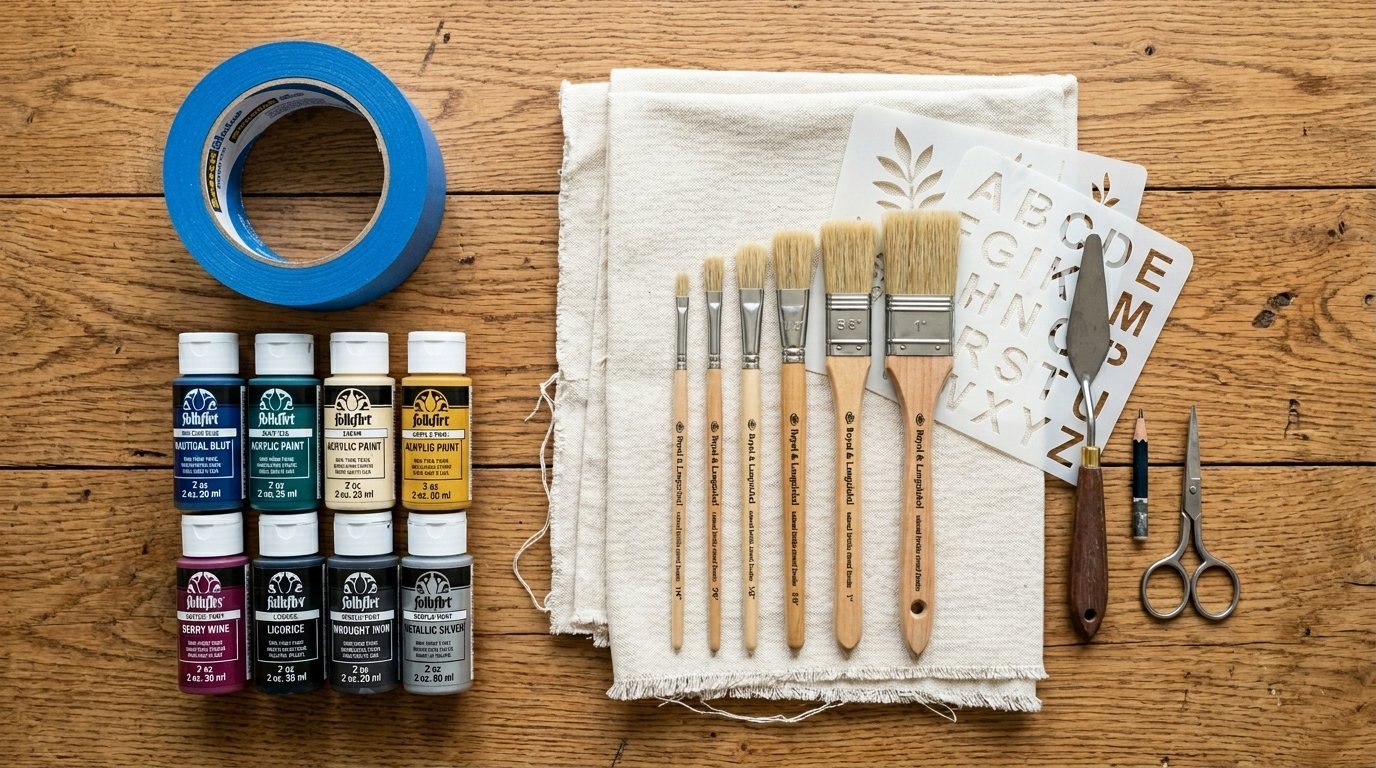
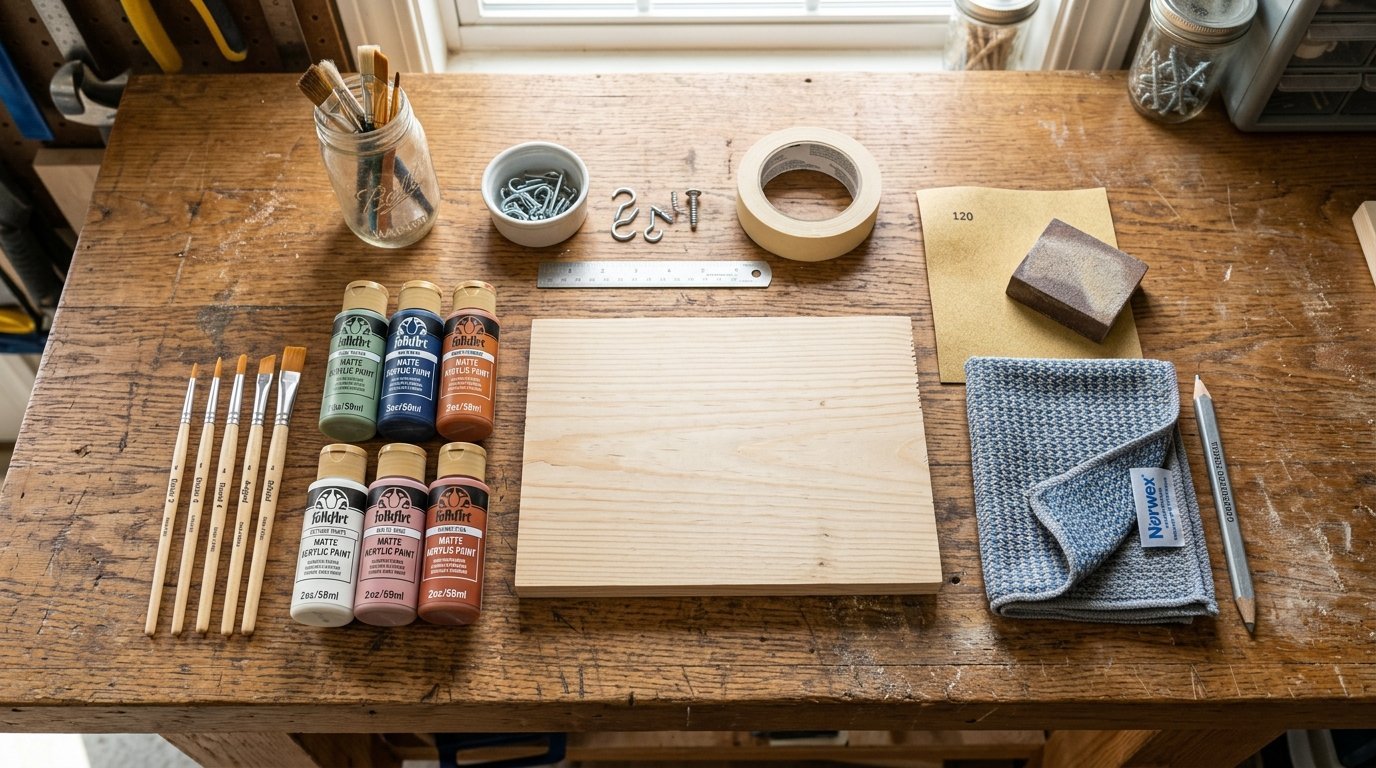
You need specific items before starting this craft. I keep all of these stacked in my workshop. Having everything ready makes the whole afternoon fun and relaxing.
- Solid pine board cut to size
- Sandpaper in different grit sizes
- Heavy duty Norwex cloth
- Isopropyl alcohol for deep cleaning
- Matte finish acrylic craft paints
- High quality stencil brushes
- Blue painters tape
- Heavy duty 3M Command strips for mounting
- Clear matte polyurethane spray sealer
- Small detail paint brushes
I never skimp on the brushes. Cheap brushes leave tiny loose hairs stuck in your wet paint.
Prepping The Surface Like A Professional
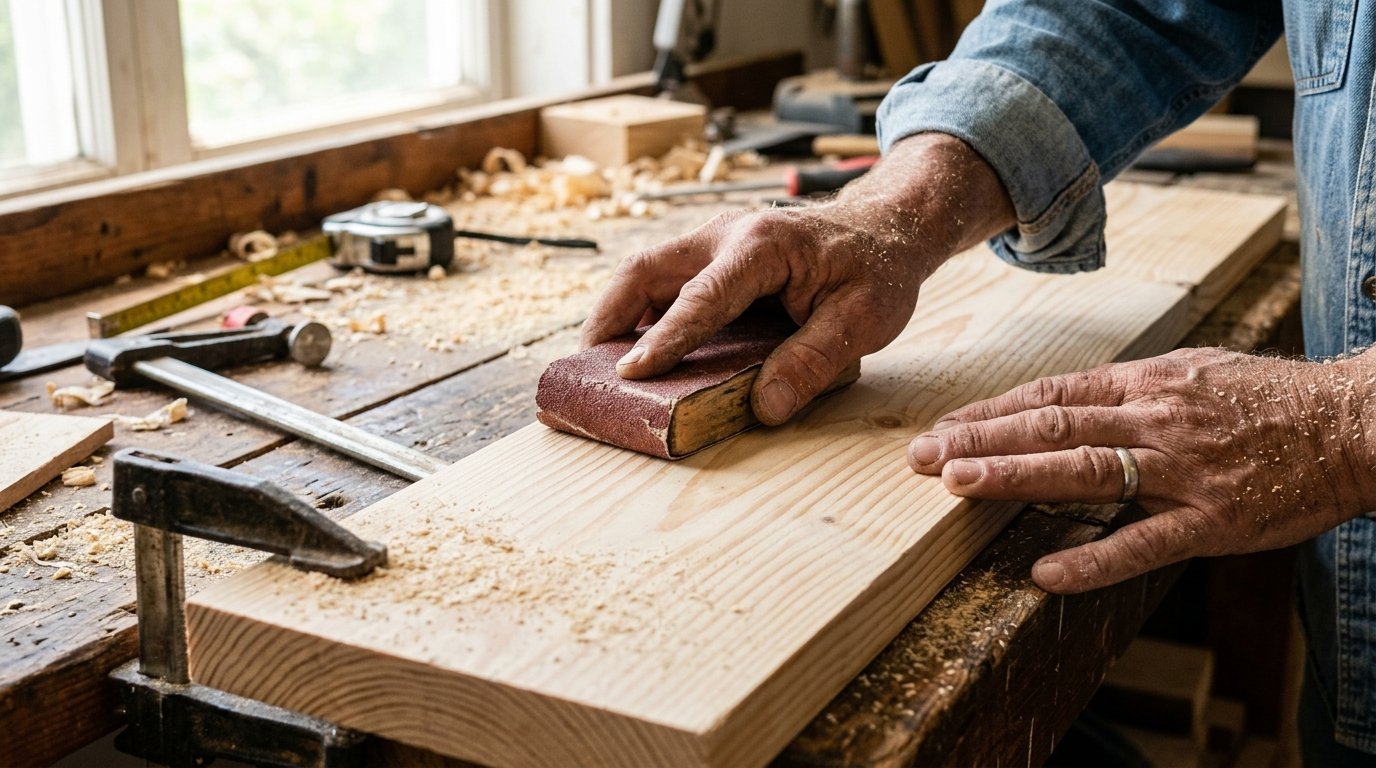
You have your raw lumber ready on your workbench. Now you must prep it thoroughly before opening any paint. Sand the whole piece with heavy sandpaper first. Go with the natural grain to avoid deep scratches. Wipe away all the fine dust entirely.
I use a damp Norwex cloth for this exact step. It grabs every single particle off the surface. Next, I wipe the surface with a bit of isopropyl alcohol. It dries fast and removes any hidden oily residue completely. This step makes the paint stick perfectly. Do not skip this part at all. A clean canvas changes everything.
Planning Your Typography And Spacing
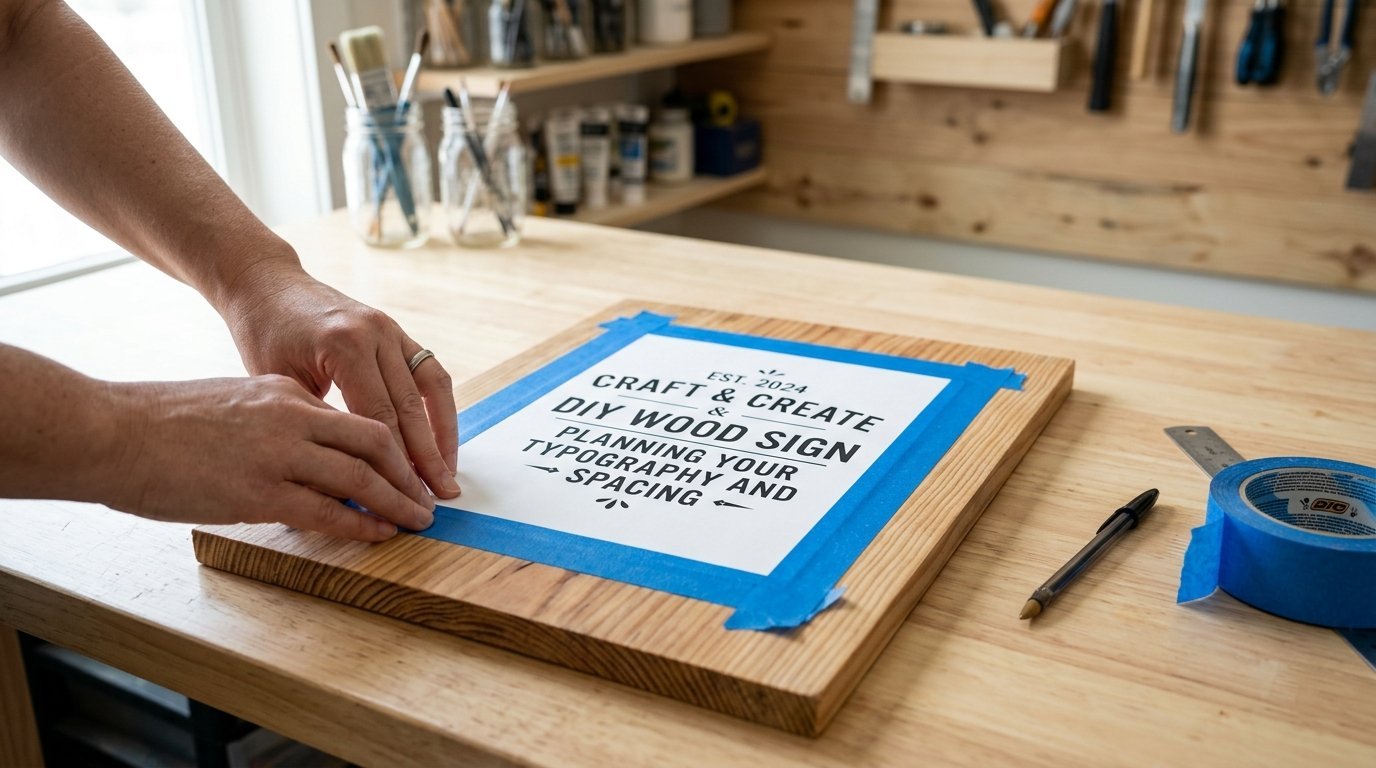
You need a clear design plan before touching a brush. A simple clean font usually works best for outdoor viewing. Looping script fonts can look too messy from the street. Block letters read clearly from a long distance.
Print your design on regular printer paper first. Tape the paper tightly over your board using blue tape. Trace the letters hard with a cheap ballpoint pen. This presses a very faint groove directly into the soft wood. You just follow that grooved line with your small paintbrush. It feels much easier than freehand painting from scratch. I do this on every single board diy ideas I try.
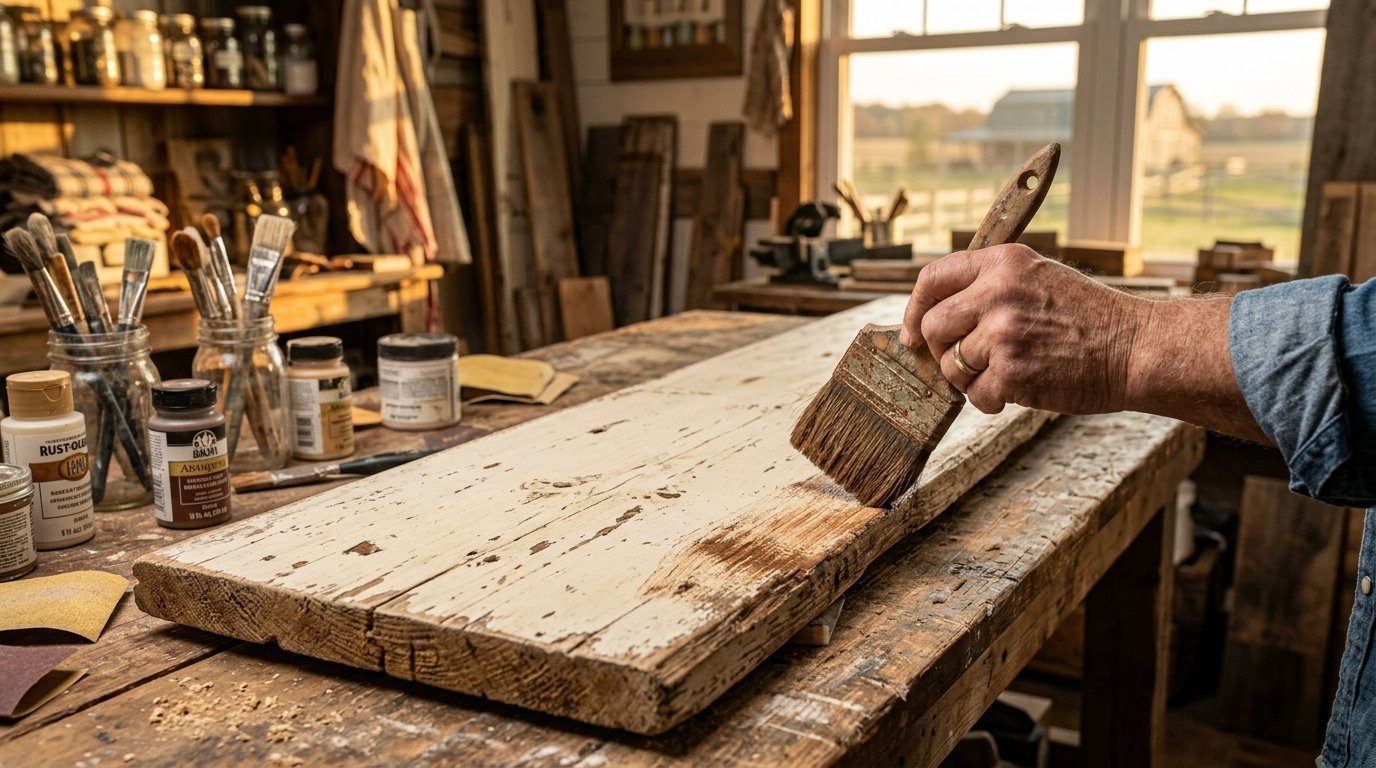
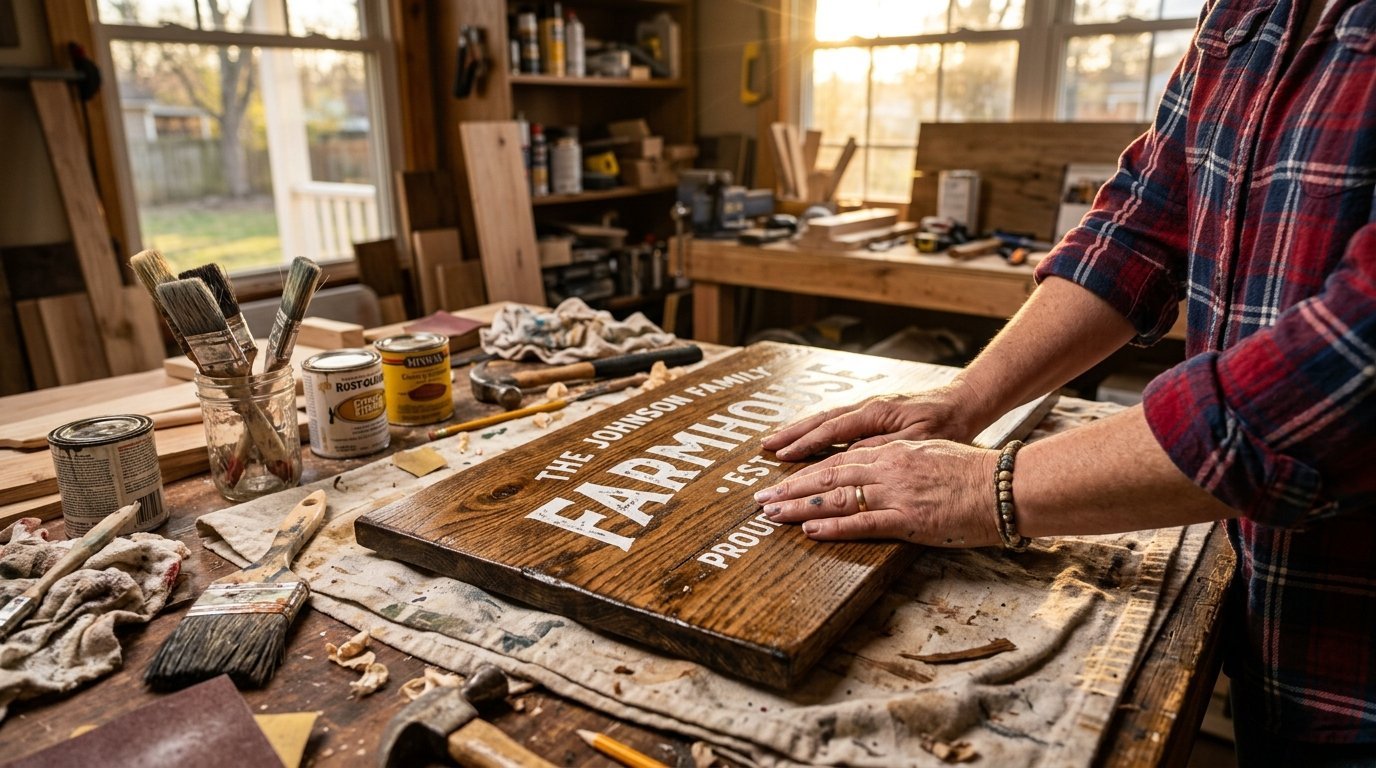
Applying The Base Color For Maximum Texture
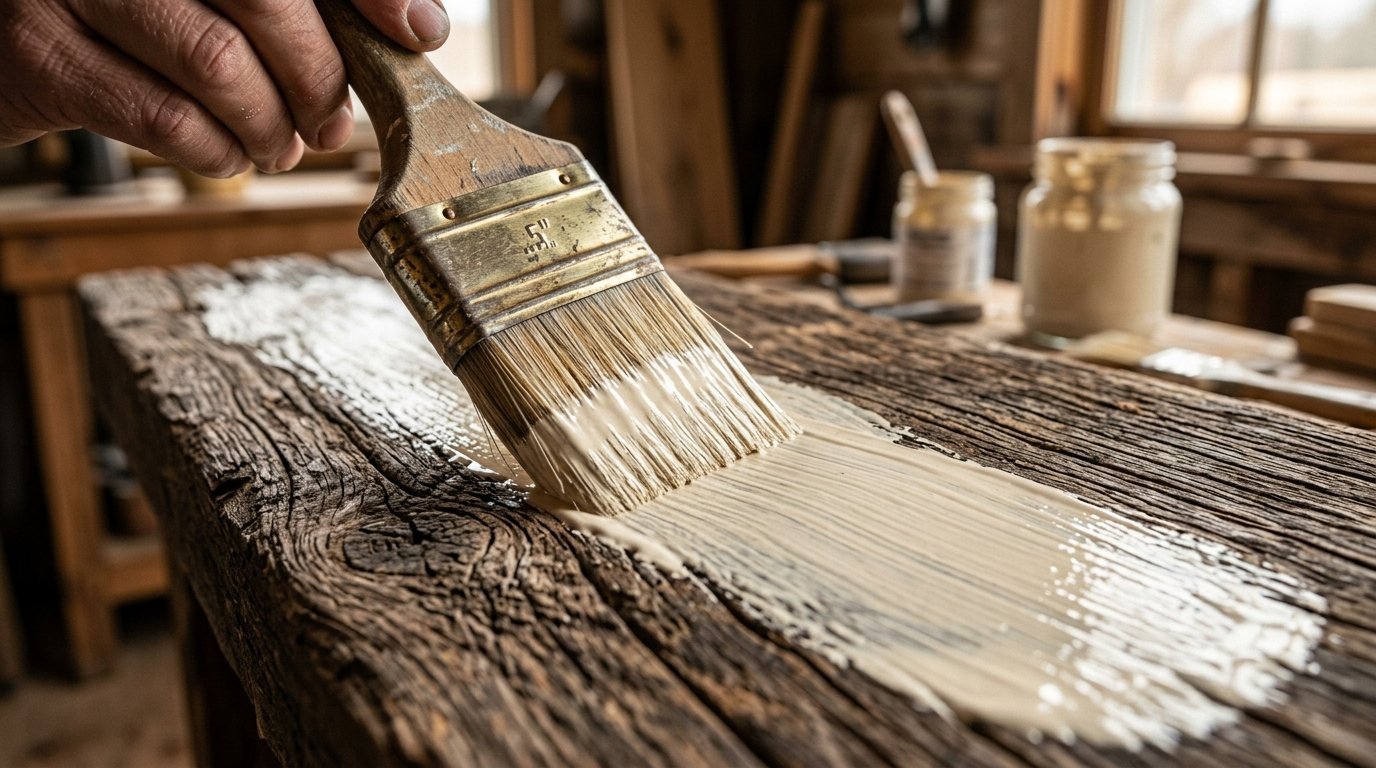
Your diy wooden sign needs a rich background color first. I love using flat white or soft cream for farmhouse styles. Apply the first coat very lightly with a wide brush. Let the natural grain peek through the thin paint.
Do not paint a thick solid layer over the whole board. You want the texture to show off loudly. I have tried using thick rollers in the past. It made the wood look exactly like cheap plastic. Use a brush and apply it thinly. Let it dry for two full hours in the sun.
Painting The Letters Perfectly
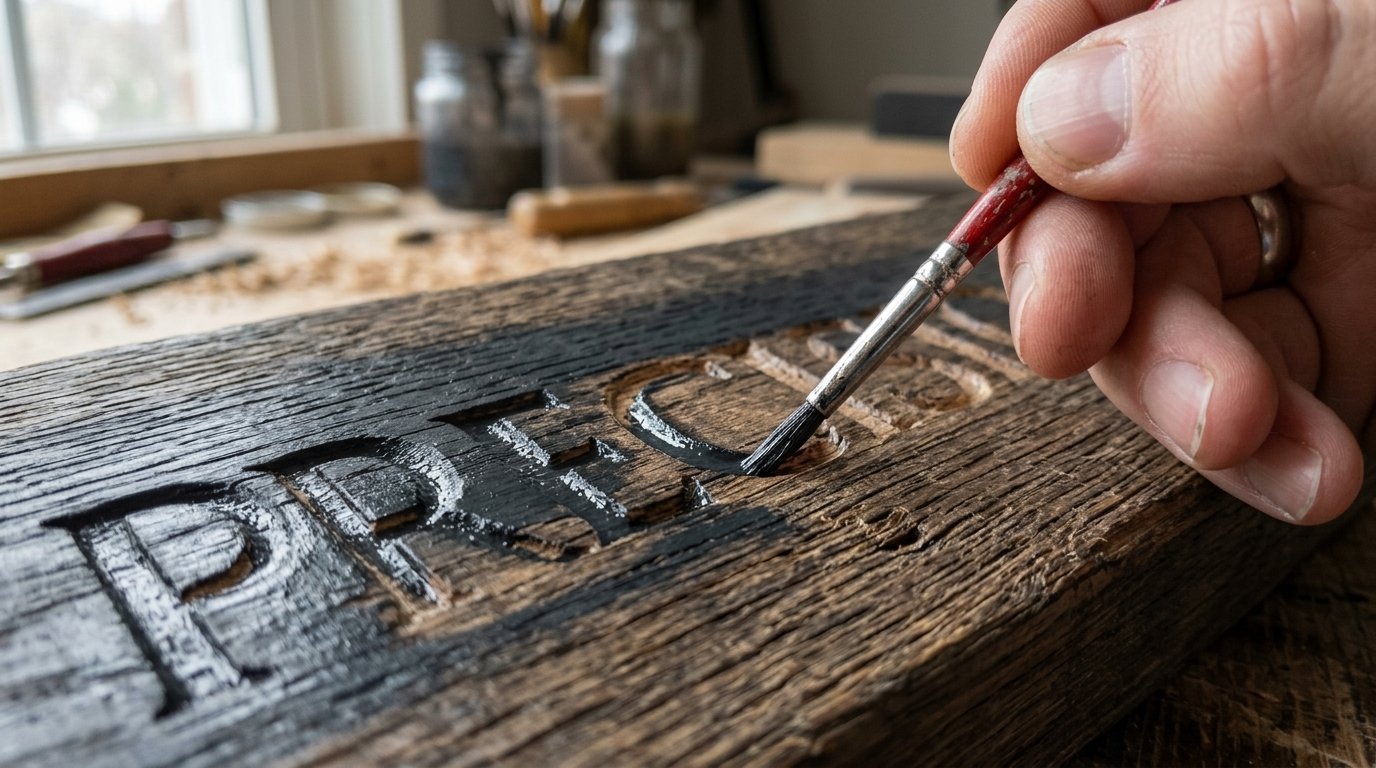
Now you fill in the grooved letters you traced earlier. Use a very small detail brush for this step. Dip just the very tip into your dark paint. Black or dark charcoal works beautifully against a cream background.
Fill the letters slowly and carefully. Do not rush this part of the project. If you make a tiny mistake, just let it dry completely. You can paint over the mistake with your background color later. I have noticed that slight imperfections actually make it look handmade. Perfection makes it look factory made.
Advanced Aging And Distressing Techniques
Your diy wood decorations need character to look truly farmhouse style. You want it to look fifty years old. Use a dry brushing trick for this next part.
Dip the very tip of a dry brush into brown paint. Wipe almost all of it off on a paper towel. Lightly sweep the dry brush over your board edges. The color catches only the raised wood grain perfectly. It leaves the lower flat spots clean. I do this on almost every piece I make. You can also rub sandpaper over the painted corners. This exposes the raw wood underneath for a chipped look.
Protecting Your Artwork From Outdoor Weather
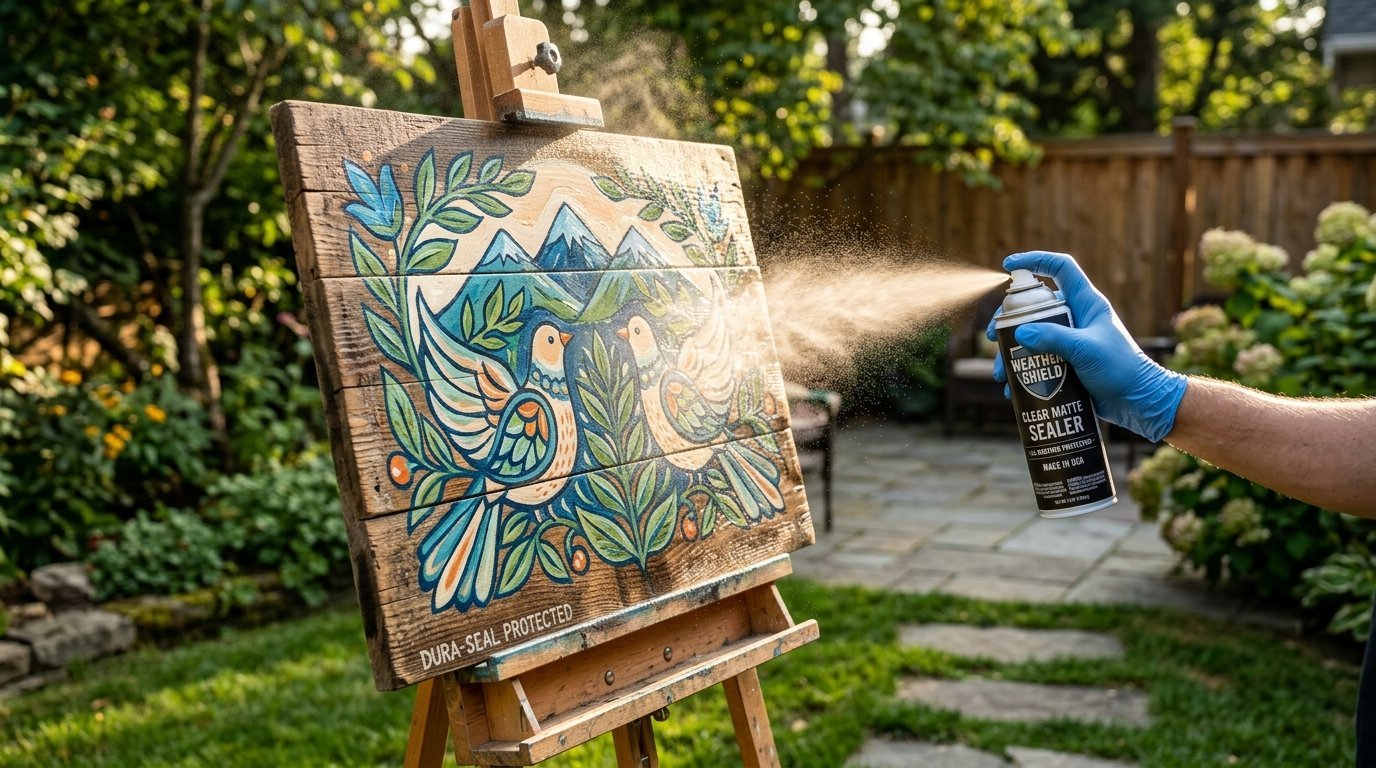
Most front porch decoration ideas live outside in the elements. The hot sun and heavy rain will ruin raw craft paint. You must seal the whole piece before putting it outside.
I spray a flat matte polyurethane over the completely dry paint. I apply three very thin even coats outside. Let each individual coat dry completely before adding the next one. This stops the paint from peeling and fading over time. Your piece will survive freezing winters and hot summer afternoons. Glossy sealers look fake, so always pick the flat matte finish.
Finding The Perfect Display Spot
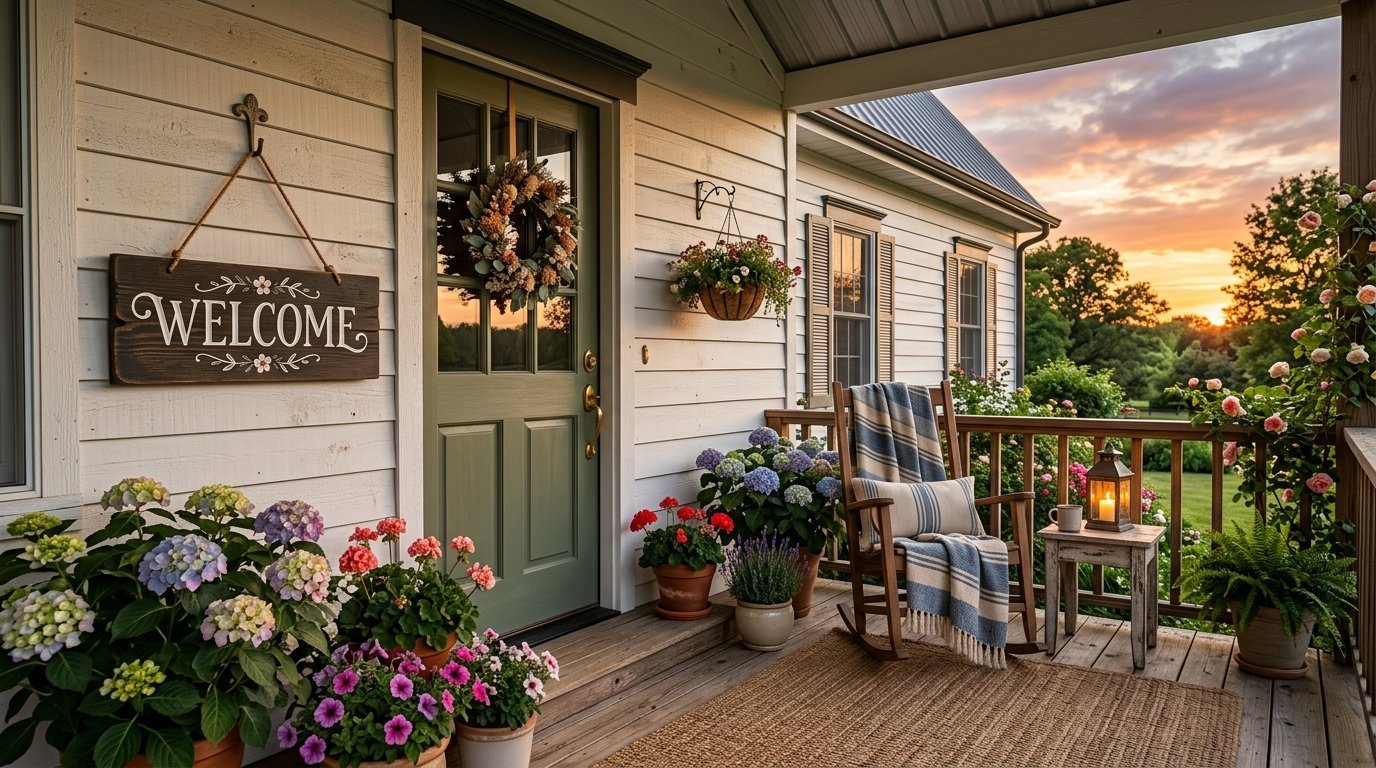
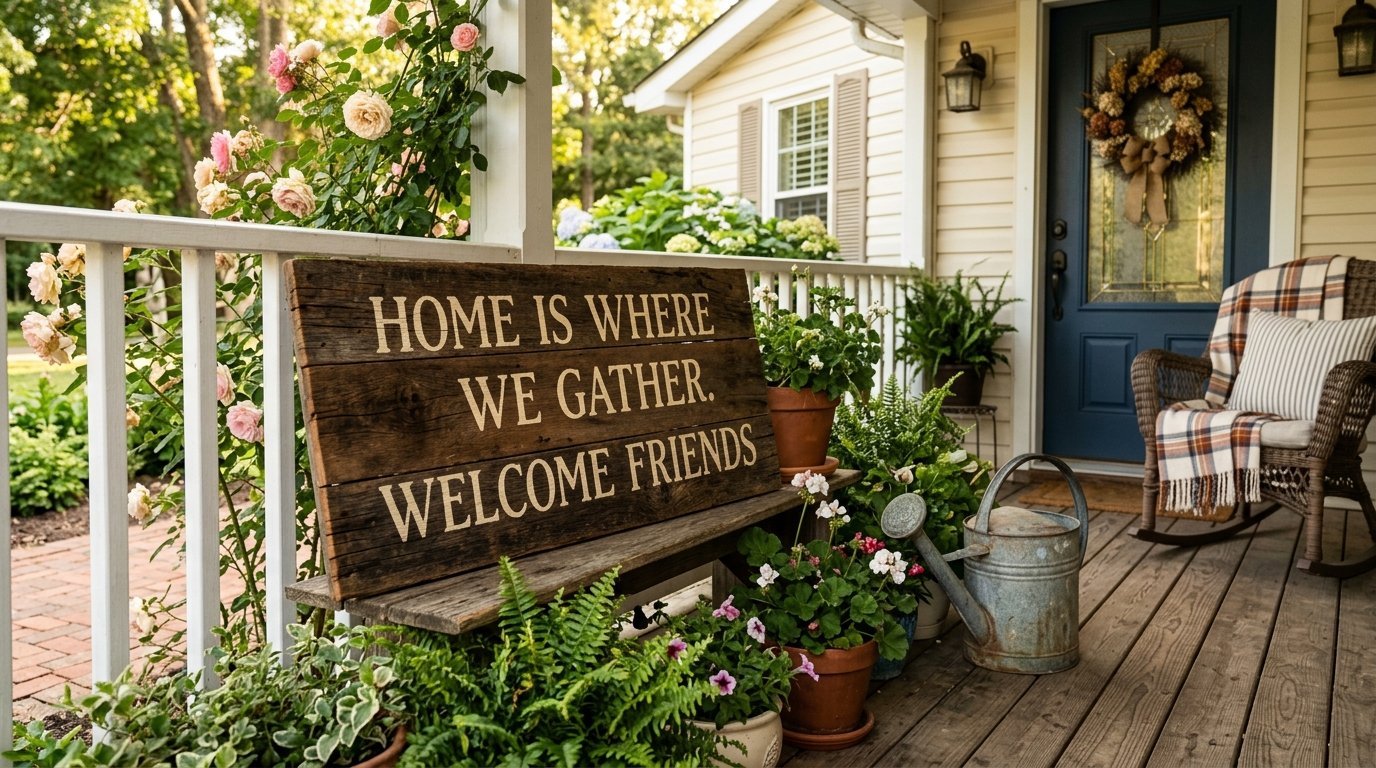
You finished the painting and sealing steps. Now you need to hang it up outside. A big welcome message makes a house feel like a cozy home.
For hanging on a protected wall, I rely on 3M Command strips. They hold tight and leave zero holes in your siding. If your spot gets direct harsh rain, use heavy metal hardware. Attach stainless steel rings on the back of the board. Mount them right into the solid wall studs with thick screws.
Comparing Popular Finish Options
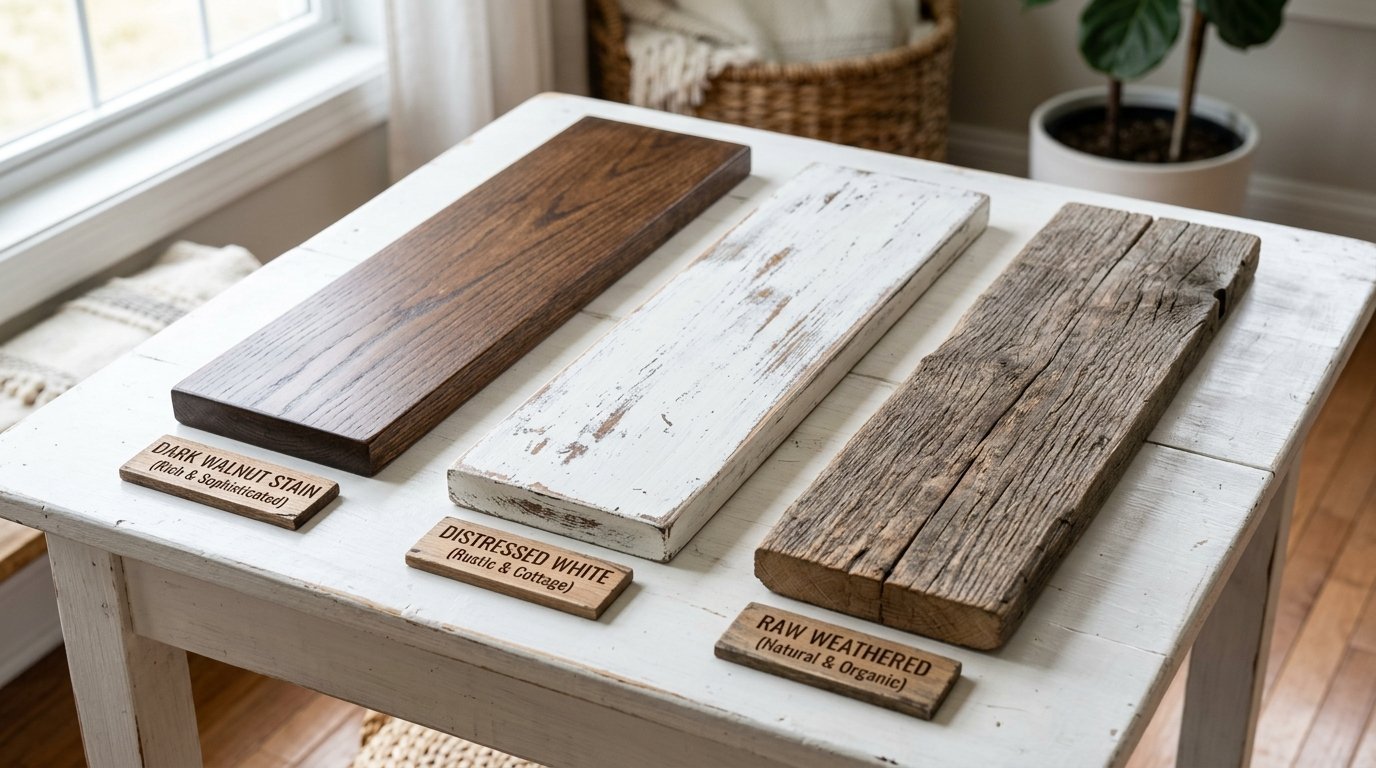
You have many board diy ideas to pick from. Let us look at the top three finishes you can try.
| Finish Style | Visual Look | Best Location |
| Dark Walnut Stain | Classic and very rich | Deep covered porch |
| Distressed White | Beachy and bright | Sunny open garden |
| Raw Weathered | Natural and old | Farmhouse driveway gate |
I lean toward the dark walnut stain for my own house. It hides dirt perfectly and looks incredibly expensive from the street. You can pick whatever fits your specific house colors best.
Incorporating Mirrors For A Custom Look
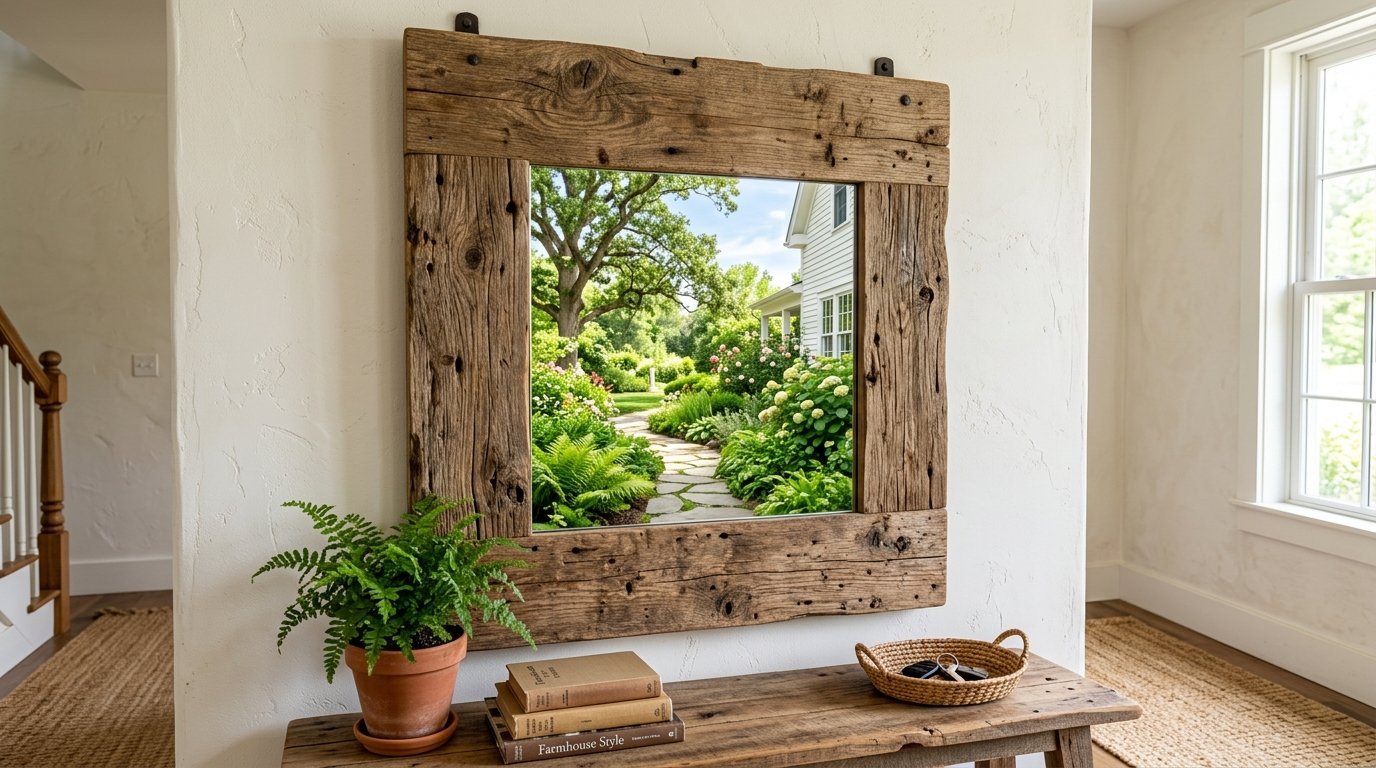
You can make your piece stand out even more. I love adding small framed mirrors to the center of large boards. It bounces beautiful sunlight around a dark shaded porch.
If you do this, you must keep the glass totally clean. I use Sprayway cleaner and a fresh microfiber cloth weekly. Spray it directly onto the cloth, not onto the mirror itself. Wipe in a strict S pattern from top to bottom. This stops moisture from sneaking behind the glass edges. Trapped moisture causes nasty black silver rot over time.
Cleaning And Maintaining Your Finished Piece
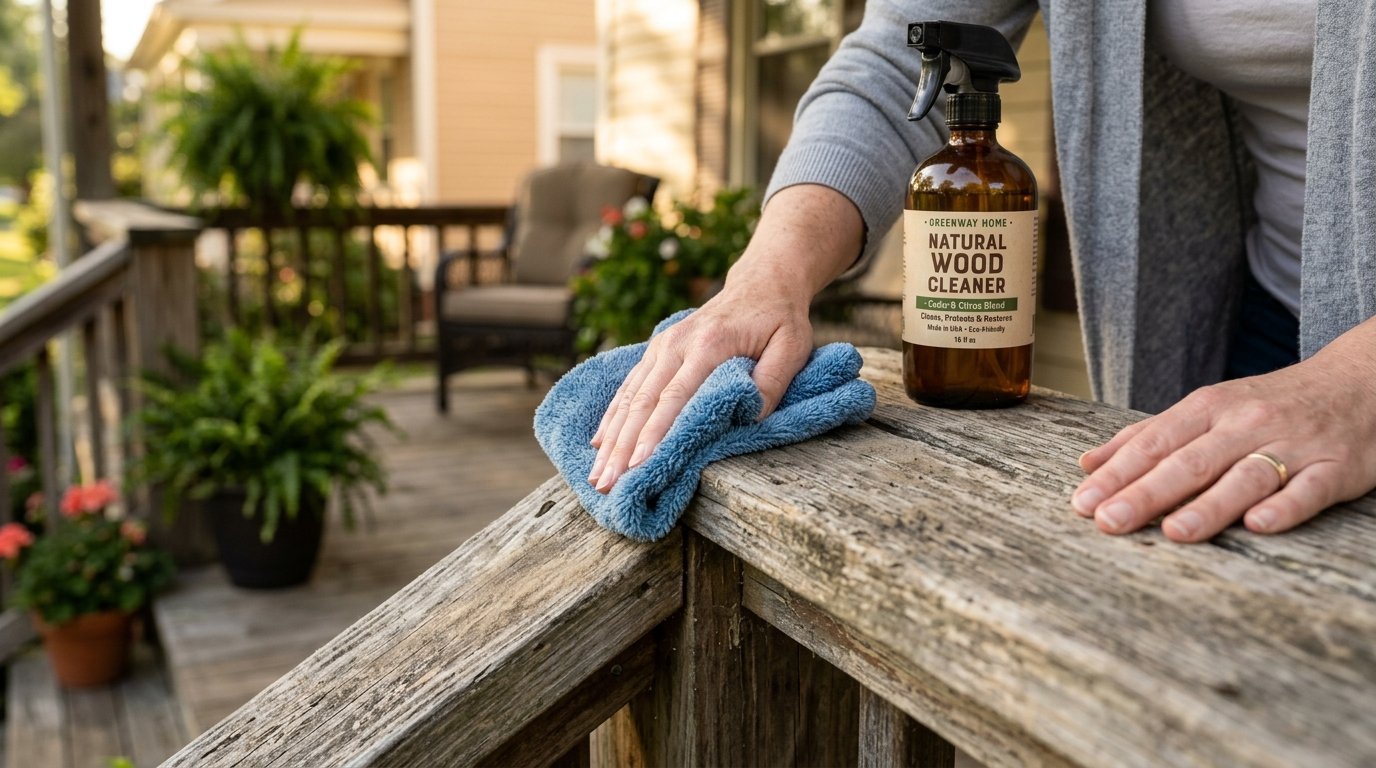
Your beautiful new piece needs a little care over the years. Dust and pollen will collect on the top edges eventually.
Take a dry cloth and wipe the top frame every month. If birds or bugs leave a mess, use a gentle cleaner. I really like using Method wood cleaner for this quick job. It smells great and never strips the protective matte sealer away. Never use harsh bleach on your custom painted pieces. It will eat right through the clear coat instantly.
Creating Pieces For Different Seasons
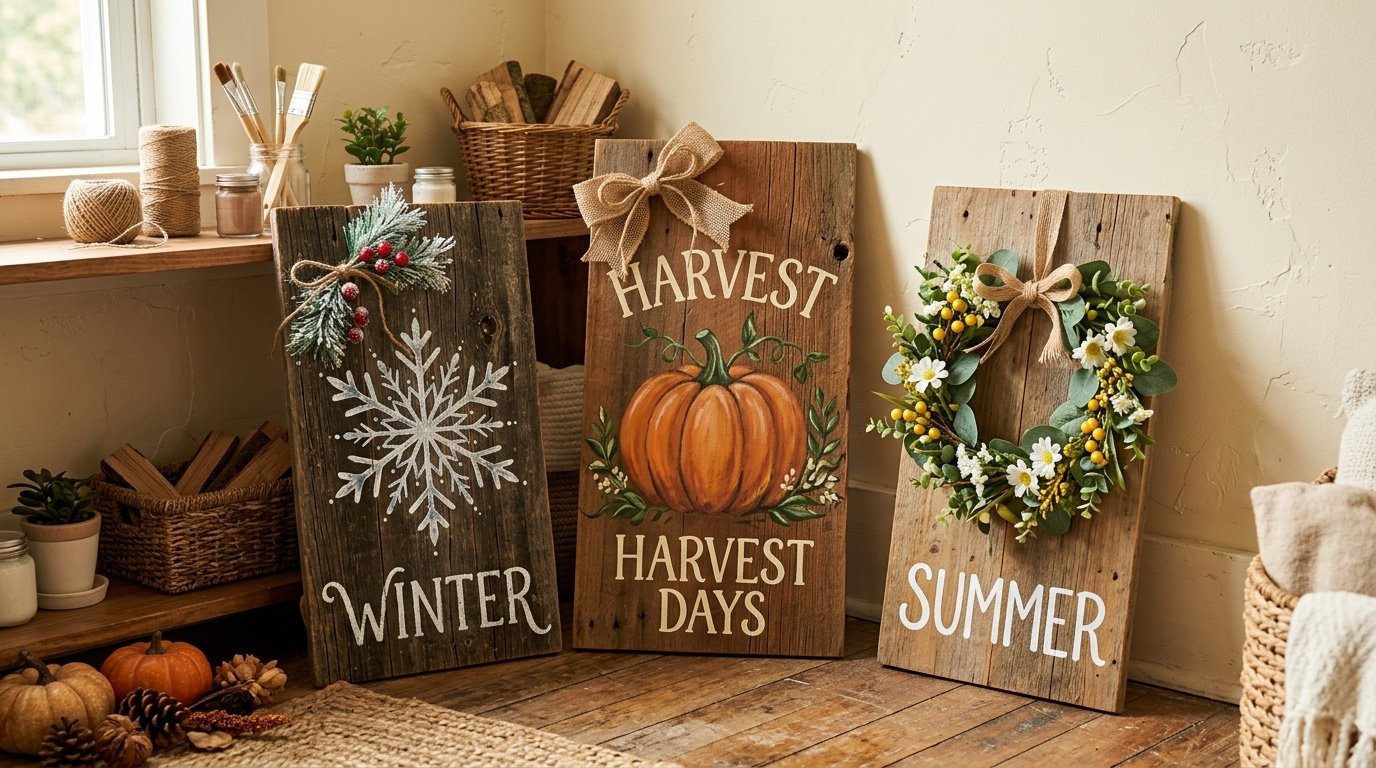
You do not have to stick to just one single piece. I love swapping my porch decor out every few months.
You can paint pumpkins on a board for the crisp fall weather. You can paint snowflakes for the deep winter months. The steps are exactly the same for every single season. You just swap the paint colors and the traced design. My neighbors love seeing what new piece I put out next. It keeps the front of your house looking incredibly fresh.
Turning Your New Hobby Into A Side Business
Many people start asking for custom pieces once they see yours. I had three different neighbors ask me to make them one.
You can easily sell these at local weekend craft fairs. A customized piece sells for a very good price. Keep your supply costs low by buying lumber in bulk. Use the exact same painting tricks I showed you here. People love buying things that look completely handmade and totally authentic.
Frequently Asked Questions
What is the best paint for outdoor lettering?
Exterior grade acrylic craft paint lasts the absolute longest. It grips the raw textured material tightly. It resists fading in the bright hot afternoon sun.
Can I use a craft cutting machine for my letters?
You can use it to cut a sticky vinyl stencil. Just do not leave the shiny vinyl on the finished board. Paint directly over the stencil hole and peel it off wet.
How To Make A Welcome Sign without the paint bleeding?
Paint a very thin layer of Mod Podge over your stencil first. Let it dry completely. Then apply your dark color over it. The clear coat perfectly blocks the dark color from seeping under.
How do I fix a spelling mistake on the board?
Do not panic at all. Let the dark paint dry for a full hour. Sand the mistake lightly until it sits totally flat. Paint your white background color right over it and try again.
Should I paint the back of the board too?
Yes, always paint or seal the back of the board. Raw wood absorbs moisture from the humid air. Sealing the back stops the board from warping and bending.
Project Conclusion
You have all the steps you need right now. You know exactly what raw materials to buy at the store. You know how to prep the rough surface properly. You know how to trace the letters and paint them cleanly. Your front door will look amazing this weekend. Go grab some thick pine wood and start painting today. You will love making things entirely with your own two hands.
Strictly follow the drying times I mentioned for the best results. Rushing the paint job ruins the final vintage look completely. Take your time and enjoy sitting in your garage working. Your house will feel much more like a home very soon.

Anya Castellan is the Founder and Editor-in-Chief of Home Wall Trends. An art history graduate of the Rhode Island School of Design with twelve years of experience writing for leading American design publications, she specializes in composition, gallery wall theory, and the quiet architecture of domestic space. A former contributing editor at Architectural Digest and guest lecturer at Parsons School of Design, Anya personally reads and signs off on every piece before it is published.