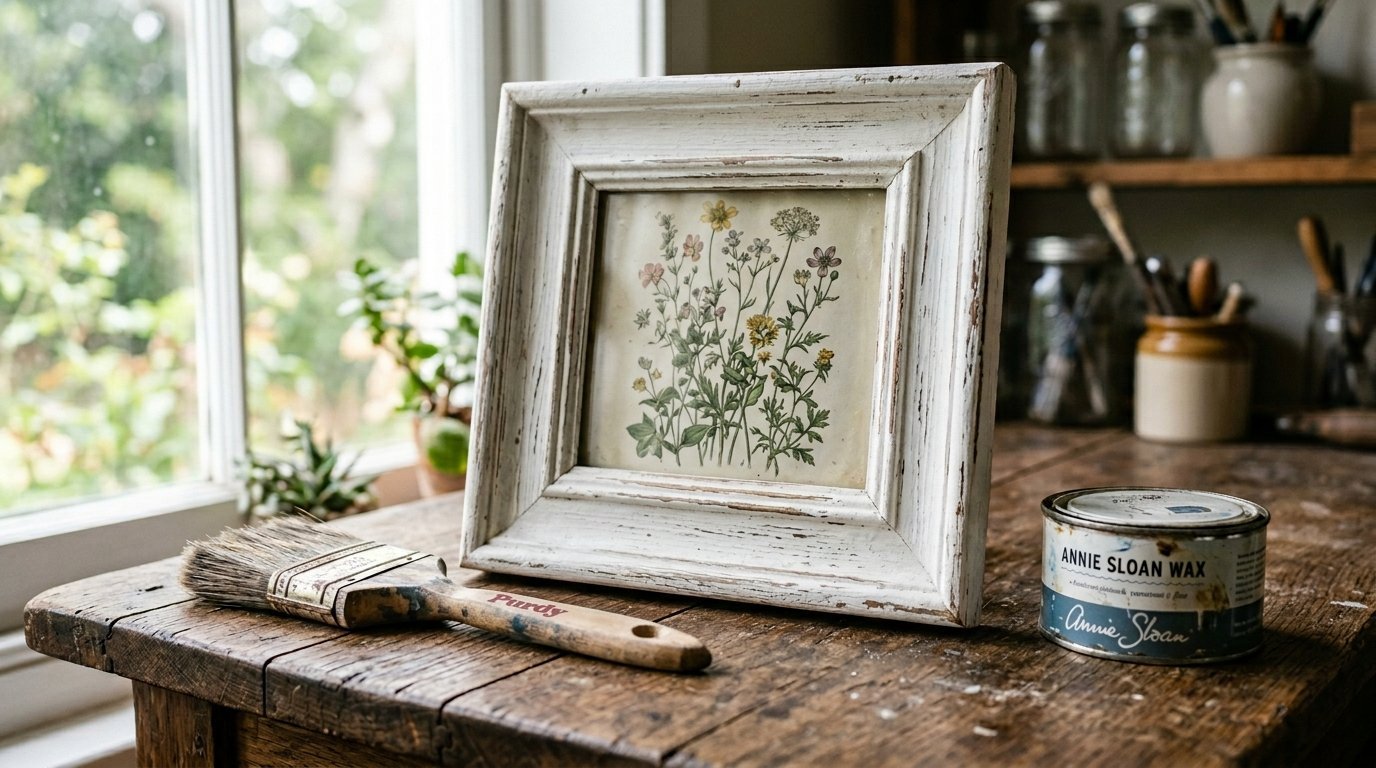
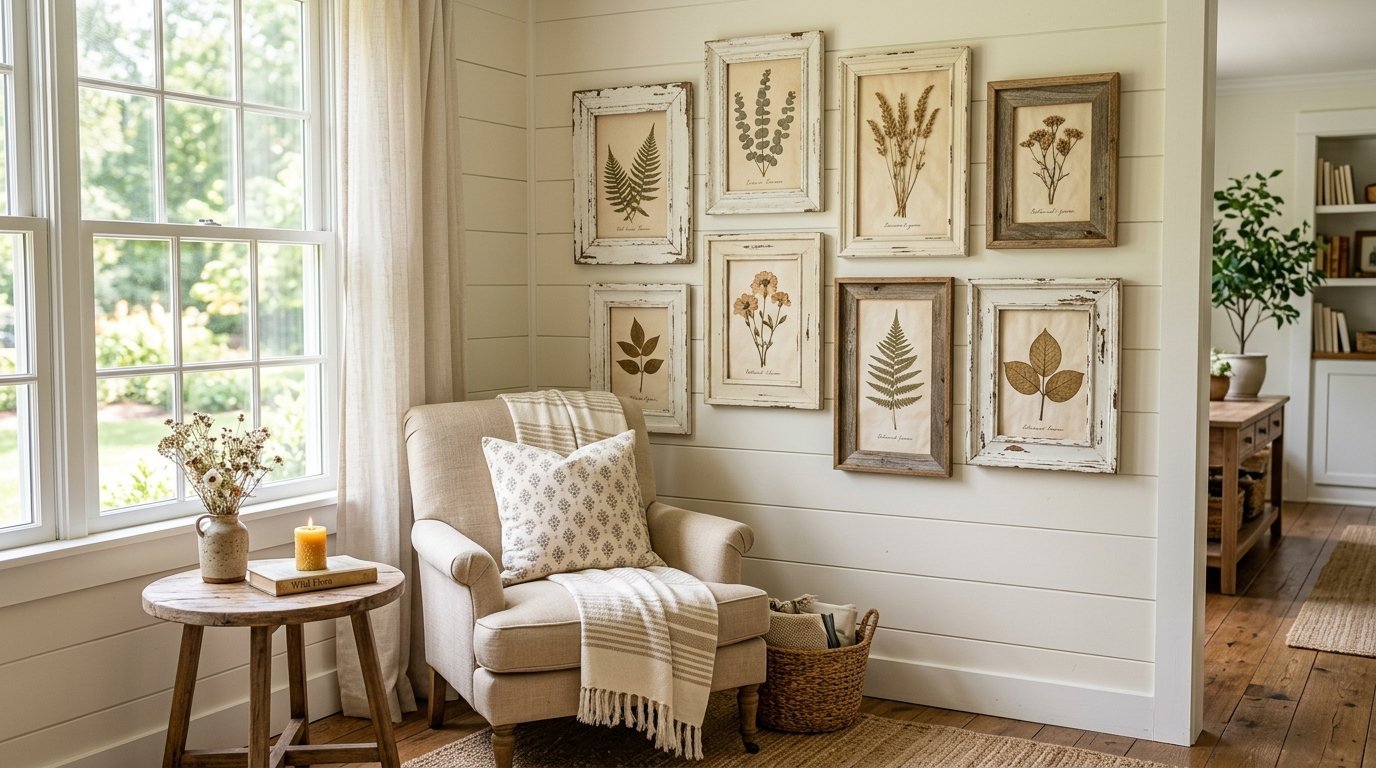
You stare at a shiny oak piece from the thrift store. You want that weathered, rustic look for your home. I buy these plain pieces weekly. I turn them into beautiful farmhouse decor. The glossy finish looks completely outdated. A simple coat of paint changes everything. You can make cheap pieces look like expensive antiques. I will show you my exact steps today.
You will get step-by-step instructions for painting and weathering. We look at exact sandpaper grits. We cover top paint brands like Annie Sloan and Rust-Oleum. You will spend under 20 dollars total. The work takes barely three hours. You will see three different weathering methods. We also cover protecting antique mirror glass during the paint job.
The Core Supplies for Weathered Wood Frames
You need specific items for this job. Buying the right tools saves time. Quality paint prevents peeling later. You do not need expensive power tools. Hand sanding gives you better control.
Choosing the Right Paint
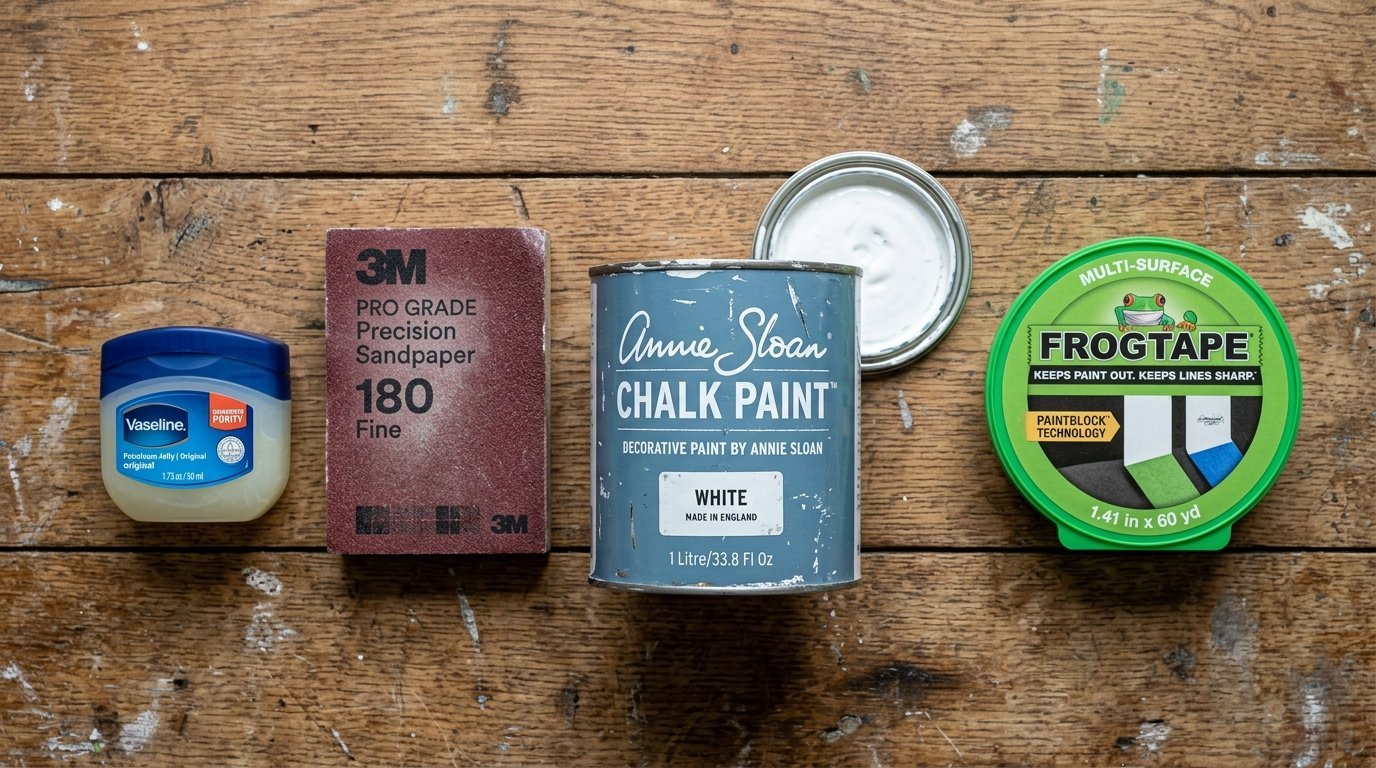
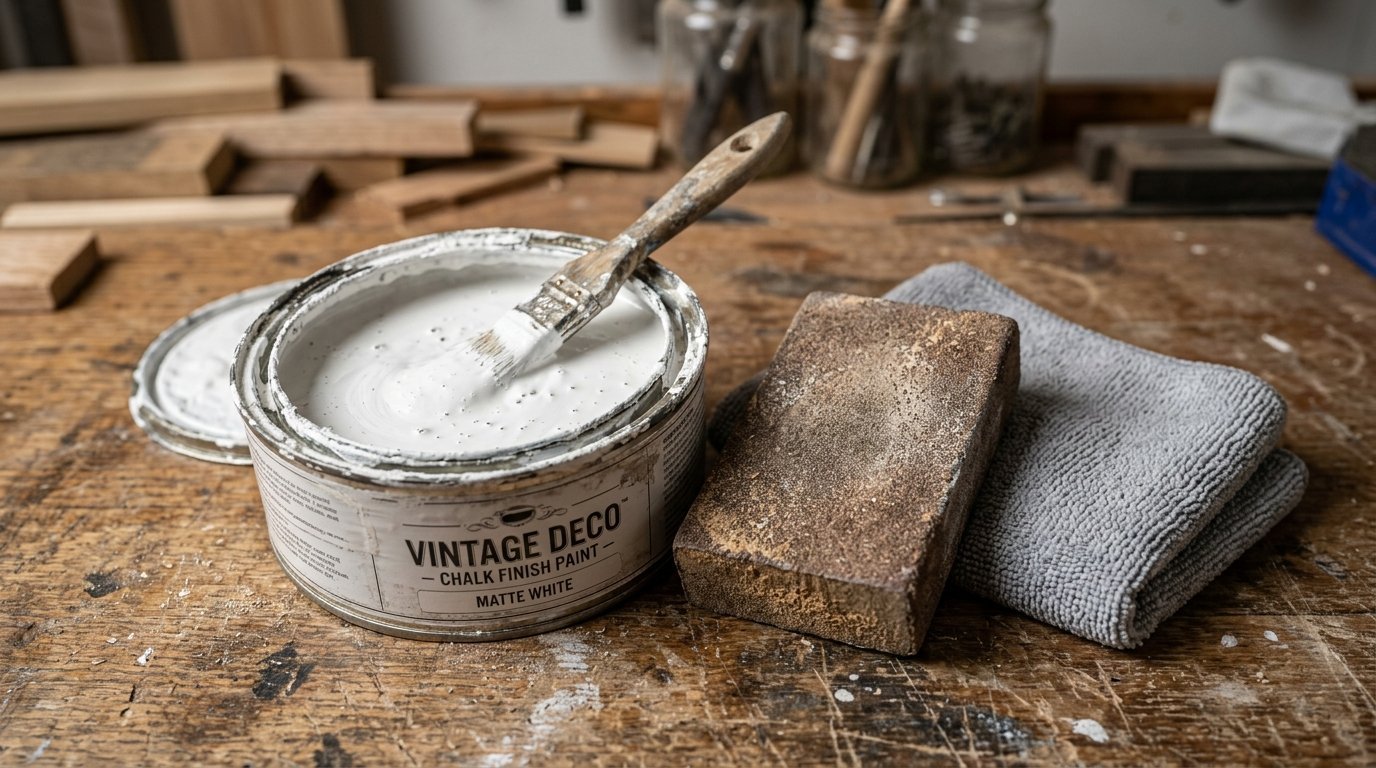
Matte paint works perfectly. Chalk paint grips glossy surfaces tightly. I prefer Annie Sloan Chalk Paint in Pure White. Rust-Oleum Chalked Paint is a cheaper alternative. Latex paint peels off too easily. You must use a very flat finish. Glossy paint never looks vintage.
Picking the Best Sandpaper
Buy a 3M sanding block. Get one medium block in 120 grit. Get one fine block in 220 grit. The 120 grit removes heavy varnish. The 220 grit smooths the final paint layers. Loose sandpaper sheets rip quickly. Foam blocks save your fingers from cramps.
Gathering Protective Materials
You need painter’s tape. FrogTape leaves the cleanest lines. Buy a cheap plastic drop cloth. Get heavy duty paper towels. Grab a clean microfiber cloth. You also need a bottle of distilled water.
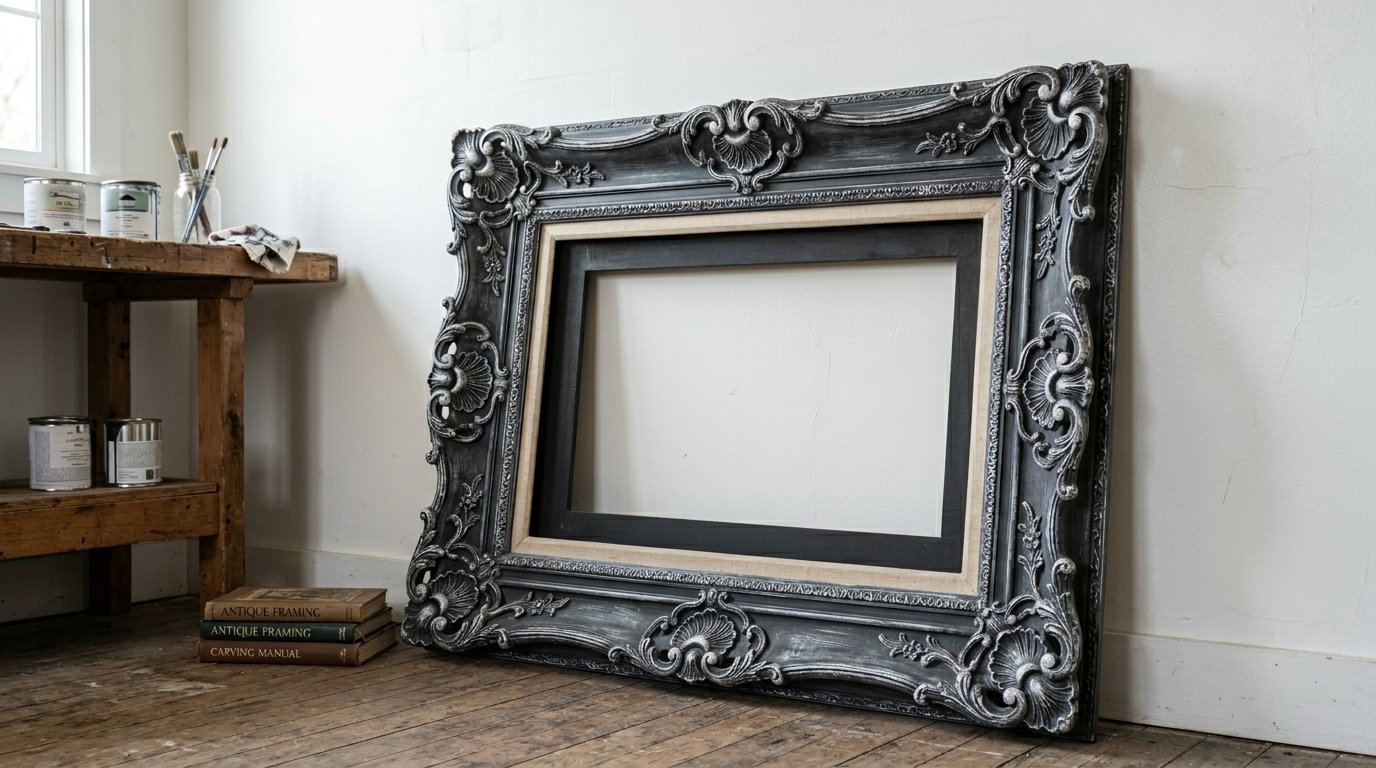
Preparing Empty Picture Frames for Paint
Prepping your empty picture frames dictates your final result. Never skip the cleaning phase. Paint absolutely refuses to stick to dirty wood.
Removing the Glass and Backing
Take the glass out first. Turn the piece over on a soft towel. Bend the metal tabs straight up. Pull the cardboard backing out slowly. Lift the glass out with two hands. Place it safely away from your work zone.
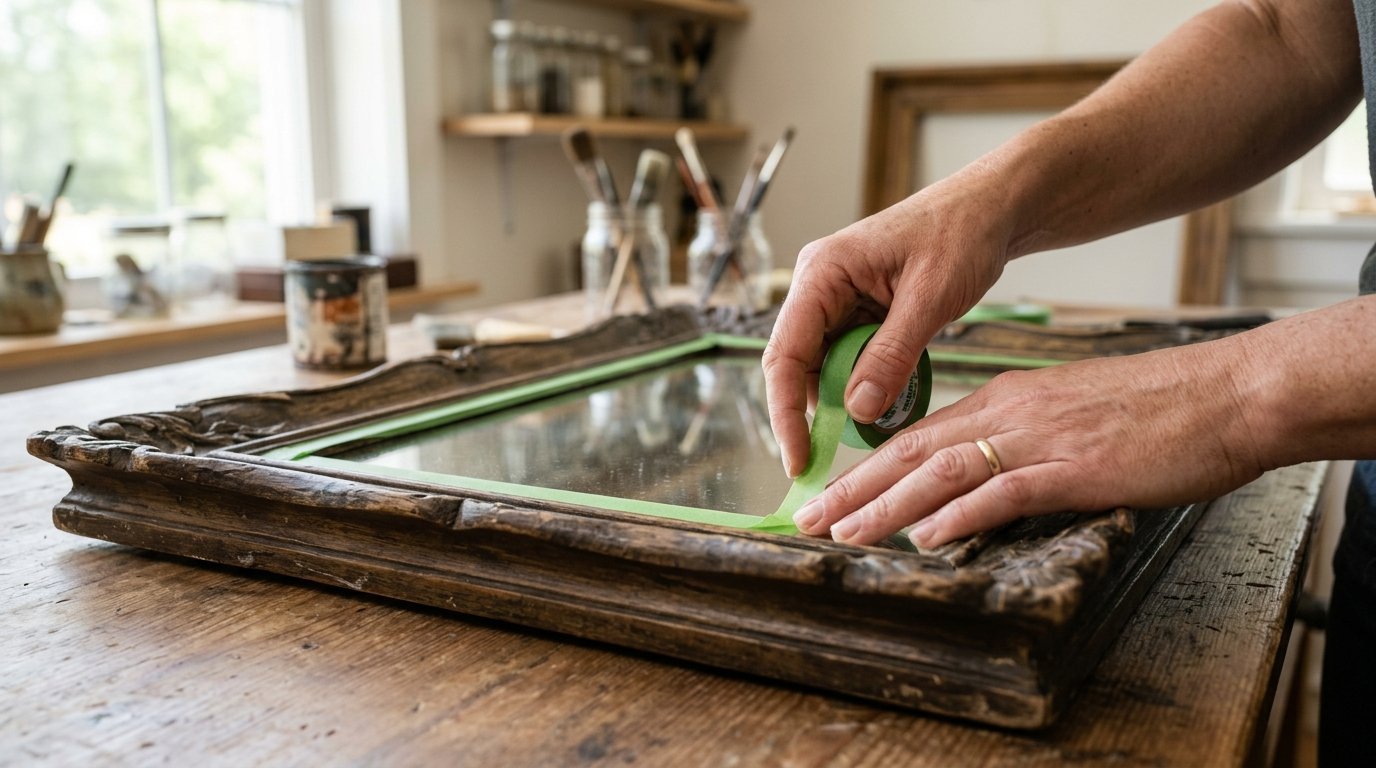
Protecting Antique Mirrors
Many old pieces have stuck glass. You might find a beautiful vintage mirror inside. Tape the edges firmly with FrogTape. I have seen water ruin antique mirrors. Liquid seeps under the edges easily. This causes irreversible silver rot. The edges turn black and crumble. Keep your glass totally dry during this step.
Stripping Old Dirt and Grime
Scrub the wood with a damp rag. Dawn dish soap cuts through years of grease. Wipe it completely dry immediately. Never let water sit on bare wood. The wood grains will swell up.
Three Ways to Distress a Diy Frame
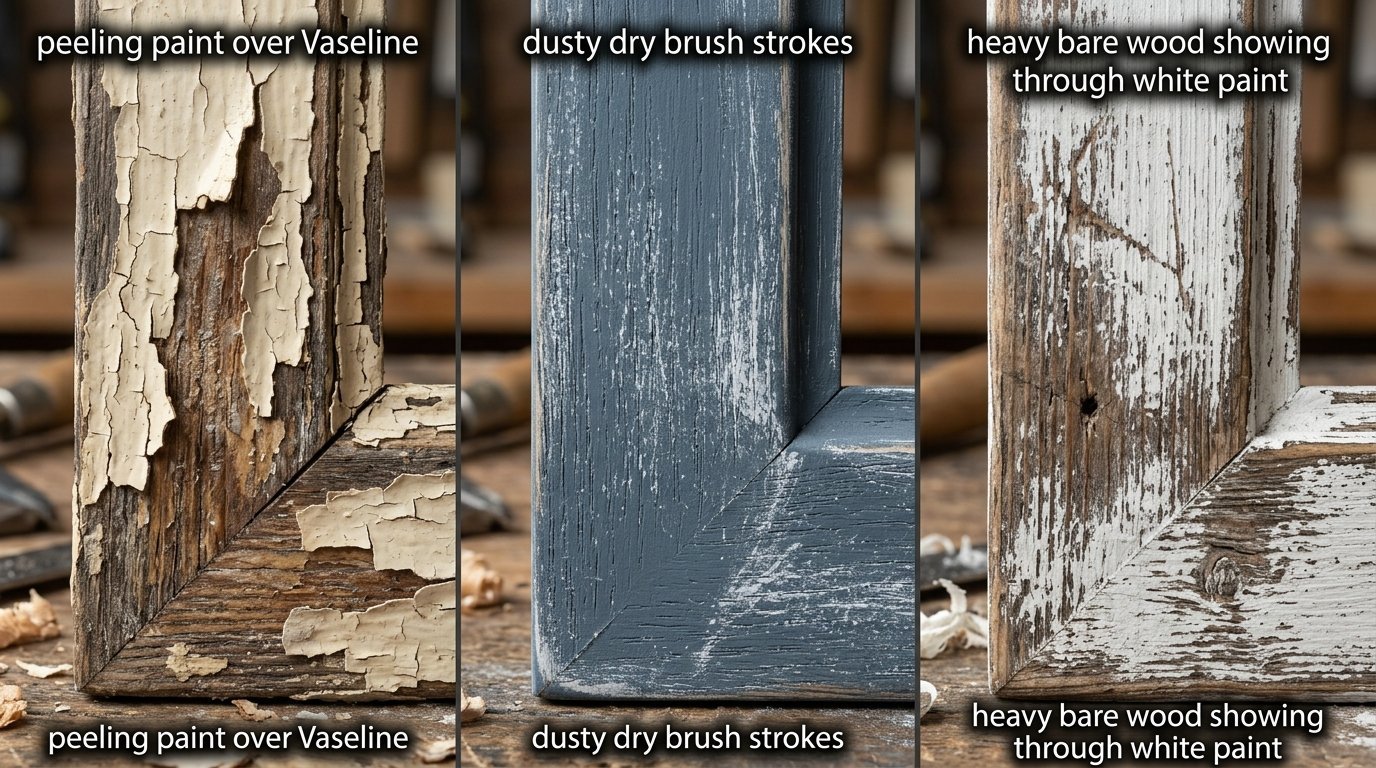
You can age wood in several ways. Each method gives a slightly different look. Try them all on scrap wood first.
The Petroleum Jelly Trick
This is my favorite trick. Grab a jar of Vaseline. Rub a tiny bit on the corners. Dab some on the raised edges. Paint over the entire piece normally. Let the paint dry completely. Wipe the wood with a paper towel. The paint falls off the greasy spots. This leaves perfect bare wood patches.
The Dry Brushing Method
This creates a dusty, aged look instantly. Dip a dry Purdy brush into your paint. Wipe almost all paint onto a paper towel. The bristles should feel nearly dry. Drag the bristles lightly over the wood. The paint hits only the raised textures. Do this over a dark base color.
The Heavy Sanding Technique
Paint your diy picture frames normally. Apply two thick coats of chalk paint. Wait two hours for it to set. Take your 120 grit sanding block. Rub the edges hard. Expose the raw wood underneath. Switch to the 220 grit block. Smooth out the harsh paint lines.
Tool Comparison for Farmhouse Finishes
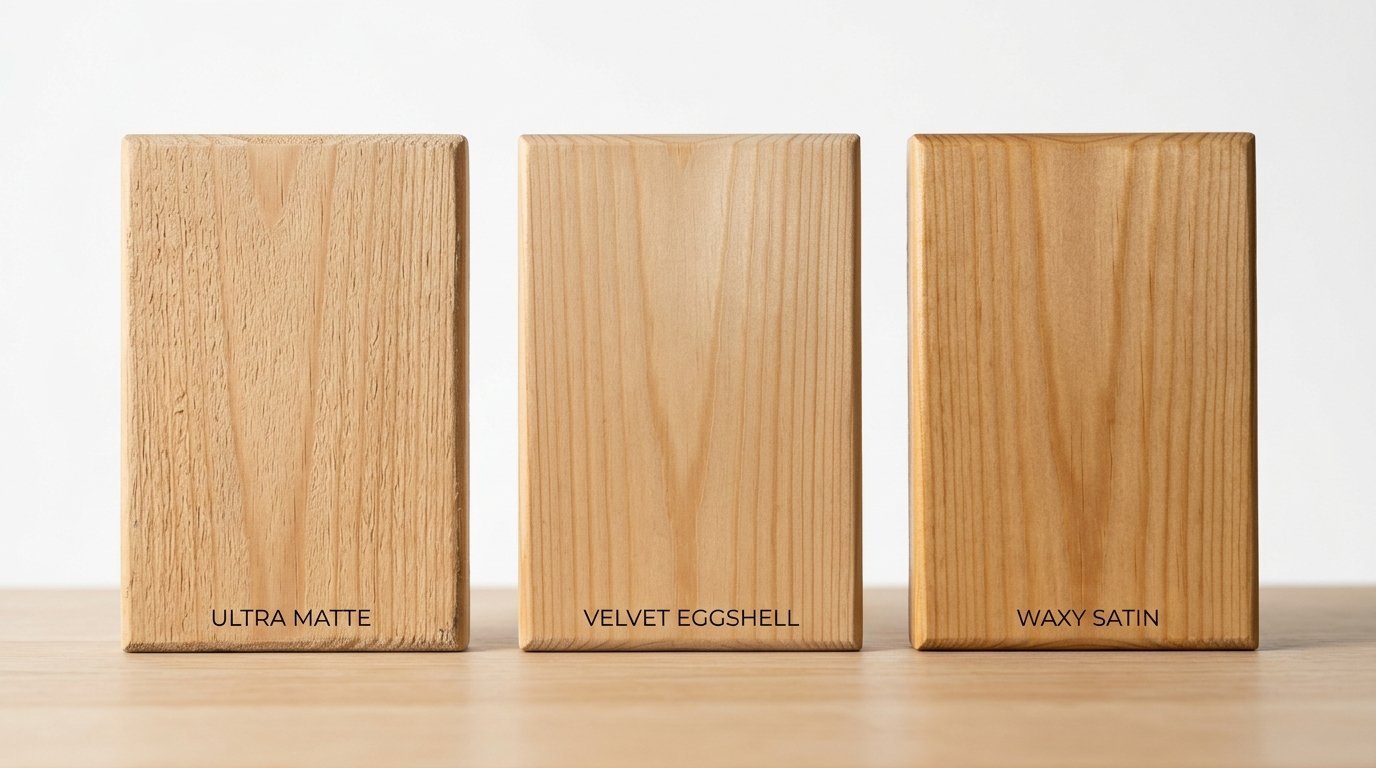
Here is how common paint products compare.
| Paint Brand | Cost | Finish Type | Drying Time |
| Annie Sloan | 40 dollars | Ultra Matte | 30 minutes |
| Rust-Oleum Chalked | 20 dollars | Matte | 45 minutes |
| Dixie Belle | 25 dollars | Chalky | 30 minutes |
| Zinsser BIN Primer | 15 dollars | Flat | 45 minutes |
| Minwax Finishing Wax | 15 dollars | Satin | 60 minutes |
Real Case Studies from My Garage
I buy cheap decor constantly. I test different methods every week. Here are specific results from recent projects.
The Three Dollar Thrift Store Find
I found a shiny plastic piece last month. It looked incredibly cheap. I primed it with Zinsser BIN primer. I applied two coats of matte white. I used the Vaseline trick on the corners. I sanded the edges with 3M 220 grit. It sold for fifty dollars online the next day.
Restoring an Antique Mirror
I bought a 1920s mirror for ten dollars. The wood felt sticky. The mirror glass had minor silver rot. I carefully taped the glass edges. I used a damp microfiber cloth and distilled water to clean it. I kept all chemicals away from the silvering. I painted the wood black. I dry brushed white over the top. The piece looks stunning now.
Upcycling a Basic Oak Piece
A neighbor threw away a 1990s orange oak piece. I took it home immediately. I sanded the shiny varnish off completely. I painted it with Dixie Belle Drop Cloth paint. I distressed the corners heavily. The raw oak shows through the cream paint beautifully.
Protecting the Glass and Mirror Surfaces
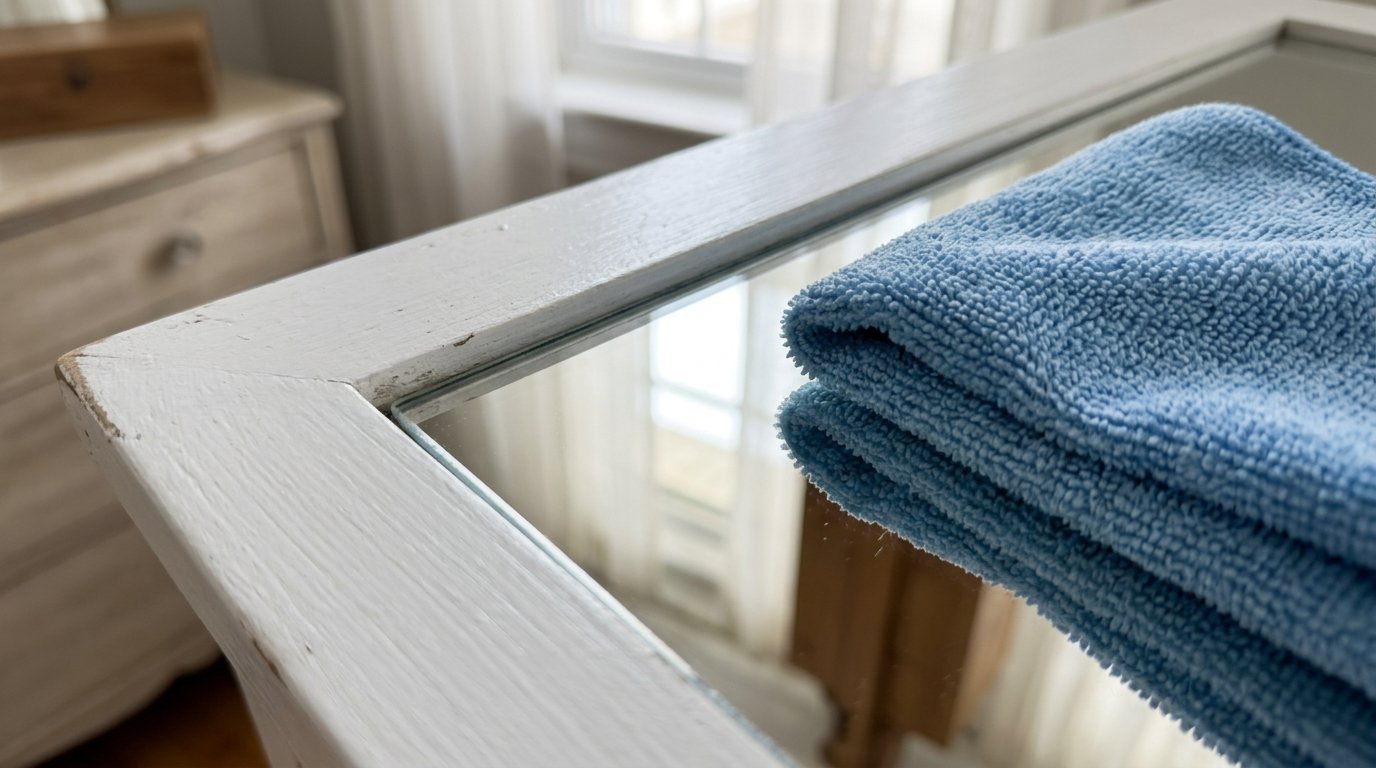
You must care for the glass properly after painting. Never spray glass cleaner directly on the surface. The liquid pools at the bottom edge. This damages the silver backing over time.
Safe Cleaning Practices
Use only distilled water. Grab a clean microfiber cloth. Spray the water directly onto the cloth. Wipe the glass gently. This prevents streaks. It keeps moisture away from the wood.
Sealing the Paint
Chalk paint feels chalky forever unless you seal it. Buy clear finishing wax. Minwax works great. Rub it on with an old t-shirt. Wipe off the excess immediately. The wax hardens over thirty days. It gives the piece a smooth finish.
How To Make A Picture Frame From Scratch
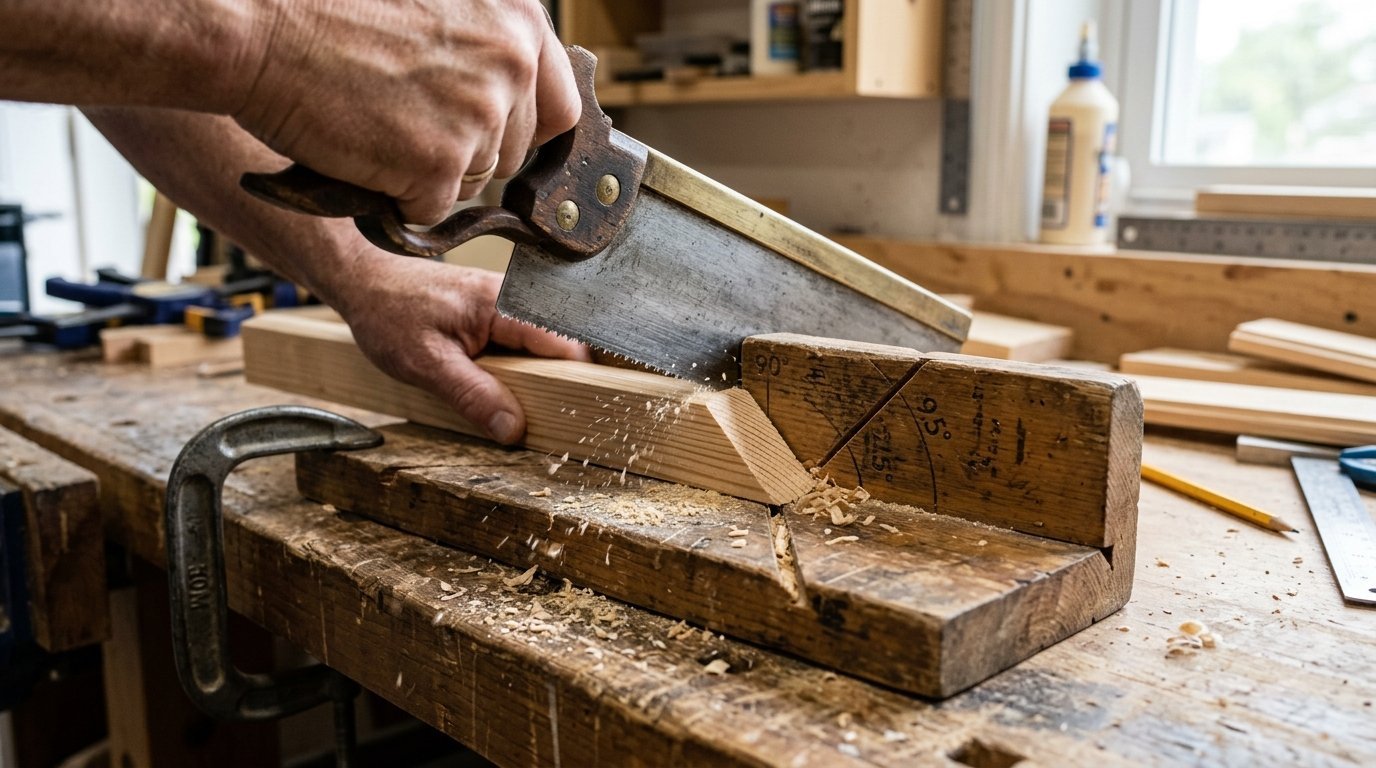
Sometimes you cannot find the right size. You can build one yourself quickly. You need very basic tools.
Sizing Your Wood Cuts
Buy simple pine trim from Home Depot. Measure your diy picture carefully. Add one inch to the total length. Use a miter box. Cut the ends at exactly 45 degrees.
Joining the Corners Securely
Apply Titebond wood glue to the angled cuts. Press them together tightly. Use a corner clamp to hold them. Let it dry overnight. Now you have a blank canvas ready for paint.
Frequently Asked Questions
People ask me about this process every day. Here are direct answers to common problems.
Do I need to sand before painting?
Yes. Lightly sand shiny surfaces. The paint needs a rough surface to grip.
Can I distress a piece without painting it?
Yes. You can hit the wood with chains. You can scratch it with nails. This gives it physical texture.
Can you distress fake wood?
Yes. Prime it first. Use a shellac-based primer like Zinsser BIN. Then paint and sand it lightly.
How do I keep moisture away from vintage mirror glass?
Tape the edges tightly. Use a slightly damp microfiber cloth. Never spray liquids directly onto the glass.
What is the best grit for heavy distressing?
Use 80 grit or 120 grit. These cut through paint very fast.
Why is my chalk paint peeling off?
You painted over a greasy surface. You must clean the wood with dish soap first.
How long should paint dry before sanding?
Wait at least two hours. Overnight is much better. Wet paint turns into gummy balls when sanded.
Can I use regular latex wall paint?
You can try it. It usually peels off in rubbery strips when sanded. Chalk paint works far better.
Do I have to seal the finished piece?
Yes. Unsealed matte paint attracts dirt. It scuffs very easily. Clear wax protects it.
What color looks most authentic?
Cream colors look great. Pure white can look too stark. Dark gray looks excellent under white paint.
Can I use a power sander?
You can use a mouse sander. Go very slowly. Power sanders remove paint much too quickly.
How do I fix a mistake?
Just paint over it. Wait for it to dry. Try your distressing technique again.
What is silver rot?
Moisture destroys the reflective backing on mirrors. The edges turn black. You cannot fix it easily.
Should I remove the hardware first?
Yes. Take off the hanging wires. Remove all screws. This makes painting much easier.
Final Thoughts on Your Decor Project
You now know the exact steps to take. Go find a cheap piece today. Practice these techniques in your garage. Gather your paint and sandpaper.

Anya Castellan is the Founder and Editor-in-Chief of Home Wall Trends. An art history graduate of the Rhode Island School of Design with twelve years of experience writing for leading American design publications, she specializes in composition, gallery wall theory, and the quiet architecture of domestic space. A former contributing editor at Architectural Digest and guest lecturer at Parsons School of Design, Anya personally reads and signs off on every piece before it is published.