Three months ago I threw a fresh piece of pine right into the trash. I tried to craft a farmhouse welcome sign and completely botched the mounting job. The heavy wood ripped out the drywall anchors and left gaping holes. Landlords hate drywall damage. Renters lose security deposits over tiny pinholes. You need ways to mount heavy objects without drills or hammers. You can secure heavy frames and delicate art using modern adhesives and smart tension tricks. I tested these methods across different surfaces and weights. Your walls will stay pristine.
You will master 21 specific mounting tricks that bypass nails completely. You will mount everything from lightweight posters to heavy glass pieces. Expect to spend between $5 and $20 on high-grade adhesives. I cover exact weight limits and surface preparation steps. You get honest reviews of specific tapes and hooks. I will show you how to hang your aesthetic room wall decor safely. You will keep your security deposit intact and keep your rooms looking pristine.
1. Hook and Loop Strips for Heavy Frames
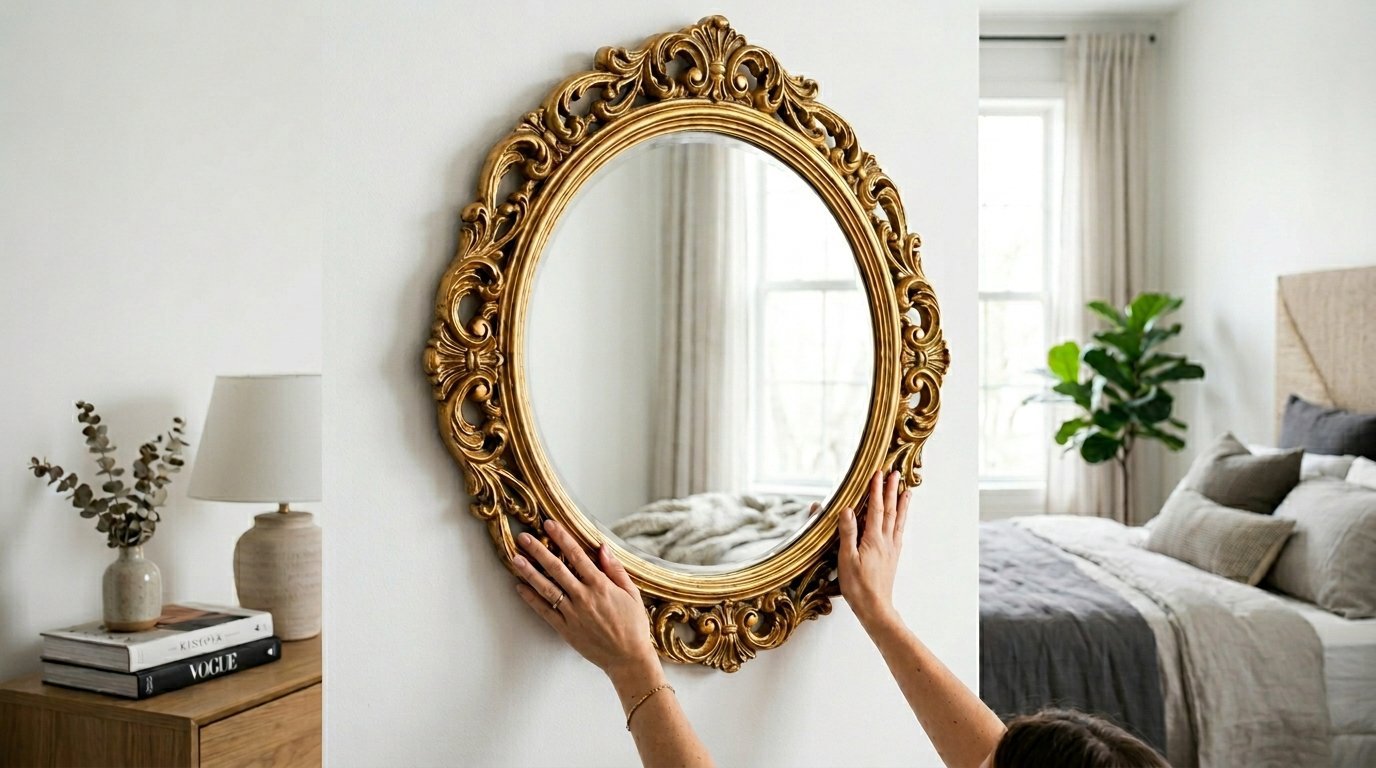
You can secure large pieces using heavy duty hook and loop fasteners. The 3M Command brand makes strips rated for 16 pounds. I rely on these for my heavy wall decor for bedroom styling. Surface preparation makes or breaks the bond. I clean the wall using a Norwex microfiber cloth and high purity isopropyl alcohol. You must let the alcohol evaporate completely. Press two strips together until they snap shut. Stick the combination onto your frame back. Press the frame against the wall for a full 30 seconds. Wait an hour before relying on the bond. Last summer I hung a gold framed circle mirror in my classy bedroom using this method. Every time I wiped the glass water gathered at the absolute bottom curve. The strips held the heavy mirror perfectly still while I repeatedly scrubbed that bottom edge dry.
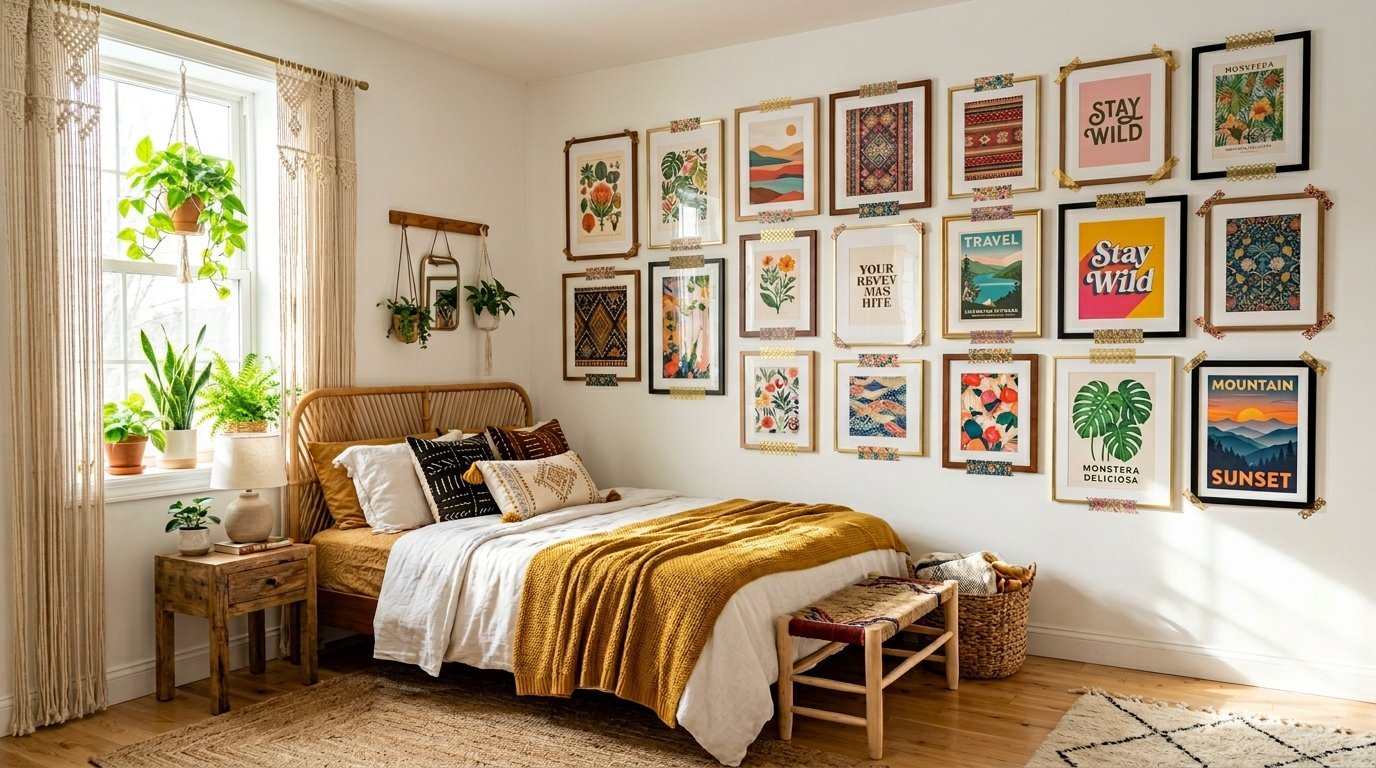
2. Washi Tape Gallery Grids
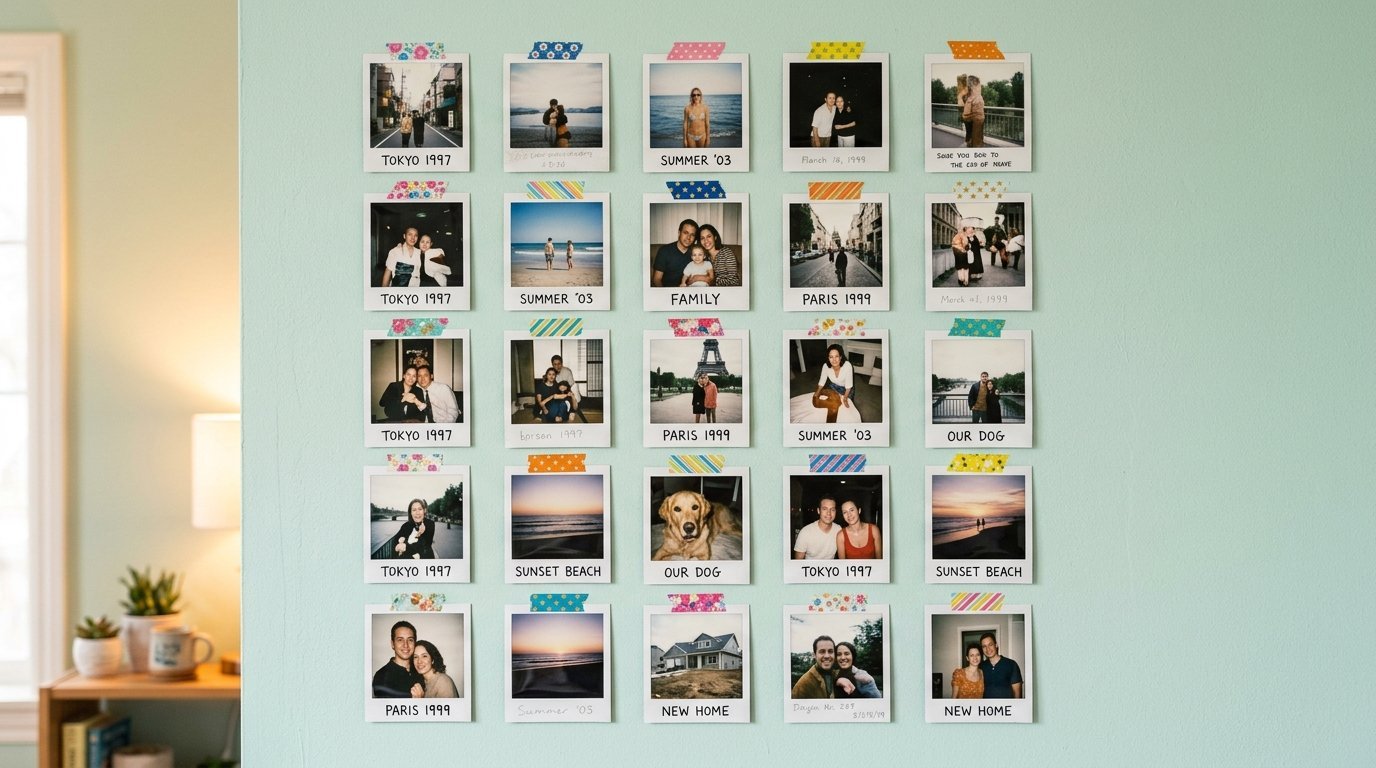
Washi tape provides a colorful way to mount paper art. This Japanese masking tape leaves zero residue. You can frame polaroids or small prints directly on the wall. Create geometric patterns around your pictures. Use a level tool to keep your lines straight. Cut the tape cleanly using scissors instead of tearing it. The torn edges look messy. Smooth the tape firmly with your thumb. This method works perfectly for dorm rooms or temporary setups. You can swap pictures out weekly without tearing the paper. Match the tape colors to your bedding.
3. Tension Rods for Textile Displays
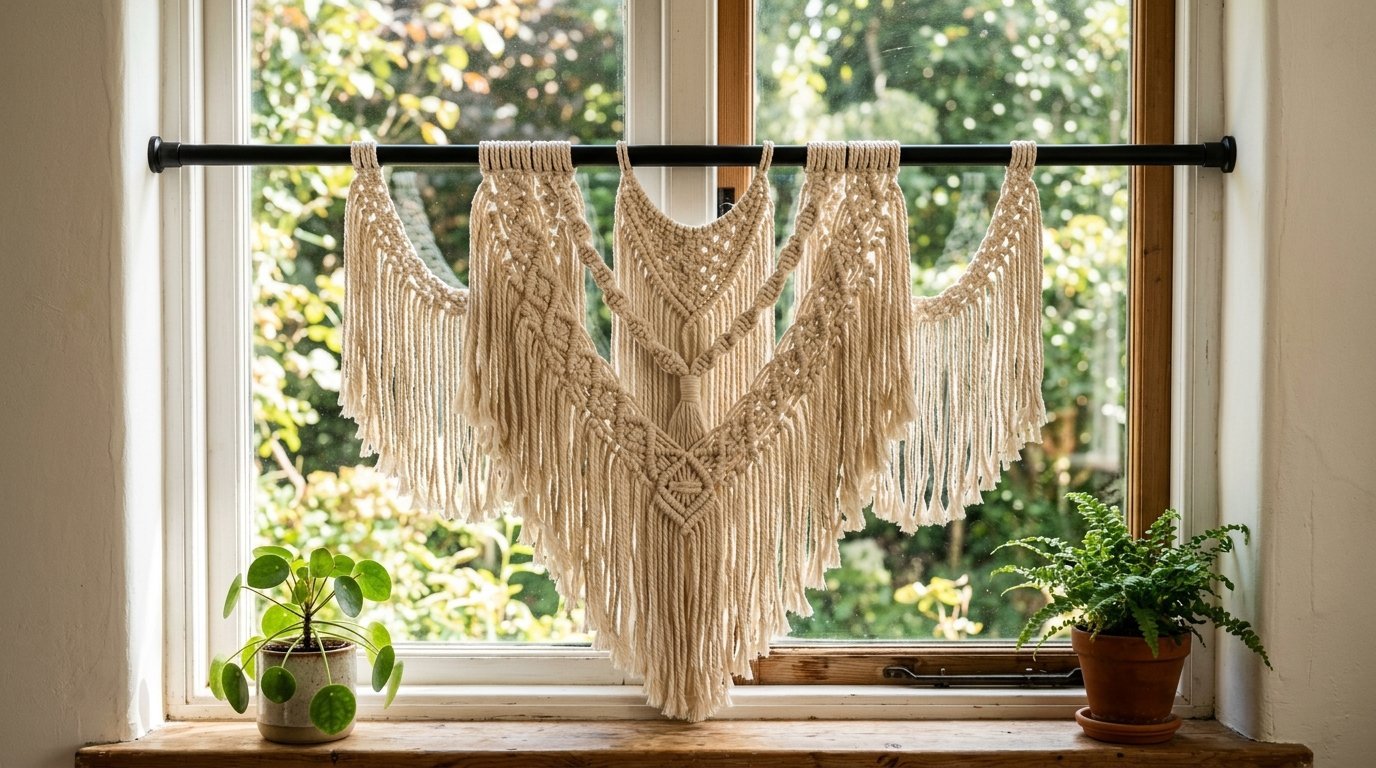
Tension rods slide perfectly into window frames or alcoves. You can hang large tapestries without a single adhesive. Twist the rod until it grips the side walls tightly. Drape your fabric over the bar. You can slide curtain rings onto the rod to clip your art. I use this trick for large macrame pieces. The rod takes the entire weight. You can adjust the height anytime. Buy a shower curtain tension rod for wide spaces. The heavy spring inside keeps everything secure. This trick transforms empty nooks instantly.
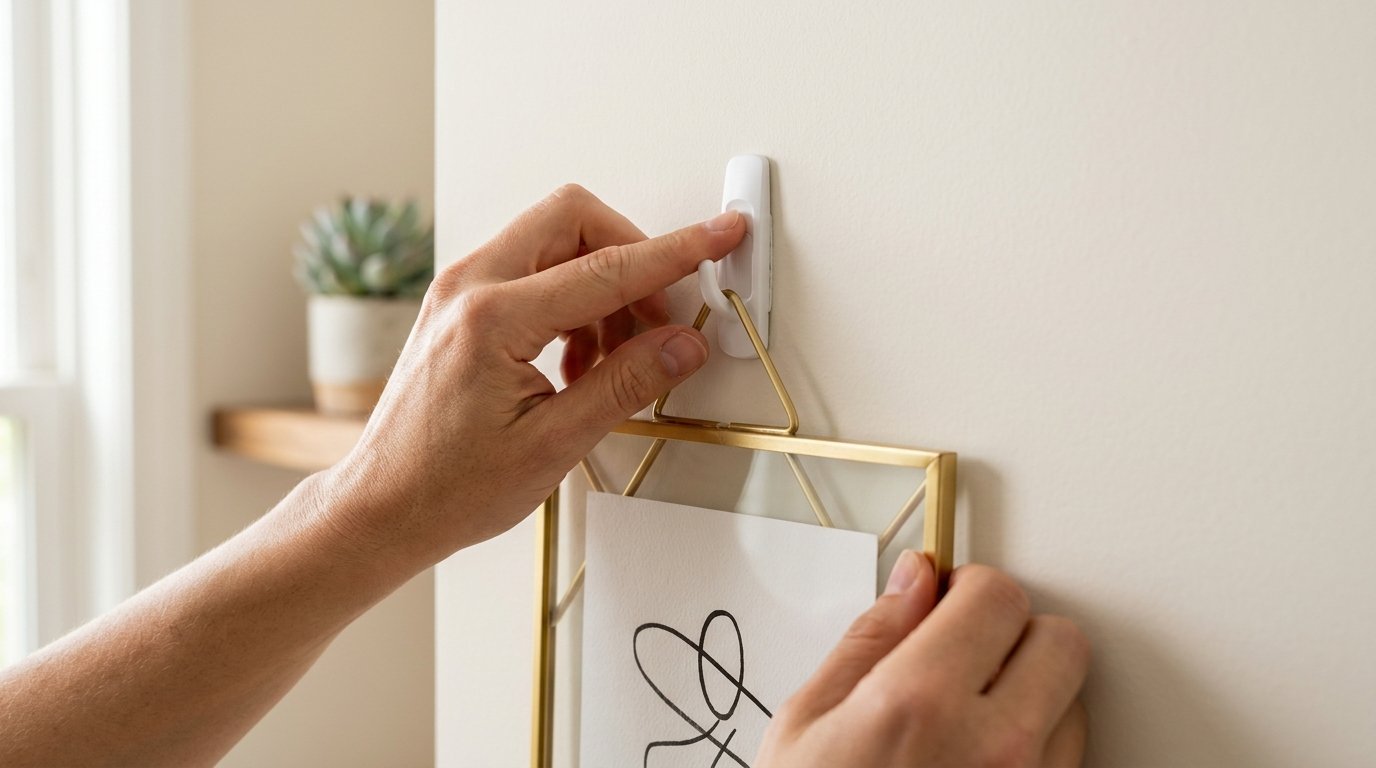
4. Ceiling Hooks with Adhesive Backing
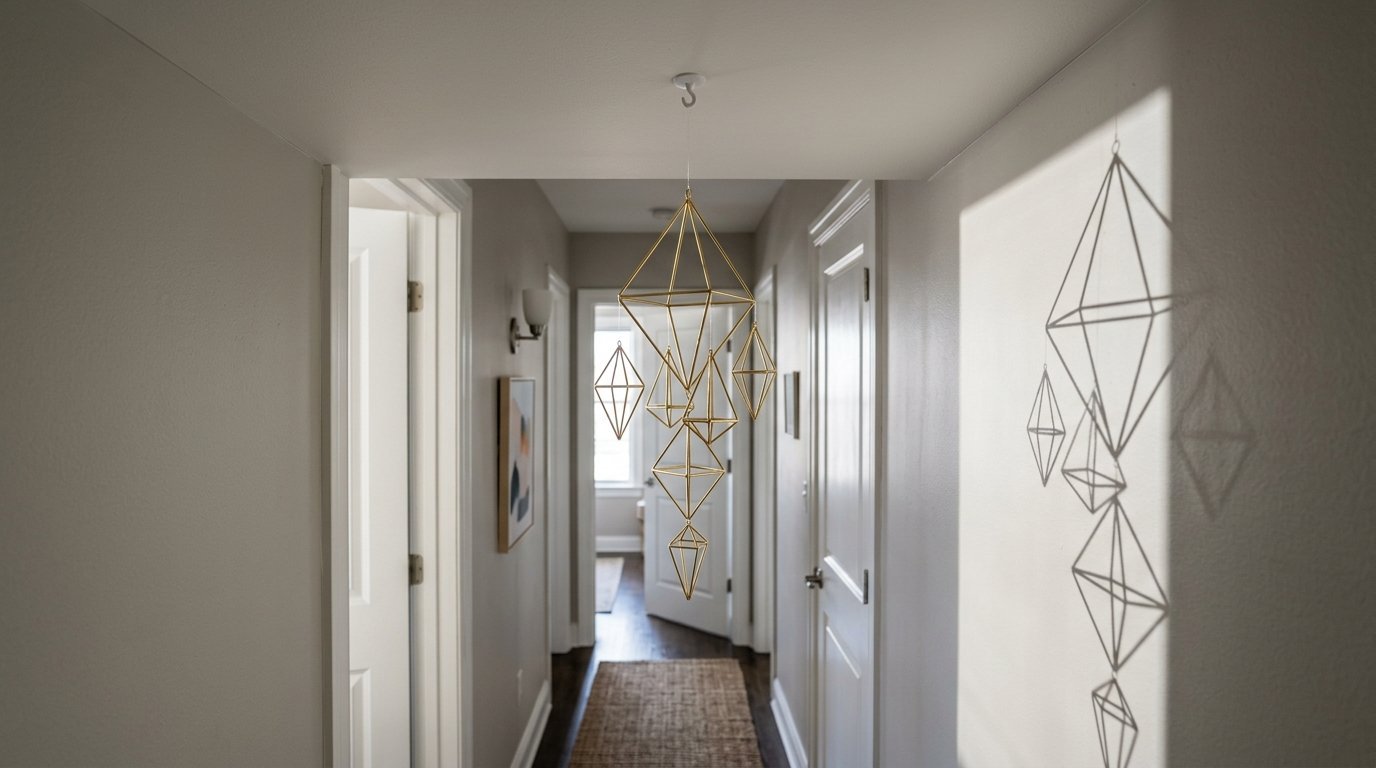
Ceiling mounts drop art directly in front of the wall. Adhesive ceiling hooks hold up to five pounds. Stick the hook to a smooth ceiling surface. Hang lightweight mobiles or cascading fake vines. Tie clear fishing line to your art pieces. Loop the line over the ceiling hook. The art looks like it floats in midair. This creates stunning hall wall design ideas. The floating effect distracts from plain paint jobs. Wait 24 hours before hanging weight on the hook. Heat ruins the ceiling adhesive fast.
5. Leaning Floor Mirrors
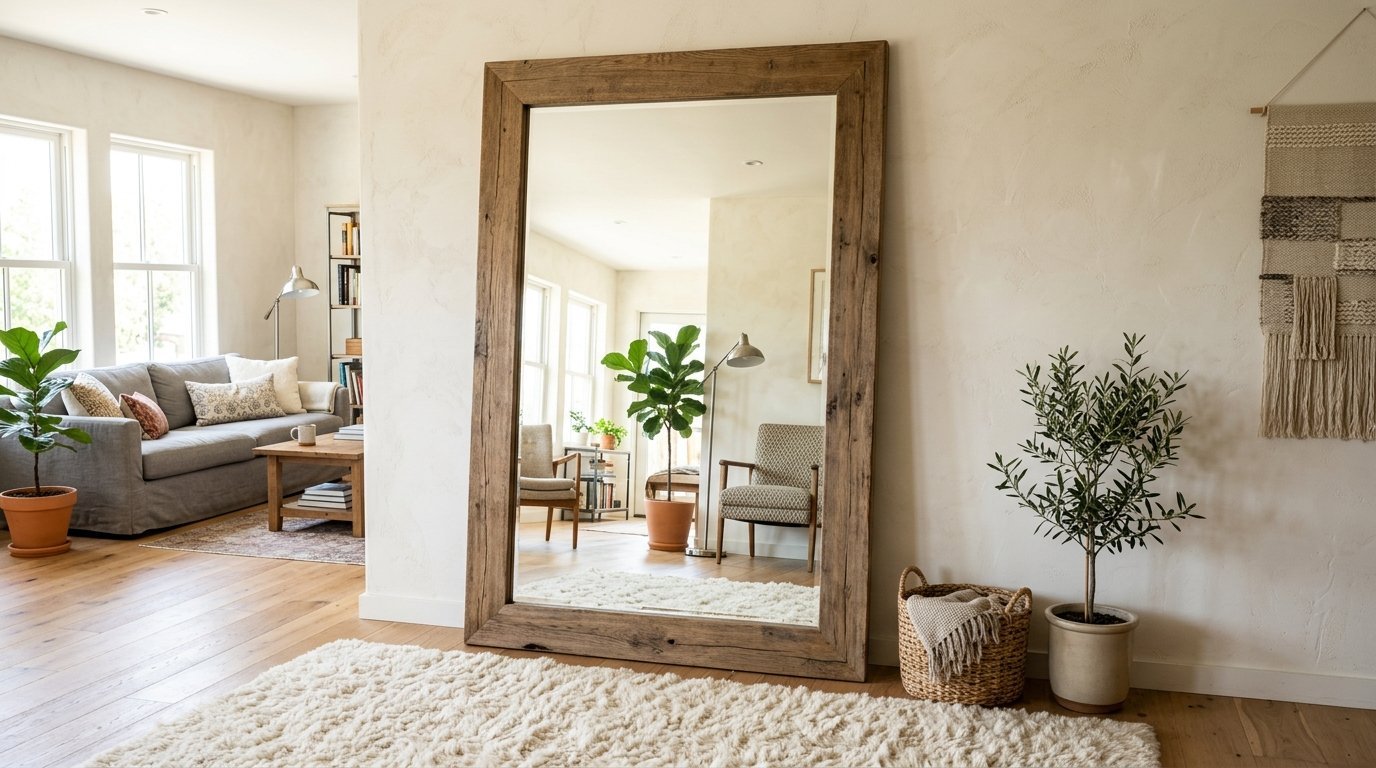
You never have to hang a giant mirror. Leaning a massive floor mirror creates depth in small spaces. Buy a mirror at least five feet tall. Rest the bottom edge on a rug to prevent sliding. Anchor the top edge to the wall using a single strip of double sided industrial tape if you have kids or pets. Three years ago I saw a beautiful piece in my hallway get destroyed. The damp air got behind the frame and caused black spots on the silver backing. Leaning the mirror creates an air gap. The airflow prevents that specific moisture damage entirely.
6. Removable Mounting Putty
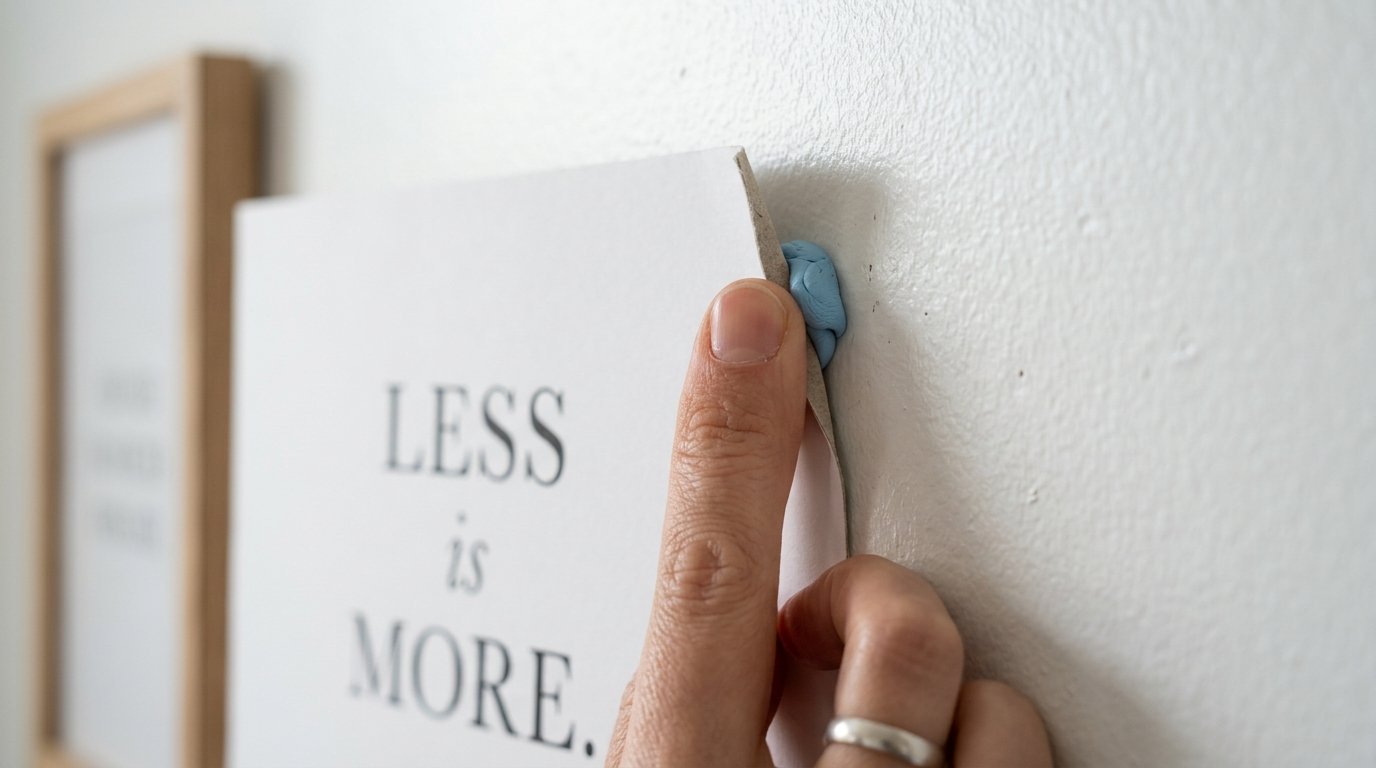
Mounting putty holds up small paper goods perfectly. Roll a small amount between your fingers until it feels warm. Stick a bead in each corner of your poster. Press the poster flat against the wall. The putty stays flexible forever. You can pull the poster down without ripping the corners. Avoid using putty on matte paint. The oils in the putty leave a faint shadow on flat paint finishes. Stick to eggshell or semi gloss surfaces. Putty works best for bed side wall decor like small quotes or daily schedules.
7. Magnetic Paint Squares
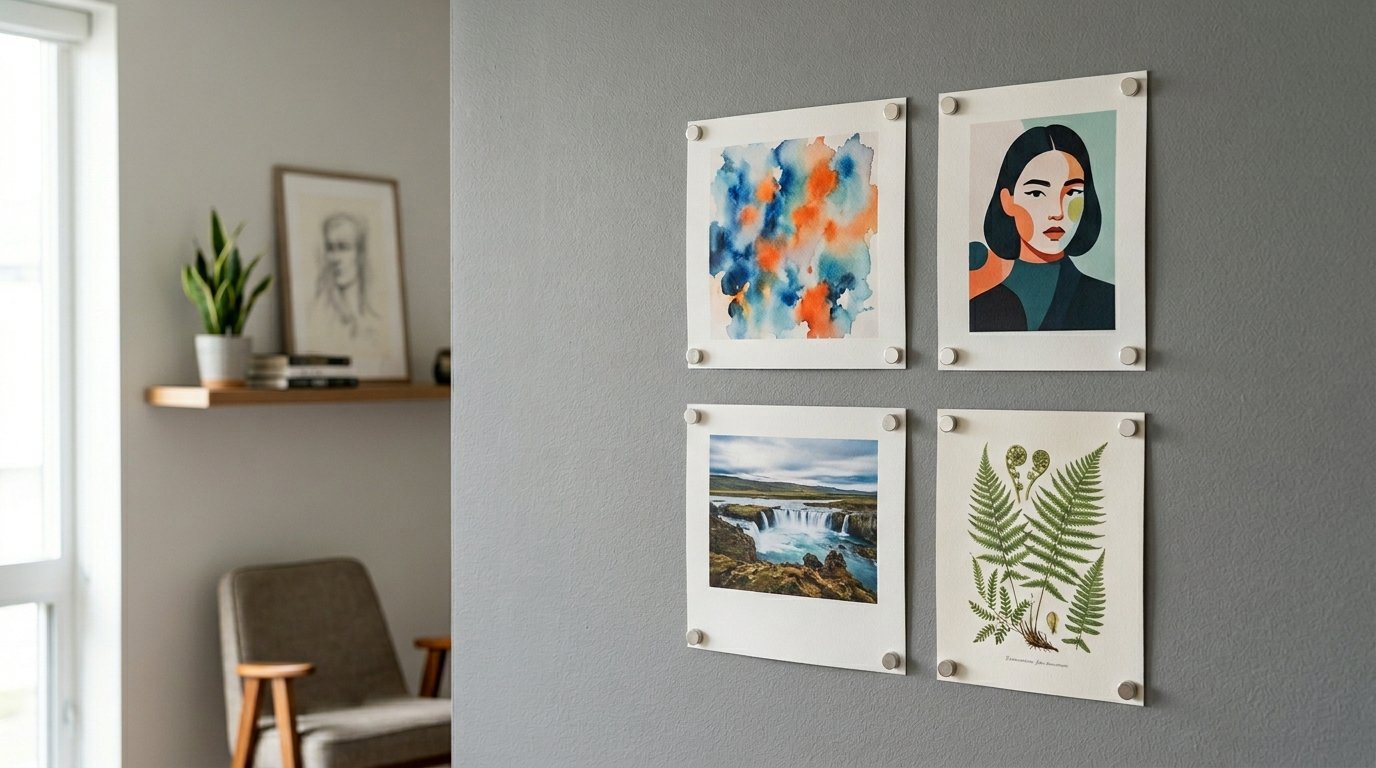
Magnetic paint lets you stick art directly to the wall surface. Tape off a large square on your wall. Paint three thick coats of magnetic primer inside the square. Paint your regular wall color over the primer. You can stick magnets right to the finished wall. Mount your kids artwork or daily reminders. This setup hides the mechanism completely. The art sits perfectly flush against the paint. Buy strong neodymium magnets to hold heavier cardstock. Standard fridge magnets slide right down the wall.
8. Freestanding Room Dividers
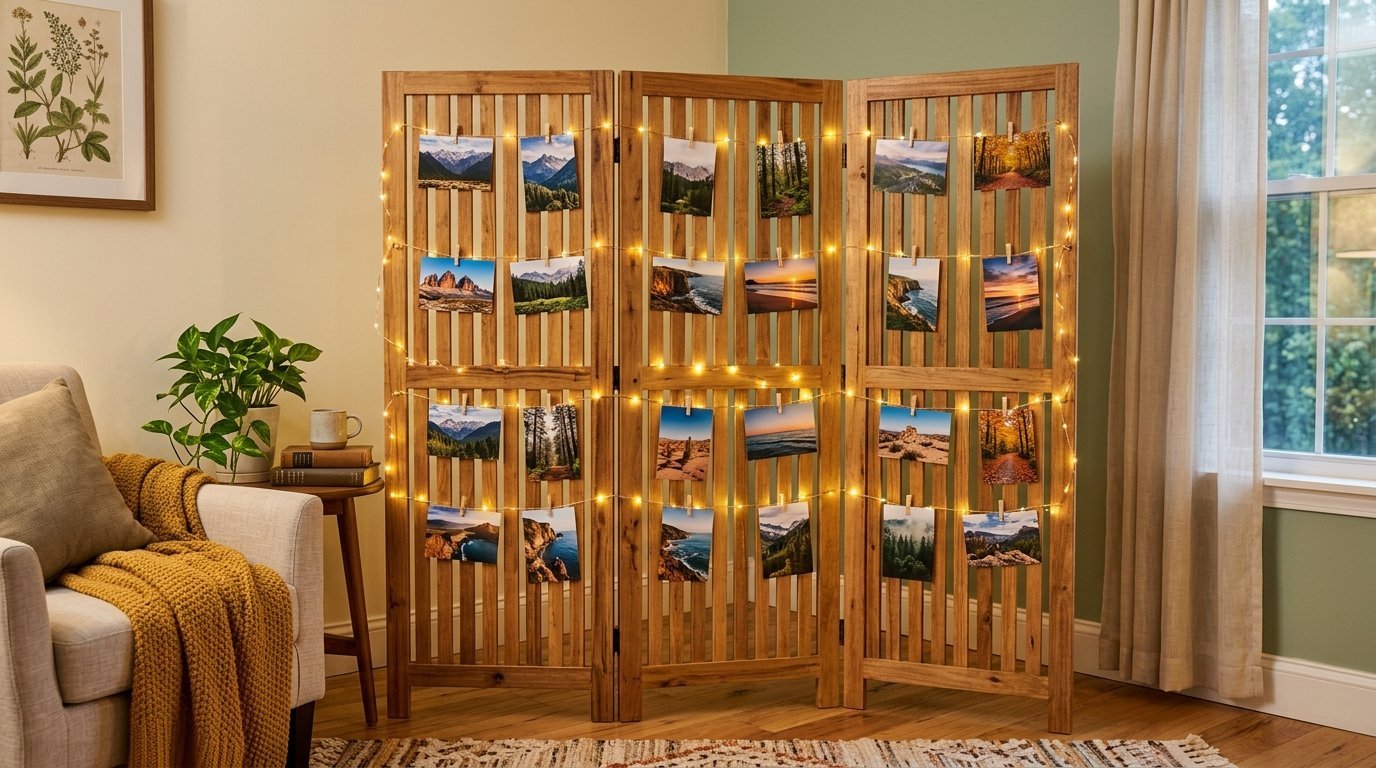
Room dividers act as a massive blank canvas. Unfold a wooden or canvas divider in your corner space. You can drape lights or fabrics over the top edge. Pin your artwork directly into the canvas panels. Use S hooks to hang small potted plants from the wooden slats. This requires zero wall contact. You can move the entire display when vacuuming. Dividers fix large blank walls instantly. The zigzag shape stands up on its own.
9. Slat Wall Leaners
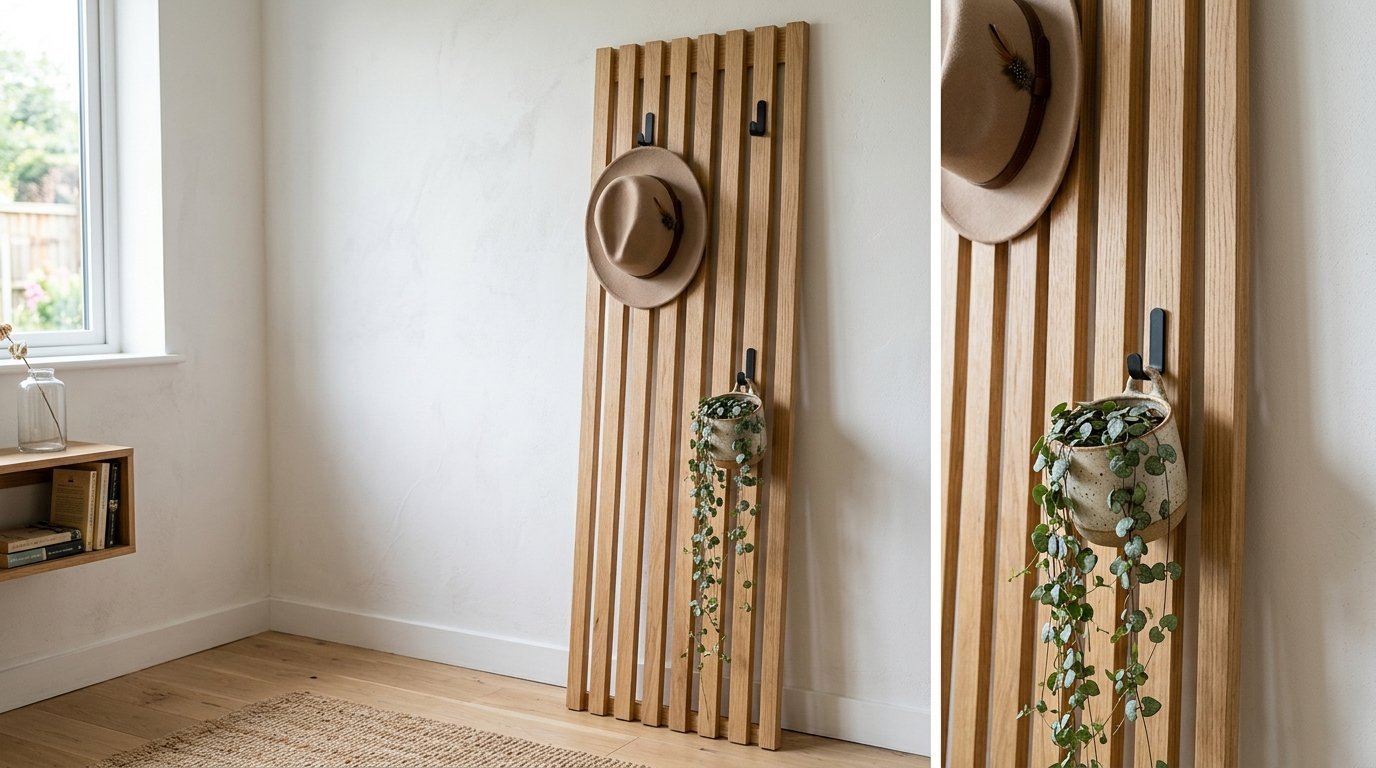
A wooden slat panel leans against the wall just like a floor mirror. You can attach hooks directly into the wood panel instead of the drywall. Hang your hats or small bags on the panel hooks. The panel carries all the weight to the floor. Put felt pads on the back edge where it touches the wall. The felt stops paint scratches. You get a custom built look instantly. This fits perfectly with minimalist or Scandinavian interior designs.
10. Over The Door Hangers
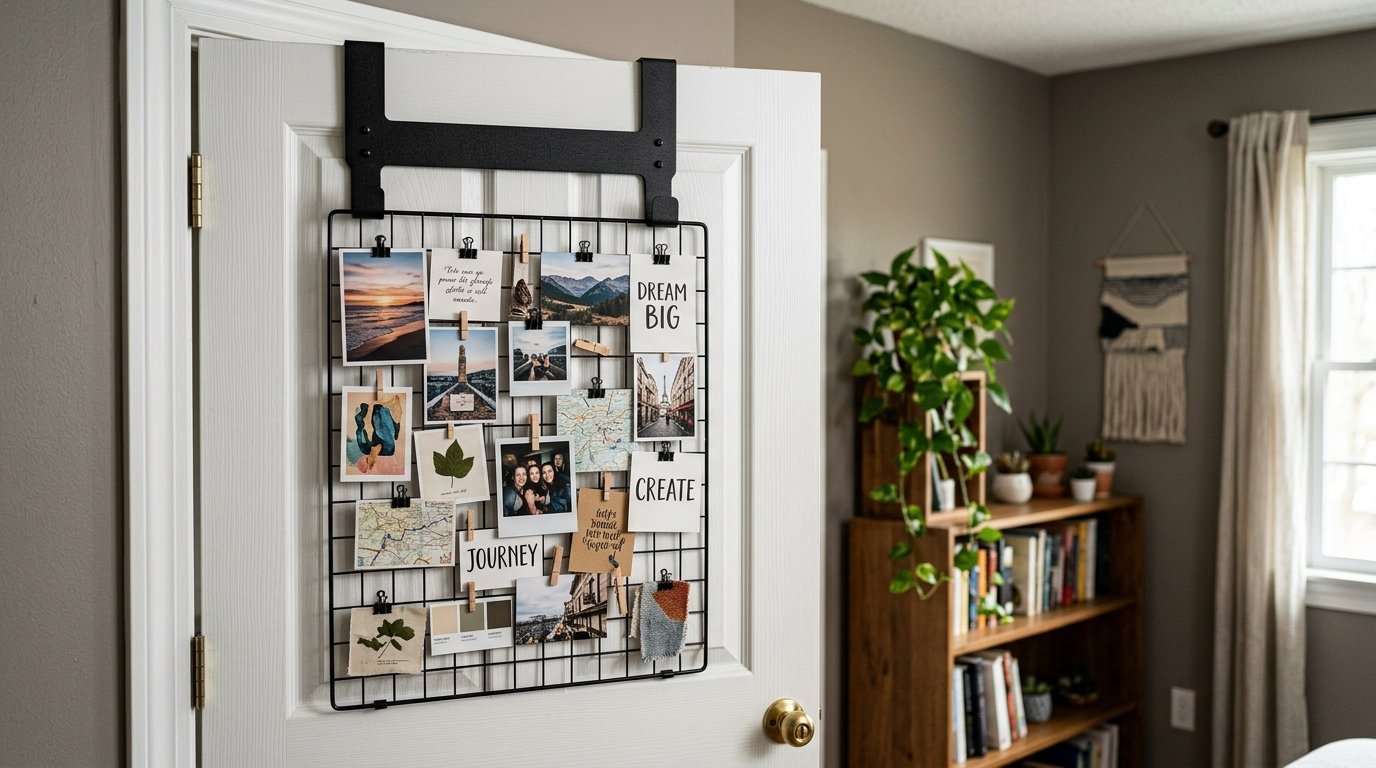
Doors offer massive vertical space for displays. Buy metal brackets that slide over the top of your door. The brackets hang down and hold a grid or corkboard. You can organize jewelry or pin inspiration pictures. Put foam tape on the back of the board. The tape stops the board from banging against the door when you open it. This trick frees up floor space in tight rooms. Make sure your door has enough clearance at the top to fit the metal bracket.
11. Suction Cup Window Displays
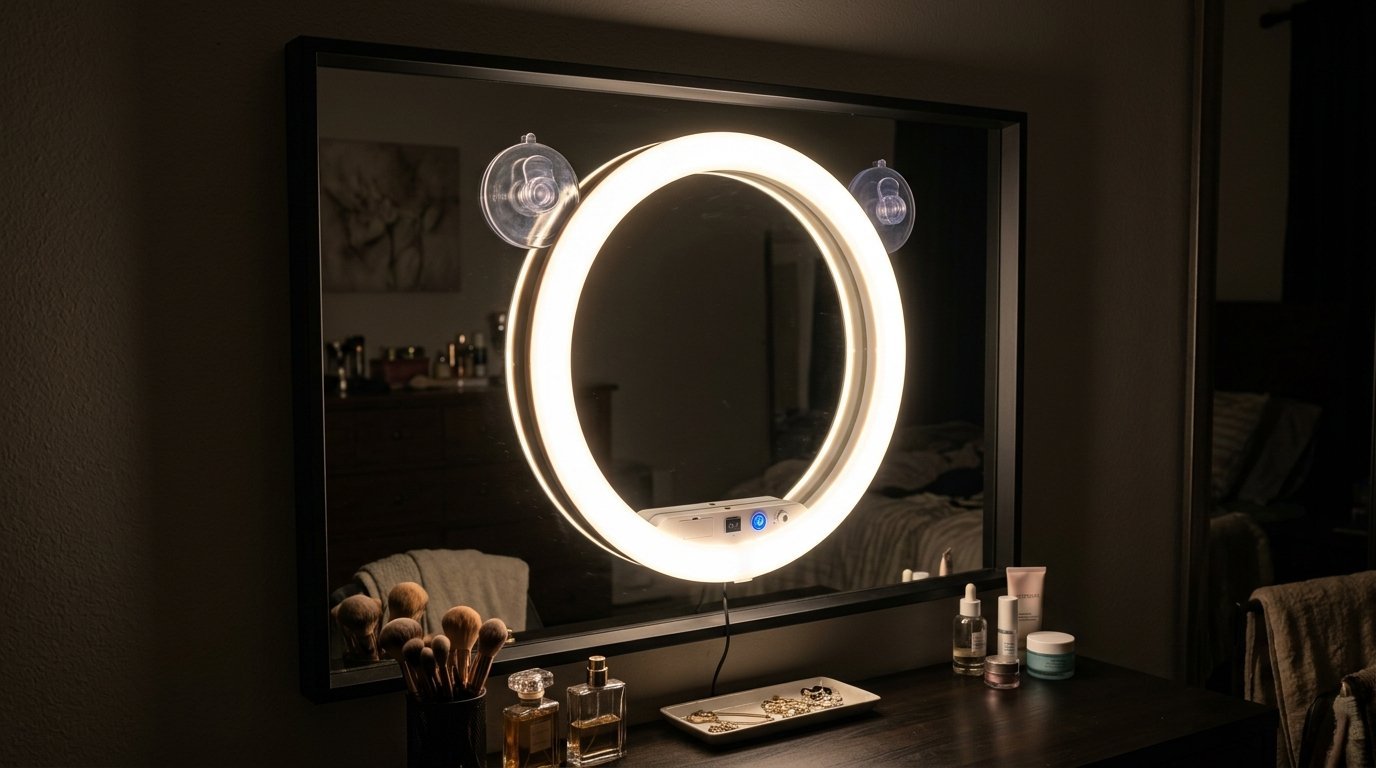
Glass surfaces hold suction cups tighter than any glue. Clean the glass with vinegar and a flat weave cloth. Press the suction cup hard to push out all the air. Hang suncatchers or stained glass pieces. The sunlight hits the piece directly. You can create brilliant mirror light ideas by sticking battery powered ring lights directly onto your vanity mirror. The suction cups hold the lights right at eye level. Wet the inside of the cup slightly before pressing it down. The moisture creates a tighter vacuum seal.
12. Grid Wire Wall Panels
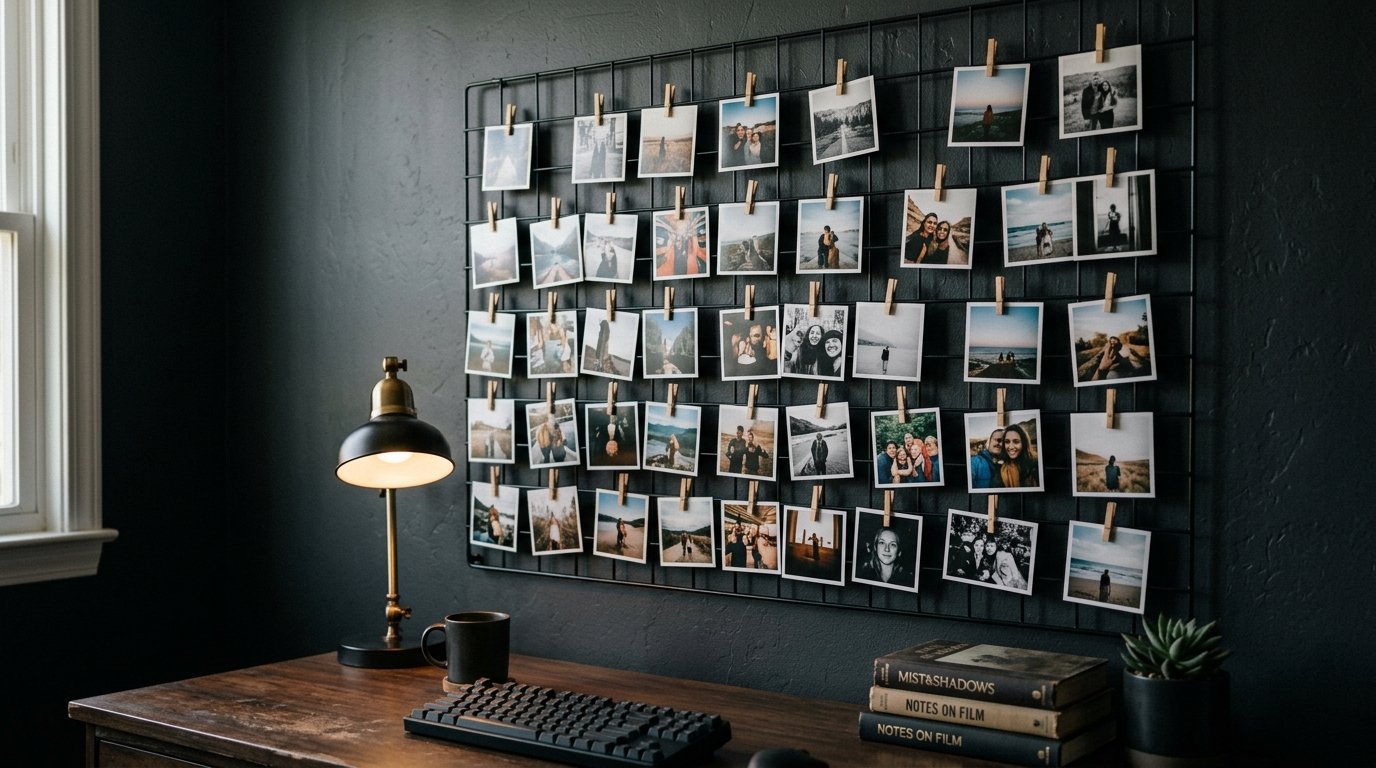
Wire grids look industrial and hold tons of weight. Use four adhesive hooks to mount a heavy metal grid. The grid distributes the weight evenly. Clip your photos onto the wire using tiny wooden clothespins. You can hang small wire baskets on the grid to hold pens. The metal shines brightly against dark paint. This aesthetic room wall decor fits home offices perfectly. Tie thin fairy lights around the outer edge of the grid. The lights make the metal pop at night.
13. Picture Rail Moulding Hooks
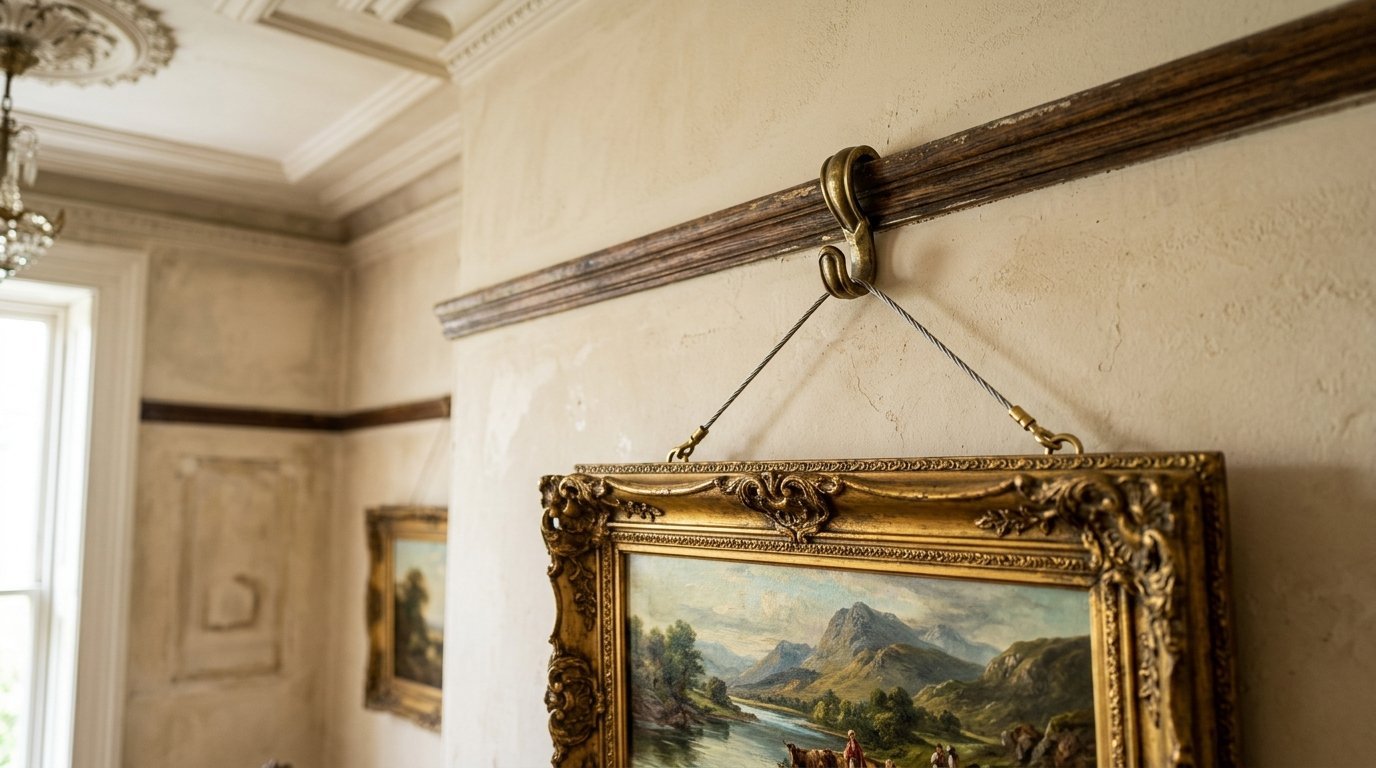
Older homes usually feature picture rail moulding near the ceiling. This wood trim was built specifically to hold art. Buy metal picture rail hooks. They curve perfectly over the top of the wood trim. Tie strong wire to the hook and drop it down the wall. Attach your art to the bottom of the wire. You can slide the hooks left or right instantly. You can adjust the height by shortening the wire. This historical method beats modern adhesives easily if your house has the trim.
14. Sticky Tack for String Lights
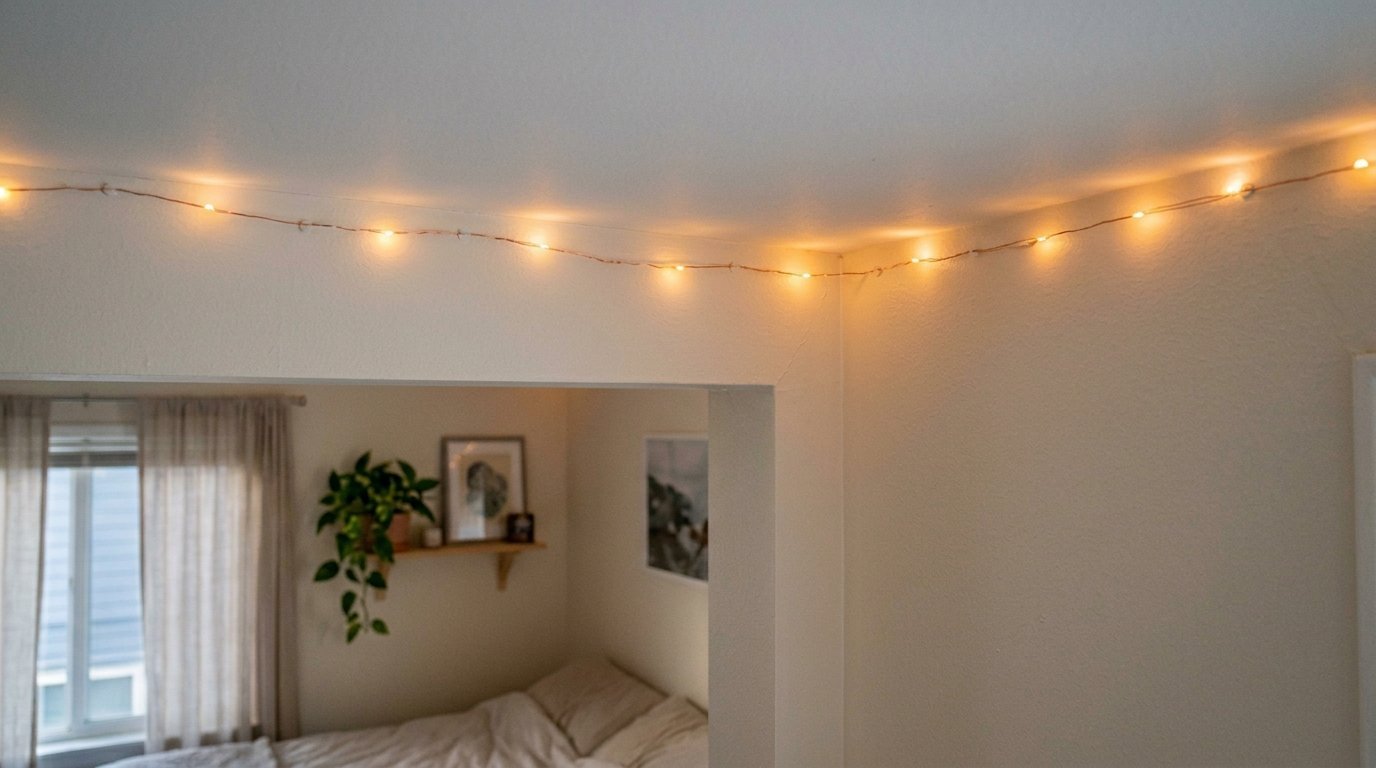
Fairy lights weigh almost nothing. You can map out patterns on your ceiling using small dots of sticky tack. Roll a pea sized ball of tack. Press it onto the wire. Push the wire into the corner of the ceiling. Space the tack every two feet to stop the wire from sagging. Clear tape peels paint easily but tack stays gentle. Create a glowing canopy over your bed. The soft glow sets a calm mood at night. You can remove the entire string in five minutes.
15. Easel Stands for Large Art
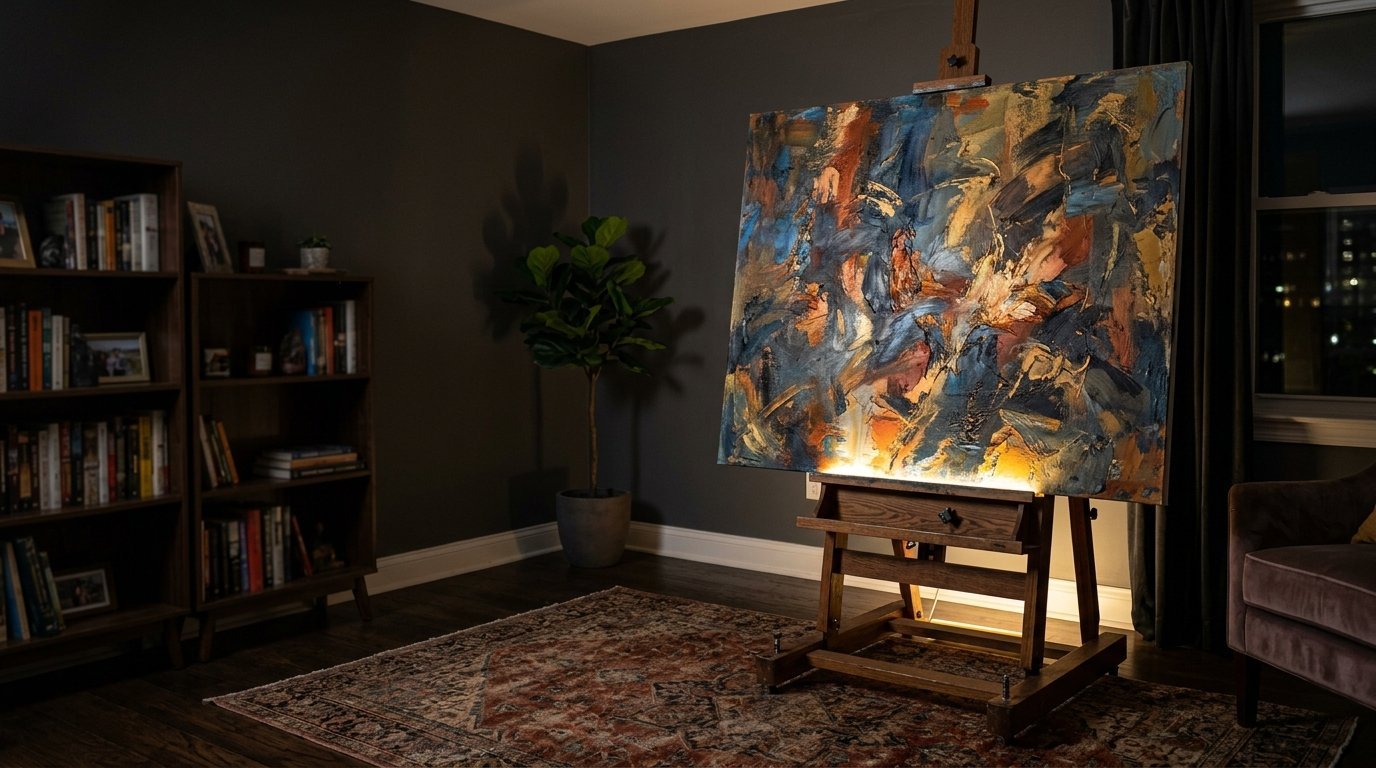
Painters easels turn flat art into furniture. Buy a tall wooden display easel from a craft store. Rest your heaviest framed canvas on the front pegs. You can place the easel in a dark corner. Put an uplight on the floor behind the wood legs. The shadow makes the art look massive. This displays show pieces for living room corners beautifully. You avoid wall mounting completely. You can angle the canvas down slightly to cut glare from windows.
16. Clamp Lamps on Bookshelves
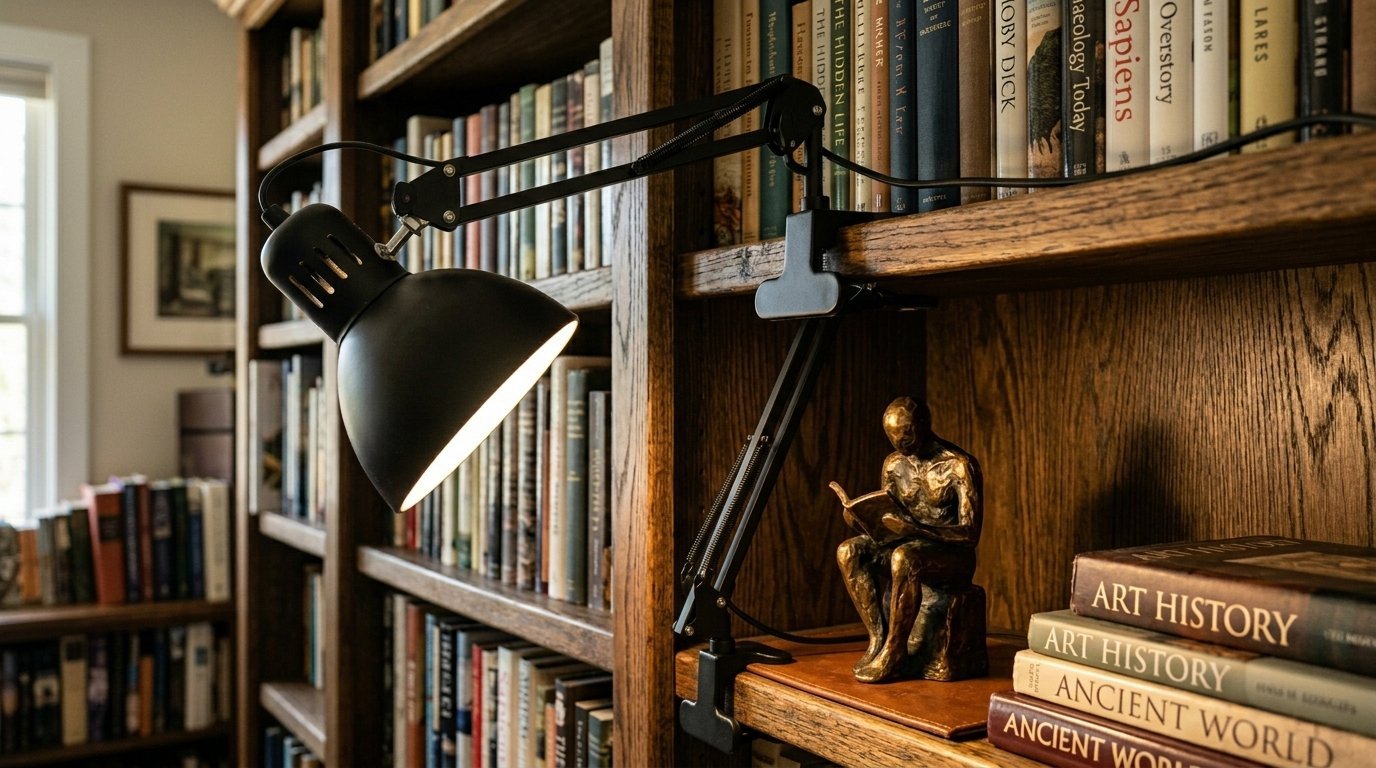
Bookshelves sit right next to the wall. You can clamp heavy metal lamps onto the top shelf. Aim the light bulb down at your art pieces sitting on the lower shelves. The clamp grips the wood tight. Hide the power cord behind the books. This avoids drilling sconces into your drywall. You get gallery lighting in five minutes. Buy a smart bulb to control the light with your phone. The direct light makes standard prints look expensive.
17. Adhesive Pegboards
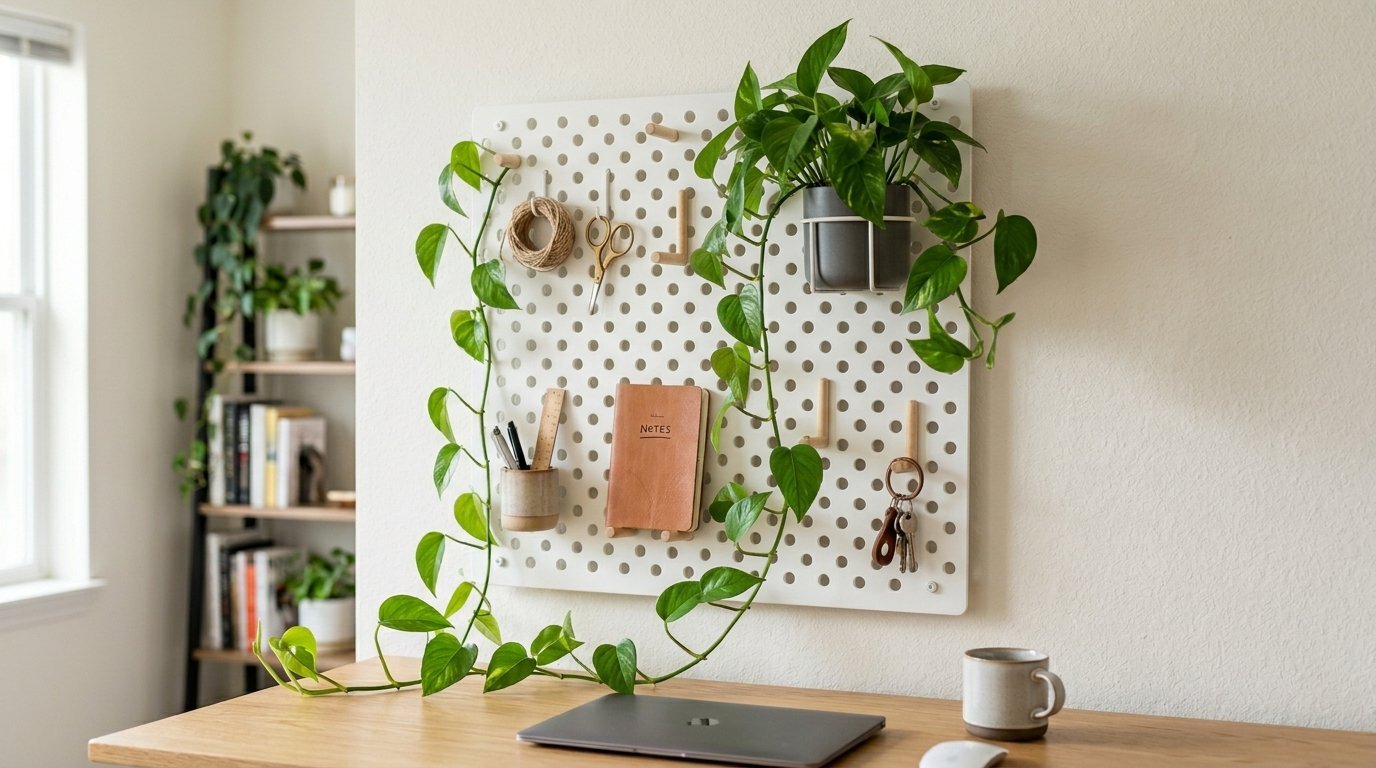
Plastic pegboards stick to the wall using thick foam tape. Buy modular square pegboards. Clean the wall thoroughly first. Stick four squares together to make a large rectangle. Push plastic pegs into the holes to hold shelves. You can store craft supplies or display small plants. The plastic weighs less than wood. The adhesive holds strong against smooth drywall. Keep moisture away from the foam tape. Bathrooms ruin the tape quickly. Keep this setup in dry bedrooms or offices.
18. Foam Core Collages
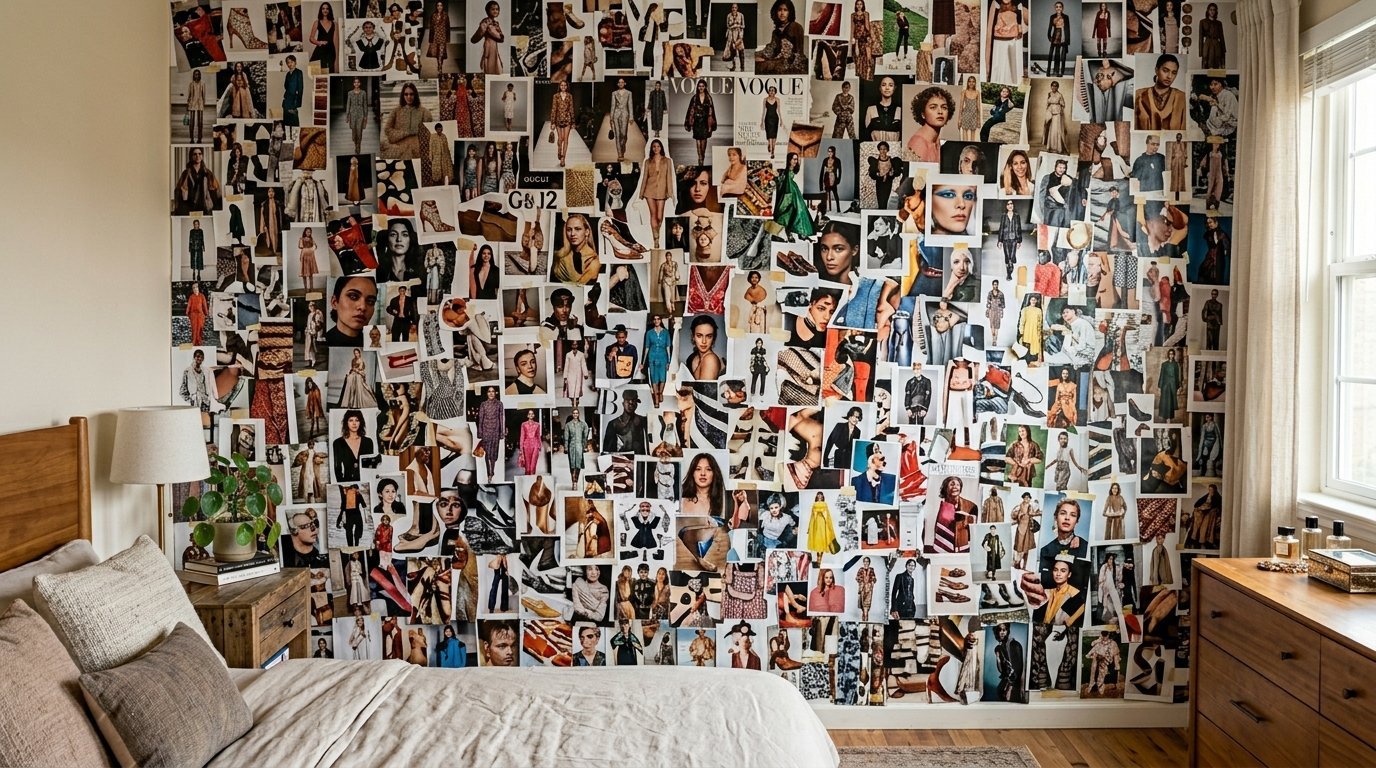
You can make giant art using cheap foam core. Buy a massive sheet of lightweight foam board from a craft store. Glue your small pictures all over the board. You make one giant collage. Mount the single lightweight board to the wall using four adhesive strips. You get a massive gallery wall look with only four sticky points touching the wall. You can take the whole board down in one move. The foam weighs ounces.
19. Floating Shelves with Adhesives
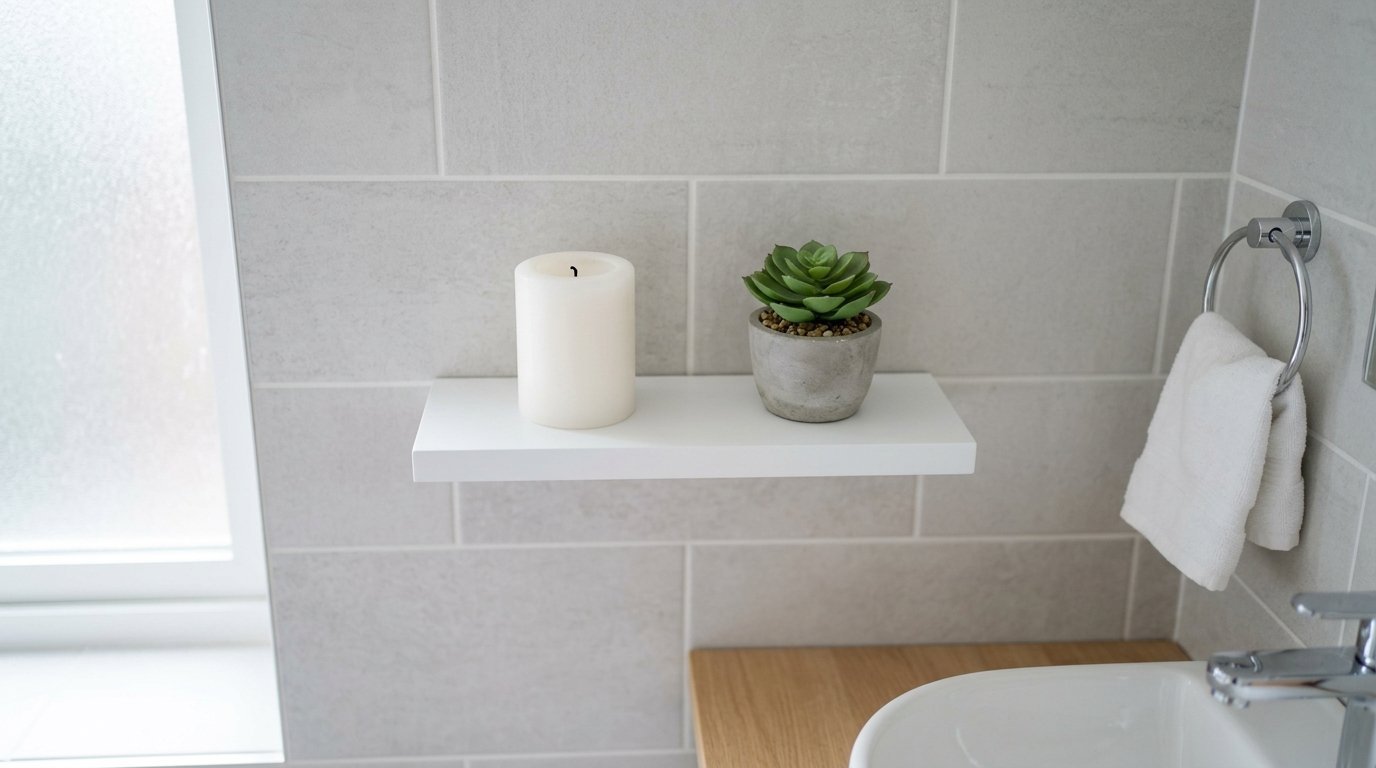
You can mount small floating ledges without screws. Buy hollow plastic ledges meant for adhesive mounting. The back plate sticks to the wall with a large surface area pad. The ledge slides onto the plate. You can only place extremely light items here. Stick to small fake succulents or unlit candles. Test the weight limit with a book first. Put a pillow on the floor under the shelf during the test. If it falls the pillow catches it.
20. Clear Museum Gel
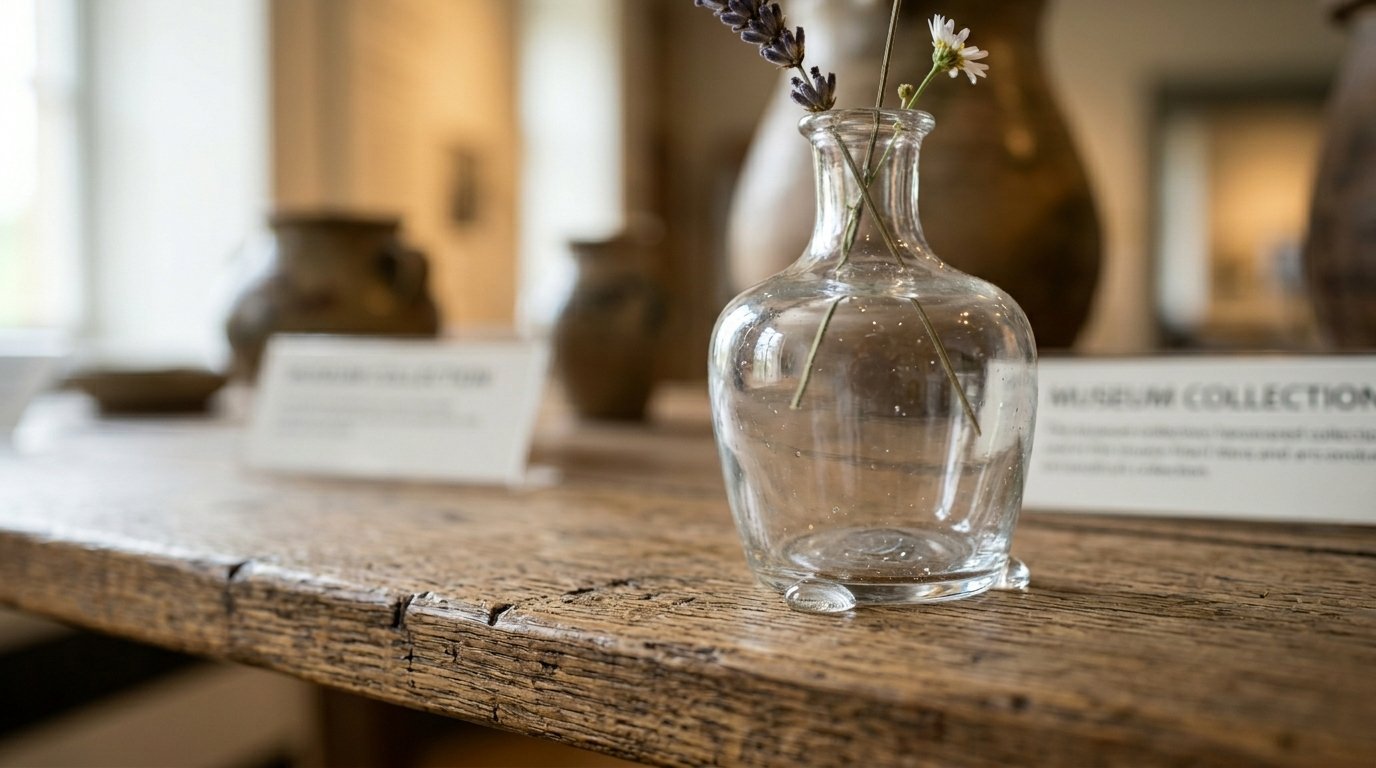
Museum gel stops things from falling off shelves. Roll a tiny ball of clear gel. Put it under your glass vases or ceramic figures. Press the item down onto your shelf. The gel grips the bottom tight. The item will not tip over if you bump the shelf. The gel stays invisible under glass. You can twist the item hard to break the seal. This protects your show pieces for living room displays from pets or kids. The gel never dries out.
21. Brick Clips for Exposed Masonry
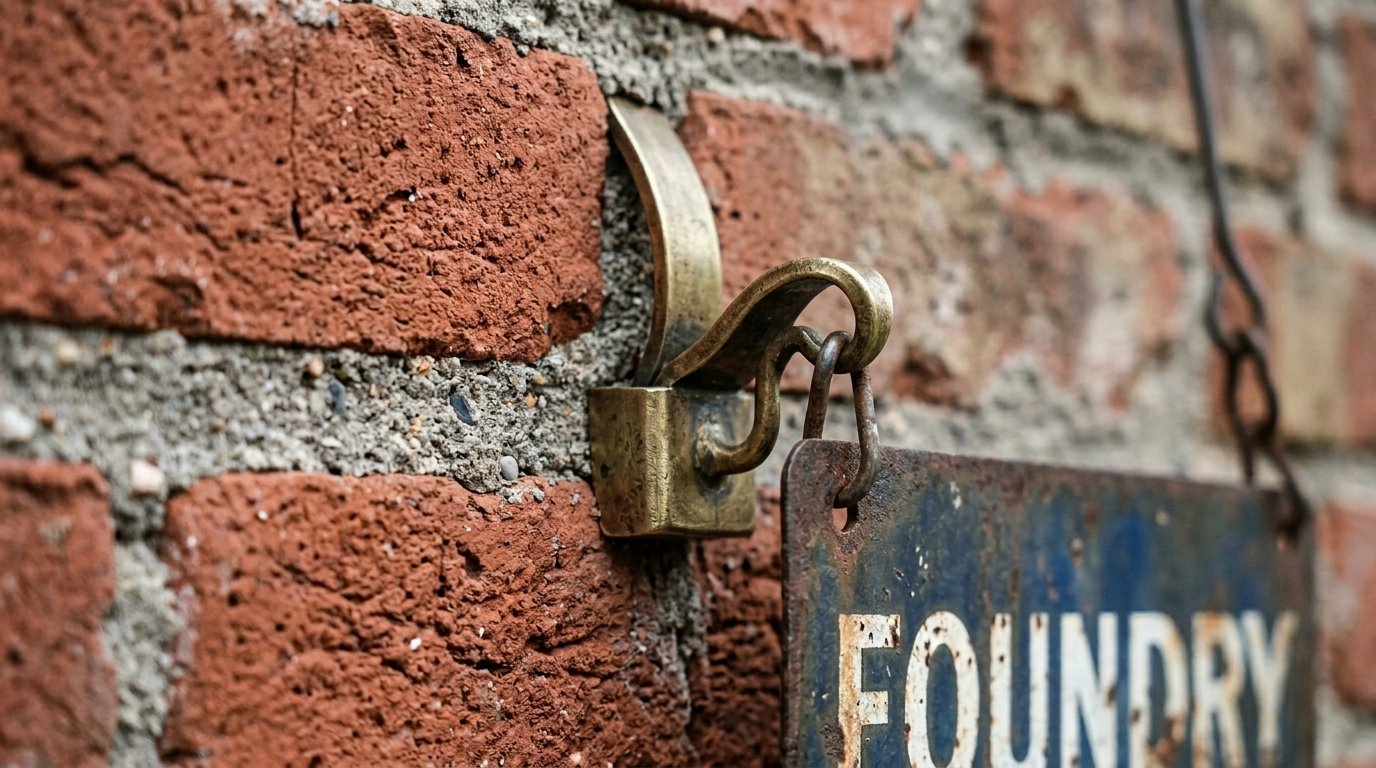
Exposed brick ruins drill bits. You can hang art on brick using metal tension clips. The clip has teeth that grab the top and bottom edge of a single brick. Squeeze the clip tight and push it into the mortar line. The metal teeth bite into the rough surface. Hang your frame on the front hook. Measure your bricks before buying. Standard clips fit bricks exactly two and one quarter inches tall. You can hang heavy metal signs this way. You never touch a drill.
Frequently Asked Questions
What holds up heavy mirrors without nails?
Heavy duty hook and loop strips handle massive weights. You must use the 16 pound rated strips. Space them evenly around the entire frame perimeter. Clean the wall and frame back with high purity isopropyl alcohol first.
Does mounting putty leave grease marks?
Yes. The oils inside standard putty will bleed into flat or matte paint over time. Stick to using putty on semi gloss finishes, glass, or metal surfaces. You can wipe the oils off glossy surfaces easily.
How do I hang string lights without thumbtacks?
Small beads of poster putty work best. Press the putty directly onto the wire every two feet. Push the putty firmly into the corner where the wall meets the ceiling.
Can adhesive strips damage drywall?
They tear paper easily if removed incorrectly. You must pull the removal tab straight down along the wall surface. Never pull the tab out toward your body. Pulling outward rips the paint immediately.
What is the best way to hang tapestries?
A tension rod placed inside a window frame works perfectly. You drape the fabric over the rod. You avoid putting sticky residue on your fabric and you avoid puncturing the wall.
Final Thoughts on No-Nail Decor
You possess every trick needed to mount beautiful art securely. You can hang massive heavy mirrors using strong adhesives or display delicate polaroids with colorful tape. Take your time prepping the wall surfaces properly. Press the adhesives firmly for the full thirty seconds. Your security deposit remains safe. Your walls stay completely smooth. Grab a pack of heavy duty strips and hang that frame sitting on your floor right now.

Anya Castellan is the Founder and Editor-in-Chief of Home Wall Trends. An art history graduate of the Rhode Island School of Design with twelve years of experience writing for leading American design publications, she specializes in composition, gallery wall theory, and the quiet architecture of domestic space. A former contributing editor at Architectural Digest and guest lecturer at Parsons School of Design, Anya personally reads and signs off on every piece before it is published.