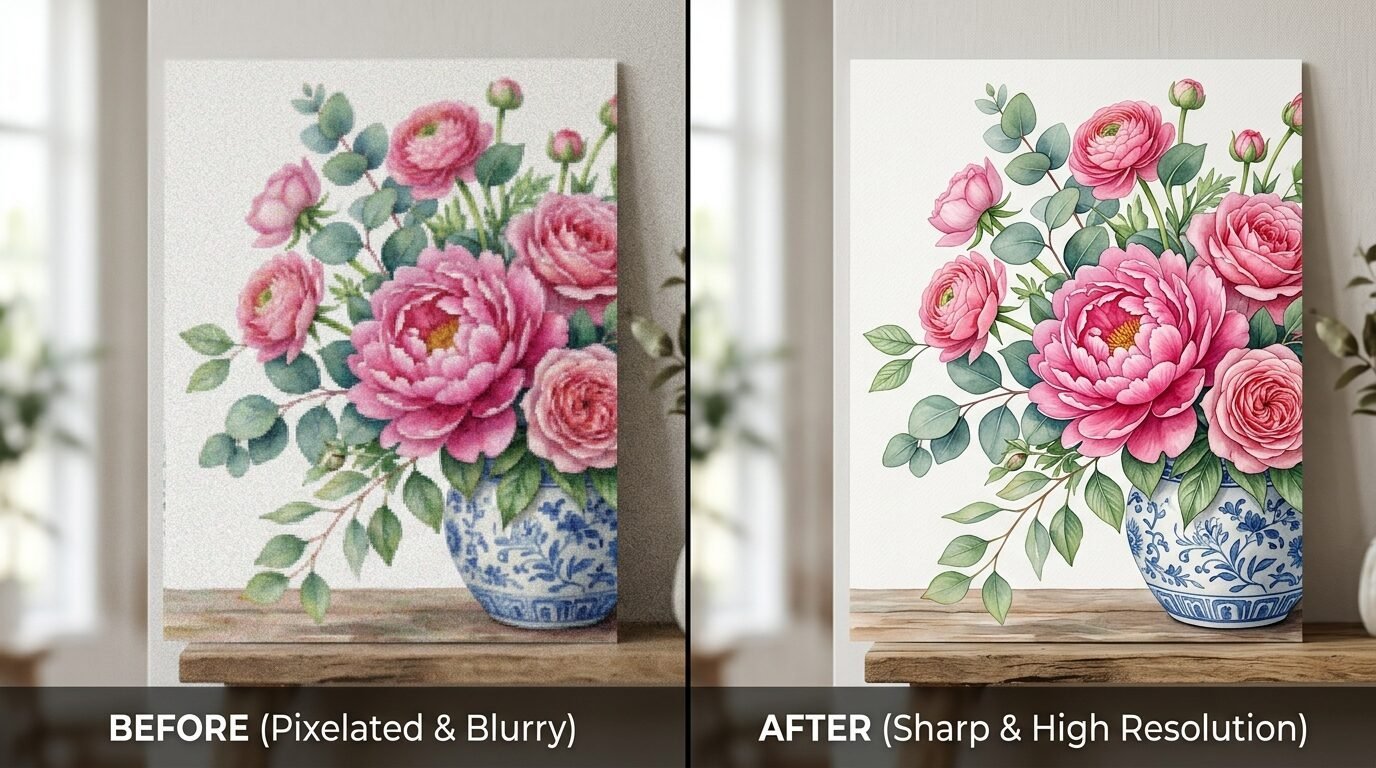
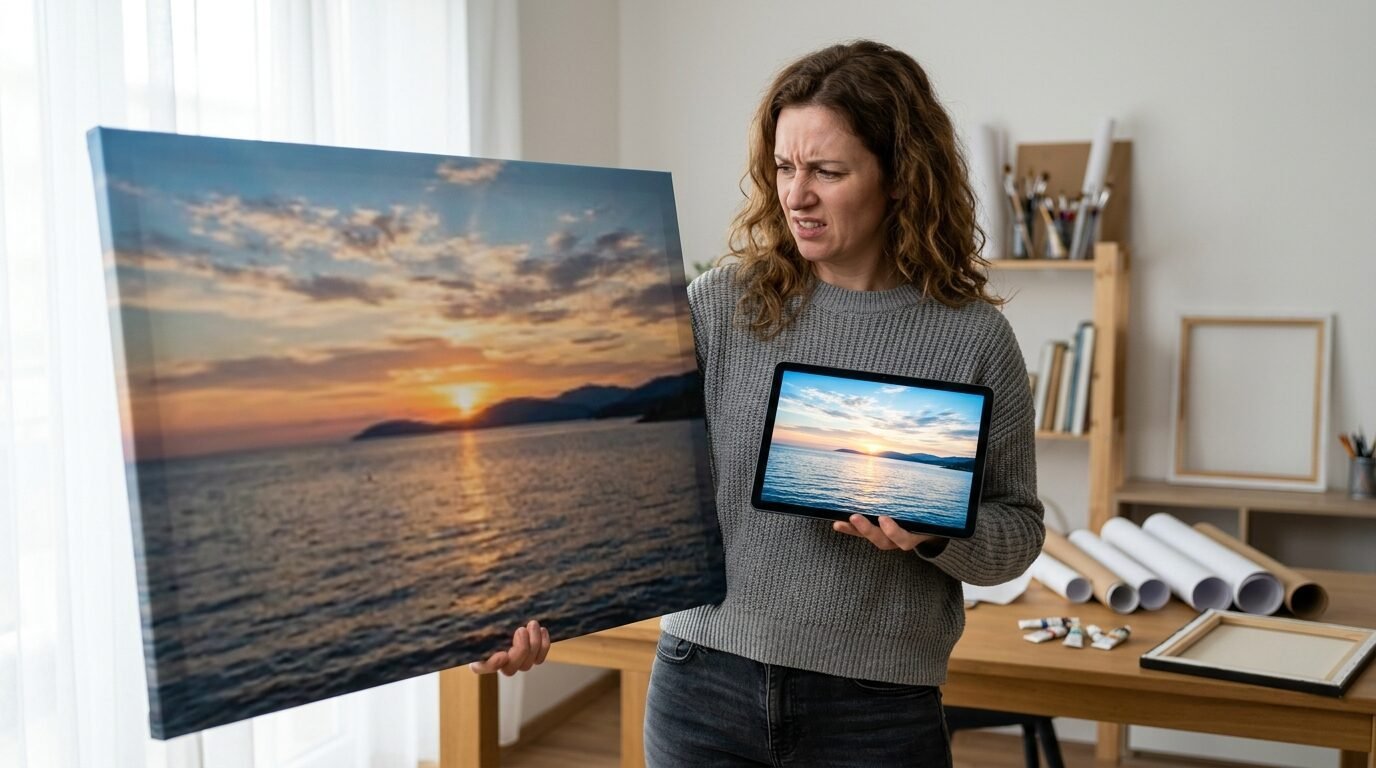
I remember the first time I bought a beautiful floral Etsy download. It looked stunning on my phone screen. I wanted it as a large focal piece for my guest room. I sent the file to a local shop for cheap canvas prints and waited. When I picked it up, my heart sank. The flowers looked like blocks of messy color. The lines were jagged. It was a blurry disaster. I had tried to make a small file way too big without knowing the rules.
That mistake taught me everything about how pixels work. You cannot just pull the corner of an image and expect it to stay sharp. Digital files have limits. But there are ways to push those limits. I have spent years testing different online printing services and software. I’ve turned tiny vintage sketches into massive wall murals. This guide shows you exactly how to get professional results with your downloadable prints. You will learn how to scale your art so it looks crisp, expensive, and gallery-ready.
1. Use AI Upscaling Software For Sharp Edges
In my experience, standard resizing just stretches pixels. This makes your cool wall art look fuzzy. AI upscaling is different. These tools use machine learning to guess what the missing pixels should look like. They actually fill in the gaps with new data. I recently used a tool called Topaz Gigapixel AI on a low-resolution art print download. The original was only 1000 pixels wide. I needed it to be 4000 pixels for a large frame.
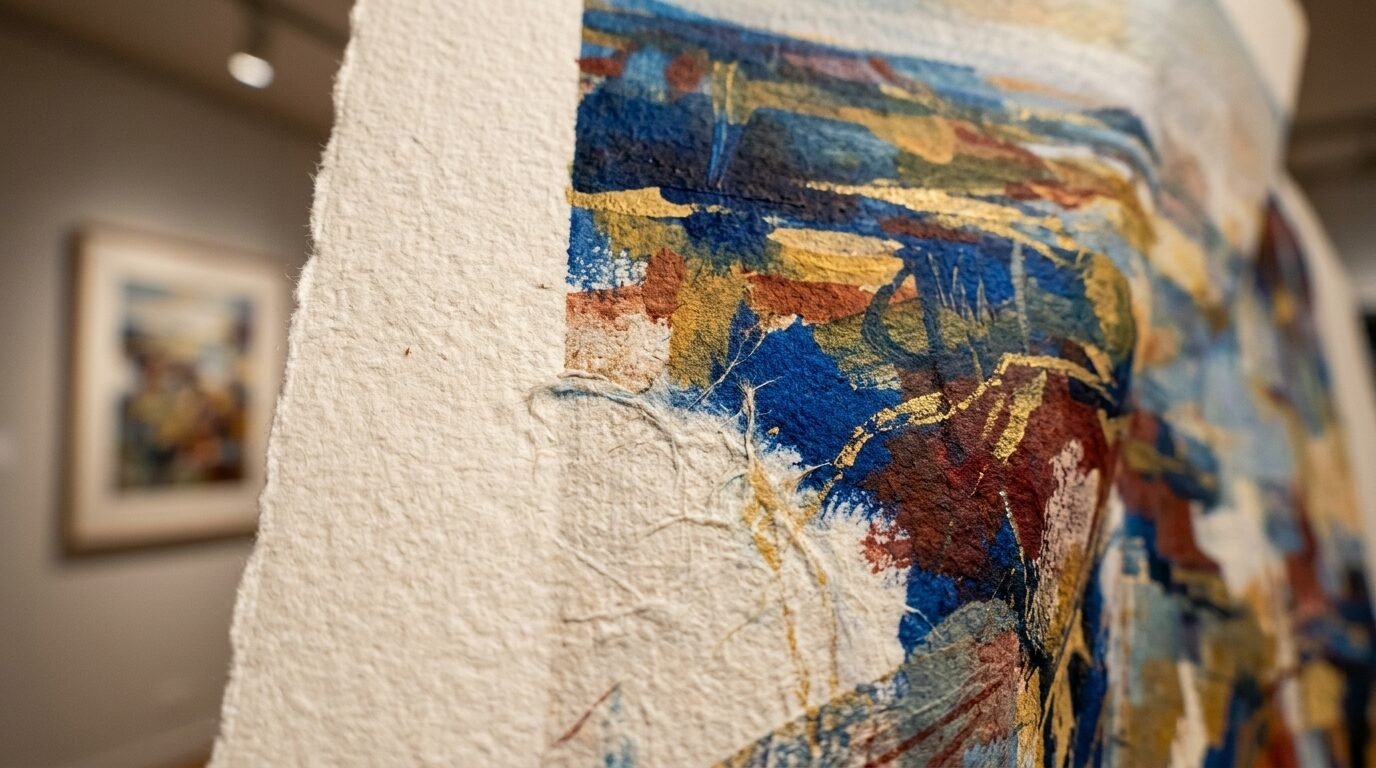
The AI didn’t just stretch the lines. It redrew them. The result was a file that looked like it was shot on a high-end camera. If you have a file that is too small for your wall, this is your best option. Many of these tools offer a free trial. I saw a huge difference when using this on complex oil painting styles. It kept the brushstrokes visible instead of turning them into mud.
2. Change The DPI Settings In Photoshop
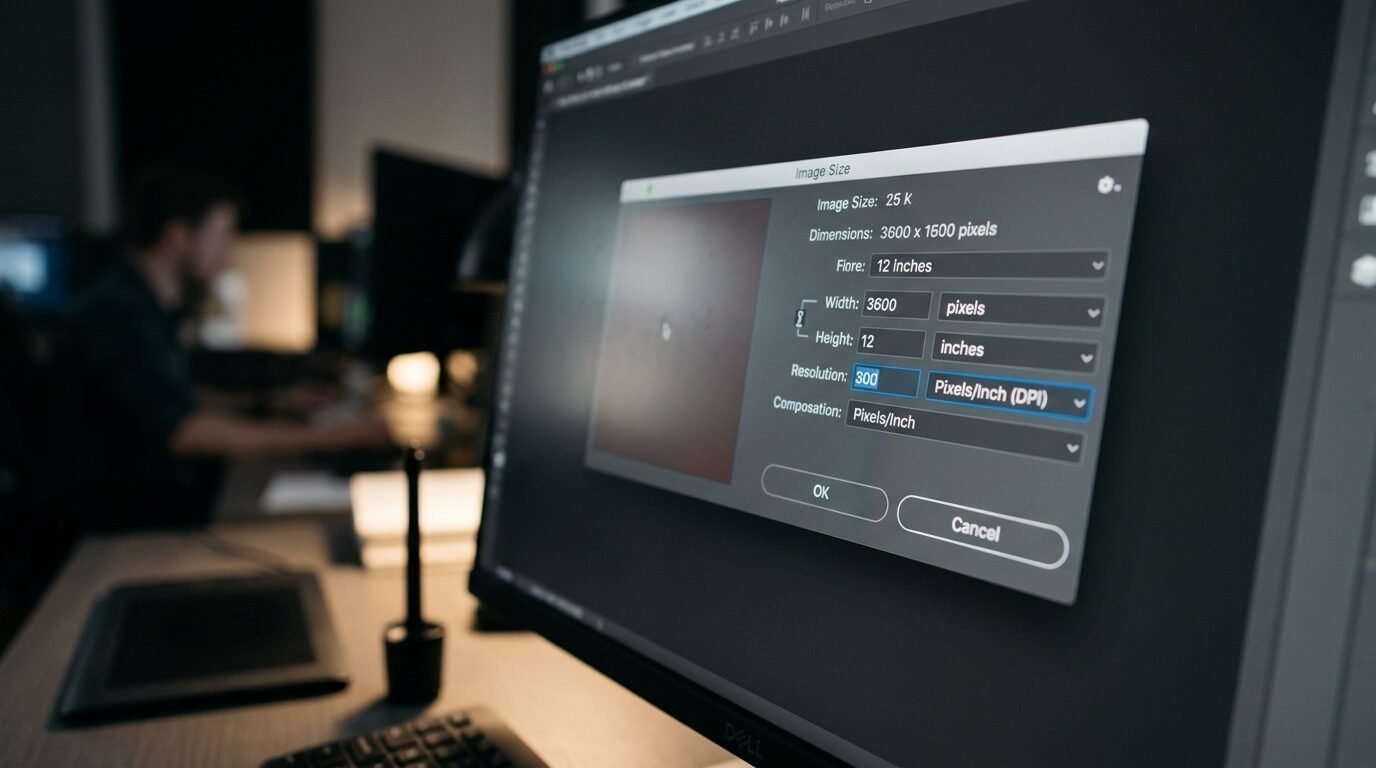
Most people think about image size in inches. Pro printers think in DPI or dots per inch. If your downloadable prints are set to 72 DPI, they will look great on a screen but terrible on paper. For a high-quality print, you need 300 DPI. I’ve noticed that many people try to resize by just changing the inch measurements.
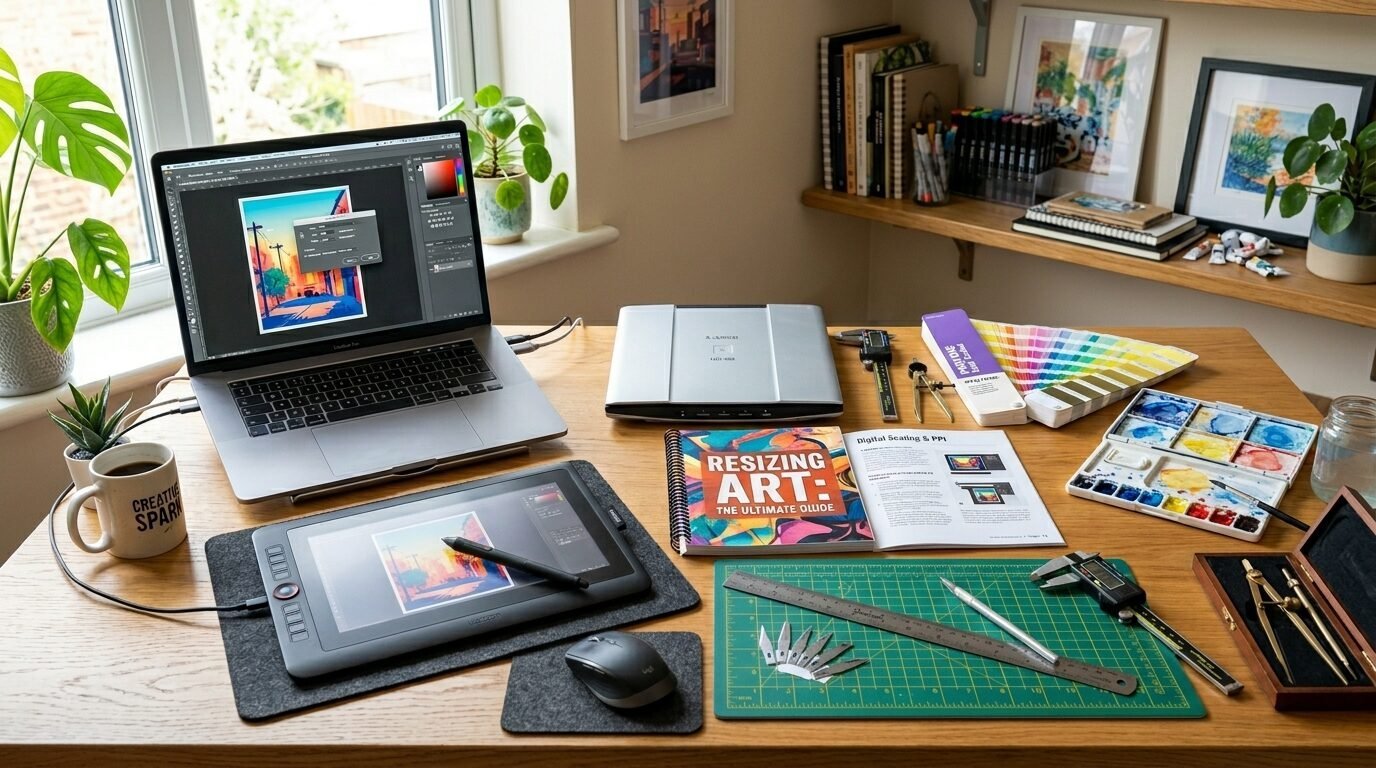
Instead, open your file in a program like Photoshop or GIMP. Look for the Image Size menu. Uncheck the “Resample” box first. Then, change the resolution to 300. This tells the software to pack the existing pixels closer together. It will make the physical print size smaller but much sharper. If the size is still too small, you can then check “Resample” and use the “Preserve Details 2.0” setting to grow it slightly. This two-step process has saved dozens of my projects from the trash bin.
3. Convert Your Art To Vector Format
This is a secret for graphic art and simple illustrations. If your wall art prints printables have clean lines and flat colors, you can vectorize them. Vectors do not use pixels. They use mathematical paths. This means you can scale a vector image to the size of a skyscraper and it will never blur.
I use a tool called Vector Magic or the Image Trace feature in Adobe Illustrator. I once took a tiny logo from a free downloadable prints site and turned it into a vector. I printed it on a five-foot wide cheap canvas. Every line was perfectly sharp. This does not work well for photographs or complex paintings. It is perfect for modern quotes, mid-century shapes, and minimalist line art.
4. Use The Ten Percent Step Method
If you do not have fancy AI software, use this old school trick. I learned this from a professional photographer years ago. Instead of resizing a small Etsy download to 400% all at once, do it in small steps. Open your image editor and increase the size by only 10% at a time.
Repeat this process until you reach your target size. For some reason, the math behind standard interpolation works better in small bites. It creates fewer artifacts. I tried this on a photo of my dog that I wanted to print as cool wall art. The 10% method looked much better than one giant jump. It takes a few extra minutes but the clarity is worth the effort.
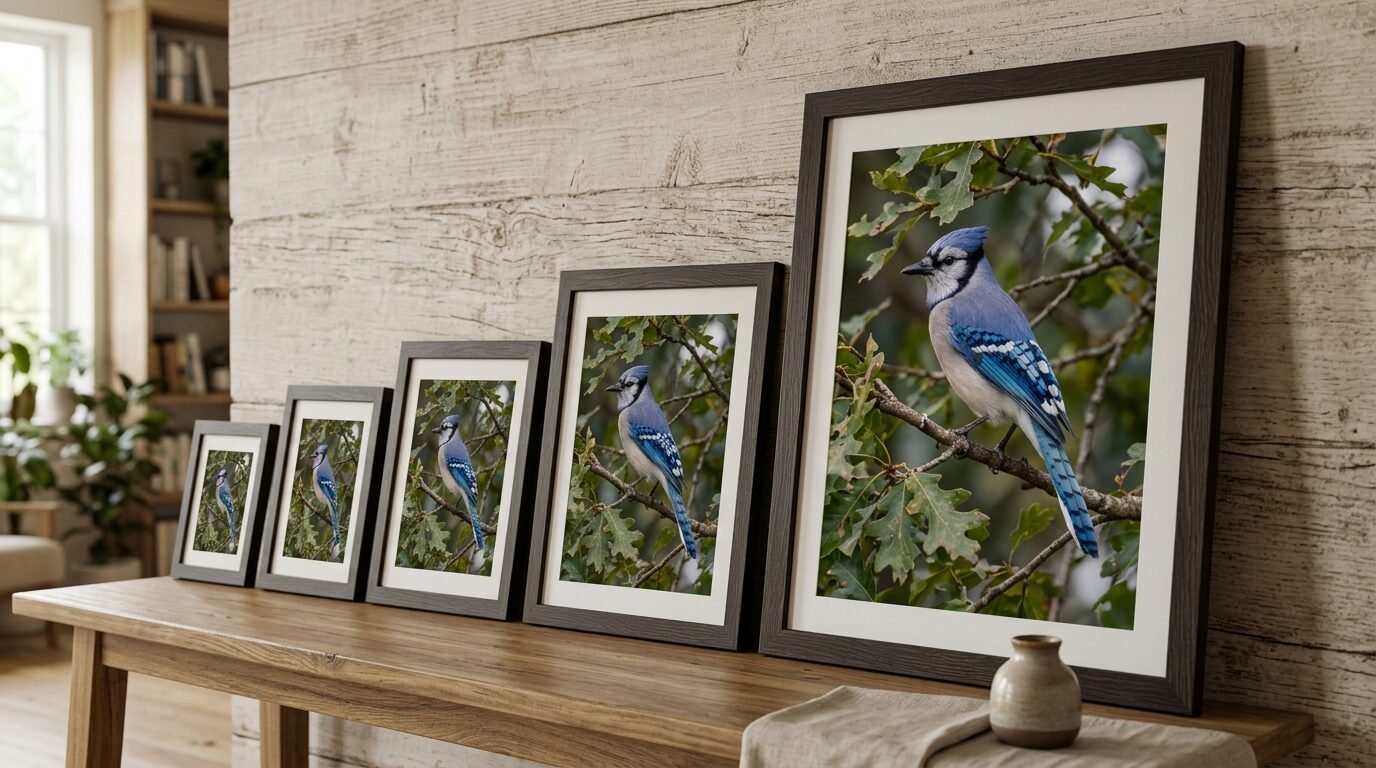
5. Crop To The Correct Aspect Ratio First
Nothing ruins a print faster than stretching the image to fit a frame. If your digital file is a square but your frame is a rectangle, you will get “fat” or “thin” looking art. This is a common mistake I see with downloadable prints.
Before you resize, decide on your frame size. If you want a 24×36 print, set your crop tool to a 2:3 ratio. Cut the image to that shape first. Once the shape is right, then you can increase the resolution. I’ve seen beautiful portraits ruined because the user forced an 8×10 file into a 5×7 frame without cropping. Always match the ratio before you touch the size settings.
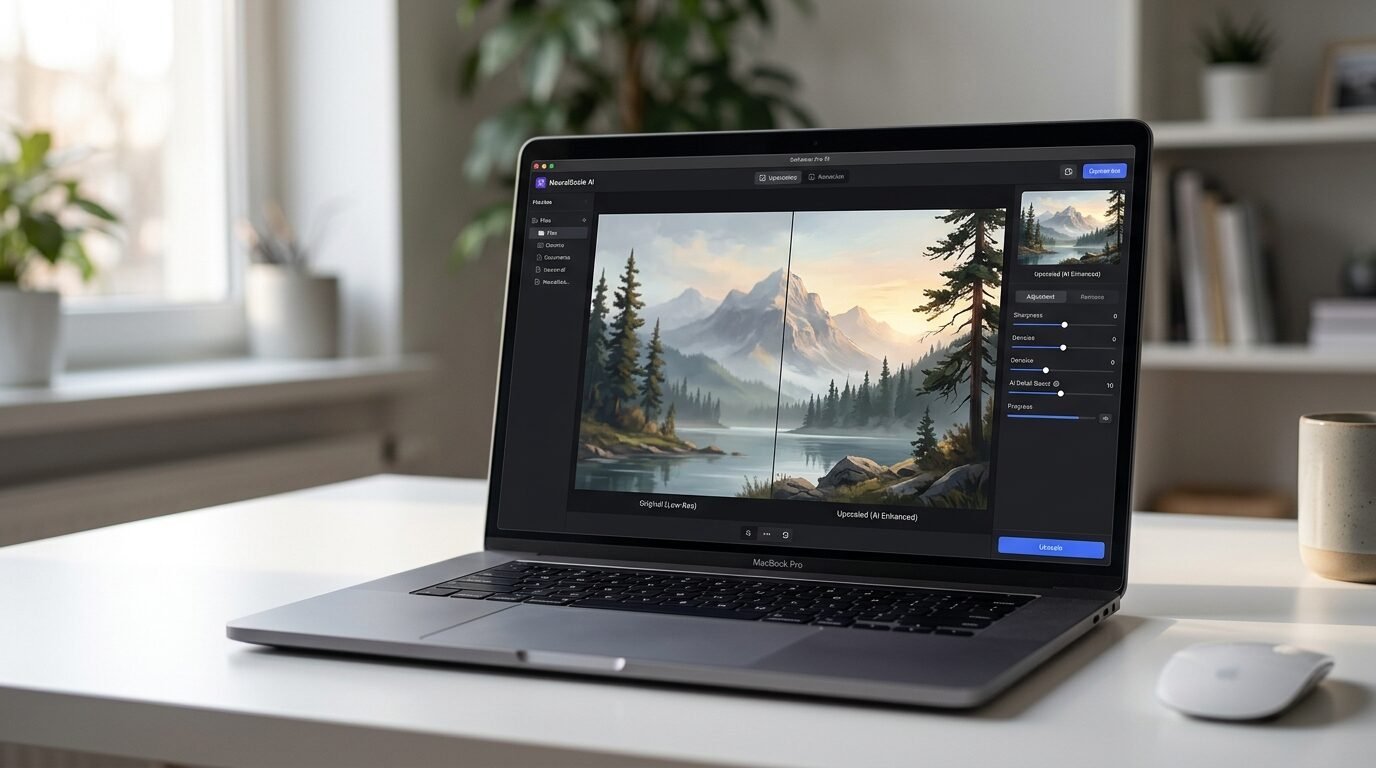
6. Utilize Online Upscaling Services
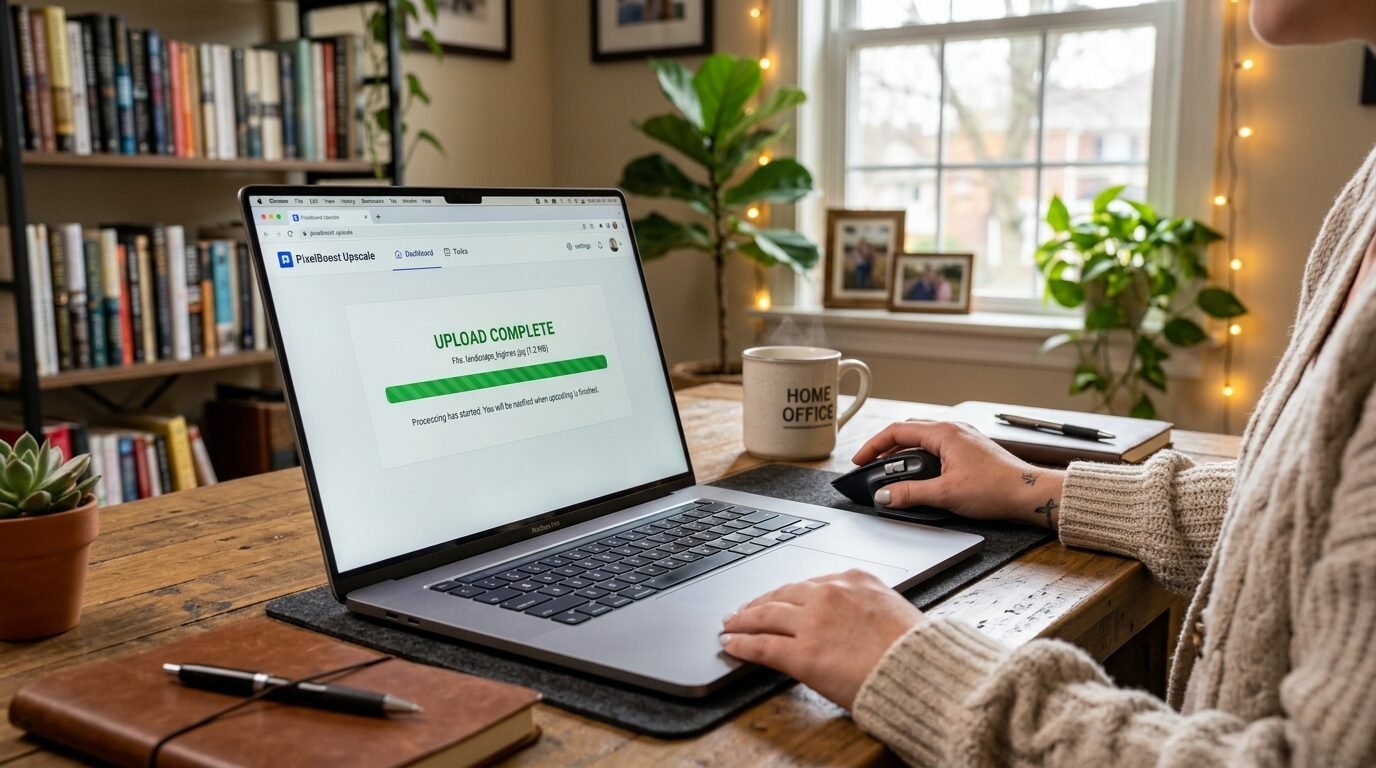
Not everyone wants to install heavy software. I often use web-based tools like Upscale.media or Adobe Express. These are great for a quick art print download fix. You simply upload your file and choose your magnification level.
In my tests, these free online tools are better than basic “Preview” or “Paint” programs. They use lighter versions of AI to smooth out the grain. I used this for a set of free downloadable prints I found for my kitchen. The originals were small, but the online upscaler made them look crisp enough for 11×14 frames. It is a fast way to work if you are on a tight budget.
7. Apply A Subtle Grain Post-Resize
When you make an image bigger, the flat areas can start to look “plastic” or fake. This is a side effect of the software trying to smooth things out. To fix this, I always add a tiny bit of digital noise or grain.
In Pixlr or Canva, look for the grain filter. Set it to about 3 or 5 percent. This mimics the look of real film or paper texture. It tricks the eye into seeing more detail than is actually there. I did this with a cheap canvas print of a mountain scene. The grain hid the slight blur from the resizing process. It made the whole piece look intentional and artistic rather than just a low-quality file.
8. Leverage Smart Objects In Design Software
If you are using Adobe products, always convert your layer to a “Smart Object” before resizing. This is a non-destructive way to work. It preserves the original data of your wall art prints printables.
I once spent an hour resizing a file up and down, only to realize I had lost all the quality because I wasn’t using smart objects. When you use this feature, you can shrink an image and then blow it back up without losing a single pixel. It is a safety net for your creativity. It ensures that your cool wall art stays as high-quality as possible during the design phase.
9. Check Your File Format Before Printing
The type of file you save matters. JPEGs lose quality every time you save them. This is called compression. For the best online printing services results, try to work with TIFF or PNG files until the very end.
I’ve noticed that many Etsy download files come as JPEGs. When you resize these, the “blocks” from the compression become very obvious. If you can, save your resized masterpiece as a high-quality PDF or a TIFF. These formats keep the colors and edges much cleaner. I always send PDFs to my printer. It ensures the fonts and fine lines stay exactly where I put them.
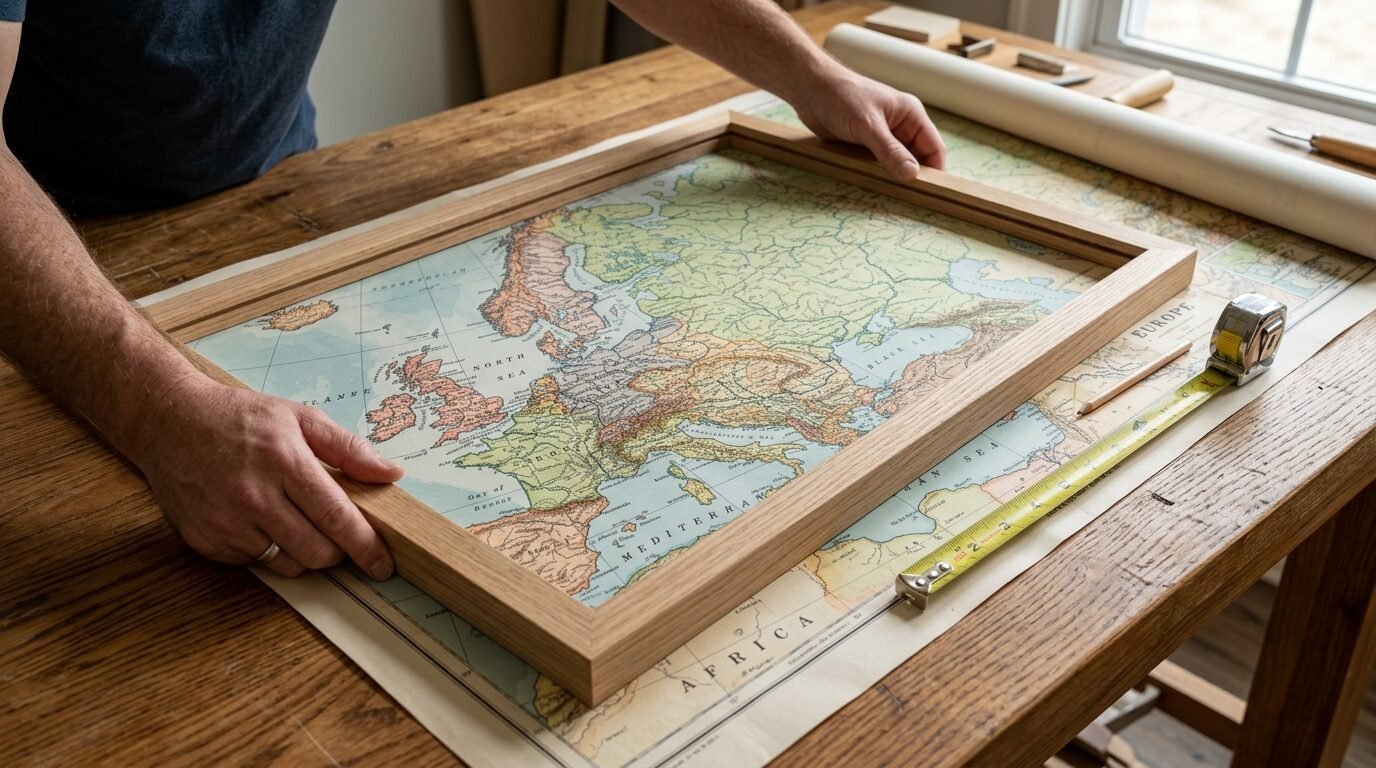
10. Use The High Pass Filter For Sharpness
After I resize an art print download, I often use a “High Pass” filter. This is a professional trick to sharpen edges without creating weird halos. You duplicate your layer, apply the high pass filter until you see the outlines, and then set that layer to “Overlay” mode.
It makes the details pop. I used this on a map print that had tiny text. After making it bigger, the text was hard to read. The high pass filter brought back the contrast in the letters. My friend thought I had bought a high-resolution original when it was actually just a resized small file.
11. Test Print A Small Section
Before you spend money on a large cheap canvas, do a test. Zoom in on your computer to 100%. This is how big the pixels will look in real life. If it looks bad on your screen at 100%, it will look bad on your wall.
I like to print a small 4×6 inch section of the resized art on my home printer. I choose the area with the most detail, like a face or a flower. This tells me if the colors are right and if the edges are sharp. It has saved me a lot of money on online printing services that I would have wasted on blurry prints.
12. Choose The Right Paper For Your Size
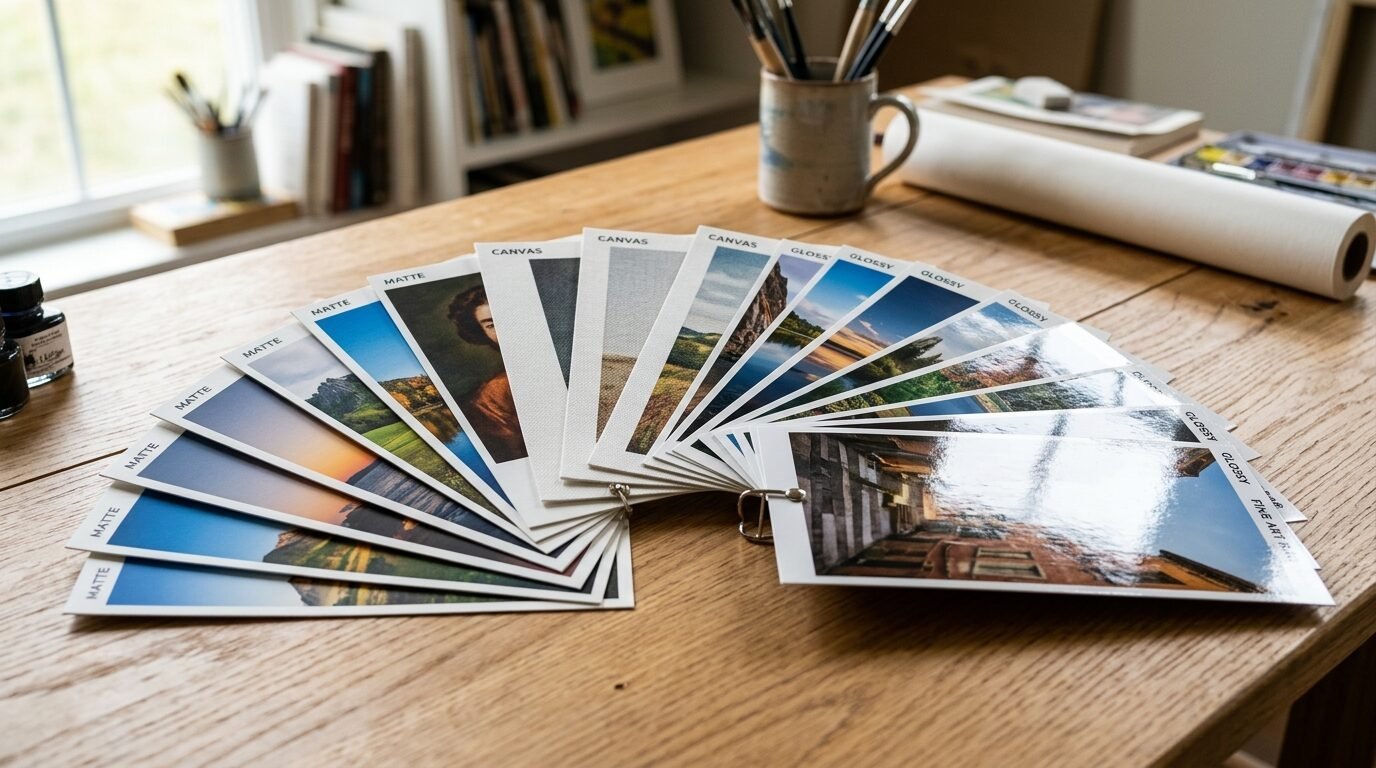
The surface you print on can hide or highlight your resizing work. If your file is slightly imperfect, choose a matte paper or a textured canvas. The texture of a cheap canvas is very forgiving. It breaks up the lines and hides minor pixelation.
On the other hand, glossy paper shows every single flaw. If I am worried about the quality of my downloadable prints, I always go for a heavy cardstock with a bit of tooth. I’ve seen large prints look amazing on matte paper even when the resolution was a bit low. The way the light hits the paper makes a huge difference in the final look of your cool wall art.
Which File Formats Scale Best For Home Decor?
Choosing the right format is the foundation of your project. Most people just use whatever the Etsy download provides. However, understanding the difference can save your design.
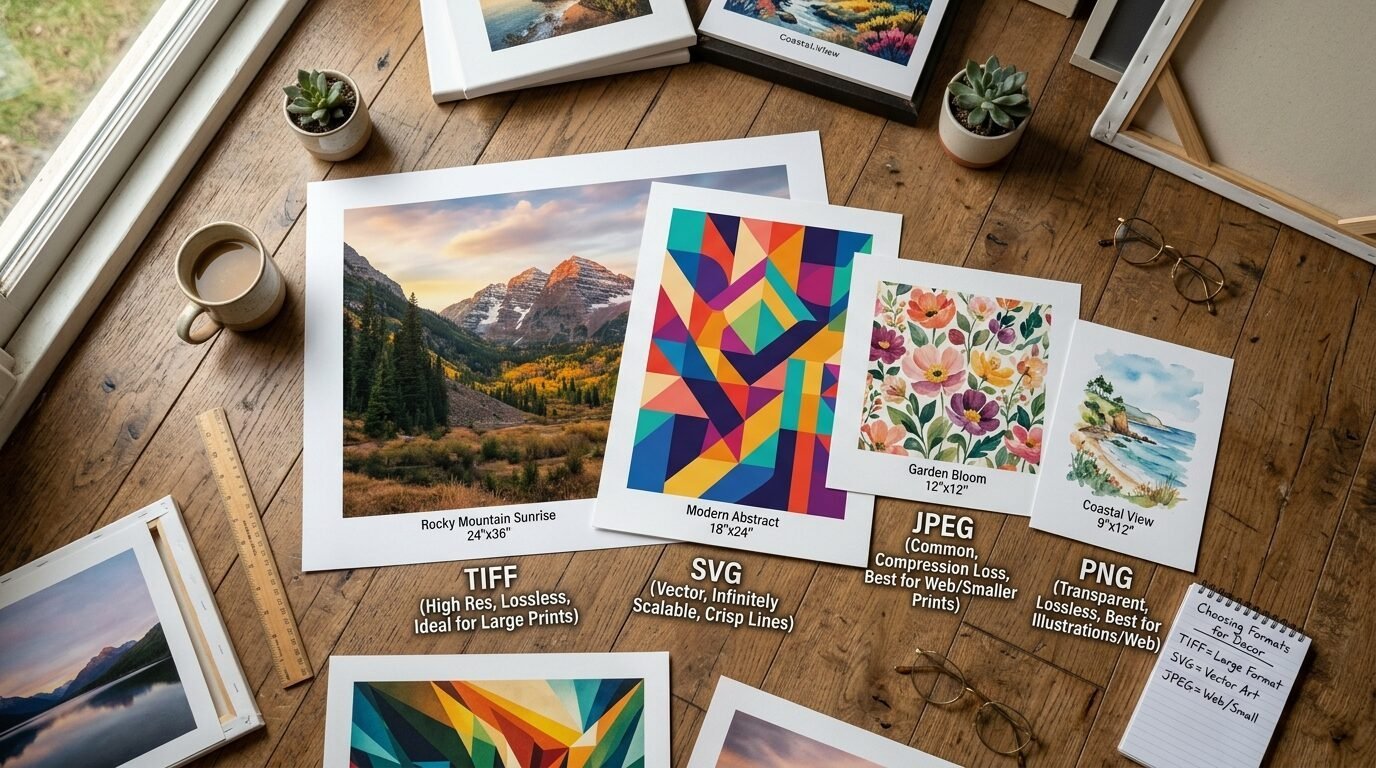
- PDF: This is the gold standard. It often handles both vector and raster data. Most online printing services prefer this because it keeps everything in place.
- JPG: These are small and easy to share. But they are “lossy.” Every time you edit and save, you lose a bit of magic. Use these only for the final, final version.
- PNG: These are “lossless.” They are great for digital art with transparent backgrounds. They scale better than JPEGs because they don’t have those ugly compression squares.
- TIFF: These are huge files. They contain the most data. If you are printing a massive cheap canvas, use a TIFF. It is what the pros use.
In my experience, converting a JPG to a PDF before sending it to a printer doesn’t magically add quality. You have to do the resizing work first. I’ve seen people get confused by this. The quality happens in the editing software, not just the file extension.
8 Must-Have Tools For Resizing Art On Any Budget
You do not need to be a professional designer to fix your art. There are tools for every price point. Here are the ones I actually use and trust.
- Canva: Great for beginners. It has a “Magic Switch” tool that helps with aspect ratios. It is perfect for wall art prints printables.
- Topaz Gigapixel AI: This is the best for serious upscaling. It is a paid tool, but it is worth every penny for big projects.
- GIMP: This is a free version of Photoshop. It is powerful but has a bit of a learning curve.
- Upscale.media: A free online tool. It is surprisingly good for a quick fix on an art print download.
- Adobe Express: This is Adobe’s answer to Canva. It has great built-in resizing features.
- Pixlr: A browser-based editor. It is very fast and has a good sharpening tool.
- VanceAI: Another powerful AI upscaler that works in your browser.
- IrfanView: An old school Windows tool. It has a very high-quality “Lanczos” resizing filter that works wonders.
I’ve tried dozens of apps. Most “free” mobile apps just add watermarks or ruin the file. Stick to these names for the best results. I’ve noticed that Topaz is the only one that truly handles old, grainy photos well.
Common Resizing Mistakes That Ruin Great Wall Art
I have seen the same errors over and over again. Avoiding these will put you ahead of 90% of DIY decorators.
First, do not ignore the “low resolution” warning on printing websites. If online printing services tell you the file is too small, believe them. They aren’t trying to be difficult. They are trying to save you from a bad product.
Second, don’t try to make a horizontal photo fit a vertical frame. You will either have to cut off the best parts or stretch the image. I saw a friend try to stretch a landscape photo to fit a tall frame. The mountains looked like thin needles. It was weird.
Third, avoid over-sharpening. When you resize, you might be tempted to crank up the sharpness. This creates white lines around your objects. It looks digital and cheap. Keep it subtle.
Finally, don’t forget about the “bleed.” Most printers cut off a tiny bit of the edge. If you put your text or important art too close to the side, it might get chopped off. I always leave a half-inch safety zone around my cool wall art.
A Quick Comparison Of Professional Printing Services
Where you print is just as important as how you resize. Not all shops are the same.
| Service | Best For | Quality Level | Price Point |
| Mpix | Fine Art Prints | Excellent | Mid-Range |
| Printful | Large Posters | Great | Affordable |
| Staples | Quick Same-Day | Good | Cheap |
| Walgreens | Last Minute Gifts | Fair | Very Cheap |
| Shutterfly | Custom Books/Gifts | Good | Mid-Range |
In my experience, Mpix has the best color accuracy. If you spent a long time fixing an Etsy download, don’t waste it on a cheap drugstore printer. However, for cheap canvas prints that will be in a playroom, Staples or Walgreens can be fine. I’ve noticed that Shutterfly often has 50% off sales, which makes it great for gallery walls.
Frequently Asked Questions About Printable Art
How big can I print a 2000-pixel image?
A 2000-pixel image is best at 6×7 inches for pro quality. You can push it to 8×10, but it might start to lose some sharpness. If you use AI upscaling, you could get it to 16×20. I always check the pixels before I buy a frame.
Is 72 DPI okay for wall art?
No. 72 DPI is for screens only. If you print at 72 DPI, you will see the individual dots. Always aim for 300 DPI. If you are printing a very large cheap canvas that people will see from across the room, you can sometimes get away with 150 DPI.
Why do the colors look different when I print?
Screens use light (RGB) and printers use ink (CMYK). Screens are also backlit, which makes colors look brighter. I’ve noticed that my prints usually come out a bit darker than they look on my laptop. I often bump up the brightness by 10% before I save my art print download.
Can I resize a photo I took on my phone?
Yes. Most modern iPhones and Androids take photos large enough for an 11×14 print without any help. If you want to go bigger, use an AI upscaler. I have a 24×36 print of a beach photo from my phone, and it looks great because I used Topaz first.
What is the best paper for free downloadable prints?
I love a heavy matte cardstock. It makes free downloadable prints look like they came from a high-end boutique. Avoid thin, shiny paper. It wrinkles easily and looks like a school project.
Does Canva lose quality when resizing?
If you have the Pro version, the resizing is quite good. If you are using the free version and just stretching elements, you might see some blur. Always download your final design as a “PDF Print” for the best resolution.
Final Thoughts On Creating Your Dream Gallery Wall
Resizing your art doesn’t have to be scary. It is a mix of using the right tools and having a little patience. I’ve seen how much a high-quality print can change a room. It adds a layer of personality that store-bought art just can’t match.
Start with a good file. Use an upscaler if you need to go big. Always check your DPI. And most importantly, do a test print. Following these steps ensures your cool wall art looks exactly how you imagined it. You don’t need a degree in graphic design to have a beautiful home. You just need to know how to handle your pixels.
What are you planning to print next? I’ve found that vintage botanical prints are the easiest to resize and always look classic. Give it a try and see the difference for yourself.

Anya Castellan is the Founder and Editor-in-Chief of Home Wall Trends. An art history graduate of the Rhode Island School of Design with twelve years of experience writing for leading American design publications, she specializes in composition, gallery wall theory, and the quiet architecture of domestic space. A former contributing editor at Architectural Digest and guest lecturer at Parsons School of Design, Anya personally reads and signs off on every piece before it is published.