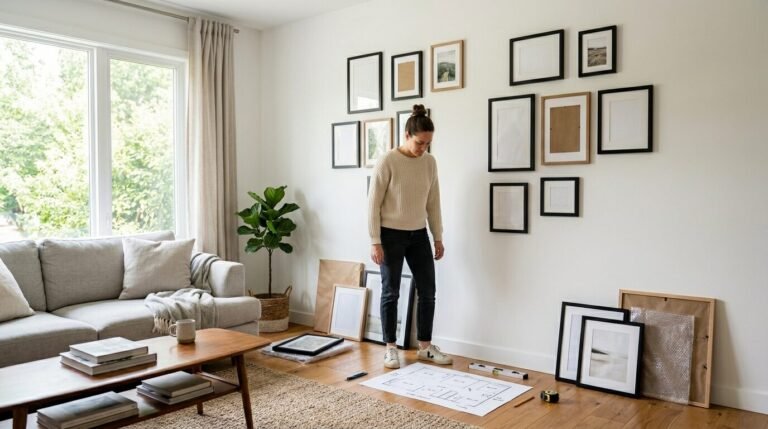
You stand in your living room. The walls are bare. You want a home that feels like a warm hug. But custom art costs a fortune. I know that feeling well. Five years ago, I moved into a small apartment with white walls and a tiny budget. I wanted that high-end look without the high-end price tag. That is when I found the world of printable wall art decor. It changed my home and my life.
Printables are digital files you buy or get for free. You print them yourself. It sounds simple. But there are secrets to making a five dollar file look like a five hundred dollar masterpiece. I made every mistake so you do not have to. I used thin paper. I picked the wrong sizes. I even ruined a few frames. Now I have a system that works every time. This guide shares everything I know. You will learn to find the best files. You will see how to pick the right paper. We will talk about frames and styling too.
Quick Summary of Printable Art Success
| Feature | Best Choice for Beginners | Why It Works |
| File Format | JPG or PDF | Easy to open and print anywhere |
| Print Size | 8×10 Prints | Fits standard cheap frames perfectly |
| Paper Type | Heavy Matte Cardstock | No glare and feels like real art |
| Art Style | French Country Prints | Timeless and hides small print errors |
| Printing | Local Print Shop | Better ink quality than home printers |
1. Choose High Resolution Digital Files

Quality starts with the file. I once found a beautiful image online. I printed it large. It looked blurry and messy. It was a low resolution file. When you look for printable wall art decor, check the DPI. DPI stands for dots per inch. You want 300 DPI. Anything less looks pixelated. Most Etsy sellers provide 300 DPI files. I always ask the seller if the size I want stays sharp.
In my experience, JPG files are best for photos. PDF files work great for line art or quotes. I tried using a PNG once for a large poster. The colors looked off. Stick to what the pros use. If a site does not list the resolution, stay away. Your art should look crisp. You want people to ask where you bought the painting. They should not see little squares on the paper. High quality files make your walls look expensive.
2. Master the Standard 8×10 Prints Size

Small prints carry big power. I love 8×10 prints because they are easy. You can find frames for this size at every store. Target and IKEA always have them in stock. When I started, I tried to print giant posters. I spent sixty dollars on a custom frame. It was a mistake. Now I use 8×10 sizes for gallery walls. They fit on a standard sheet of paper.
You can print these at home in seconds. I keep a stack of 8×10 frames in my closet. When I get bored of my decor prints, I swap them. This size works well in bathrooms and hallways. I saw a friend use three 8×10 prints in a row over her bed. It looked like a boutique hotel. It cost her less than fifteen dollars. Focus on this size if you are a beginner. It is the safest way to start your journey.
3. Pick Timeless French Country Prints
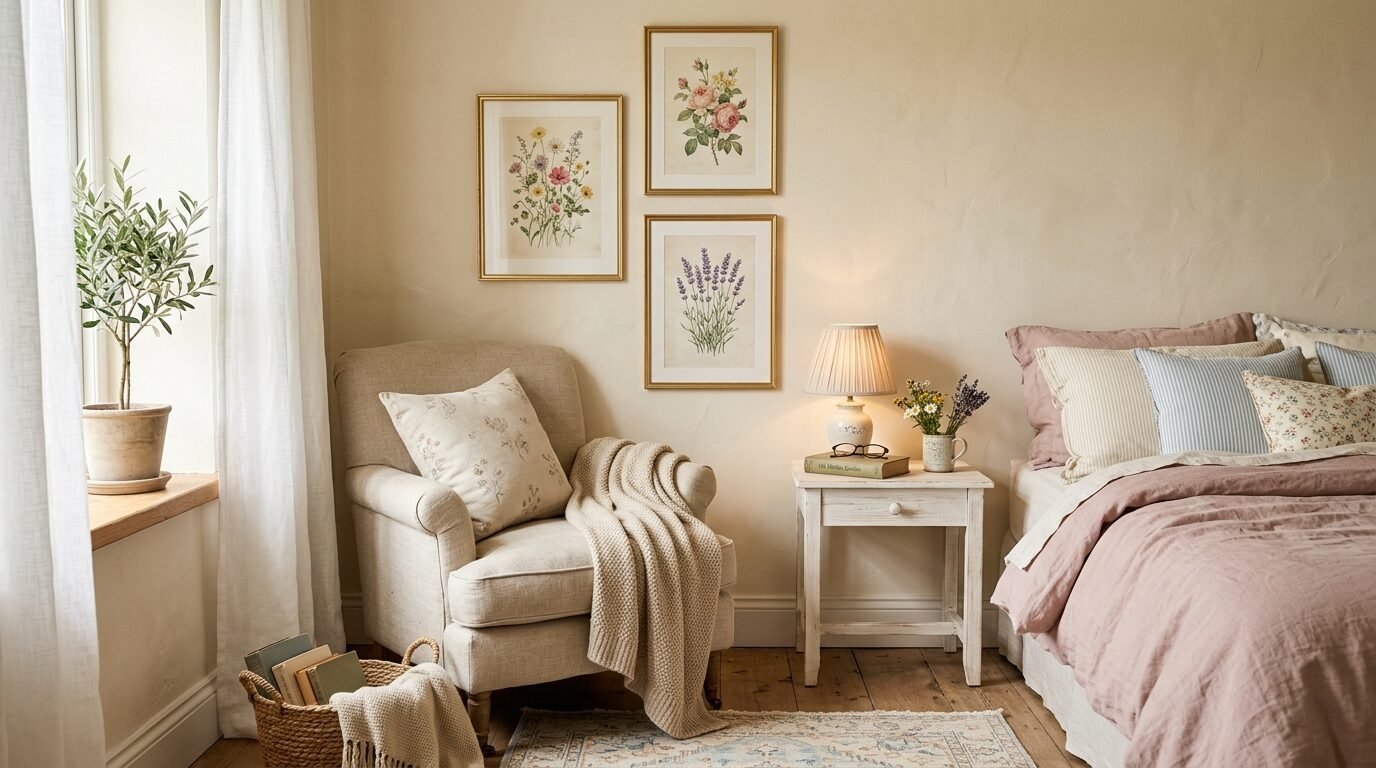
Style matters for a cozy home. French Country Prints are my favorite for a soft look. They often feature flowers, birds, or old barns. These prints use muted colors like sage green and dusty blue. I noticed these colors make a room feel calm. I used a set of botanical French Country prints in my guest room. People always say it feels like a spa.
These prints are forgiving. If your printer is not perfect, the vintage style hides it. A little grain or a soft edge just looks intentional. I find the best versions of these on Etsy or Creative Fabrica. Look for sets of four or six. It makes styling a whole wall much easier. You do not have to worry about matching different artists. The colors already work together. This style never goes out of fashion. It keeps your home looking classic for years.
4. Find Vintage Wall Art Prints Free Printables
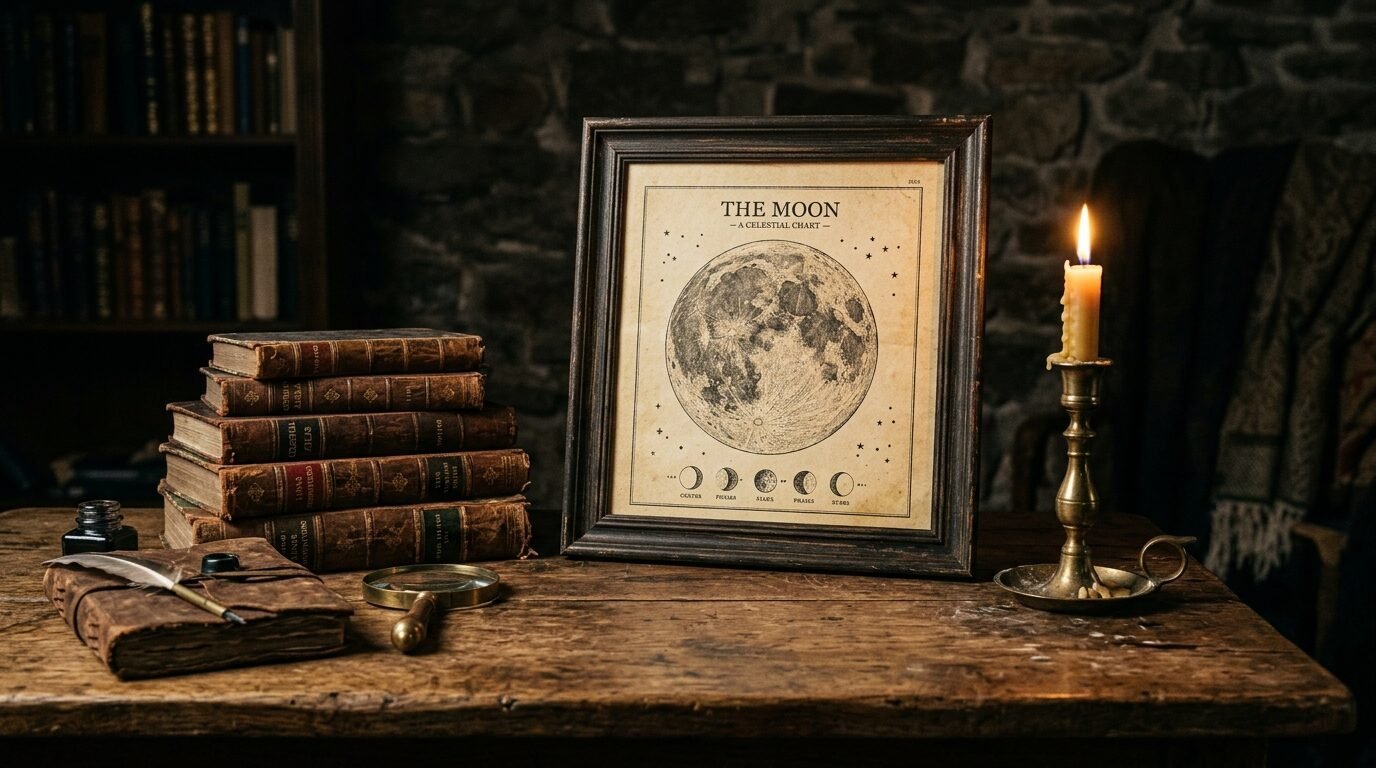
Free art is everywhere if you know where to look. I spend hours on the Public Domain Review. This site has old images that are free to use. You can find vintage wall art prints free printables from the 1800s. I found a set of old moon drawings there. I printed them and put them in black frames. They look like museum pieces.
Many bloggers also offer free printable art free of charge. I often check Pinterest for “freebie” lists. Some of my favorite decor prints came from a small blog I found years ago. Just remember to check the terms. Most free art is for personal use only. Do not try to sell it. Use it to fill your own home. I used free vintage maps to fill a large wall in my office. It cost me nothing but the price of paper. Free art lets you take risks. If you do not like it after a week, you can recycle it.
5. Select Heavy Matte Cardstock Paper
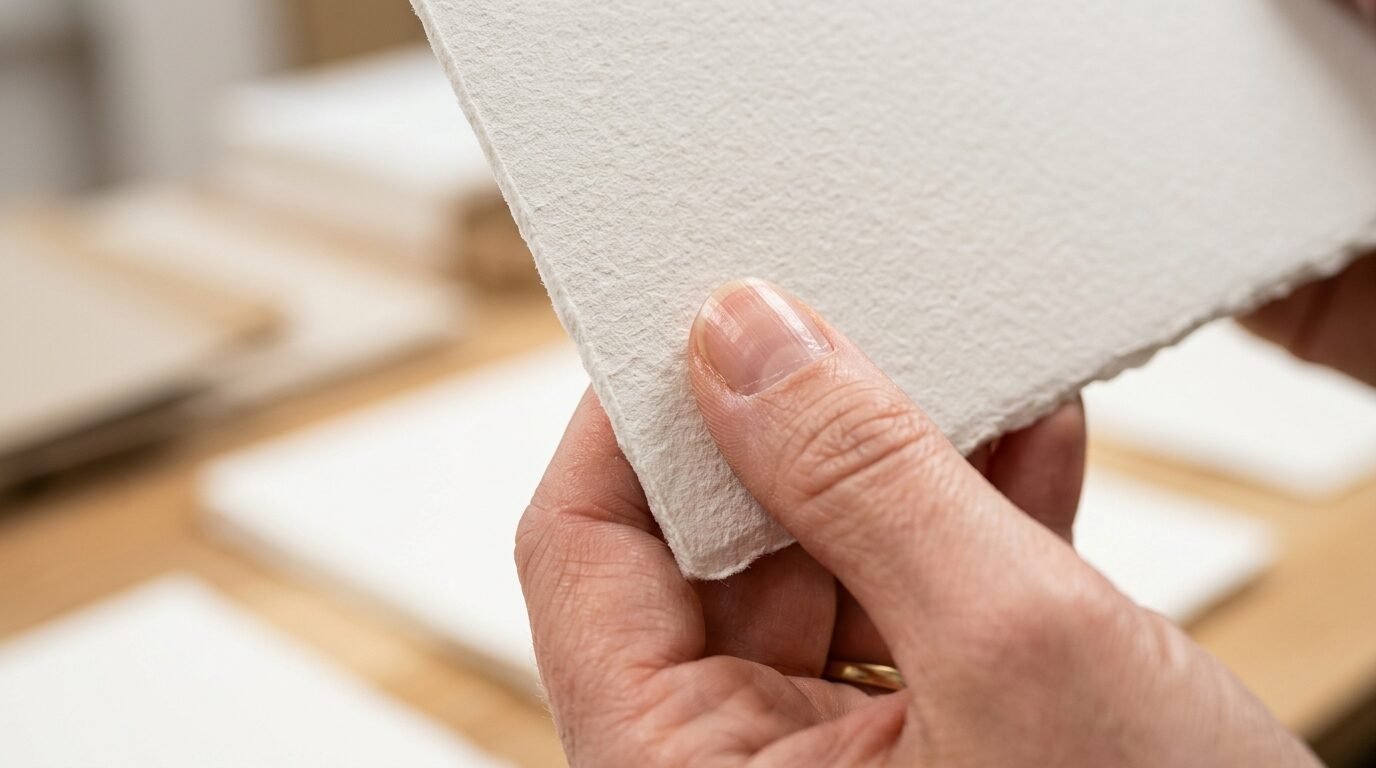
The paper makes the print. I learned this the hard way. I printed a vintage landscape on glossy photo paper. It looked like a cheap school photo. The light hit it and created a terrible glare. Now I only use heavy matte cardstock. I look for paper that is at least 80lb or 200gsm. It feels thick and sturdy in your hand.
Matte paper absorbs ink in a way that looks like paint. I tried a brand called Neenah Solar White. It is my favorite for decor prints. It is bright but not shiny. I saw a huge change in my art when I switched. The colors looked deeper. The blacks looked darker. If you print at a shop like Staples, ask for their “cover stock” in matte. It usually costs less than a dollar per sheet. It is the best investment you can make for your walls.
6. Curate Vintage Kitchen Art Prints
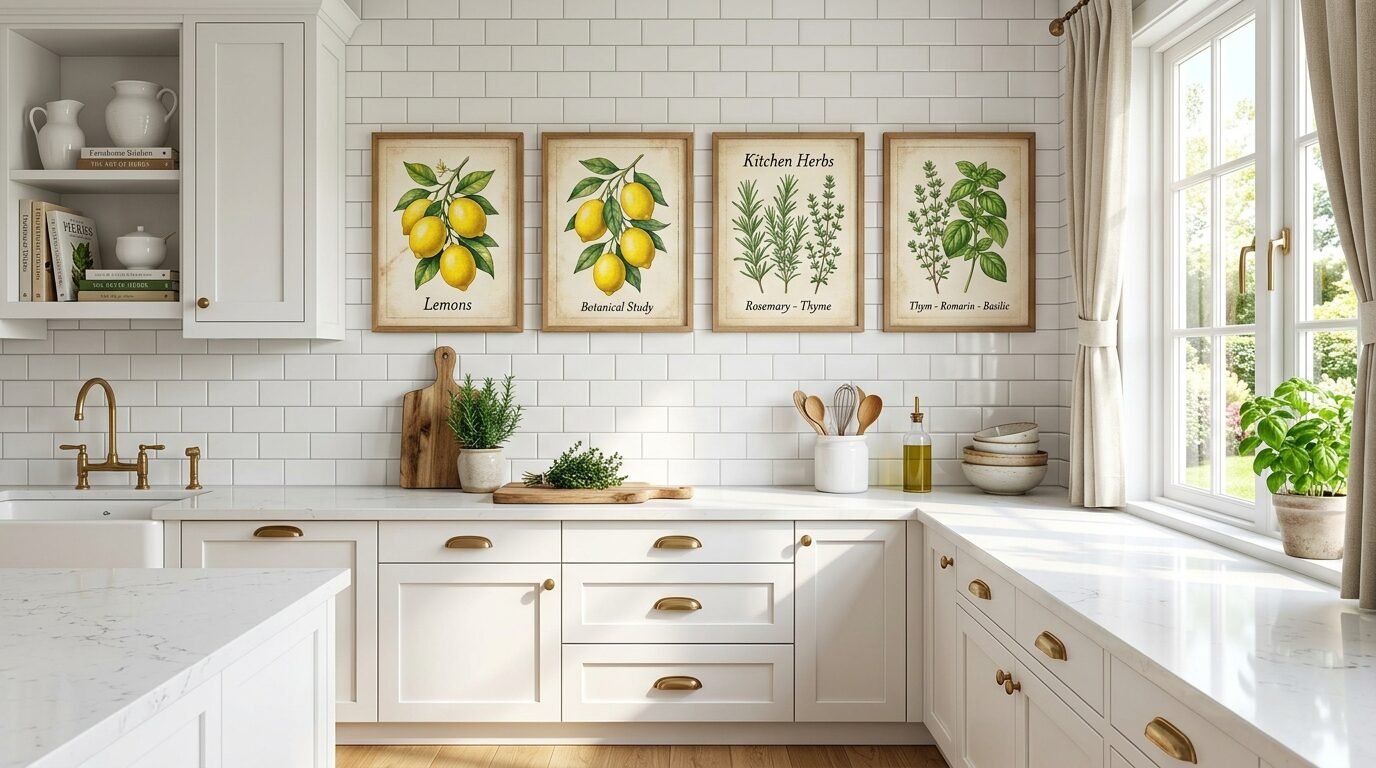
The kitchen is the heart of the home. It needs art too. I love vintage kitchen art prints. These often show old fruit crates, herbs, or copper pots. I found a set of vintage pear illustrations. I hung them near my stove. They get a lot of grease and steam. Since they are printables, I do not worry. If they get ruined, I just print new ones for pennies.
I see many people leave kitchen walls blank. That is a missed chance. Small 5×7 or 8×10 prints look great on a backsplash. I used Command Strips to hang mine. This way I did not have to drill into my tiles. Look for art that matches your kitchen colors. If you have white cabinets, bright citrus prints look fresh. If you have wood cabinets, try dark herb prints. It makes the space feel finished and lived in.
7. Search for Free Printable Vintage Art
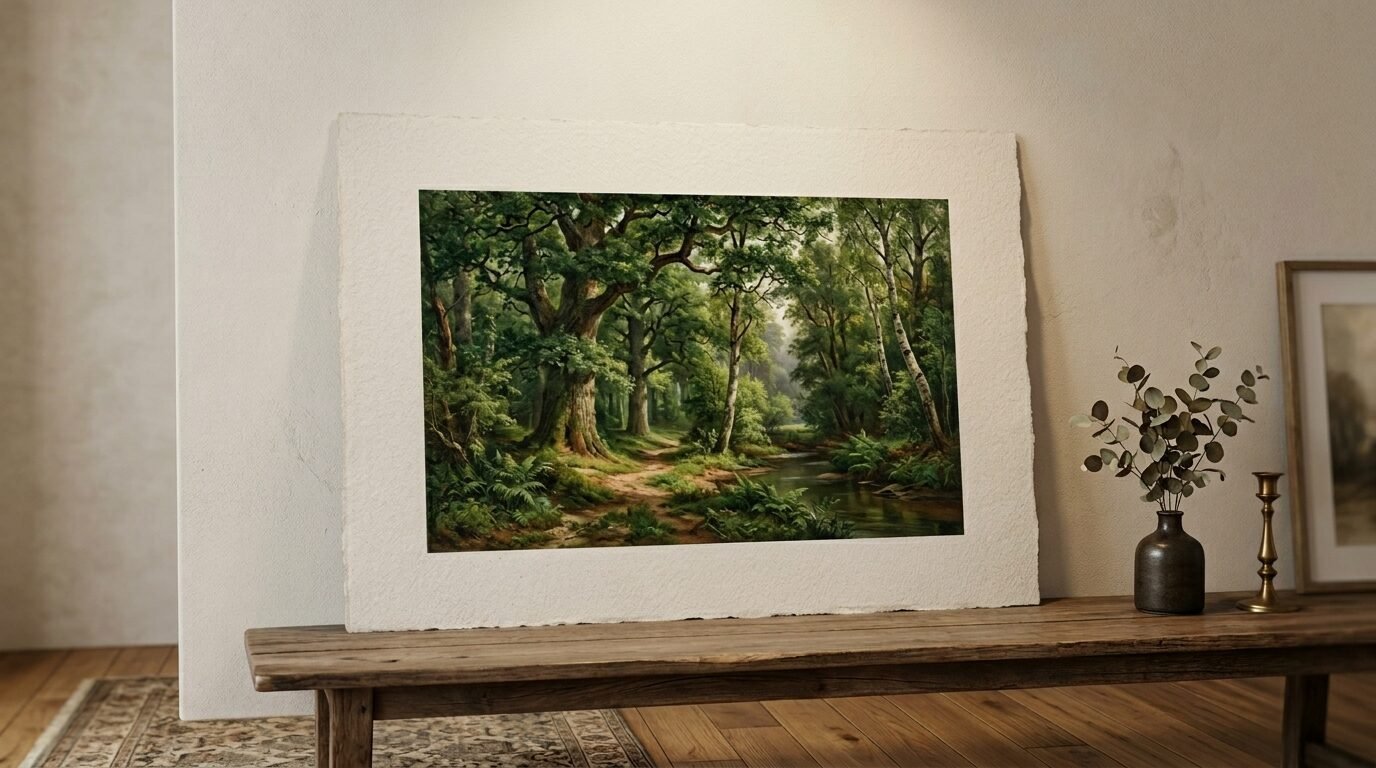
Vintage style is a huge trend. People love the “thrifted” look. You can get this look with free printable vintage art. I look for “Public Domain” art. These are old paintings where the copyright has ended. I found a stunning oil painting of a forest. I downloaded the high resolution file for free. I printed it on canvas paper.
My sister thought I bought it at an antique shop. She was shocked when I told her I printed it. You can find these at the Metropolitan Museum of Art website. They have a huge digital collection. Use the search filter for “Open Access.” You will find thousands of masterpieces. This is how you get a high-end home on a zero dollar budget. It takes a little time to search, but the payoff is big.
8. Grab Quality Free Downloadable Art
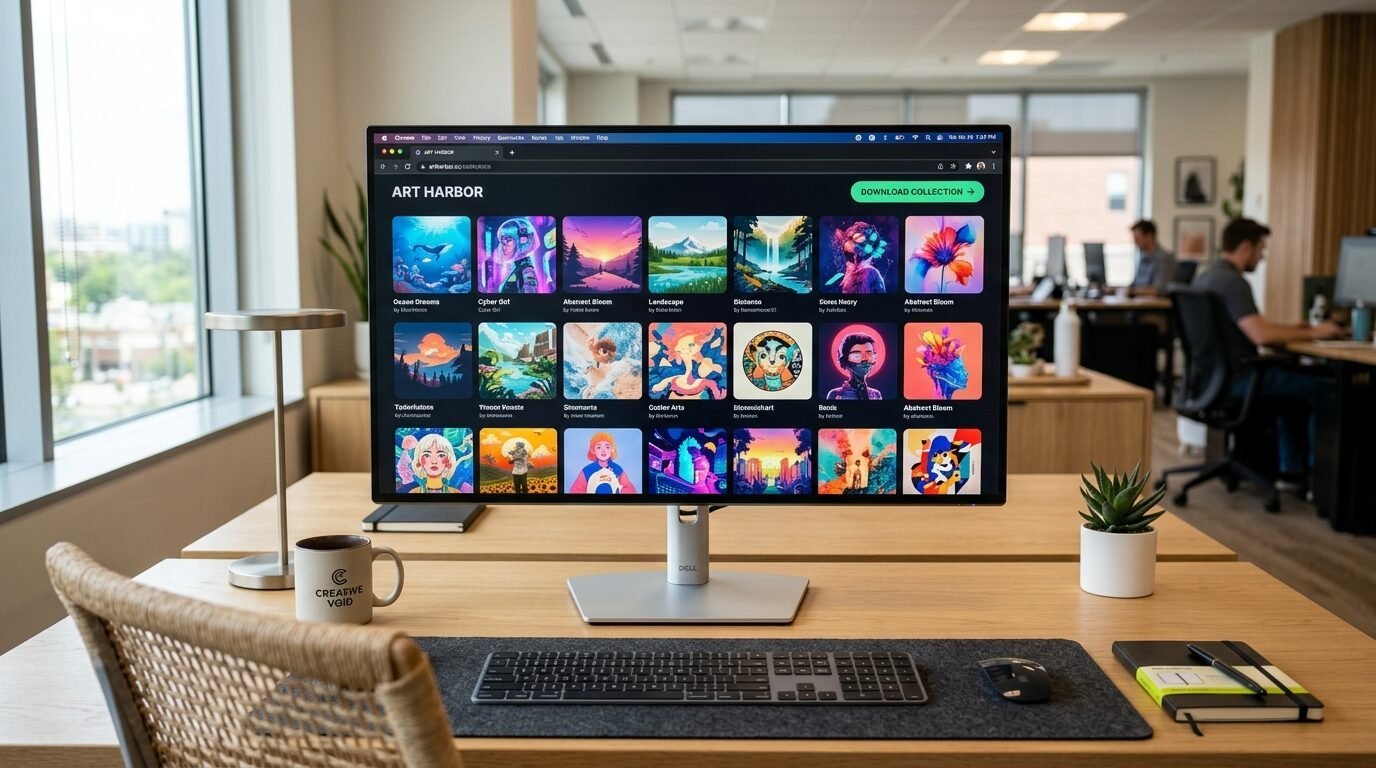
Not all free art is vintage. You can find modern free downloadable art too. Many digital artists share free samples to show their work. I found a modern leaf print on a design blog. It was a high quality file. I used it in my hallway. It looks clean and fresh.
I keep a folder on my computer for free downloadable art. Whenever I see something I like, I save it. This gives me a library to choose from. When I want to change a room, I check my folder first. I have found great pieces on sites like Feed Your Soul or Chicfetti. They offer decor prints that look professional. Always check the file size before you download. Make sure it is big enough for your frame. This saves you from blurry prints later.
9. Use Local Print Shops for Best Results
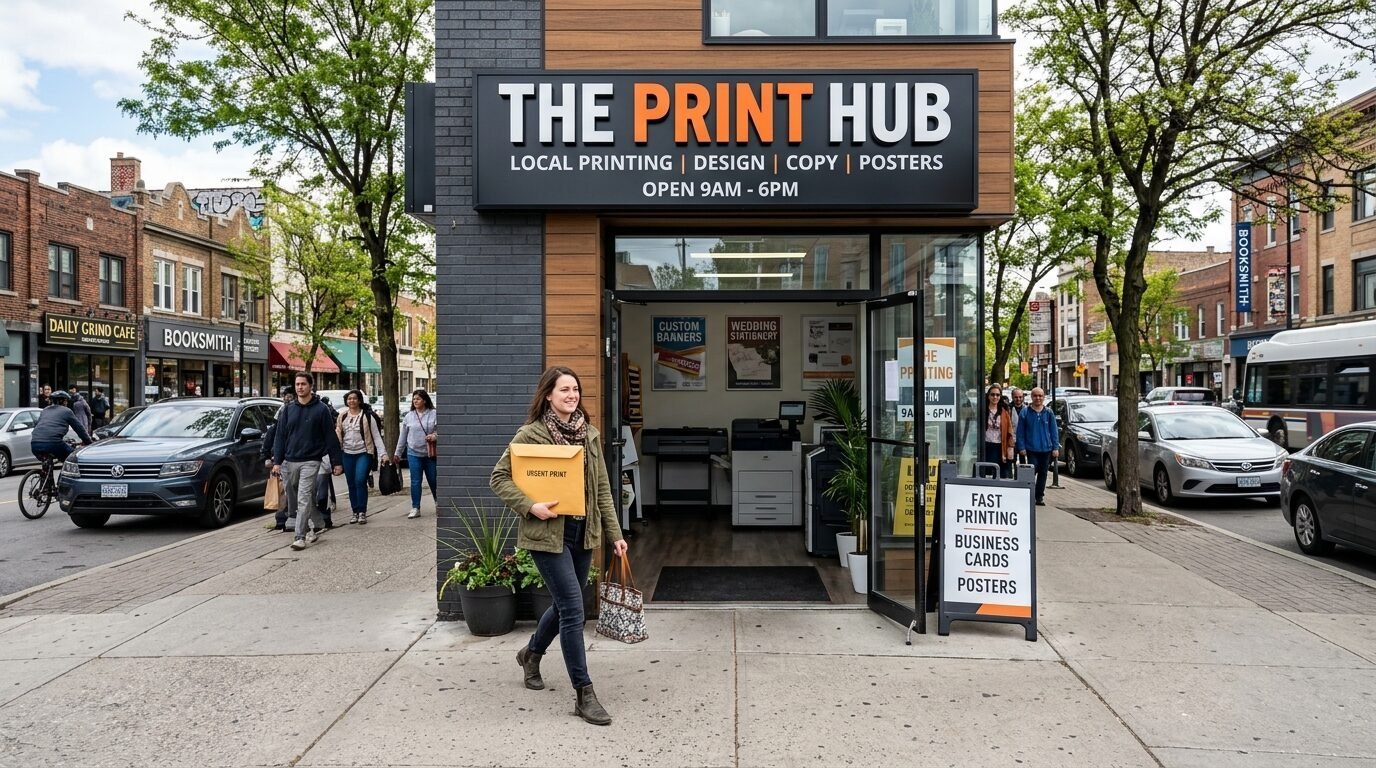
Home printers are fine for small things. But for the best printable wall art decor, go to a pro. I use a local shop called FedEx Office. I upload my files to their website. I pick my paper and size. I pick them up an hour later. The ink they use is better than mine. It does not fade in the sun.
I tried printing a dark navy print at home. It came out with lines across it. The shop version was smooth and perfect. It cost me two dollars. I also like using Mpix or Shutterfly for special pieces. They offer “Giclee” printing. This is a fancy way of saying high quality ink on archival paper. Use this for art you want to keep for years. For seasonal stuff, the cheap local shop is perfect. It is fast and the quality is usually great.
10. Hunt for Second Hand Frames
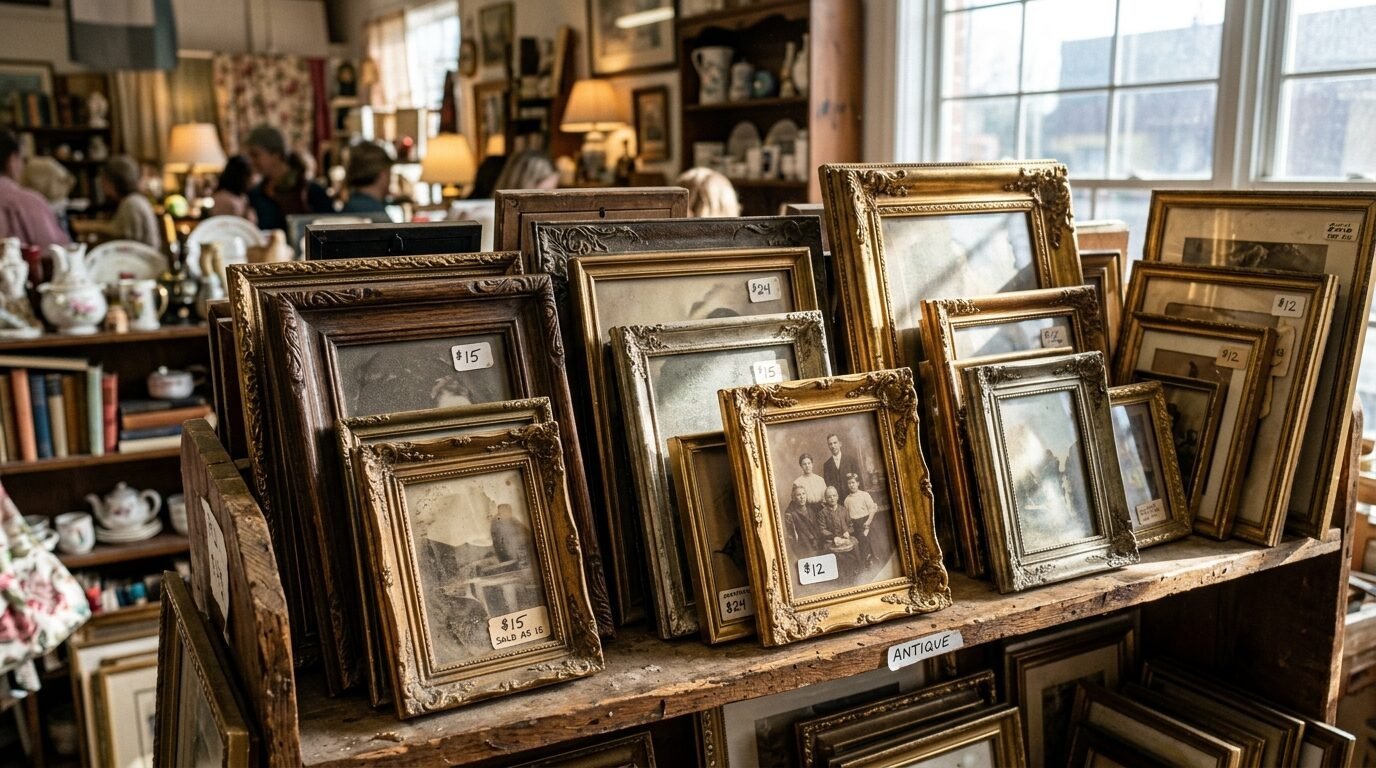
Framing is the most expensive part of art. I never buy new frames anymore. I go to Goodwill or local thrift stores. I look for the frame, not the art inside. I found a heavy wood frame for three dollars. It had a weird cat picture in it. I took the cat out. I cleaned the glass. I put in my vintage wall art prints free printables.
It looked like it cost a hundred dollars. I see people spend fifty dollars at big stores for plastic frames. Do not do that. Go to garage sales. Look for solid wood or metal. If you do not like the color, use spray paint. I turned a bright red frame into a matte black one in ten minutes. It fits my decor prints much better now. This keeps your project budget very low. You can spend your money on the art files instead.
11. Size Your Files Correctly Before Printing
Size is the biggest hurdle. Most files come in different ratios. A ratio is the shape of the image. A 4×5 ratio fits an 8×10 frame. A 2×3 ratio fits a 4×6 or a 24×36 frame. I once tried to force a square image into a rectangle frame. I cut off the best part of the art.
Check the “size chart” that sellers often include. If you use free downloadable art, you might need to crop it. I use a free tool called Canva to do this. I set the canvas size to 8×10. I place my image inside. I move it until it looks right. Then I save it as a PDF for print. This ensures the printer does not stretch the image. Stretched art looks cheap and weird. Taking two minutes to check the size saves you a lot of grief.
12. Try Floating Frames for a Modern Look
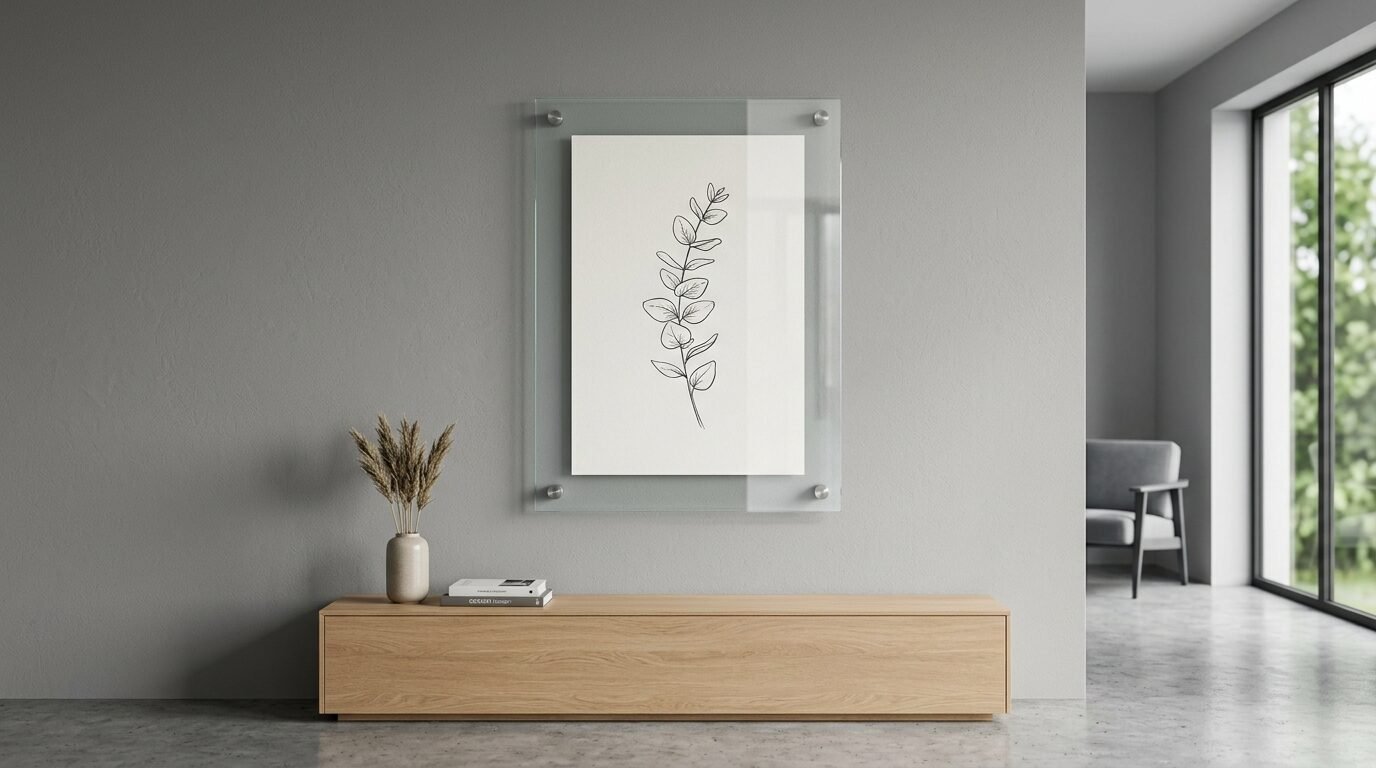
If you want a trendy style, use floating frames. These frames have two pieces of glass. Your art “floats” in the middle. I love using these for botanical decor prints. It looks like a pressed flower. I used a floating frame for a set of 8×10 prints in my dining room. It made the small prints look much larger.
This style works well if your walls have a nice color. The wall shows through the glass around the art. I found my floating frames at Target. They are a bit more expensive than basic ones. But they make the art look very custom. I noticed that minimalist prints look best in these. Line art or simple quotes feel elevated. It is a great way to mix up your gallery wall. It adds a different texture to the room.
13. Update Your Gallery Wall Seasonally
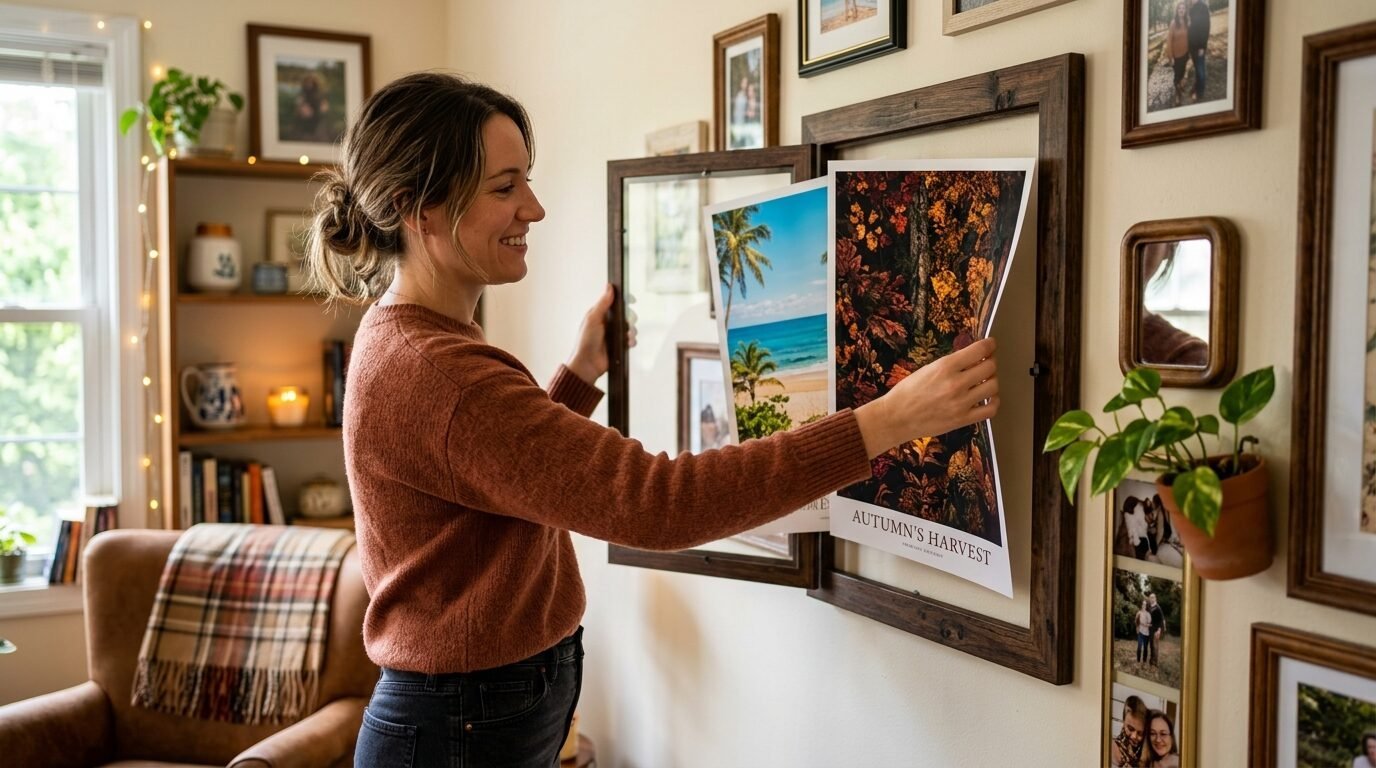
One big win with printables is the cost. You can change your art whenever you want. I have a summer gallery wall with bright beach scenes. In the fall, I swap them for moody forest prints. It takes me ten minutes to change the papers in the frames. It makes my whole house feel new.
I see people keep the same art for ten years because it was expensive. With printable wall art decor, you do not have that pressure. I spend about ten dollars a season on new prints. I store the old ones in a flat folder. I can use them again next year. This is a great way to keep your home feeling fresh. I love finding vintage kitchen art prints that match the season. Pumpkin prints for October and citrus for July. It keeps the energy in the house high.
14. Organize Your Digital Art Library
Once you start collecting, you will have many files. I lost my favorite prints because my computer was a mess. Now I have a folder called “Home Art.” Inside, I have folders for “Kitchen,” “Living Room,” and “Freebies.” I name the files by their size and style. For example, “8x10_Vintage_Rose_PDF.”
This makes it easy to find what I need. If a frame breaks and I need a new print, I know exactly where the file is. I also keep a copy on a thumb drive. I take the drive to the print shop. It is much faster than trying to email files from my phone. I saw a friend struggle to find a file at the shop for twenty minutes. Being organized saves you time and stress. It makes the hobby much more fun.
15. Hang Your Prints at Eye Level
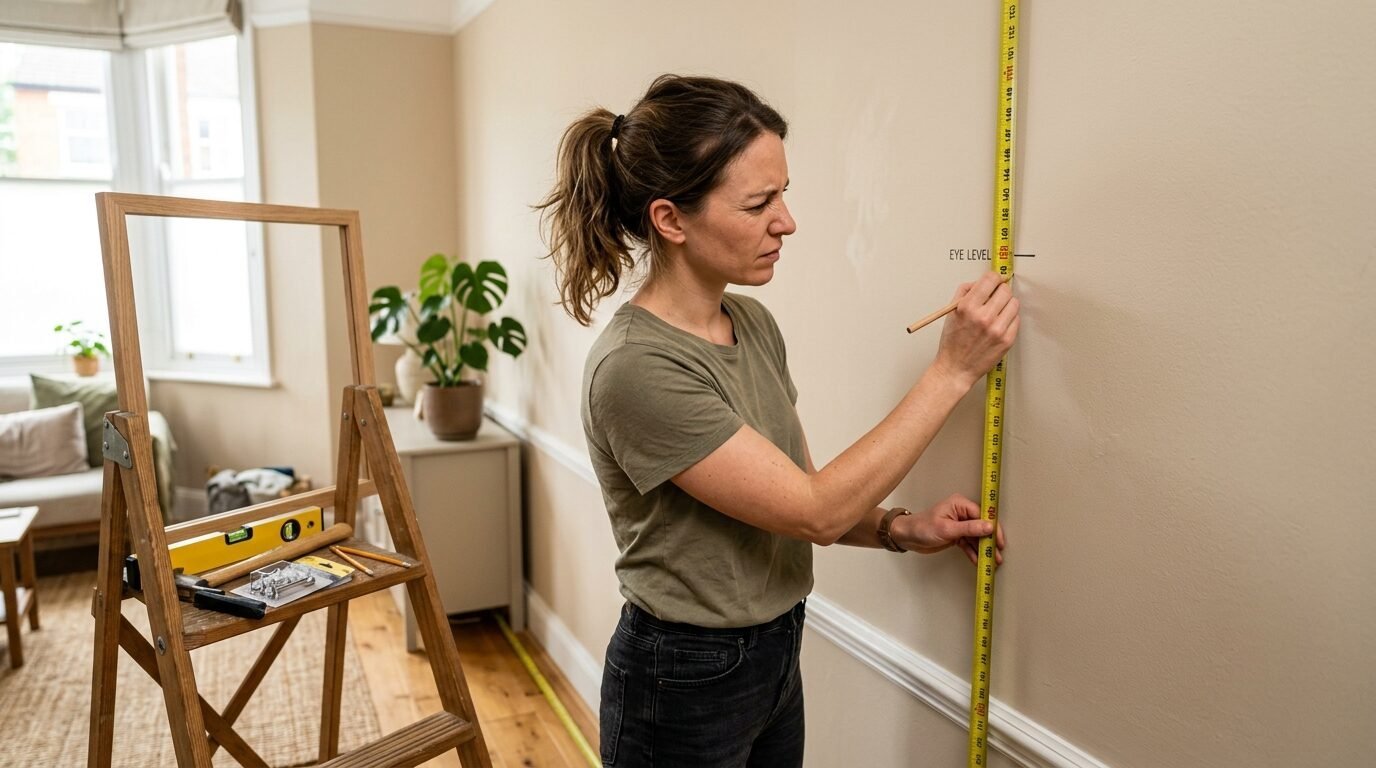
The last secret is how you hang the art. I see many people hang art too high. It looks like it is floating away. The rule of thumb is to put the center of the art at eye level. This is usually 57 to 60 inches from the floor. I use a measuring tape to be sure.
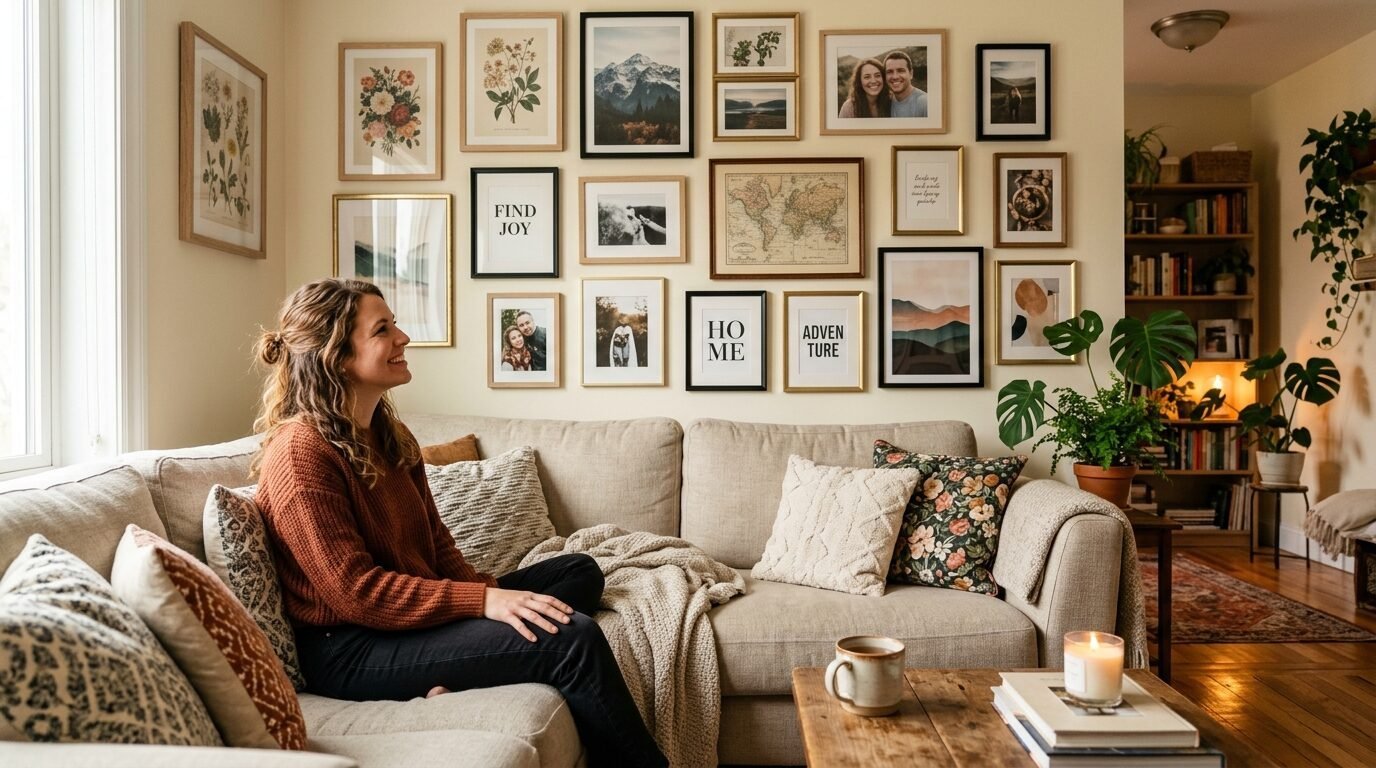
If you are hanging 8×10 prints, group them together. One small print on a big wall looks lonely. I like to use groups of three or six. I lay them out on the floor first. I move them around until I like the layout. I take a picture of the floor layout with my phone. Then I copy it on the wall. This prevents me from making too many holes in the wall. Proper hanging makes even free printable vintage art look like it belongs in a gallery.
Comparison of Professional Printing Services
| Shop Name | Best For | Price Range | Turnaround Time |
| Staples | Basic Cardstock | $0.50 – $2.00 | Same Day |
| Mpix | Fine Art Prints | $5.00 – $20.00 | 3-5 Days |
| FedEx | Large Posters | $10.00 – $30.00 | Same Day |
| Local Library | Ultra Budget | $0.10 – $0.50 | Instant |
Frequently Asked Questions
What is the best paper for printable wall art?
The best paper is heavy matte cardstock. I always look for a weight between 80lb and 110lb. This thickness prevents the paper from curling inside the frame. Matte finishes are better than glossy ones because they do not reflect light. This makes your decor prints look like high-quality gallery art. I once used regular printer paper and it looked wrinkled after one day. Thick cardstock stays flat and professional for years.
Can I print 8×10 prints on a home printer?
Yes, you can easily print 8×10 prints at home. Most home printers use 8.5×11 inch paper. You just need to set your print settings to “Actual Size” or 100%. After it prints, you will need to trim the edges with scissors or a paper cutter. I recommend using high-quality ink settings for the best color. If your home printer is old, you might see streaks. In that case, a local shop is a better choice.
Where can I find vintage wall art prints free printables?
You can find these on sites like the Public Domain Review or Unsplash. Many museums like the Smithsonian also have digital archives. Look for images tagged with “CC0” or “Public Domain.” This means the art is free for everyone to use. I often search Pinterest for “free vintage art library” to find curated lists from other decorators. It is a gold mine for beautiful, old-world style.
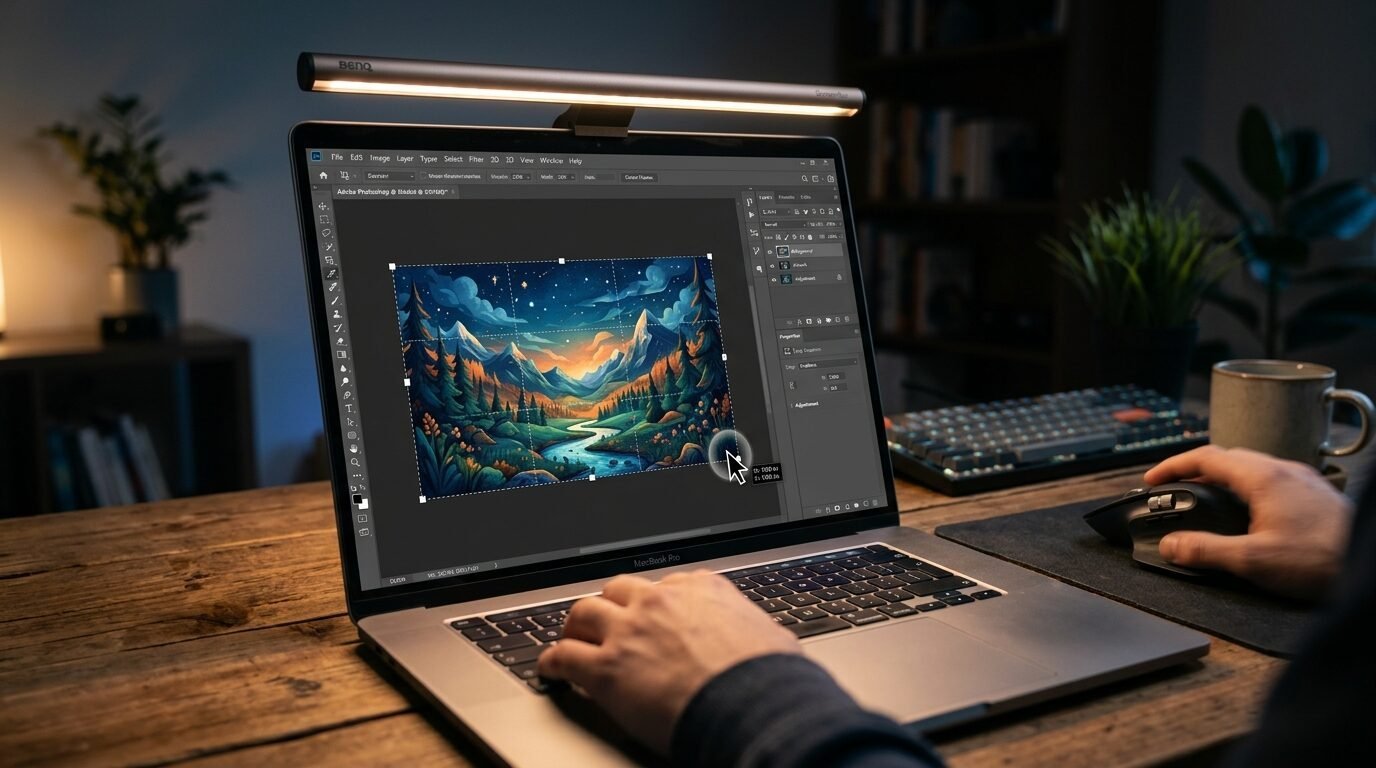
How do I resize a digital file for a frame?
You can use free online tools like Canva or Adobe Express. Create a new design with the dimensions of your frame, such as 8×10 inches. Upload your digital file and stretch it to fit the box. Make sure you do not stretch it too far, or it will look blurry. Once it looks good, save it as a “PDF Print” file. This format keeps the quality high for the printer. It is a simple way to get a perfect fit every time.
Is printable wall art decor worth it?
It is very worth it if you are on a budget. You can get the look of an expensive home for a few dollars. It also gives you the freedom to change your style often. If you move or change your mind, you have not lost hundreds of dollars. I love the creative side of picking my own paper and frames. It makes the art feel more personal to me. It is the smartest way to decorate a modern home today.
Can I print digital art on canvas?
Yes, many online shops like Shutterfly or Walmart Photo allow you to upload files for canvas printing. You just upload your printable wall art decor file and choose the canvas size. This gives the art a more traditional, textured look. It is more expensive than paper but much cheaper than buying a pre-made canvas. I did this for a large landscape in my living room and it looks stunning.
Final Thoughts on Decorating with Printables
Decorating with printables is a journey. It starts with one small file and a cheap frame. But it ends with a home that reflects who you are. I love that I can find vintage kitchen art prints on a Tuesday and have them on my wall by Wednesday. It takes the stress out of home design. You do not have to be an expert to make it look good. You just need to follow a few simple steps.
Start with a small project. Find one of the vintage wall art prints free printables I mentioned. Print it at a local shop on matte paper. Put it in a thrifted frame. You will see the magic happen. Your home will start to feel more like you. And your wallet will stay full. That is the best part of this hobby. It is art for everyone.

Anya Castellan is the Founder and Editor-in-Chief of Home Wall Trends. An art history graduate of the Rhode Island School of Design with twelve years of experience writing for leading American design publications, she specializes in composition, gallery wall theory, and the quiet architecture of domestic space. A former contributing editor at Architectural Digest and guest lecturer at Parsons School of Design, Anya personally reads and signs off on every piece before it is published.