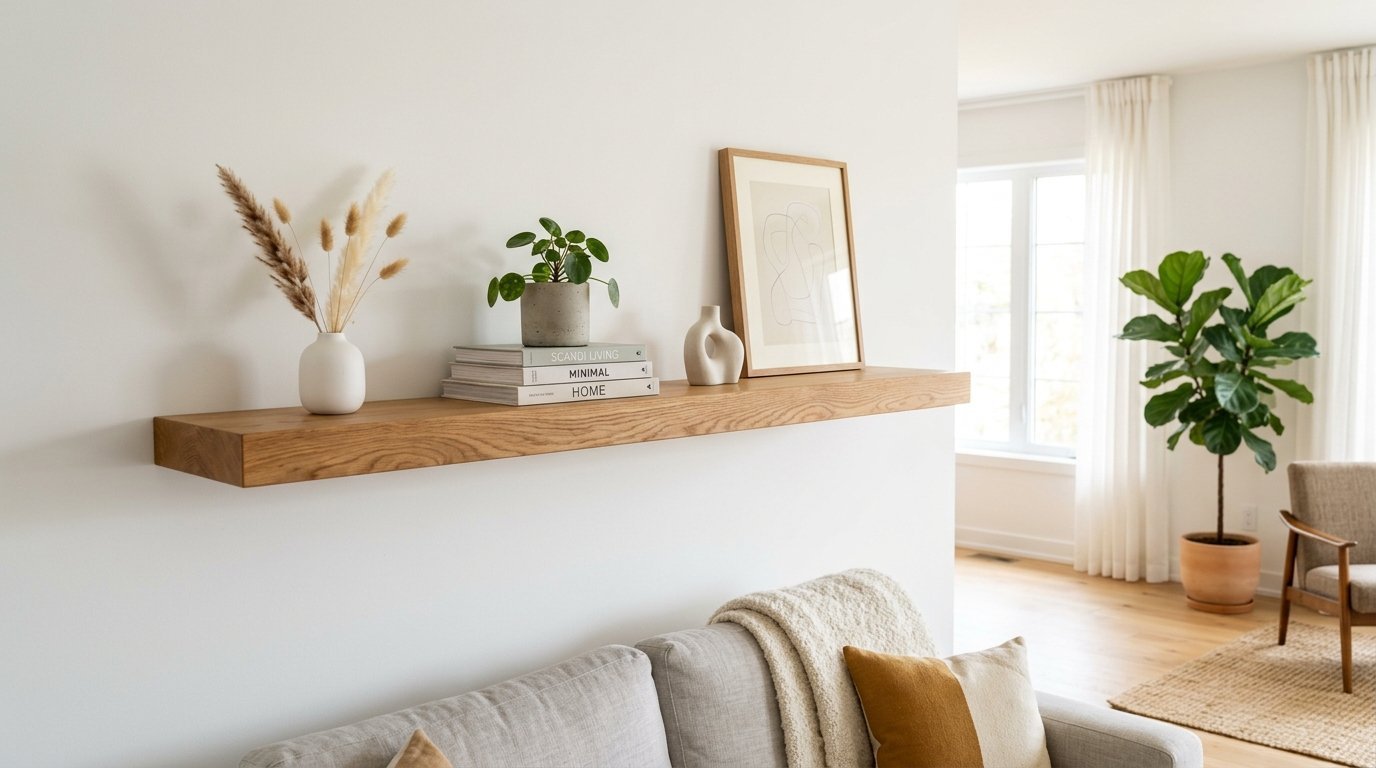
Drywall crumbles under pressure. Your favorite decorative pieces tilt forward. I know this frustration well. Last summer, my favorite ceramic collection slipped right off a brand new oak plank. The bubble level said the installation was straight. Yet the wall anchors pulled loose anyway. Hanging heavy wood planks without visible supports requires specific knowledge. You can avoid crooked lines and loose plaster. This guide shows you exactly how to secure planks to any wall surface safely. You will get crisp alignment every single time you try.
This guide provides a detailed blueprint to install wall storage units that never sag. You will secure your displays safely in under two hours. I share my exact method using professional stud sensors and heavy toggle fasteners. We cover layouts for small spaces and heavy trophy storage. You will know exactly which tools to buy at the hardware store. This guide covers common errors like missing wall studs and using weak plastic anchors. You will see real examples from my past installation failures. Read on to master your wall display setup on your very first try.
Why do floating shelves sag or tilt?
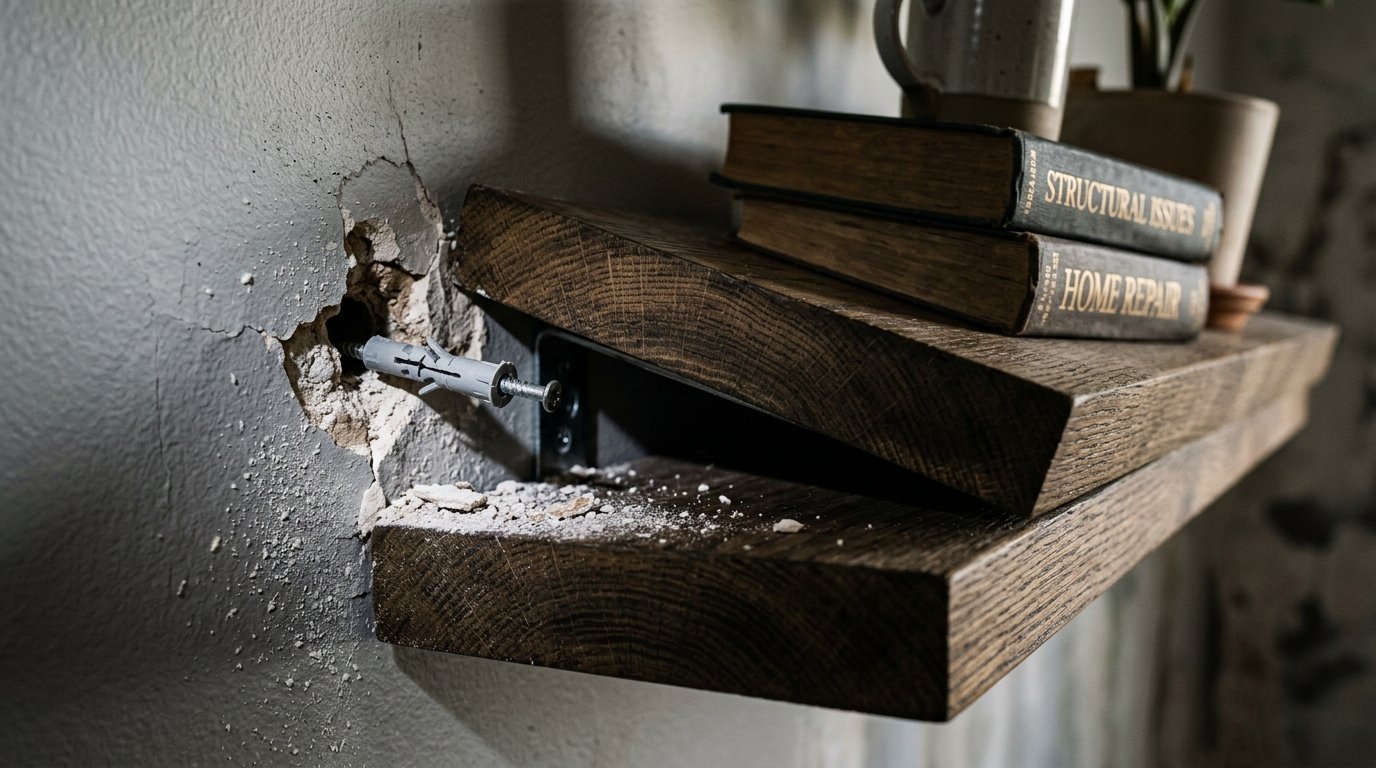
Wall storage items fail because of hidden physics. Drywall cannot support heavy weights on its own. Planks act as levers against the wall surface. Weight pulls the top of the bracket outward. It pushes the bottom of the bracket inward. In my experience, cheap plastic anchors always pull loose after a few weeks. I saw this happen in a client kitchen last October. The shelf began to tilt forward by five degrees. The drywall around the screws had turned to powder.
Another issue involves softwood wall studs. Pine studs can compress if you over-tighten your mounting screws. This creates a tiny gap behind the steel bracket. That tiny gap causes a noticeable slant at the front edge. Incorrect bracket depth also ruins your project. If your internal rod is too short, the wooden plank will droop. You must match the rod length to the depth of your shelf.
What tools do you need for a flawless installation?
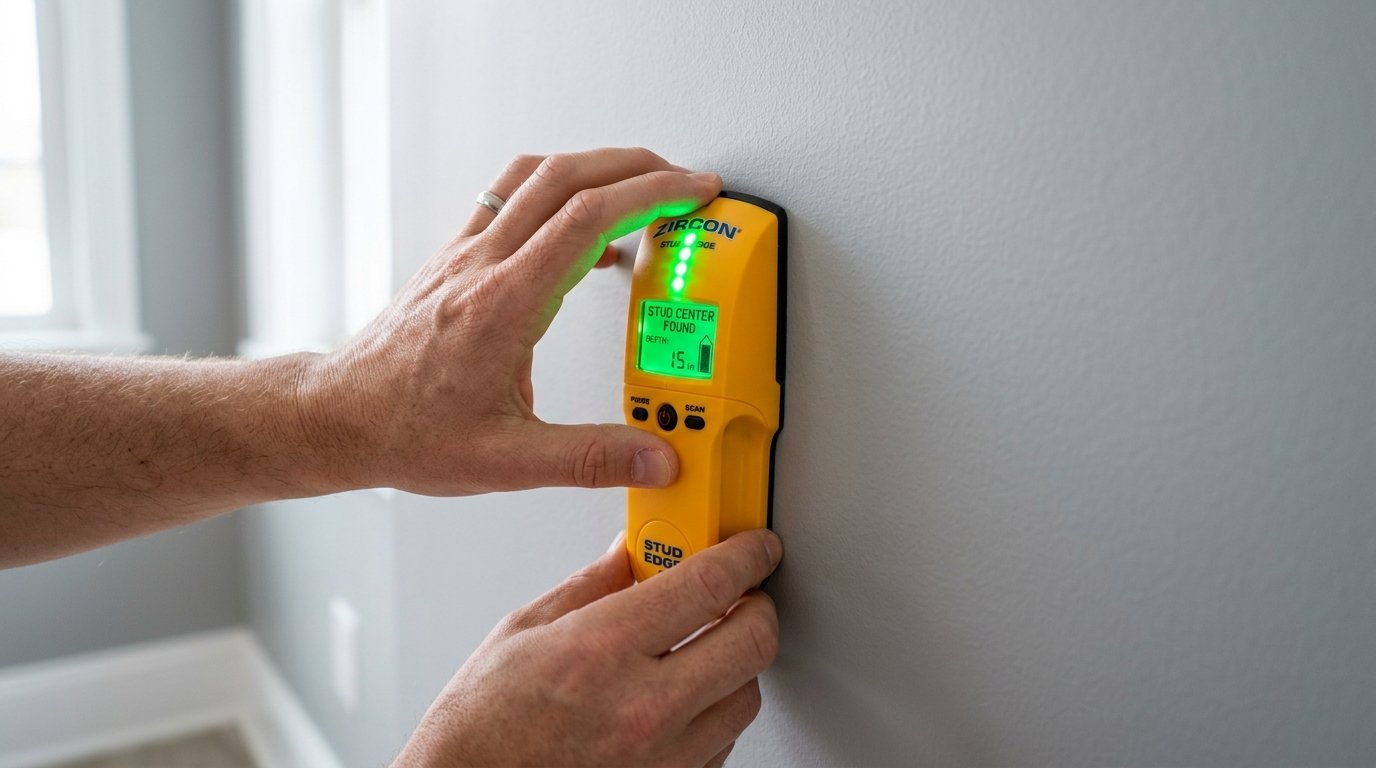
You need the right equipment to get perfect results. Do not guess where the internal structural boards are. I recommend the Franklin Sensors ProSensor M150 stud finder. It shows the exact width of wood hidden behind your plaster. A cheap single-sensor tool will mislead you. You also need a reliable leveling tool. I use a twenty-four inch Stanley box level. Short pocket levels are inaccurate over long distances. A tiny error on a short level becomes a massive tilt on a long board.
For drilling, a standard Black and Decker cordless drill works well. You need sharp Dewalt carbide drill bits. Dull bits rip oversized holes in your drywall. For fasteners, skip the items included in the retail box. Buy heavy-duty Toggler toggle bolts instead. These metal anchors hold up to ninety pounds each in standard drywall. You will also want a soft pencil and low-tack painter tape for marking lines.
How do you map out your wall display?
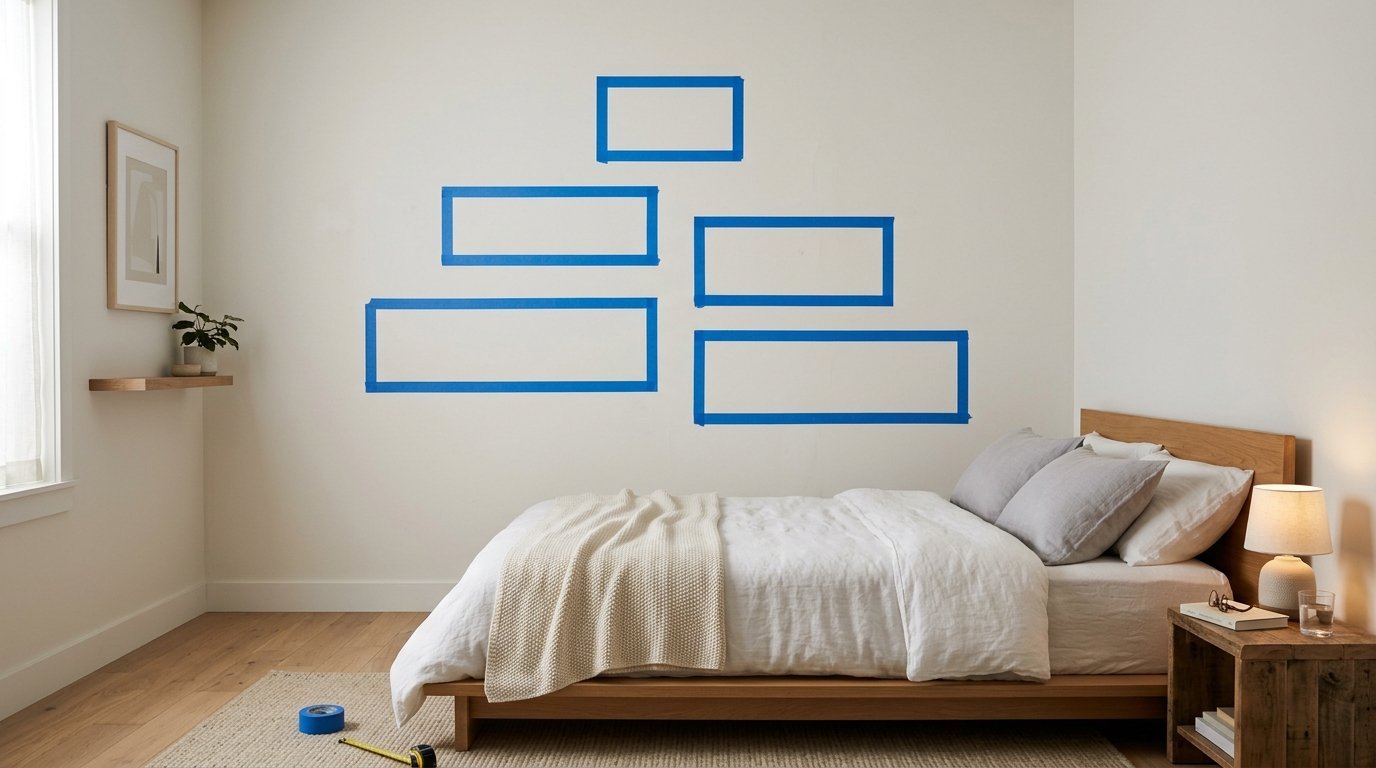
Planning your layout saves your walls from accidental holes. Look closely at your room layout first. Small spaces require careful vertical planning. If you put planks too low, people bump their shoulders. If you put them too high, the room feels top-heavy. I use blue painters tape to mimic the exact size of the shelves. Stick the tape on the wall surface. Walk backward to check the view from across the room.
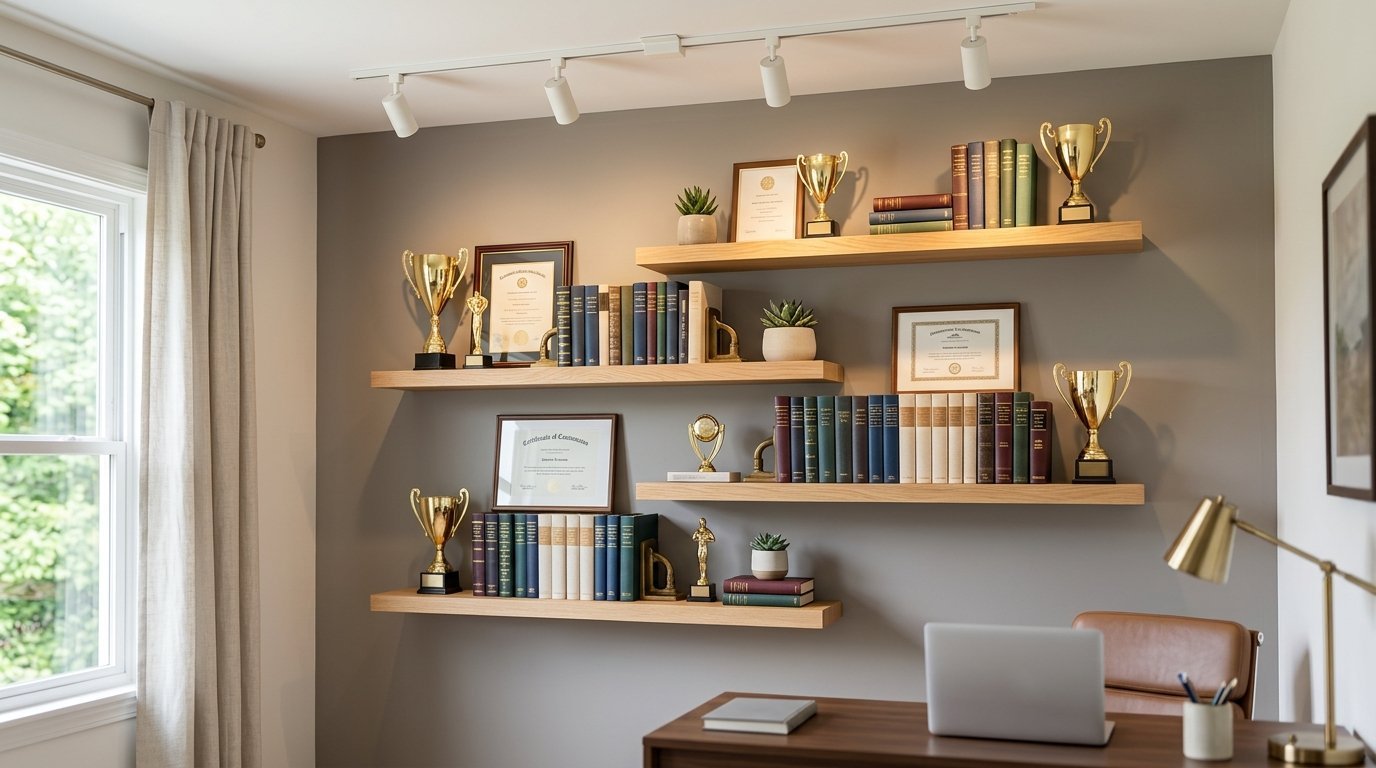
This trick works beautifully for a trophy display. Trophies have different heights and weights. Measure your tallest award before drilling. Give that item at least three inches of head space. Shelf organization relies on balanced spacing. Place your heaviest items on the lowest levels. This keeps the visual weight balanced. It also keeps your wall safe from extreme leverage forces. I always space multiple planks at least twelve inches apart. This leaves room for books and decorative jars.
Step-by-step instructions for a first time DIY project
Here is the exact method to get crisp lines on your wall. Follow these instructions precisely.
1.Locate the internal wall studs:15 minutes.
Slide your Franklin stud finder across the wall zone. Mark the exact left and right edges of each wood stud. Draw a small vertical line in the center of each stud position.
2.Draw your master level line:10 minutes.
Place your Stanley level against the wall at your desired height. Center the fluid bubble perfectly between the two black lines. Draw a light pencil line along the top edge of the tool.
3.Mark the bracket screw holes:5 minutes.
Hold the steel mounting bracket up to your pencil line. Align the screw holes with your marked stud centers. Mark the exact spots for your screws using a sharp pencil.
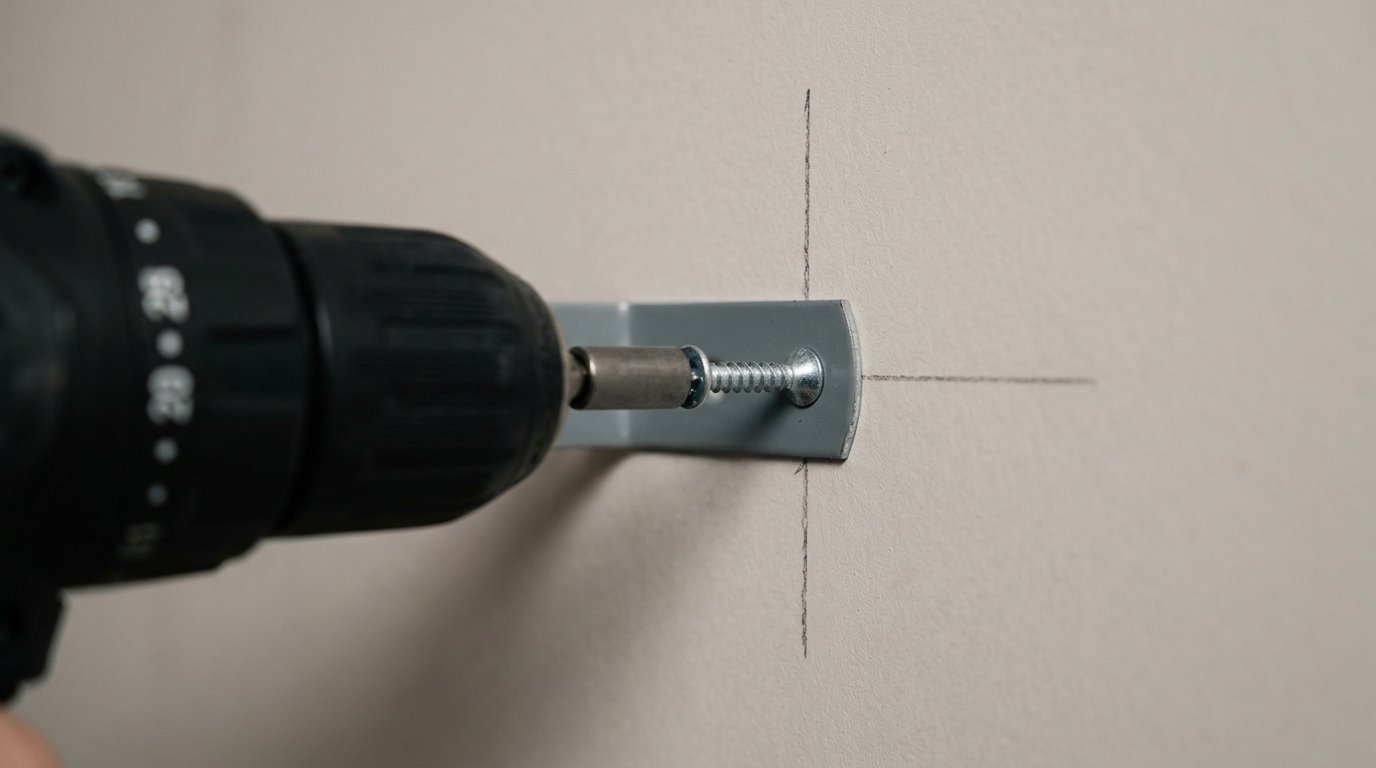
4.Drill the pilot holes safely:10 minutes.
Select a Dewalt drill bit that matches your fastener size. Hold the drill perfectly straight against the wall. Drill into the wood studs or through the drywall for your toggle units.
5.Secure the mounting bracket firmly:15 minutes.
Insert your Toggler bolts into the drywall sections. Drive heavy screws directly into the wood studs. Tighten each fastener until the bracket sits flush against the wall surface.
6.Slide the wooden shelf into place:5 minutes.
Push the hollow wooden shelf onto the steel bracket rods. Check the level one final time. Secure the bottom locking screws to keep the plank from sliding off.
Comparing wall fasteners and mounting hardware
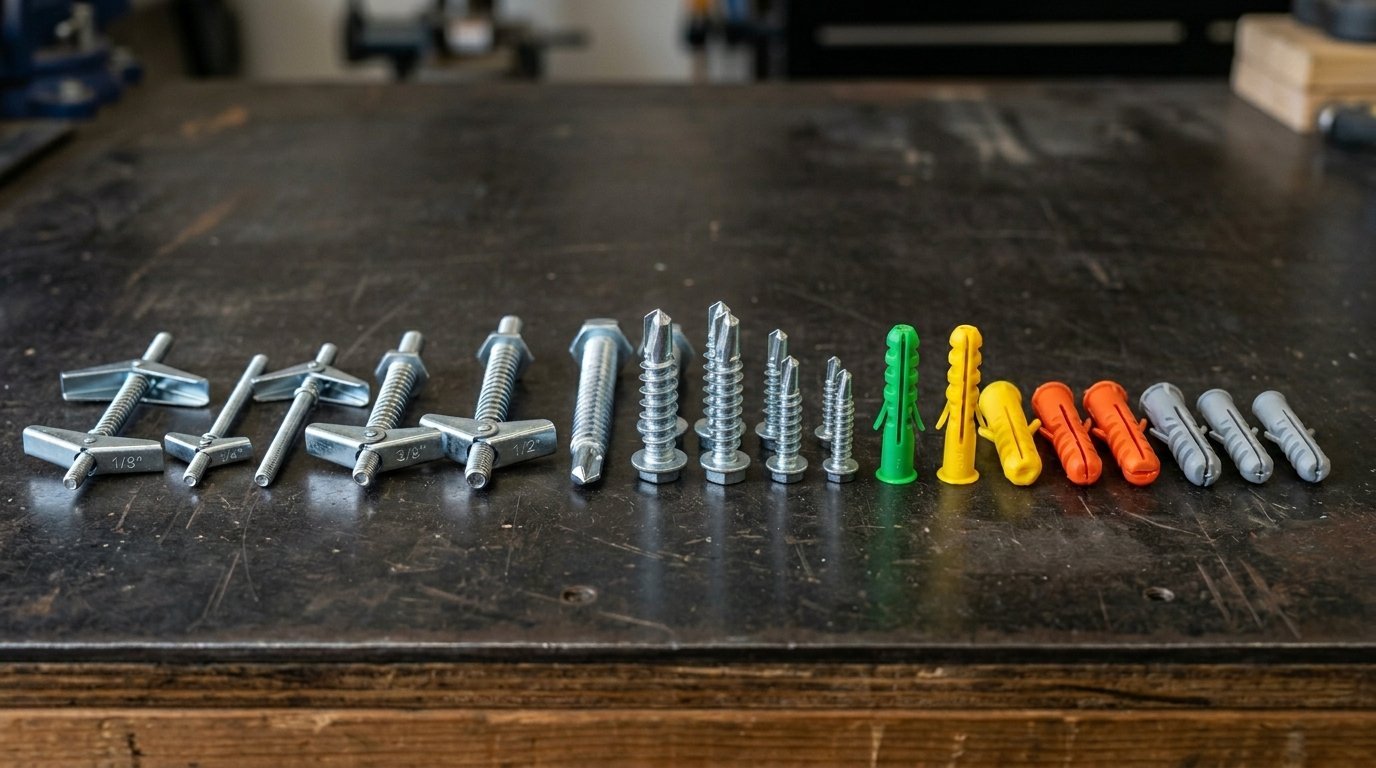
Different wall types require specific fastening choices. Let us look at how common hardware options perform.
Toggle bolts offer the best support in bare drywall. They expand behind the wall to distribute weight across a wide zone. In my tests, a single toggle bolt holds three times more weight than a plastic plug. Threaded zinc anchors work okay for light loads under fifteen pounds. They screw directly into drywall without pre-drilling.
Avoid plastic expansion plugs for floating displays entirely. They work by friction alone. The forward pulling force of a deep shelf slips them right out of the wall. Wood screws are the ultimate choice. If you drive a three-inch wood screw directly into a pine stud, it can support over one hundred pounds. Always try to hit at least one stud for every shelf you hang.
Troubleshooting common floating shelves DIY mistakes
Even careful projects can encounter unexpected issues. Here is how to fix errors quickly.
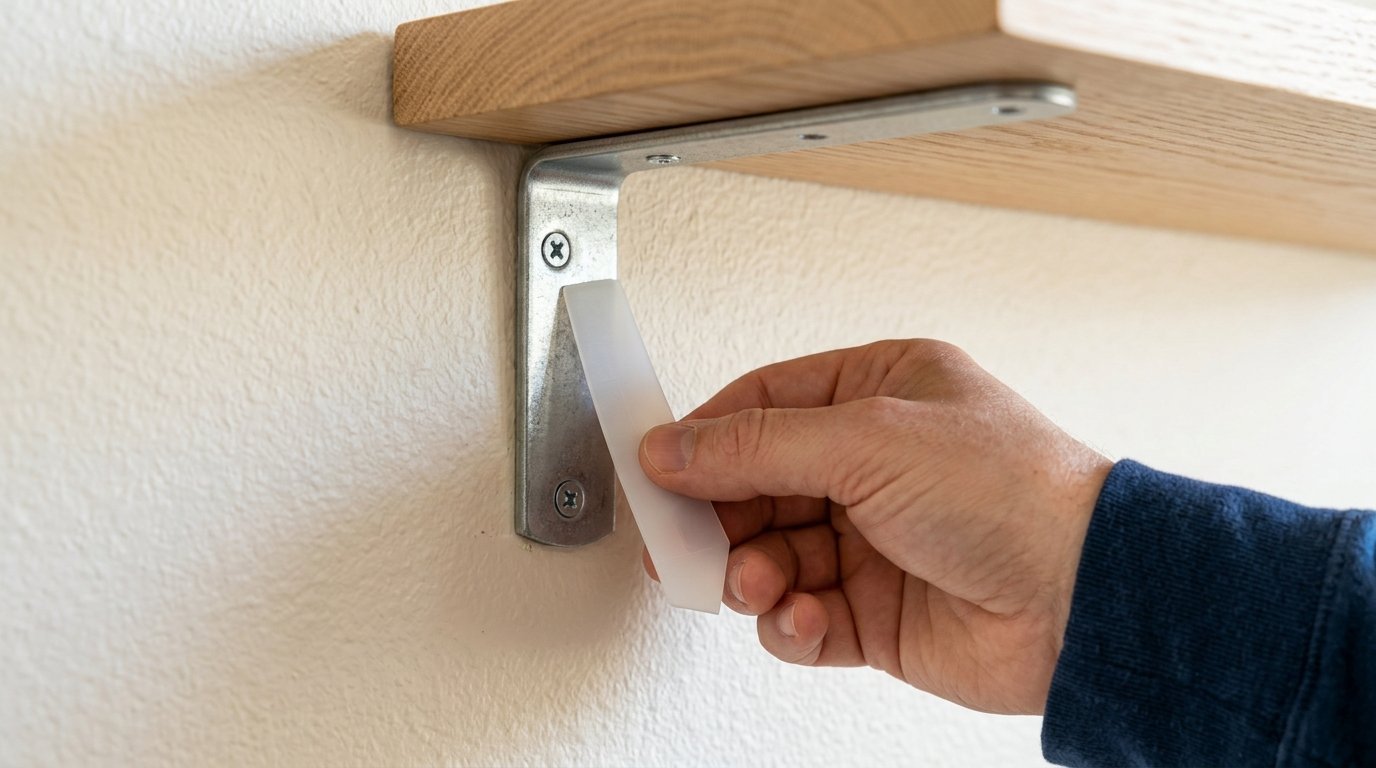
If your shelf tilts forward after installation, do not panic. This usually means the bracket is sinking into soft drywall. Remove the wooden plank from the rods. Place thin plastic shims behind the bottom edge of the metal bracket. This tilts the rods back upward slightly. Slide the shelf back on to check the angle.
If your wall anchor pulls loose, the hole is now too large. Clean out the broken plaster pieces. Do not try to reuse that exact spot with the same fastener. Switch to a larger heavy-duty toggle bolt that can span the damaged hole. If your drill hits a metal plate inside the wall, stop drilling immediately. This plate protects electrical wires or water pipes. Move your entire shelf layout up or down by two inches to clear the hazard safely.
Frequently asked questions about wall shelf installation
Can you hang floating shelves on drywall without studs?
Yes, you can hang them using high-quality toggle anchors. You must limit the weight you place on the shelf. Bare drywall cannot handle heavy book collections or dense trophies. Keep total weight under twenty pounds per bracket when studs are missing.
Why is my shelf not level even though the bracket is?
This happens when the internal rods are bent or welded crookedly. Low-quality manufacturing can cause uneven angles. You can fix this by placing thin cardboard shims inside the shelf cavity over the rods.
How much weight can a DIY floating shelf hold?
A shelf secured to two wood studs can easily hold fifty to eighty pounds. If you only use drywall anchors, keep the weight under twenty-five pounds. Always check the weight rating on your specific bracket kit before loading it up.
What do you do if your wall studs are unevenly spaced?
Most modern homes have studs spaced sixteen inches apart. Older homes might have variations. If your bracket holes do not align with the studs, drill new holes through the metal bracket itself. Use a cobalt drill bit to pierce the steel safely.
Should you use glue to hold a floating shelf to the wall?
Never use adhesive to attach the shelf to your drywall. Liquid nails or wood glue will tear the paper face off the wall when you remove the shelf. This creates massive wall damage that is difficult to repair. Stick to mechanical fasteners like screws and anchors.
Final Thoughts On Your Wall Display
You possess the exact physical skills required to transform any blank room into a beautifully curated gallery. The fear of ruining your drywall completely vanishes when you follow a strict mechanical process. Take your time measuring the exact center of your solid wood beams. Invest your money in heavy duty metal toggle bolts and precise laser tools. Your carefully styled vintage glass pieces and heavy ceramics will sit perfectly secure on their new wooden foundation. Give your room the professional aesthetic it deserves right now.

Anya Castellan is the Founder and Editor-in-Chief of Home Wall Trends. An art history graduate of the Rhode Island School of Design with twelve years of experience writing for leading American design publications, she specializes in composition, gallery wall theory, and the quiet architecture of domestic space. A former contributing editor at Architectural Digest and guest lecturer at Parsons School of Design, Anya personally reads and signs off on every piece before it is published.