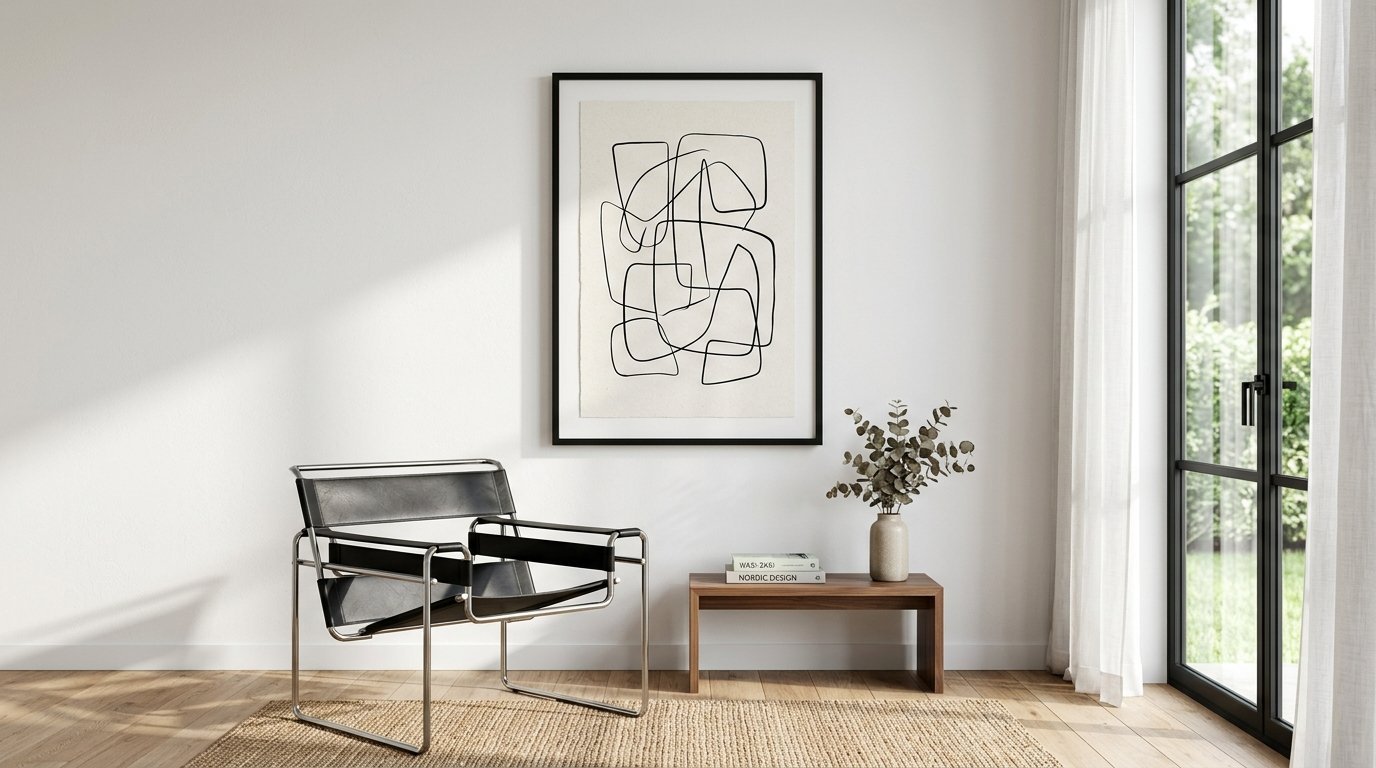
Blank white walls stare back at you every day. You want a clean aesthetic room. You buy art and you hang it up. Something feels entirely off. The space feels empty and floating. You need boundaries. You need visual grounding. A dark border gives your eye a specific place to rest. It creates a crisp line on your wall. It makes the artwork pop against plain white paint. You frame a window to define the view. You must frame your art for the exact same reason. Black lines act like punctuation marks for your room. They tell your brain exactly where the art stops and the wall begins. The human eye loves clear boundaries.
You will get exact prices and store names in this guide. We cover options from 15 dollars to over 150 dollars. You will find out exactly how to hang them securely. We cover layout plans for your workspace and living areas. You will see what cleaning tools keep glass completely spotless. This takes about two hours to plan and finish. Your room will feel complete today.
Why Do Minimalist Walls Need Dark Borders?
The Visual Contrast Rule
White paint needs a counterweight. Light rooms often feel like they are floating away. Dark lines anchor the physical space. They stop the eye from wandering around the room. Galleries use this trick to control your attention. A Black Frame stays quiet. It steps back. It lets the drawing or photo take center stage. They want you to look at the canvas. They do not want you to look at the wood around it. A dark edge forces your attention inward.
Grounding Your Room Decor
Loud colors compete with the picture. Raw materials can look messy. Around February 2026 I threw a fresh piece of pine right into the trash. I tried to craft a farmhouse welcome sign. The rustic vibe looked terrible in my clean space. The raw wood felt heavy and chaotic. I switched to a sleek dark border. The entire room felt instantly better. The clean lines fixed the visual clutter problem. My space finally matched my vision.
Making Photography Pop
I stage rooms for a living. I constantly prepare walls for photography backgrounds. A dark border gives you the best edge for room selfies. It defines the edge of the mirror or artwork perfectly on camera. The camera lens loves crisp borders. It separates the subject from the background.
What Makes a Dark Frame Look Current?
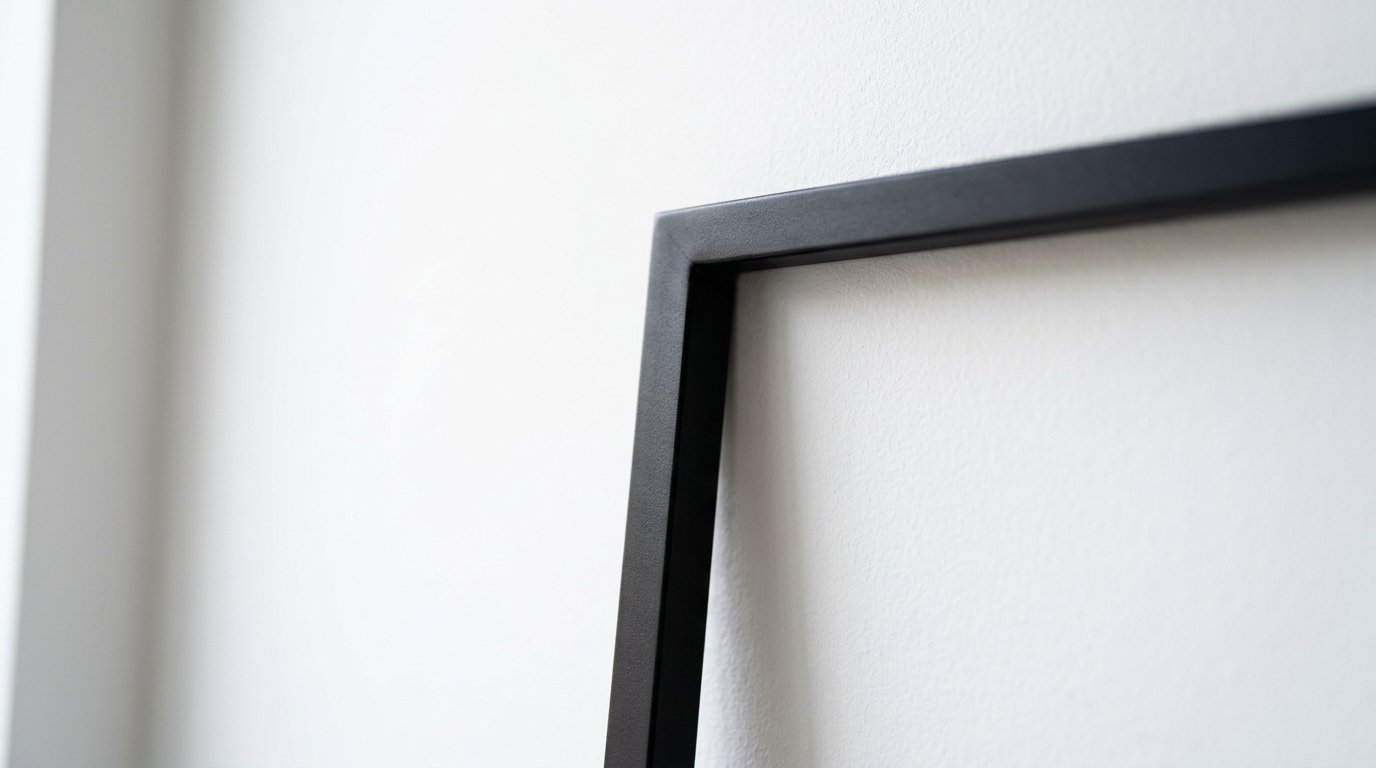
Very Thin Metal Profiles
Thick borders look heavy and dated. Thin lines look sharp and current. Metal materials give you the thinnest possible edge. Some profiles measure just one quarter of an inch. This tiny sliver of dark metal looks very clean. It looks like a pencil line drawn on your wall. Aluminum materials keep the overall weight very low. You can hang large sizes with very small nails.
Flat Matte Over Glossy Finishes
Shiny finishes catch the ceiling light. They distract your eye away from the art. Matte finishes absorb the light around them. They look much more expensive. A flat black surface feels calm and intentional. It hides dust much better than high gloss paint. It hides fingerprints better too. You want the glass to reflect the room. You do not want the border to reflect the room.
Very Large Mat Boards
The white cardboard border around your picture is a mat board. Small mats look cheap. Large mats look high end. You put a tiny photo inside a huge frame. You fill the rest of the space with a crisp white mat. This makes a cheap print look like gallery art. The extra white space acts like breathing room for the image.
How Much Should You Spend on Wall Decor?

Budget Picks Under 20 Dollars
You do not need to spend hundreds of dollars. IKEA sells the Ribba line for very little money. Target sells the Room Essentials line for under ten dollars. These use clear plastic instead of glass. The borders are wrapped medium density fiberboard. They look perfectly fine from five feet away. They weigh almost nothing. You can hang them with cheap adhesive strips.
Mid Tier Options Around 50 Dollars
Moving up in price gets you real glass. Real glass stays clear forever. Plastic scratches very easily. Michaels Studio Decor line hits this sweet spot perfectly. You get real wood painted black. You get real glass. You get sturdy metal clasps on the back. These feel solid in your hands. They sit perfectly flat against your drywall.
Premium Choices Over 100 Dollars
Custom sizing costs real money. Companies like Framebridge cut exactly to your art dimensions. They use solid wood construction. They use UV blocking glass. This special glass stops your art from fading in the sun. They seal the back with special craft paper. This keeps bugs and dust out completely. These pieces last for decades without degrading.
What Are the Best Layouts for a Home Office?
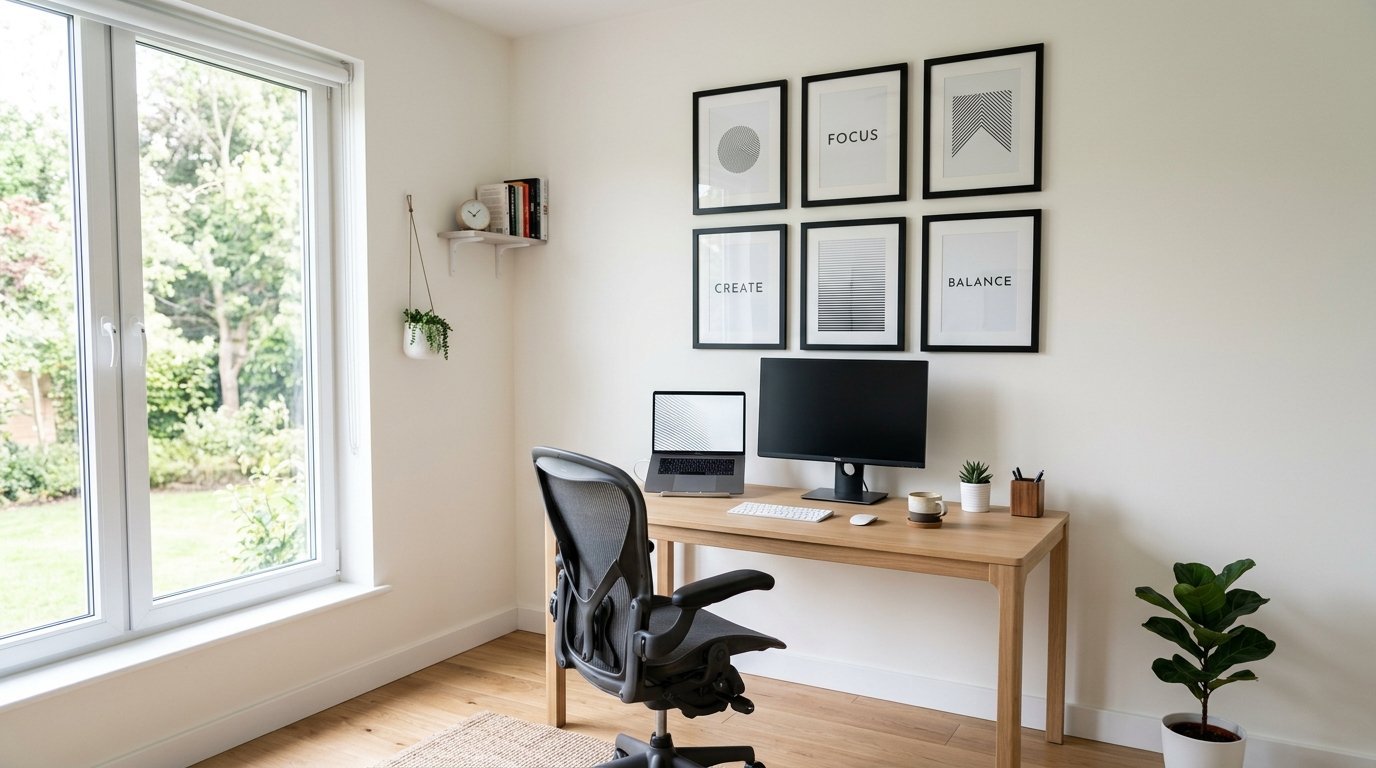
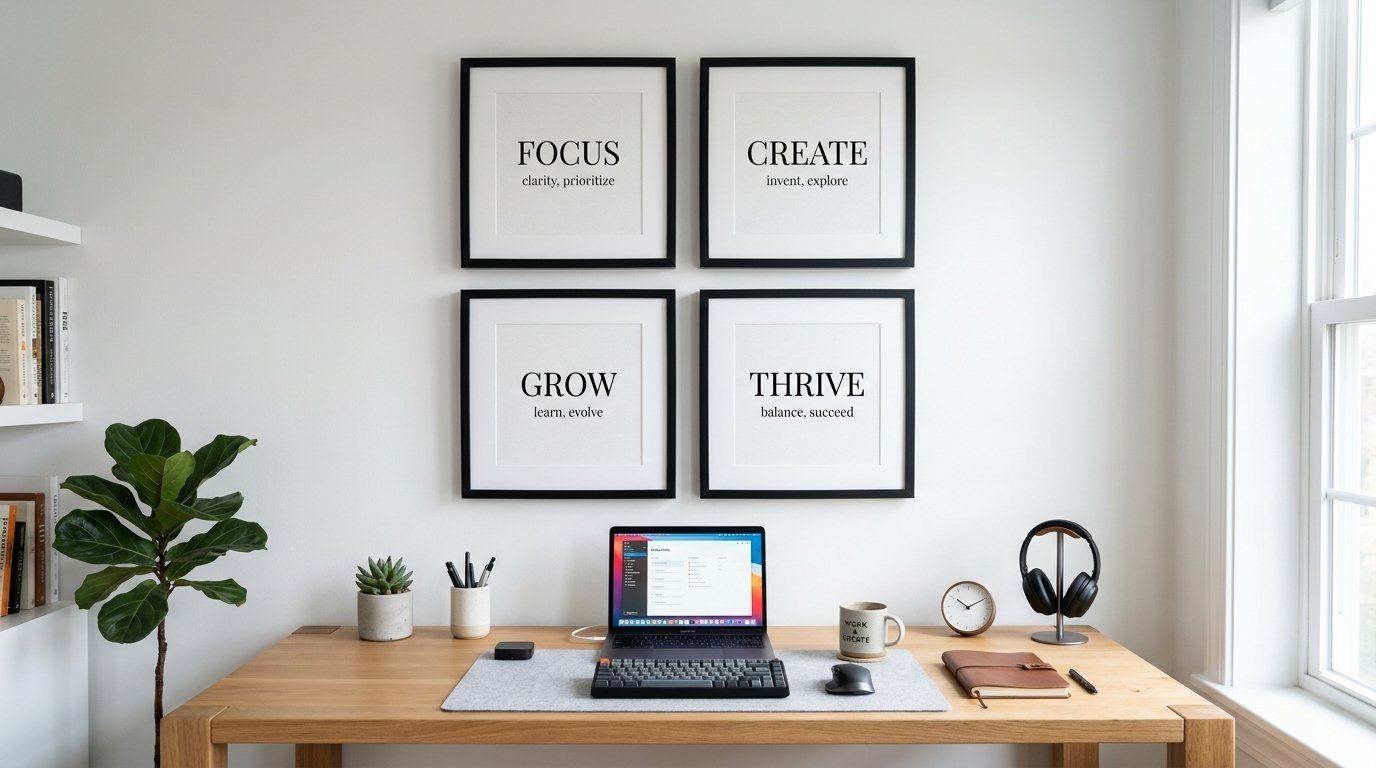
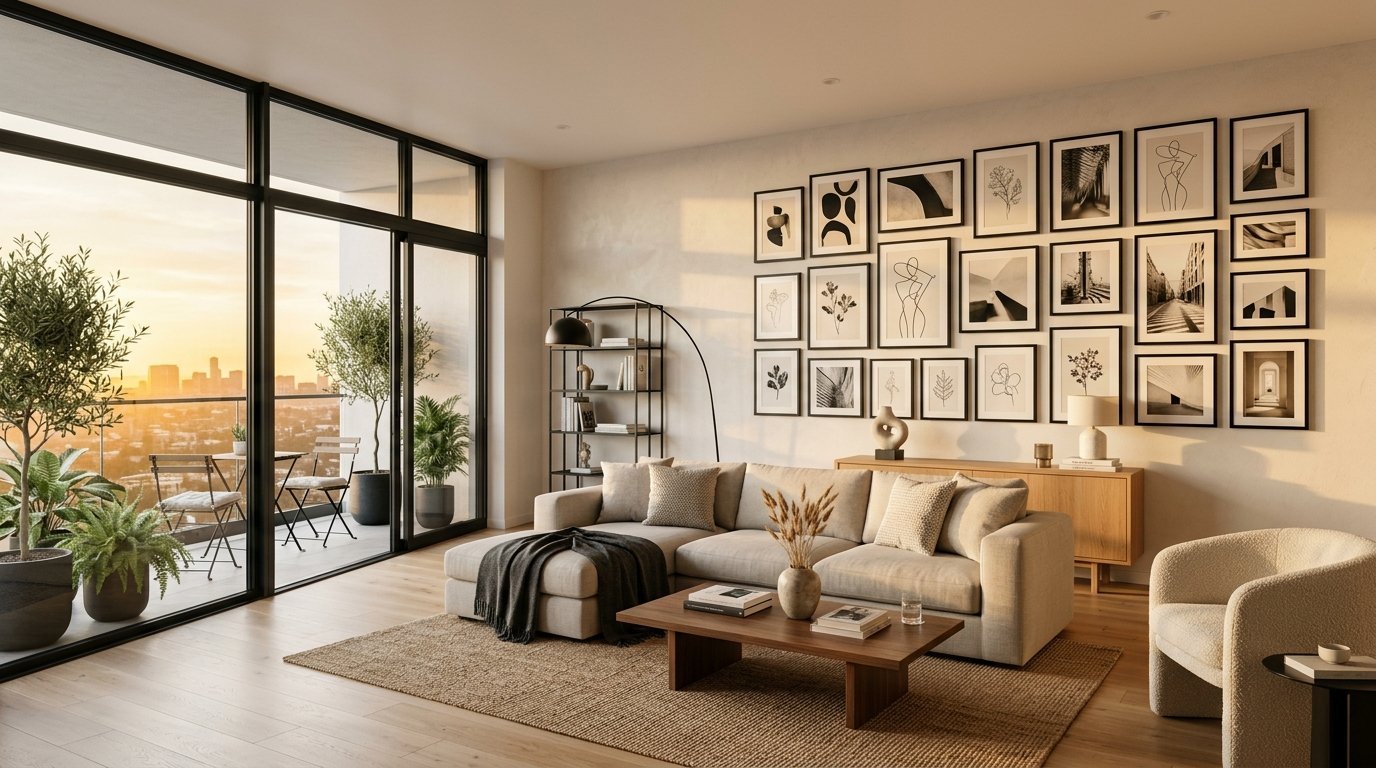
The Symmetrical Grid Setup
You want good Home Office Decor Ideas to stay focused. A grid is perfect for workspaces. You hang four or six identical frames. You space them exactly two inches apart. You align them perfectly level. This creates a giant square or rectangle on the wall. The strict order feels professional. It calms your mind while you work. It looks amazing on video calls.
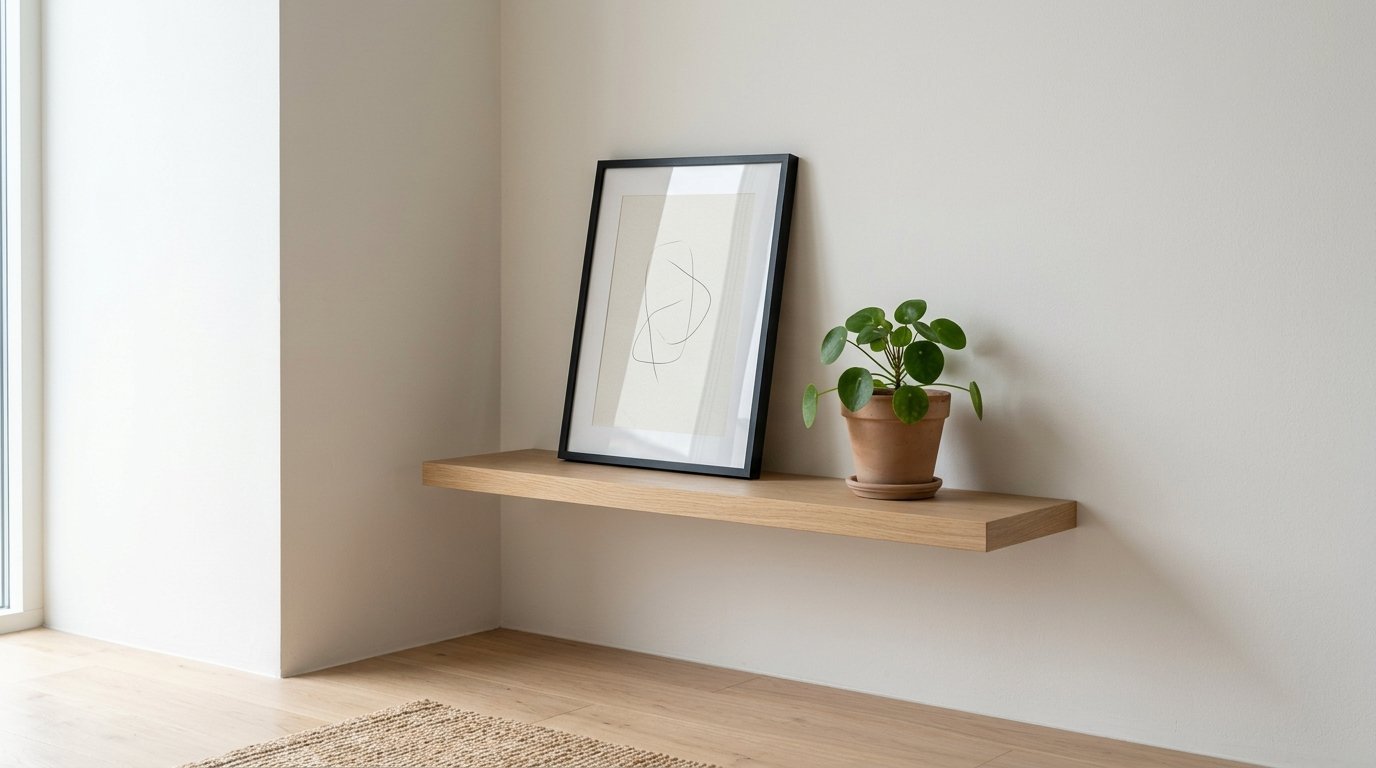
The Casual Picture Ledge
Sometimes you want flexibility. You can install a narrow floating shelf. You rest the pictures on the shelf. You lean them against the wall. You overlap the edges slightly. You can swap pictures out in ten seconds. You do not need to put new holes in the drywall. This fits a creative workspace perfectly. It feels relaxed and intentional.
The Giant Solo Piece
Multiple small items can feel busy. One giant picture feels bold. You find a huge Black Frame. You put one powerful black and white photo inside. You center it over your desk. The sheer scale makes the room feel larger. It acts as an anchor for the whole room. You only have to level one single item.
How Do You Clean and Care for Glass?
Avoiding Water Damage
I noticed a frustrating issue with a gold frame in my Classy Bedroom last summer. Every time I wiped the glass water gathered at the absolute bottom curve. The liquid sat there. It seeped under the glass edge. It ruined the inner backing. Now I never spray liquid directly on the glass. I only spray the cloth first. This stops the liquid from running down the glass face.
The Best Cleaning Liquids
Tap water leaves mineral streaks. Standard glass cleaners leave soapy films. You need professional tools. I use distilled water. I mix it with high purity isopropyl alcohol. This mixture evaporates in seconds. It leaves absolutely zero streaks behind. It dissolves greasy fingerprints instantly. It costs very little to make at home.
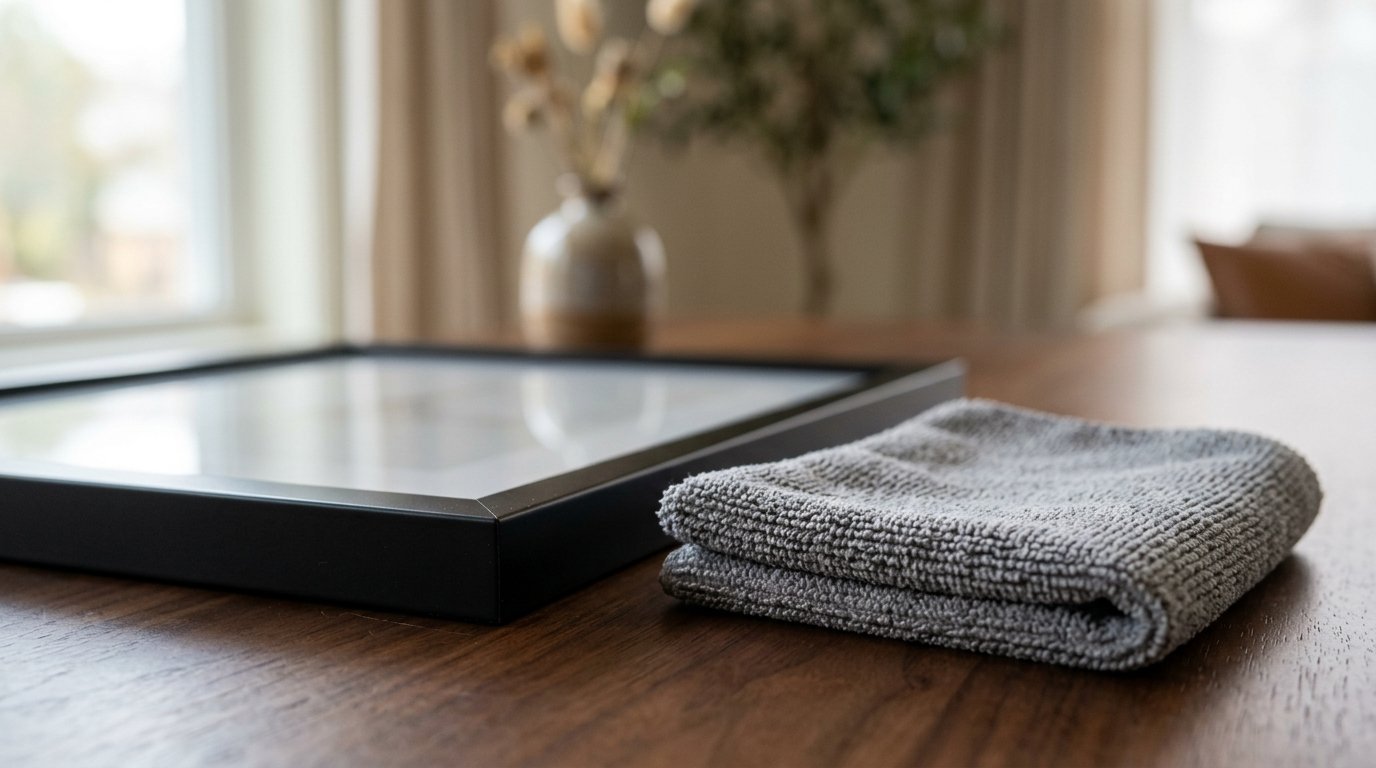
The Only Cloths You Should Use
Paper towels scratch plastic covers. They leave white lint on glass. You must use high quality microfiber. I prefer the Norwex brand or 3M brand cloths. You fold the cloth into quarters. You wipe in straight lines. You do not wipe in circles. You flip to a dry quarter to polish the surface. Your art will look completely invisible.
What Are the Most Common Decorating Mistakes?
Hanging Things Way Too High
People hang art close to the ceiling. This forces you to crane your neck. Galleries hang art at eye level. The center of the picture should sit exactly 57 inches from the floor. This matches the human eye line. It connects the art to your furniture. It stops the picture from floating away into the empty ceiling space.
Skimping on the Spacing
Gallery walls look bad when borders touch each other. They need physical breathing room. You must leave at least two to three inches between every edge. This creates a neat grid of wall color between the squares. The negative space acts as a secondary border. It gives your eye a clear path to travel across the wall.
Ignoring Airflow and Moisture
I saw moisture destroy a beautiful piece in my hallway around May 2023. The damp air got behind the wood. It caused ugly dark spots on the mirror backing. You need air circulation. You put tiny rubber bumpers on the bottom back corners. This tilts the bottom out slightly. Air flows behind the art. Dampness never gets trapped.
How to Choose the Right Art for Dark Borders
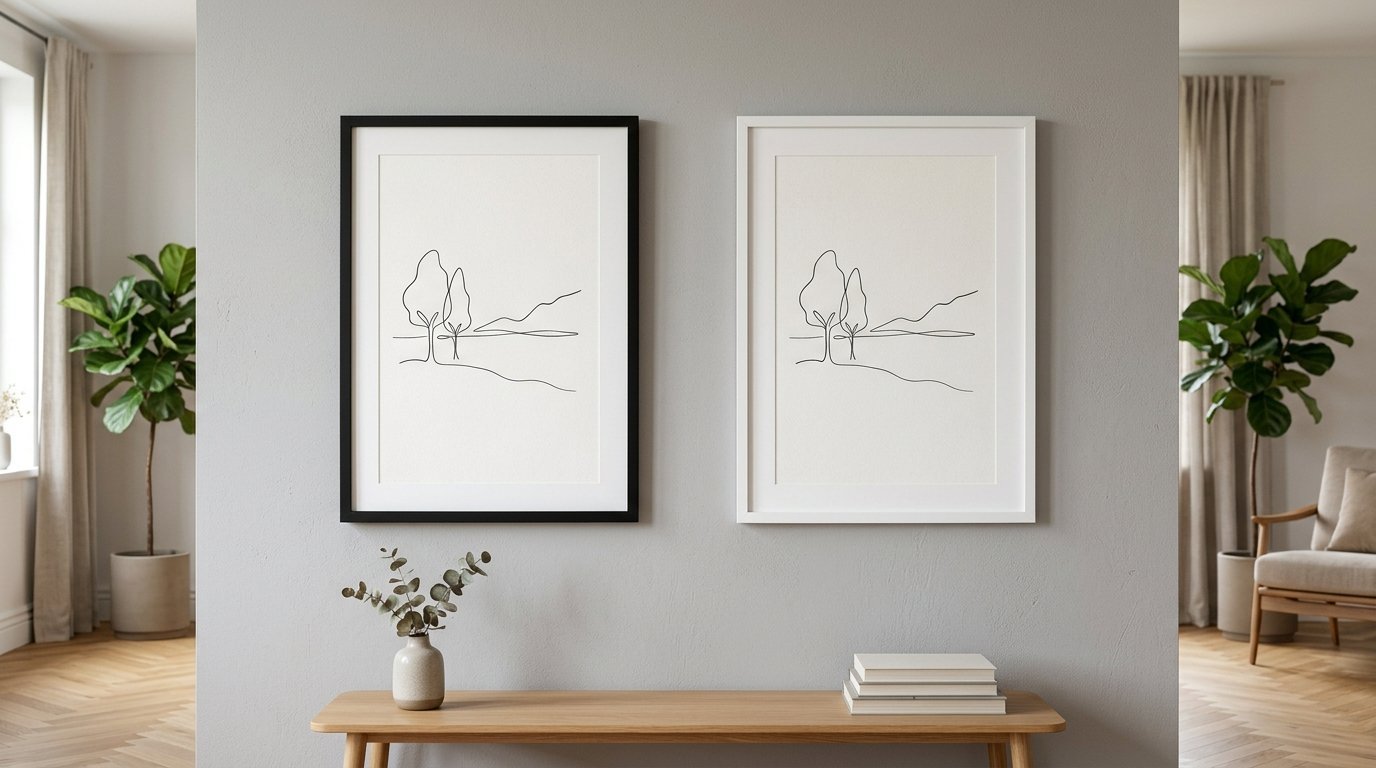
Minimalist Line Art
Single line drawings look incredible in dark borders. The thin lines of the art match the thin lines of the metal. The stark white paper provides massive contrast. You can find digital downloads online for very cheap. You print them at your local copy shop. You get high end art for almost no money.
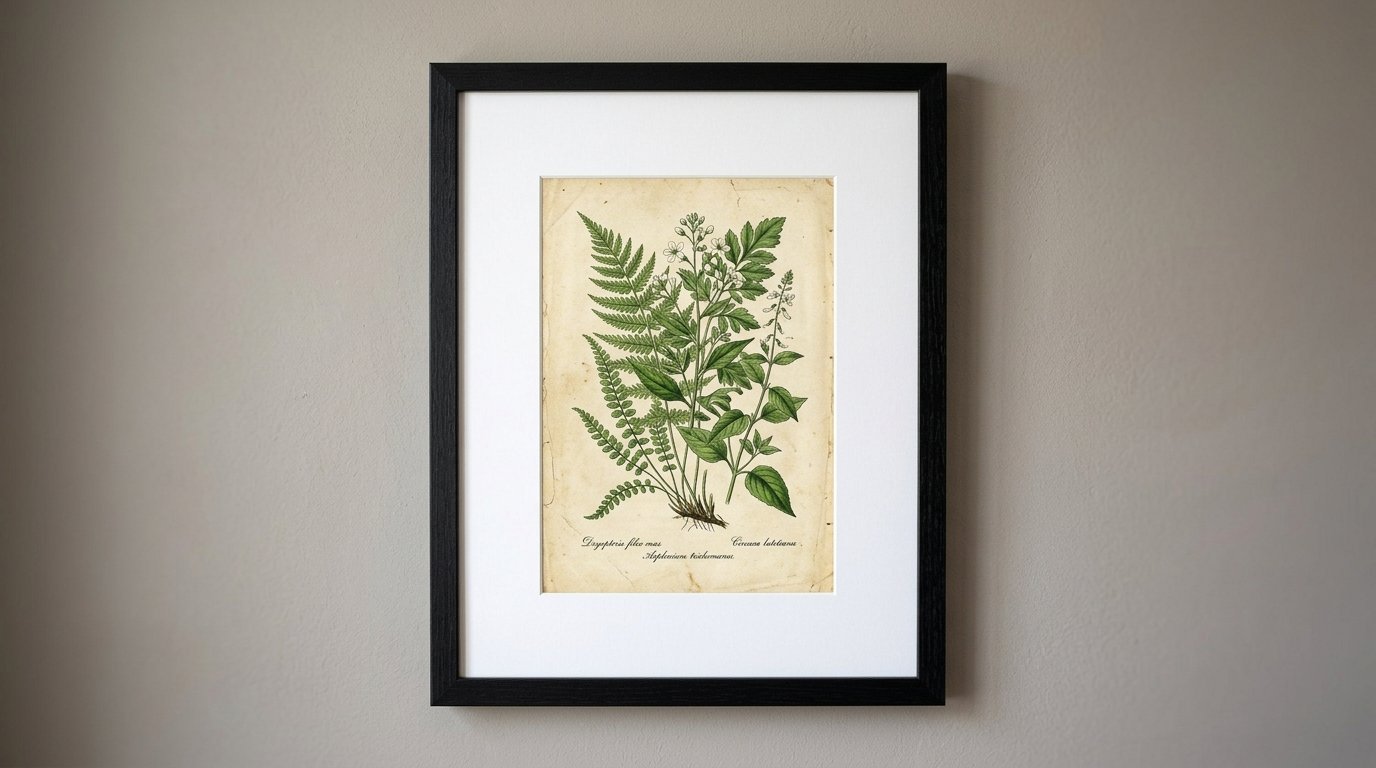
Vintage Botanical Prints
Old plant drawings bring warmth to a cold room. The green leaves look rich against the dark edge. The vintage paper adds texture. This stops the room from feeling too sterile. You can cut pages out of old books. You mount them on bright white mat boards. The contrast makes the old paper look very deliberate.
Modern Typography Posters
Words look great on walls. You find a quote you love. You print it in a bold black font on white paper. The dark border traps the text perfectly. It reads like a book page. This works very well in office spaces. It gives you daily motivation. It keeps the aesthetic very clean and sharp.
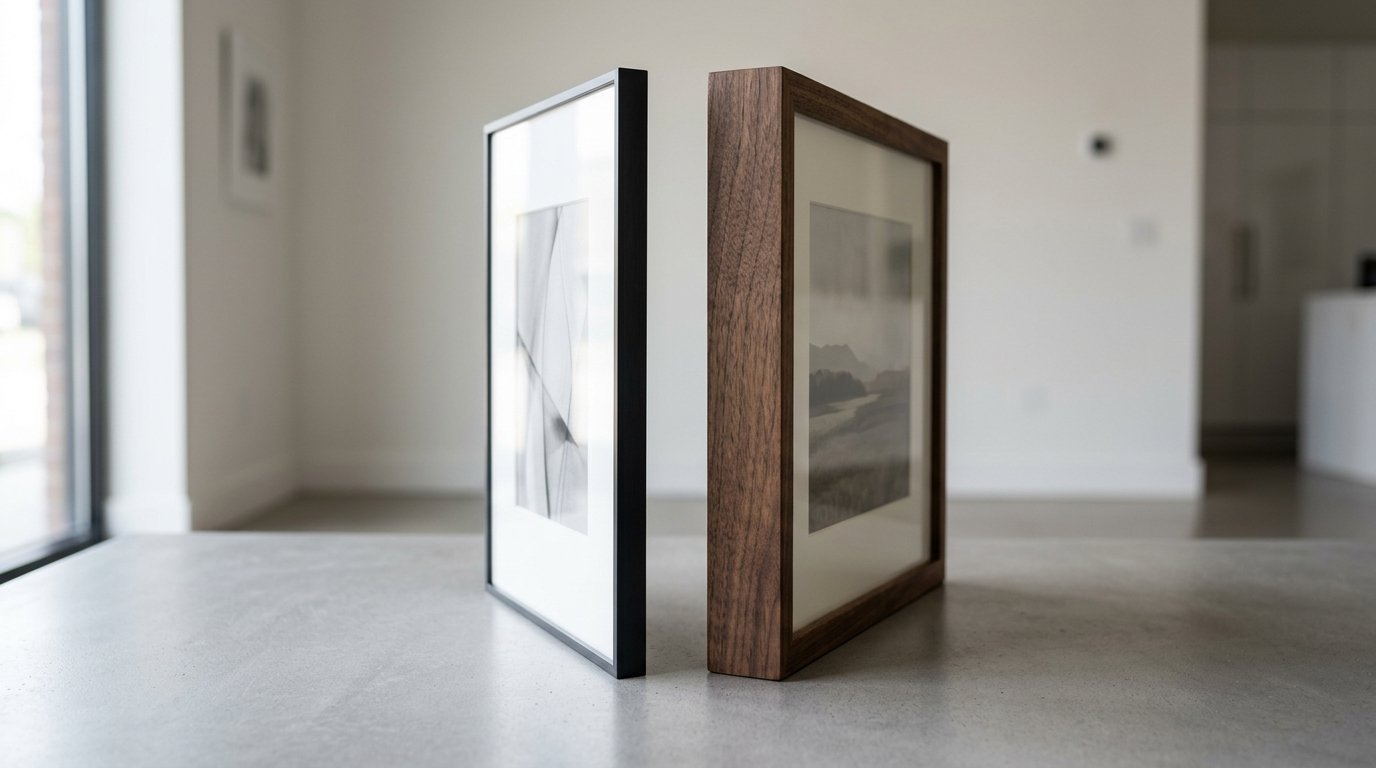
Black Borders Versus White Borders
When to Pick Dark
You pick dark borders when you want high contrast. You want the art to jump off the wall. You want a slightly masculine or industrial feel. You have black hardware on your doors or cabinets. The frames match the hinges and handles. This ties the whole room together.
When to Pick Light
You pick white borders when you want the art to blend in. You want a very soft look. You have very light pastel art. A dark edge might overpower a delicate watercolor painting. A white edge lets the soft colors breathe. It creates a seamless look against white walls.
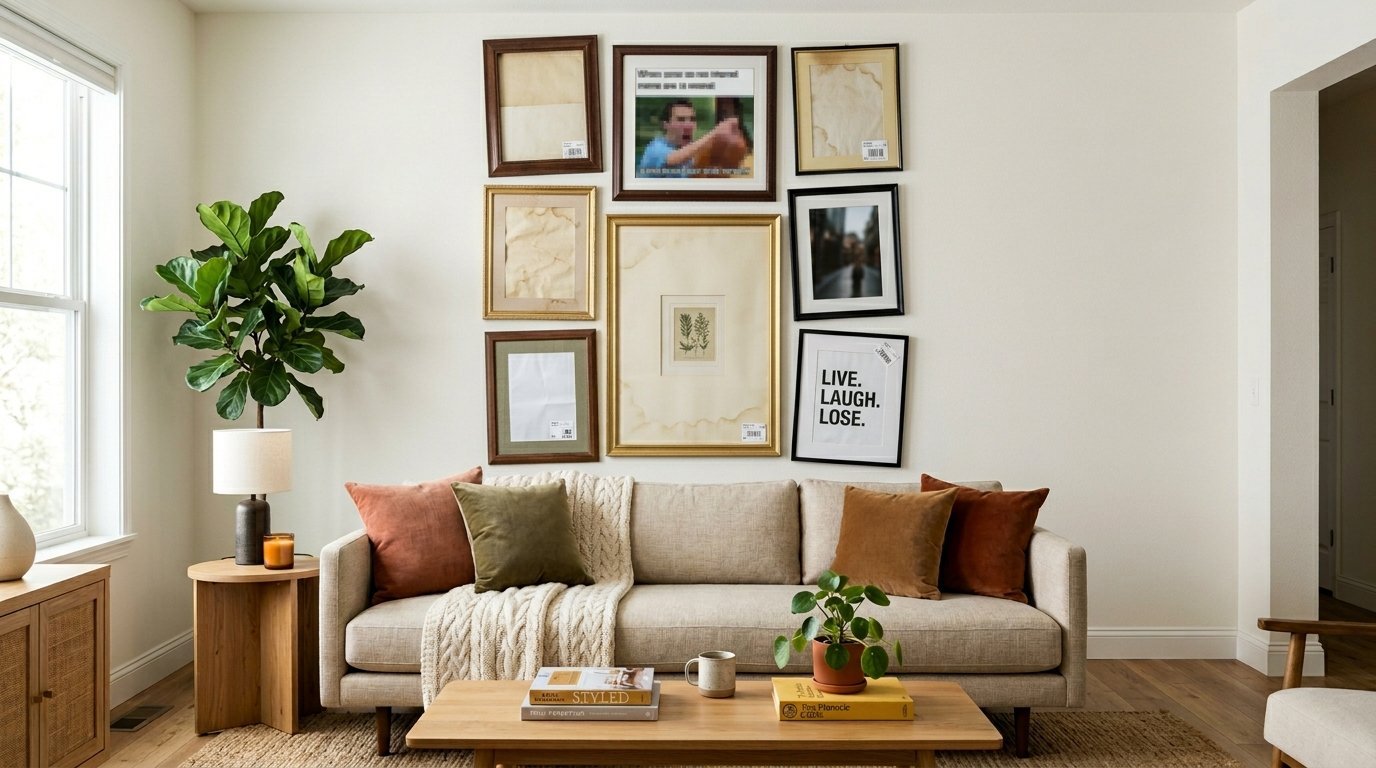
Mixing Both Together
You do not have to choose just one. You can mix both colors on the same wall. You put your most colorful art in the white borders. You put your simple line art in the dark borders. This creates a collected look over time. It feels less rigid than perfectly matched sets. It feels like a real home.
Step By Step Gallery Wall Setup
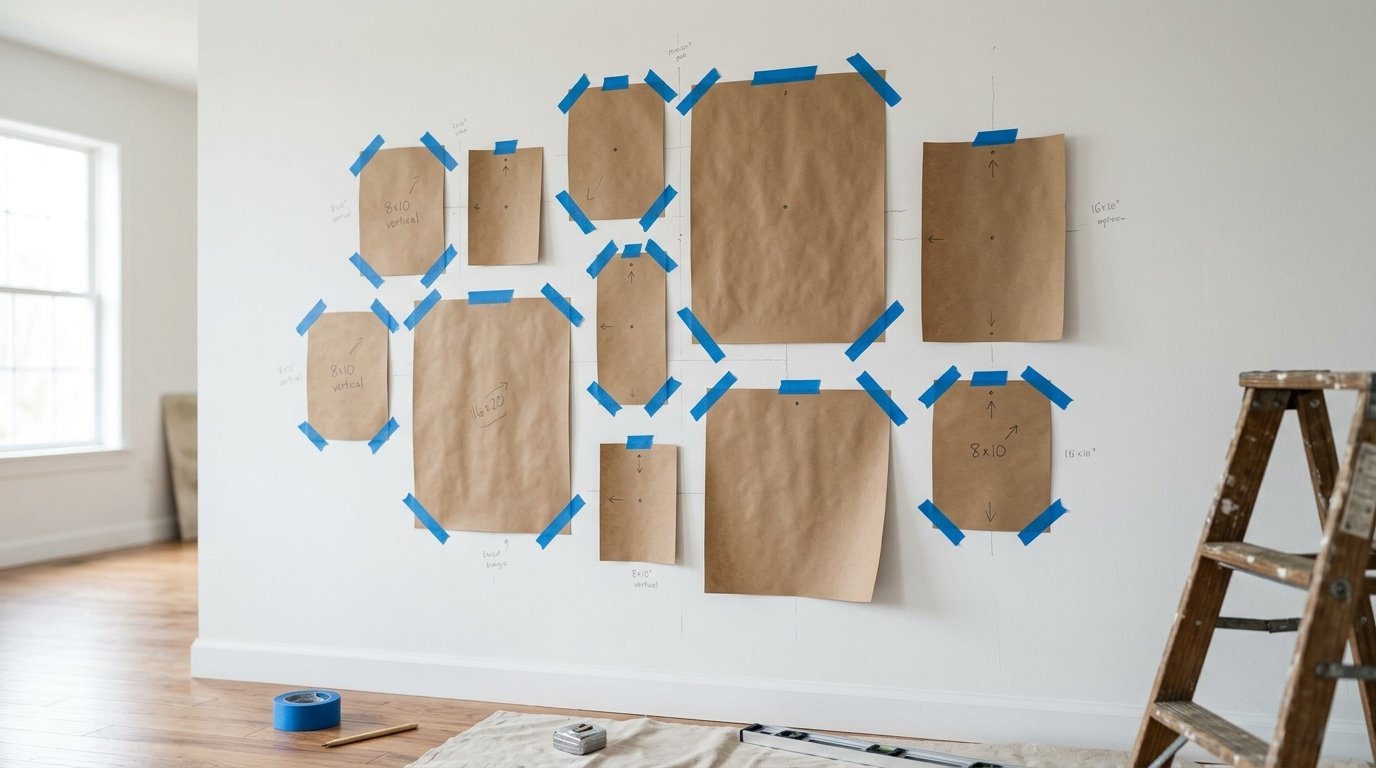
Trace the Shapes First
You never hammer nails right away. You place your empty frames on craft paper. You trace the outside edges with a pencil. You cut the paper shapes out with scissors. You write the name of the art on each paper shape. You mark exactly where the hanging hook sits on the back.
Tape to the Wall
You take painter tape and stick the paper shapes to your drywall. You move them around freely. You check the spacing with a ruler. You step back and look at the whole arrangement. You leave them up for a few days. You see how the light hits them. You make sure the layout feels right.
Nail Through the Paper
You do not measure the wall again. You hammer the nail right through the mark on the paper. You tear the paper away from the wall. The nail sits in the exact perfect spot. You hang the real piece up. It lines up flawlessly on the first try. This saves you from putting extra holes in your drywall.
The Best Hardware for Your Walls
Renter Friendly Adhesive Strips
Command strips save apartment deposits. You wipe the wall with alcohol. You press the strip hard for thirty seconds. You press the art to the wall. They hold a surprising amount of weight. They peel off clean when you move out. You must follow the weight limits printed on the box exactly.
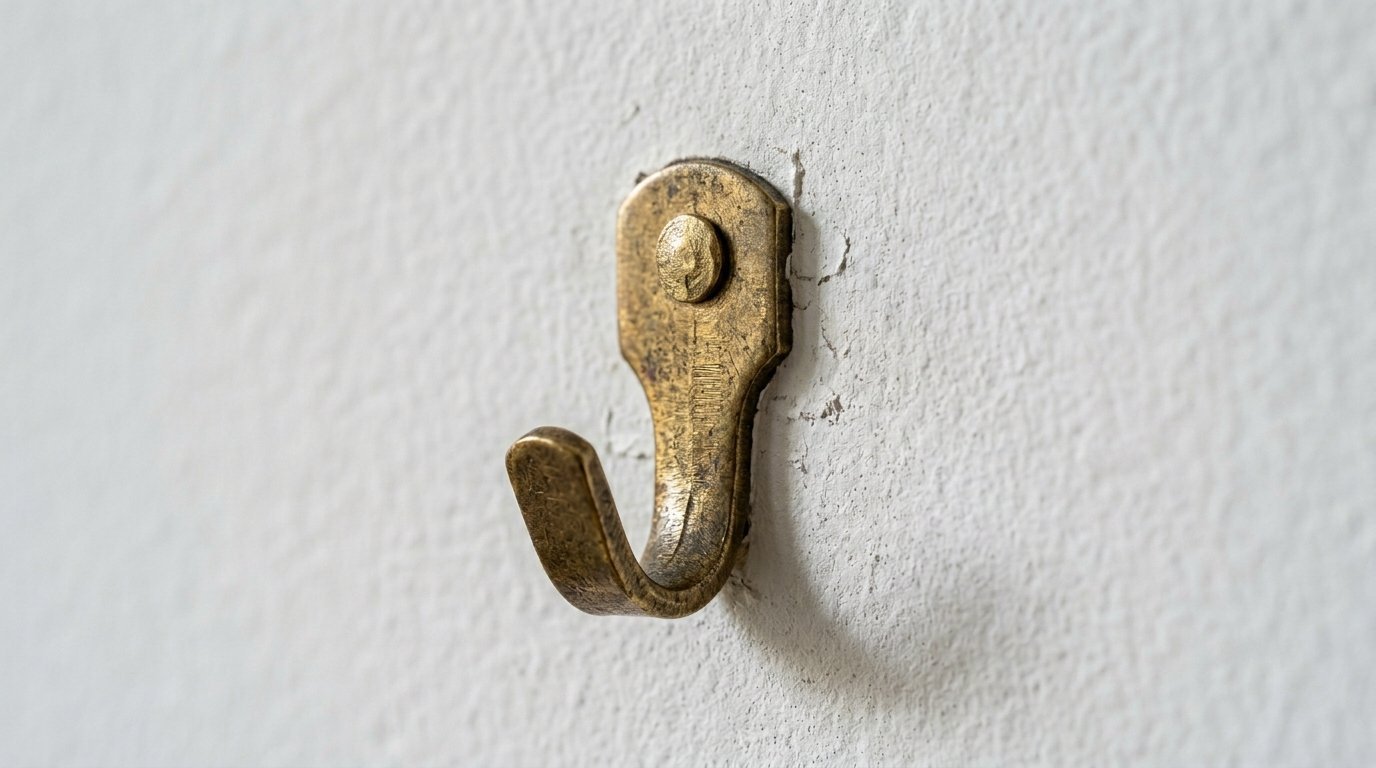
Traditional Brass Hooks
Heavy items need metal. Brass picture hooks work the best. The nail goes in at a sharp downward angle. This uses the drywall strength perfectly. A tiny nail can hold fifty pounds. They leave a hole the size of a pinhead. You can fix the hole with a tiny dab of toothpaste when you move.
French Cleat Systems
Massive pieces need extreme support. A french cleat uses two interlocking pieces of metal. One piece screws into the wall studs. The other piece attaches to the top edge of your art. You slide them together. The art sits perfectly level forever. It will never tilt or fall off the wall.
Comparison of Frame Core Materials
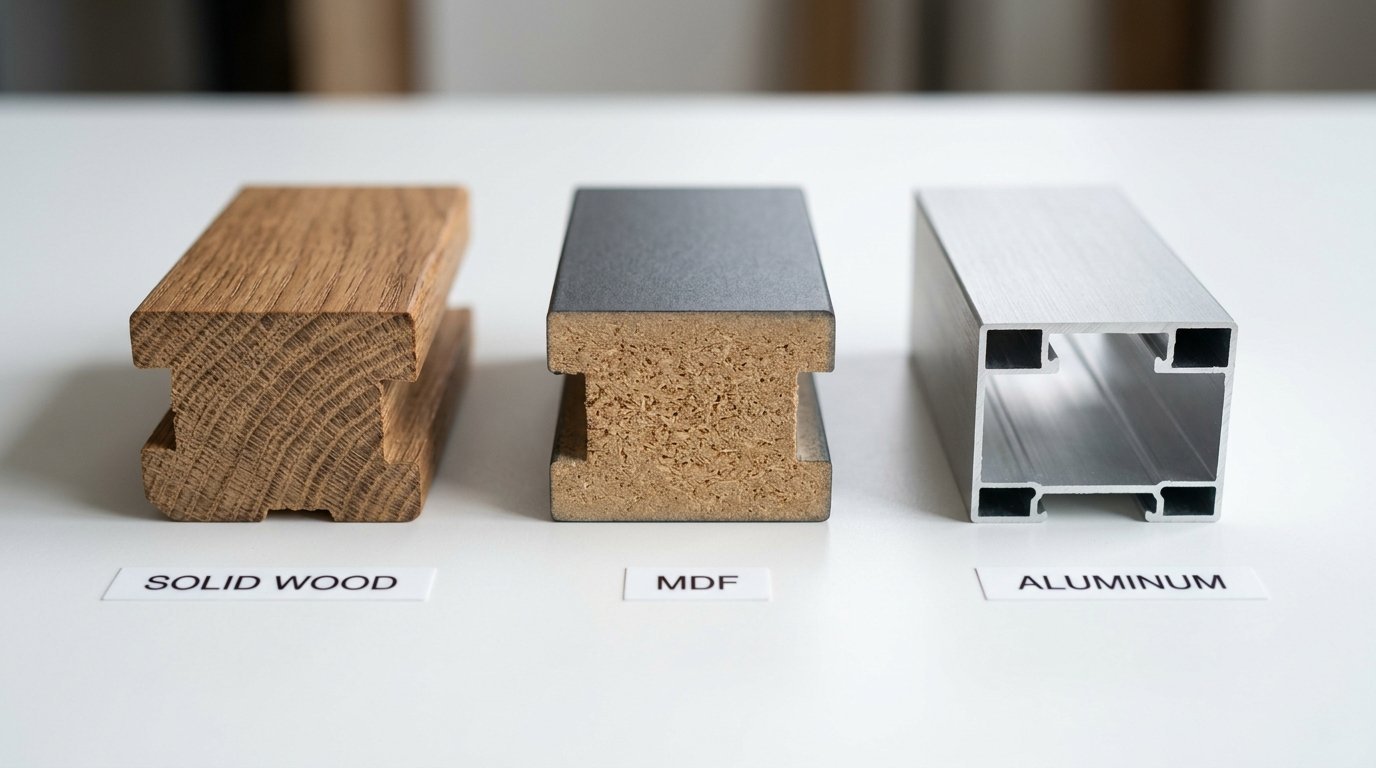
Solid Hardwood Cores
- Cost is very high.
- Durability is extremely high.
- Weight is very heavy.
- Paint goes on perfectly smooth.
- The corners never separate or gap.
Medium Density Fiberboard Cores
- Cost is very low.
- Durability is medium.
- Weight is medium.
- The dark paper wrapping can peel off.
- Moisture can cause the core to swell.
Extruded Aluminum Cores
- Cost is medium.
- Durability is very high.
- Weight is extremely light.
- The thin edges look the most modern.
- The metal never warps in humid rooms.
Frequently Asked Questions
Do dark borders make a room look smaller?
No. Dark borders actually define the space perfectly. White walls recede indefinitely. A dark line tells your eye exactly where the wall surface lives. This clarity makes rooms feel planned and spacious.
Can I mix dark and light wood finishes?
Yes. You can use Black Frames with light oak furniture. The stark contrast looks highly intentional. The dark edges pop against the pale wood grains. Just keep the profile shapes very similar.
How do I stop glare on the glass surface?
You must position the art away from direct windows. You can also buy anti reflective glass. This special glass scatters the light. It costs more money but makes the artwork visible from any angle in a bright room.
What size is best for a small writing desk?
An 11×14 size works perfectly over a small desk. It feels substantial without overpowering the narrow width of the furniture. Hang it exactly eight inches above the desk surface for perfect visual anchoring.
Will command strips ruin my apartment paint?
They will ruin the paint if you pull them straight out. You must pull the tab straight down along the wall. You pull slowly. The adhesive stretches and releases its grip completely. You follow the package directions exactly.
How thick should my mat board be?
A two inch mat board works for most casual art. A four inch mat board gives a true gallery look. You always want the bottom edge of the mat to be slightly thicker than the top edge. This creates perfect visual balance.
Should I use plastic or real glass?
Plastic works well for oversized pieces because it keeps the weight low. Glass works best for anything smaller than 16×20. Glass stays clearer over time and resists scratching during the cleaning routine.
What is the exact height to hang my pictures?
You measure exactly 57 inches from the floor. You mark the wall. The exact physical center of your art should sit over that mark. You adjust the nail height based on where the wire sits on the back.
How do I fix a crooked picture frame?
You wrap a tiny bit of masking tape around the bottom corners. This gives the wood grip against the smooth drywall. It stops the piece from shifting when doors slam. You can also buy tiny rubber wall bumpers for this exact purpose.
Wrapping Up Your Wall Decor Project
You have the exact steps right here. You know the exact materials to buy. You know what sizes look the best. Your blank walls are completely ready for a serious upgrade. You can drive to the store today. You can pick up three matching pieces. You can buy some command strips. You can transform your space before dinner time. Take a picture of your empty wall right now. Take another picture tonight. The difference will completely shock you. Do not wait for the perfect piece of art. Start with the border first. The rest falls into place easily.

Anya Castellan is the Founder and Editor-in-Chief of Home Wall Trends. An art history graduate of the Rhode Island School of Design with twelve years of experience writing for leading American design publications, she specializes in composition, gallery wall theory, and the quiet architecture of domestic space. A former contributing editor at Architectural Digest and guest lecturer at Parsons School of Design, Anya personally reads and signs off on every piece before it is published.