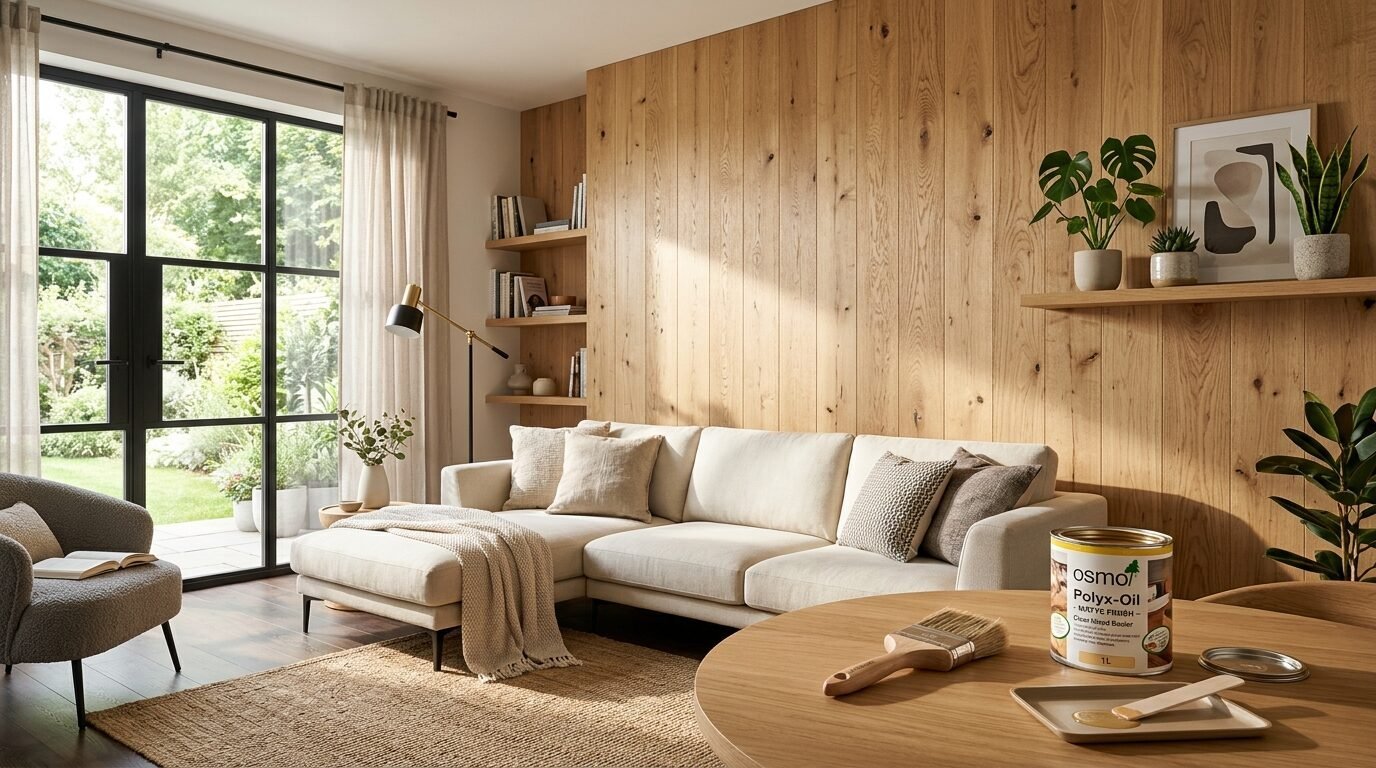
Your wood accent wall stands as the heart of your room. It creates warmth and texture that drywall cannot match. You spent hours picking the wood and nailing it into place. Now you face the most important step. You must seal it. If you skip this, your beautiful wall will change. Light will fade the color. Humidity will warp the boards. Dust will settle into the pores and stay there forever.
I learned this lesson the hard way in 2019. I installed a stunning pine plank wall in my living room. I loved the raw and natural look. I decided to leave it bare. Six months later, the wood turned an ugly shade of yellow. The boards near the window started to cup and pull away from the studs. It was a five hundred dollar mistake. I had to rip it down and start over. Now I never leave wood unprotected.
This guide helps you avoid my past failures. You will learn how to choose the right finish for your home. We will cover the tools you need and the exact steps to take. Whether you have new cedar or old 1970s paneling, these steps work. Protecting your wall ensures it looks perfect for decades.
Why Raw Wood Is a Risk in Your Home
Raw wood is like a sponge. It reacts to everything in its environment. When the heat kicks on in the winter, the wood shrinks. When the summer humidity hits, it expands. This constant movement causes cracks and gaps. I have seen beautiful walnut walls split right down the middle because they lacked a proper seal.
Moisture is another silent killer. Even if the wall is not in a bathroom, spills or cleaning sprays can cause stains. Raw wood absorbs oils from your skin too. Every time someone leans against that wall, they leave behind invisible marks. Over time, these marks turn into dark and greasy patches.
Sunlight also plays a big role. UV rays break down wood fibers. This process is called photodegradation. It causes rich browns to turn gray or vibrant reds to fade. A high quality sealer acts like sunscreen for your home. It blocks those rays and keeps the color exactly as you intended.
Choosing the Right Sealer for Your Wall Style
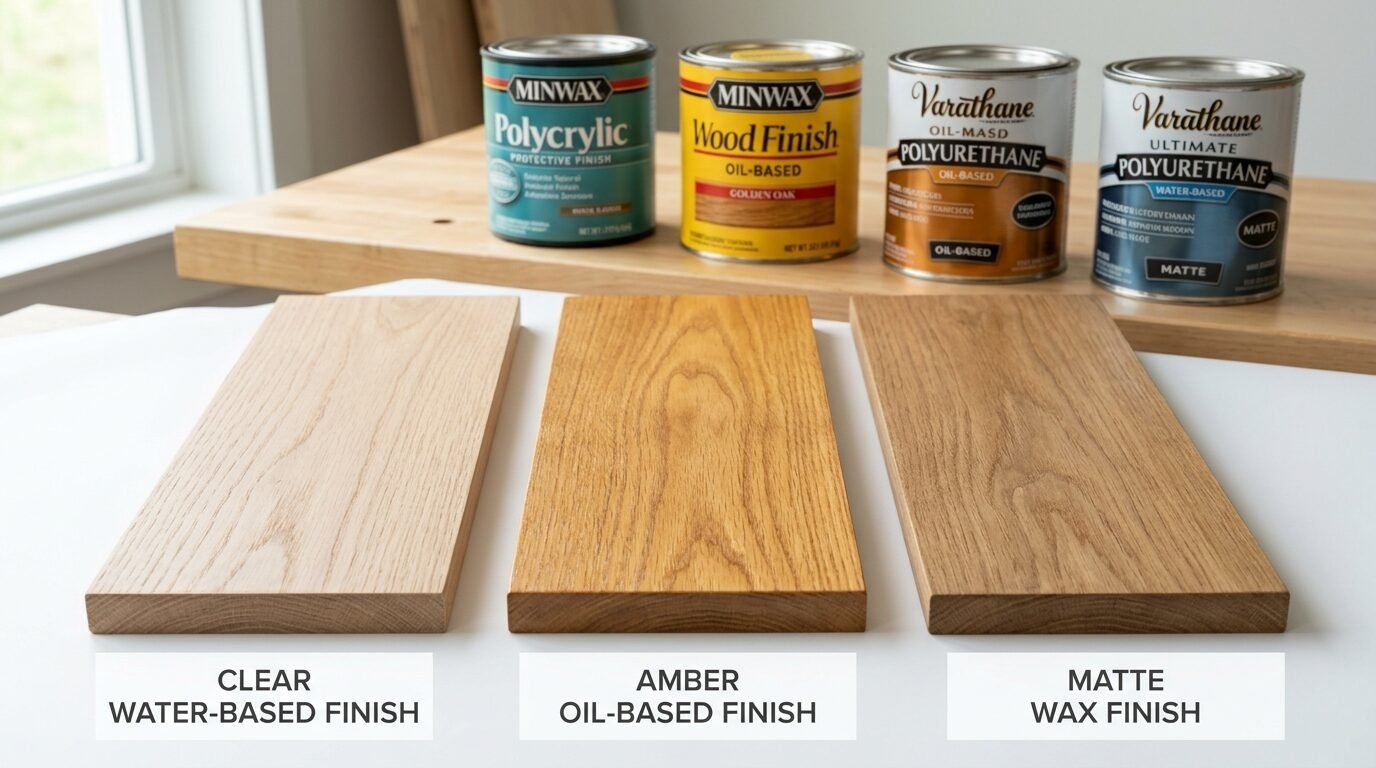
You have many choices when it comes to finishes. The best one depends on the look you want. I usually reach for water based polyurethane for most DIY projects. It stays clear and does not yellow over time. Minwax Polycrylic is a great example of this. It dries fast and does not have a strong smell.
If you want a deeper and richer look, oil based finishes are excellent. They penetrate the wood grain and highlight the natural patterns. Varathane Ultimate Polyurethane is a favorite among professionals. It is very durable but it has a strong odor. You will need plenty of ventilation if you use this inside.
For a modern and matte look, I often recommend Rubio Monocoat. It is a hard wax oil. It bonds with the wood fibers on a molecular level. You only need one coat. In my experience, this is the easiest way to get a high end finish. It is more expensive than other options but it saves hours of labor.
Gathering Your Essential Supplies and Tools
Preparation makes the difference between a messy job and a professional result. Do not try to cut corners with cheap tools. I once used a bargain basement brush on a cedar wall. It left bristles embedded in the dried finish. I had to sand the whole thing back down.
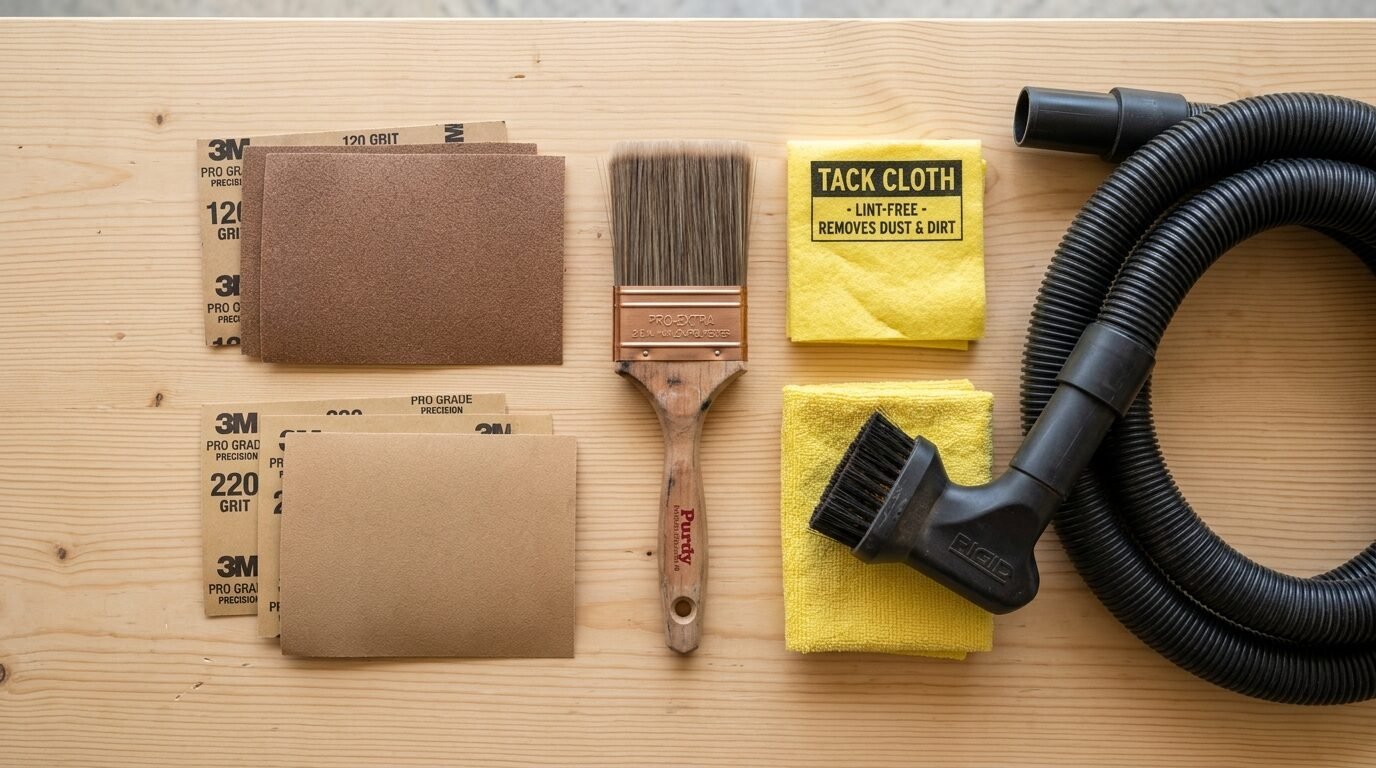
You need a high quality synthetic brush for water based finishes. Purdy brushes are my go to choice. For oil based products, use a natural bristle brush. You also need a vacuum with a brush attachment. Removing every speck of dust is critical.
Stock up on sandpaper in various grits. You will need 120 grit for initial smoothing and 220 grit for sanding between coats. Tack cloths are also vital. These sticky cloths pick up the tiny dust particles that a vacuum misses. I suggest buying a pack of ten. You will use them more than you think.
How to Prepare the Surface for a Perfect Finish
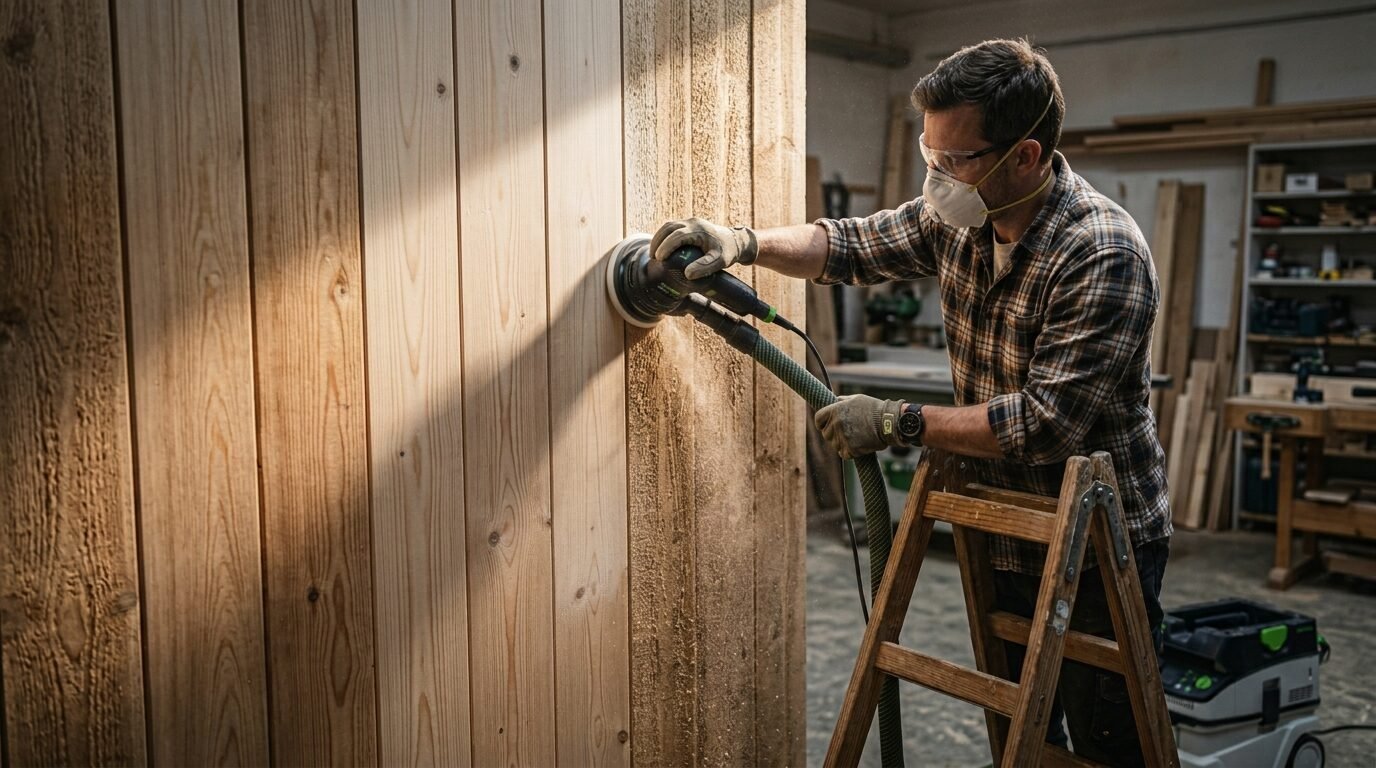
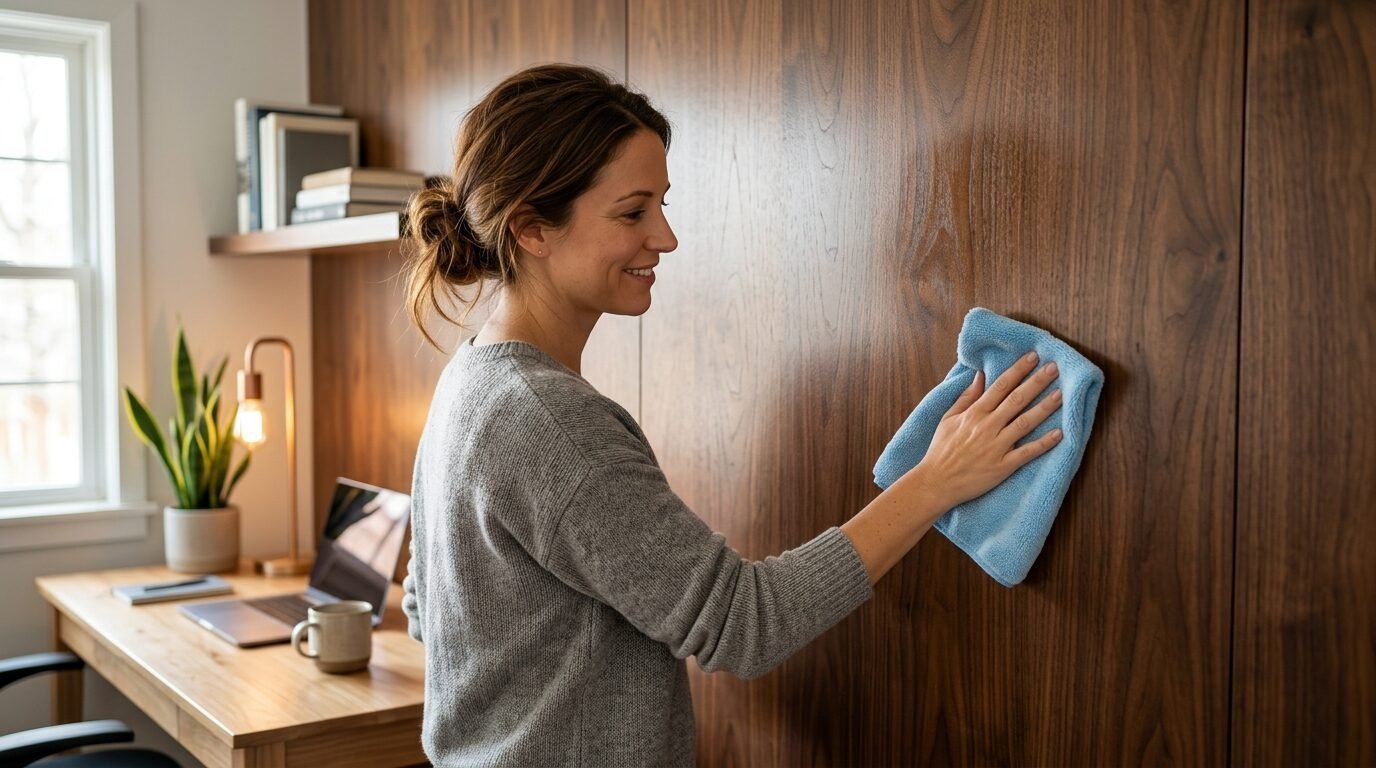
Start by cleaning the wall thoroughly. If you are doing a makeover on wood panel walls, this is the most important step. Use a mixture of warm water and a mild detergent. Wipe down every board to remove dust and grease. Let the wood dry for at least twenty four hours.
Once dry, start sanding. Move your sander in the direction of the wood grain. Never sand across the grain. This creates scratches that will show up clearly once you apply the sealer. I start with 120 grit to open up the pores. This helps the sealer soak in deeply.
After sanding, the wall will be covered in fine white powder. Vacuum the surface from top to bottom. Then, use your tack cloth. Wipe the wood until the cloth comes away clean. If you feel any bumps or rough spots, sand them again. A smooth surface leads to a smooth finish.
Applying the First Coat Like a Pro
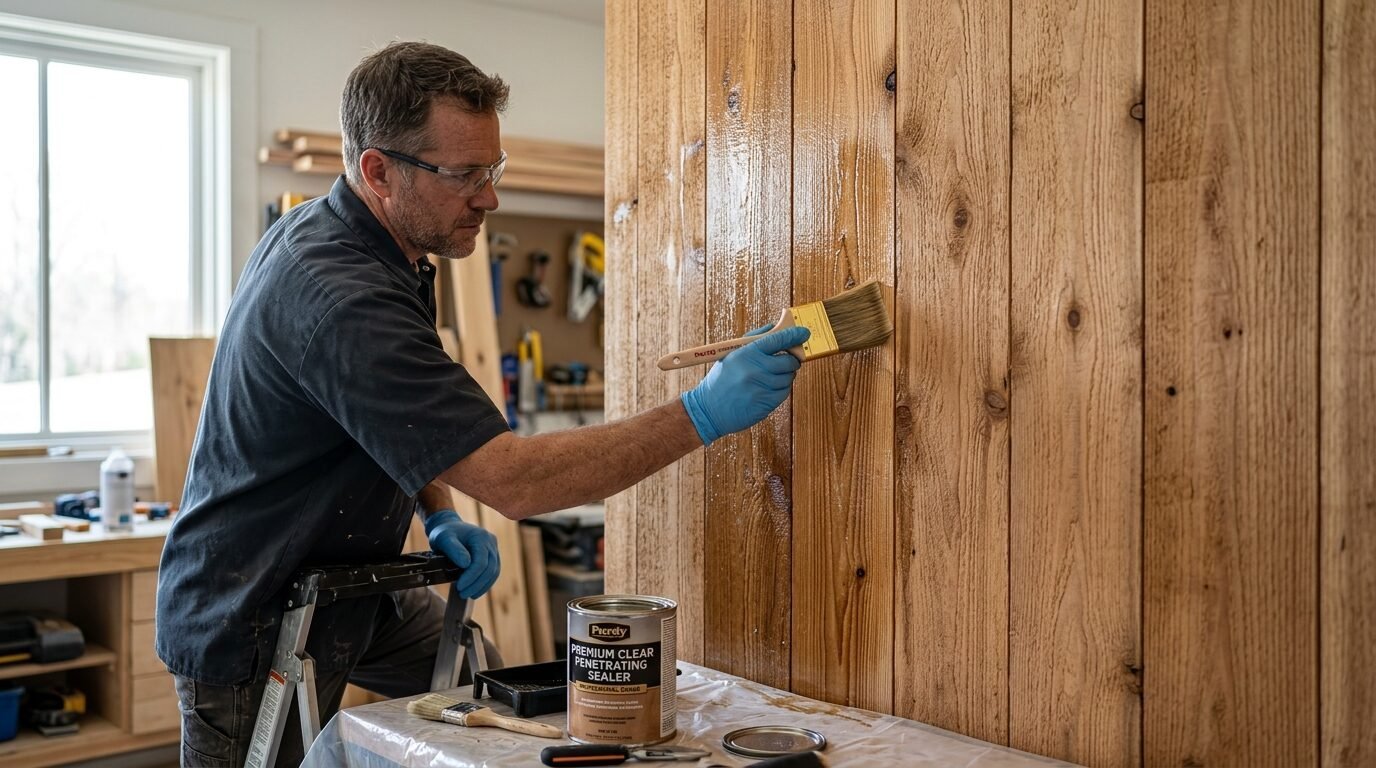
Open your can of sealer and stir it gently. Never shake the can. Shaking creates tiny air bubbles. These bubbles will dry on your wall and leave a rough and bumpy texture. I learned this the hard way during a kitchen renovation. I had to sand off thousands of tiny bubbles.
Dip your brush about two inches into the liquid. Tap it against the side of the can to remove the excess. Start at the top of the wall and work your way down. Apply the sealer in long and even strokes. Follow the boards from one end to the other. This prevents lap marks where the finish overlaps.
Keep a wet edge as you work. This means you should always brush back into the areas you just coated. Do not apply the sealer too thick. Two thin coats are always better than one thick coat. Thick coats take forever to dry and often run or drip.
Sanding Between Coats for Professional Results
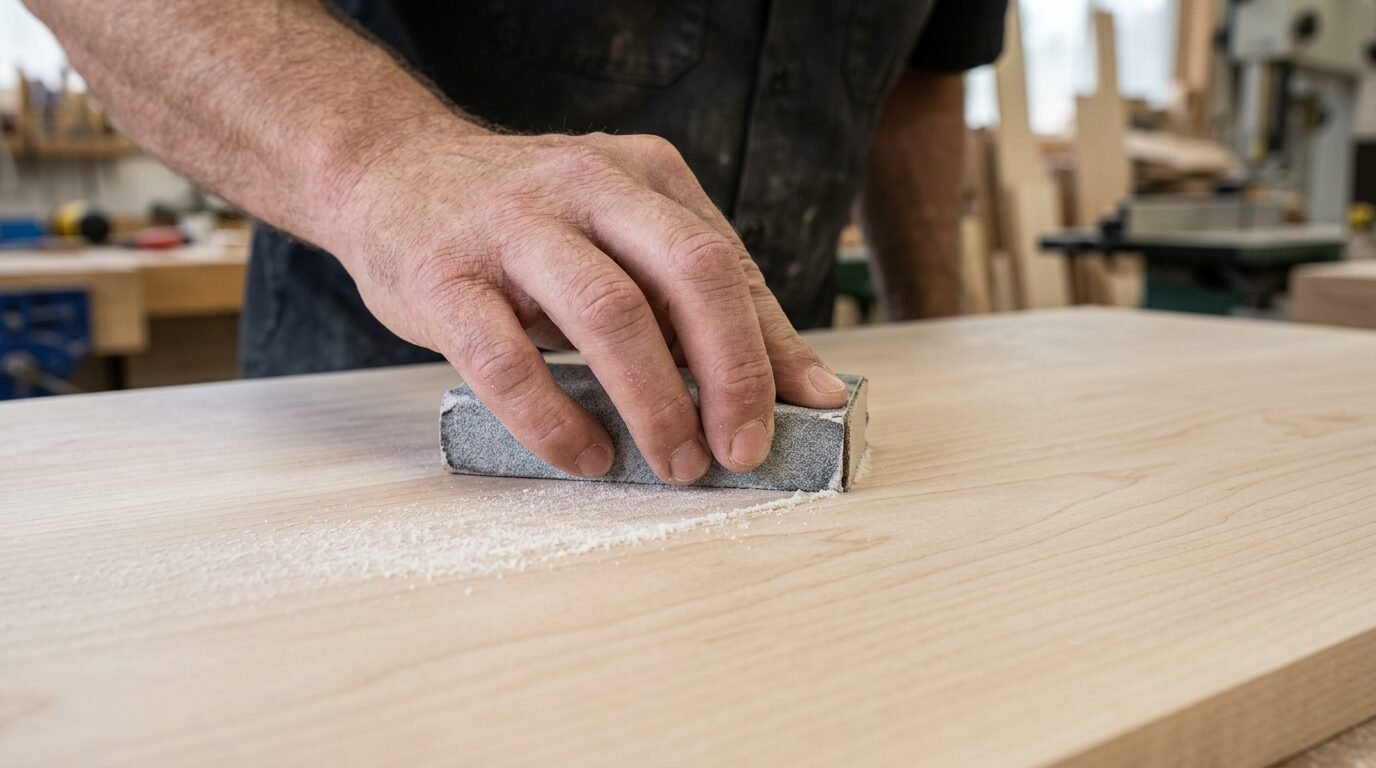
Most sealers require at least two or three coats. You must sand between each one. This might seem like extra work but it is the secret to a buttery smooth wall. When you apply liquid to wood, the fibers swell and stand up. This is called grain raising.
Wait for the first coat to dry completely. Check the back of the can for the exact timing. Usually, it takes two to four hours for water based products. Use 220 grit sandpaper and light pressure. You are not trying to remove the finish. You just want to knock down those raised fibers.
The surface will look dull after sanding. This is normal. Wipe it down with a tack cloth again. The second coat will fill in those microscopic scratches and create a deep and clear look. In my experience, three coats provide the best protection for high traffic areas like hallways.
Managing Curing Times and Humidity
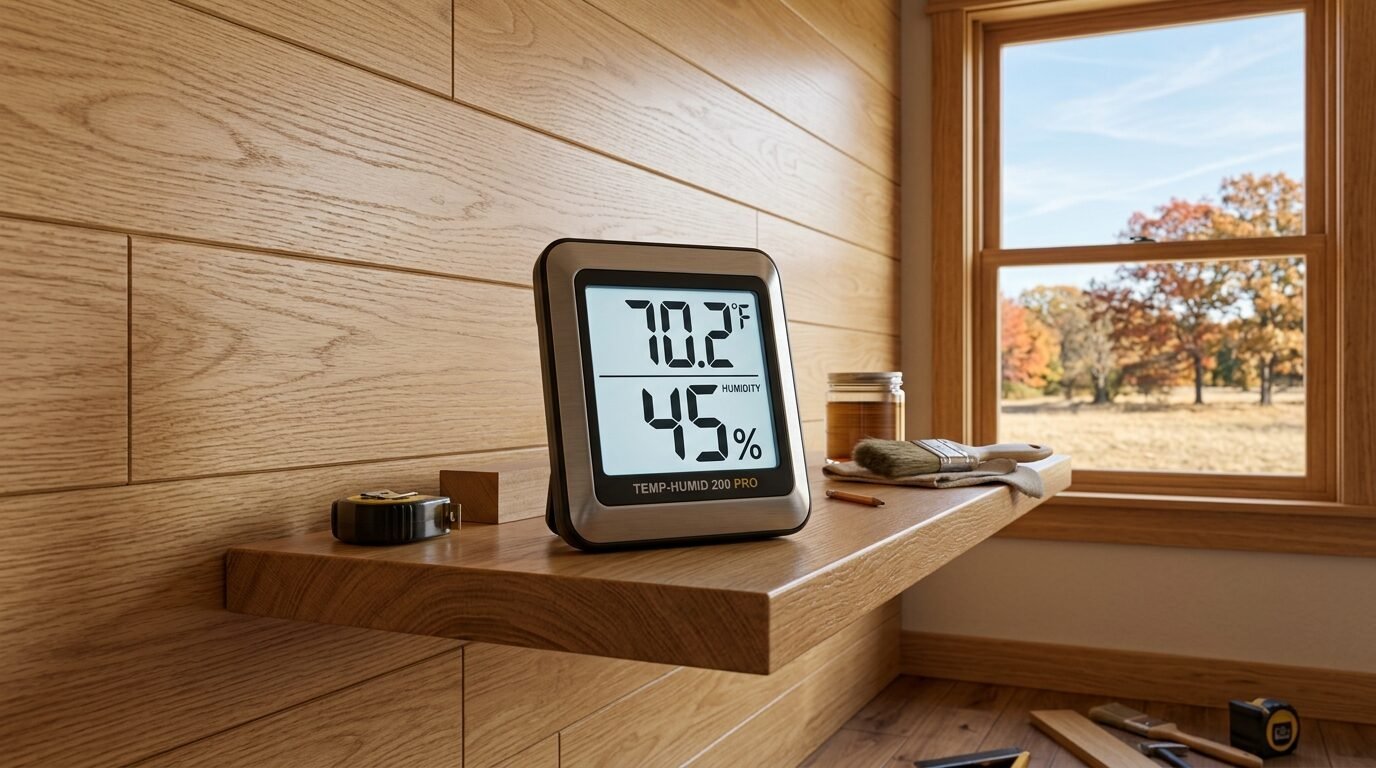
Drying is not the same as curing. Your wall might feel dry to the touch in an hour. However, it can take up to thirty days to fully cure. During this time, the finish is still hardening. Avoid leaning heavy furniture against the wall or hanging pictures for at least a week.
Humidity levels change how fast a finish cures. If it is raining outside, the air is full of moisture. This slows down the evaporation process. I once tried to seal a wall during a humid Georgia summer. The finish stayed tacky for three days. It was a nightmare.
Try to keep your home at a steady temperature between 60 and 75 degrees Fahrenheit. Use a dehumidifier if the air feels damp. If you are using oil based products, keep a window open. Fresh air helps the chemical reaction that hardens the sealer.
Maintenance Tips for a Long Lasting Look
Once your wall is sealed, it is easy to maintain. You no longer have to worry about dust soaking into the wood. For weekly cleaning, a simple dusting with a microfiber cloth is enough. Avoid using harsh chemical cleaners or wax based polishes. These can build up and make the wall look cloudy.
If you notice a scratch, do not panic. You can usually touch it up. Lightly sand the area and apply a small amount of the original sealer with a soft cloth. This is why I always keep a small jar of the leftover finish in my garage. It makes repairs much faster.
Check the wall every few years for signs of wear. Areas near doors or light switches might need a fresh coat eventually. If the wood starts to look dry or dull, a quick light sanding and one new coat will restore the glow. This simple maintenance prevents you from ever having to do a full redo of your paneling walls.
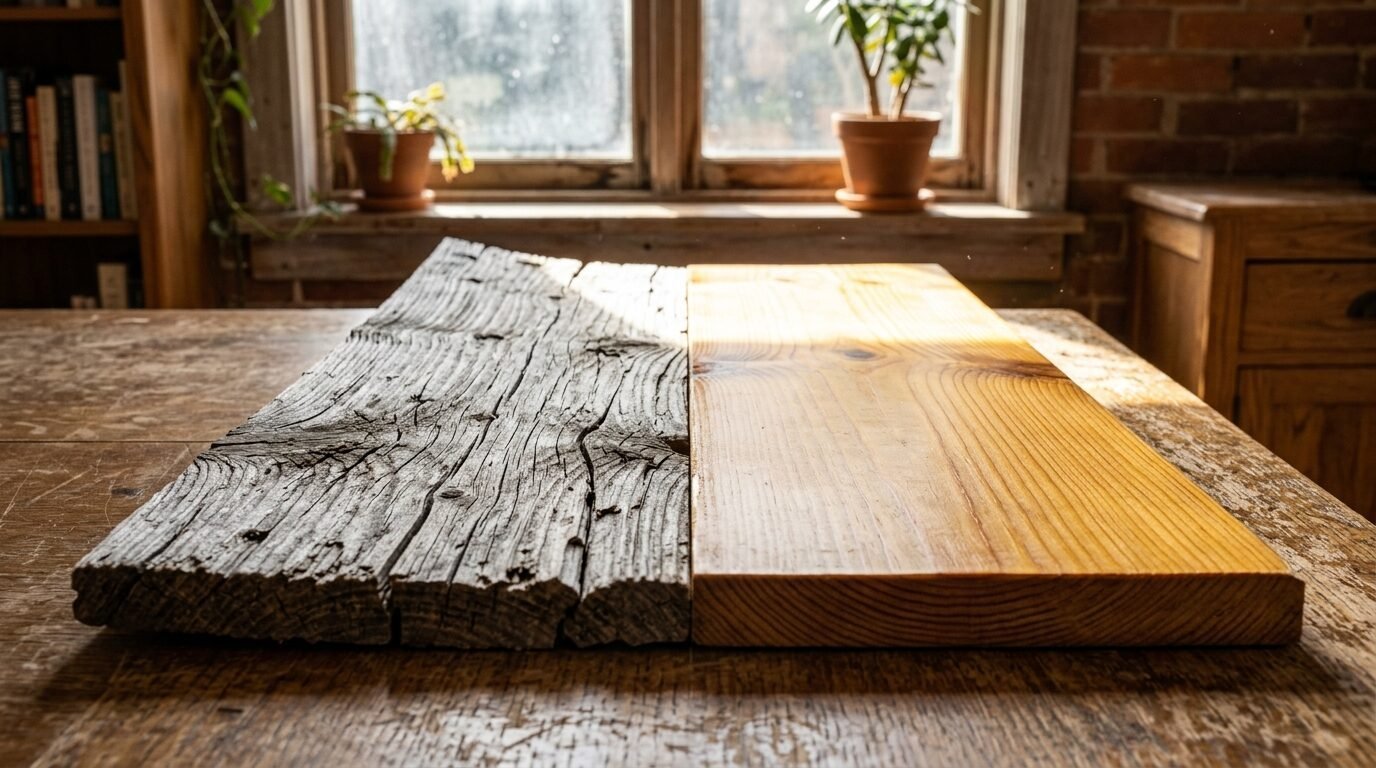
Updating Old Wood Paneling vs Sealing New Wood
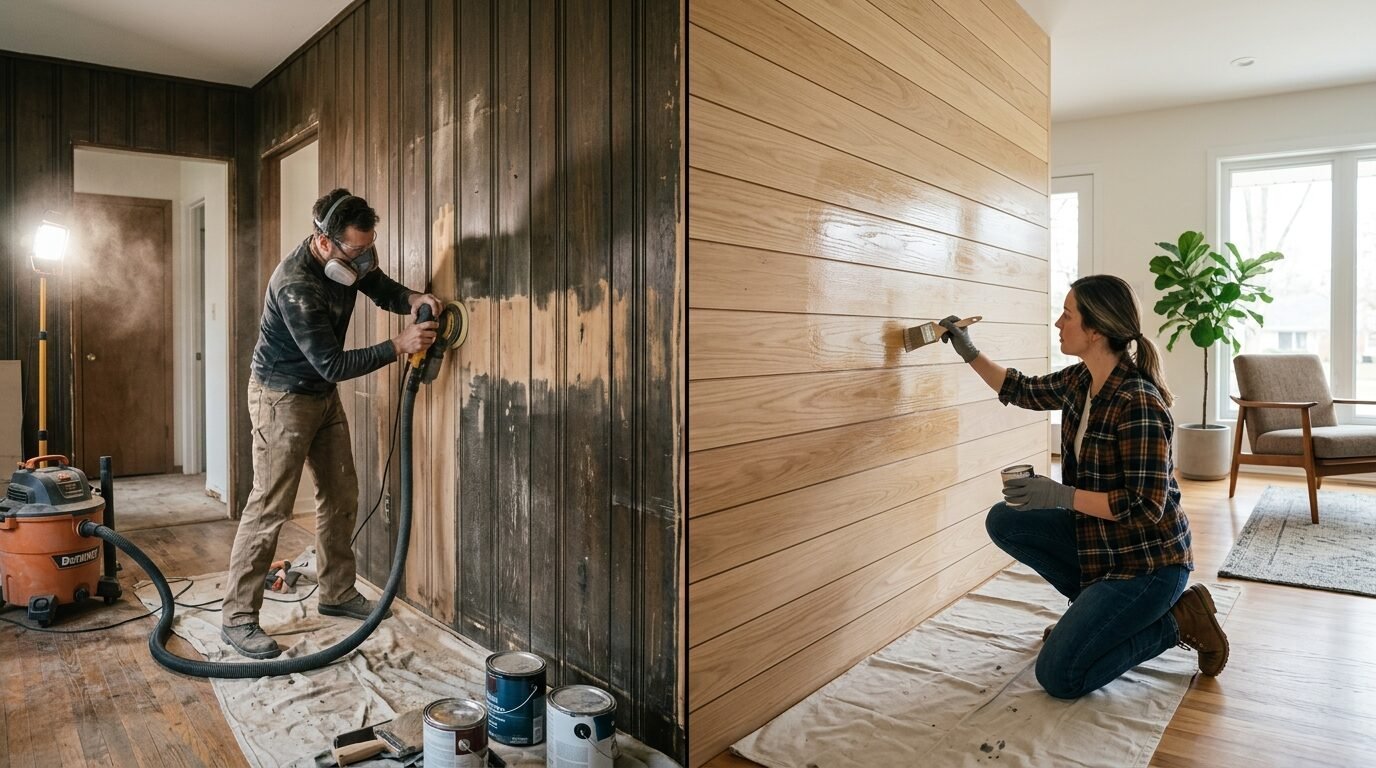
Redoing old wood walls is a different process than sealing new ones. Many older homes have thin plywood paneling with a glossy factory finish. If you want to update these, you must break that old seal first. A liquid de-glosser or a thorough sanding is required.
If the old paneling is real wood, you can often strip the old stain. This is a big job but the results are worth it. I once stripped dark cherry paneling in a 1920s bungalow. Underneath was beautiful light oak. We applied a clear matte sealer and it transformed the room from a dark cave into a bright space.
For new wood accent walls, the process is much faster. You are starting with a clean slate. You can choose to stain the wood first to change the color or go straight to the sealer. Just remember that once the sealer is on, you cannot easily change the stain color later.
Troubleshooting Common Wood Finishing Problems
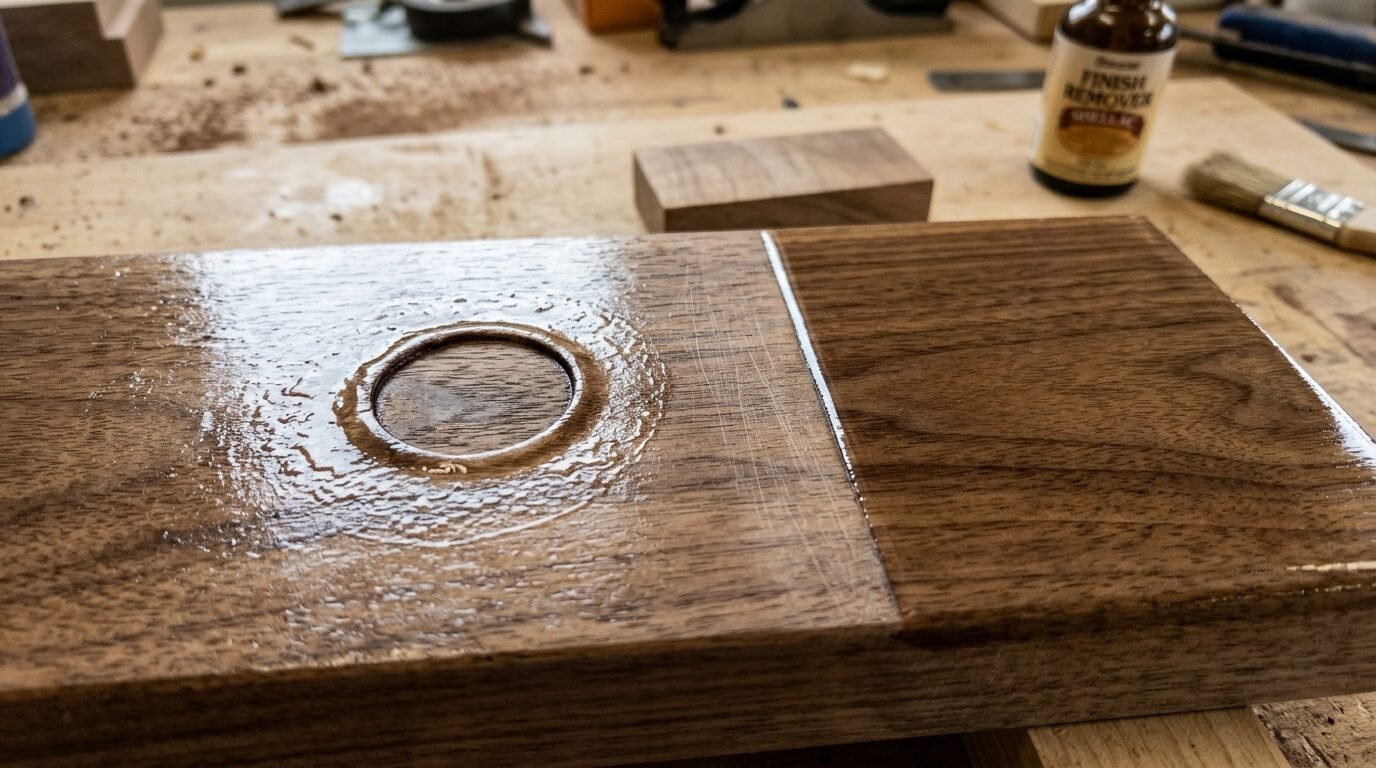
Even experts run into issues sometimes. One common problem is “fisheye.” This looks like small circular craters in the finish. It usually happens because there was oil or silicone on the wood. If this happens, you must sand the area back to raw wood and clean it with mineral spirits.
Another issue is blushing. This is a cloudy or white haze that appears in the finish. It is caused by moisture getting trapped under the sealer. This often happens if you apply the finish when it is too cold or humid. The fix is to wait for a dry day, sand the haze away, and reapply.
If your finish feels sticky after 24 hours, it likely was applied too thick. Or, the room is too cold. Try increasing the temperature in the room. If it stays sticky for another day, you may need to remove it with mineral spirits and start over. I have seen this happen when people use old cans of sealer that have expired.
1. Frequently Asked Questions
What is the best sealer for a wood accent wall?
Water based polyurethane is usually the best choice for beginners. It is easy to apply and dries clear. It does not have the strong smell of oil based products. It protects well against dust and light moisture.
Do I really need to sand between coats?
Yes. Sanding removes the tiny wood fibers that stand up when they get wet. If you skip this, your wall will feel like sandpaper. A light sanding with 220 grit makes the final result feel smooth and professional.
How many coats of sealer should I apply?
I recommend at least two coats for most walls. If the wall is in a high traffic area or a kitchen, go with three coats. This ensures the wood is fully protected from daily wear and tear.
Can I seal over old wood paneling?
You can seal over old paneling if you prepare the surface correctly. You must clean it and remove any old wax or glossy finishes. Sanding is the best way to ensure the new sealer sticks to the old surface.
How long does it take for the sealer to dry?
Water based sealers are usually dry to the touch in two hours. Oil based sealers take much longer, often up to eight hours. However, both types need several days to fully cure and harden.
Will sealing the wood change its color?
Most clear sealers will slightly darken the wood. It often looks like it does when you wipe a damp cloth over raw wood. Water based polyurethanes change the color the least. Oil based products add a warm amber glow.
Is it better to brush or spray the sealer?
Brushing is easier for beginners and requires less equipment. It allows you to work the sealer into the grain. Spraying is faster but requires a lot of masking to protect your floors and furniture from overspray.
What should I use to clean my sealed wood wall?
A damp microfiber cloth is all you need for regular cleaning. Avoid using furniture polish or oils. These products can leave a residue that makes the wall look dull over time.
Can I use floor sealer on a wall?
Yes. Floor polyurethanes are extremely durable. They are designed to withstand walking, so they will protect a wall very well. However, they are often more expensive than standard wood finishes.
Is a matte or glossy finish better?
This is a personal choice. Matte finishes are popular right now because they look more natural and modern. Glossy finishes reflect more light and can make a small room feel brighter but they show every fingerprint.
How do I stop the wood from yellowing?
Use a water based polyurethane with UV inhibitors. This blocks the light that causes the chemical change in the wood. Avoid oil based finishes if you want to keep the wood as light as possible.
Can I seal a wall that is already installed?
Yes. It is very common to seal the wall after it is on the studs. Just be sure to protect your floors and ceiling with painters tape and drop cloths. Work slowly to prevent drips on the vertical surface.
Final Verdict on Protecting Your Investment
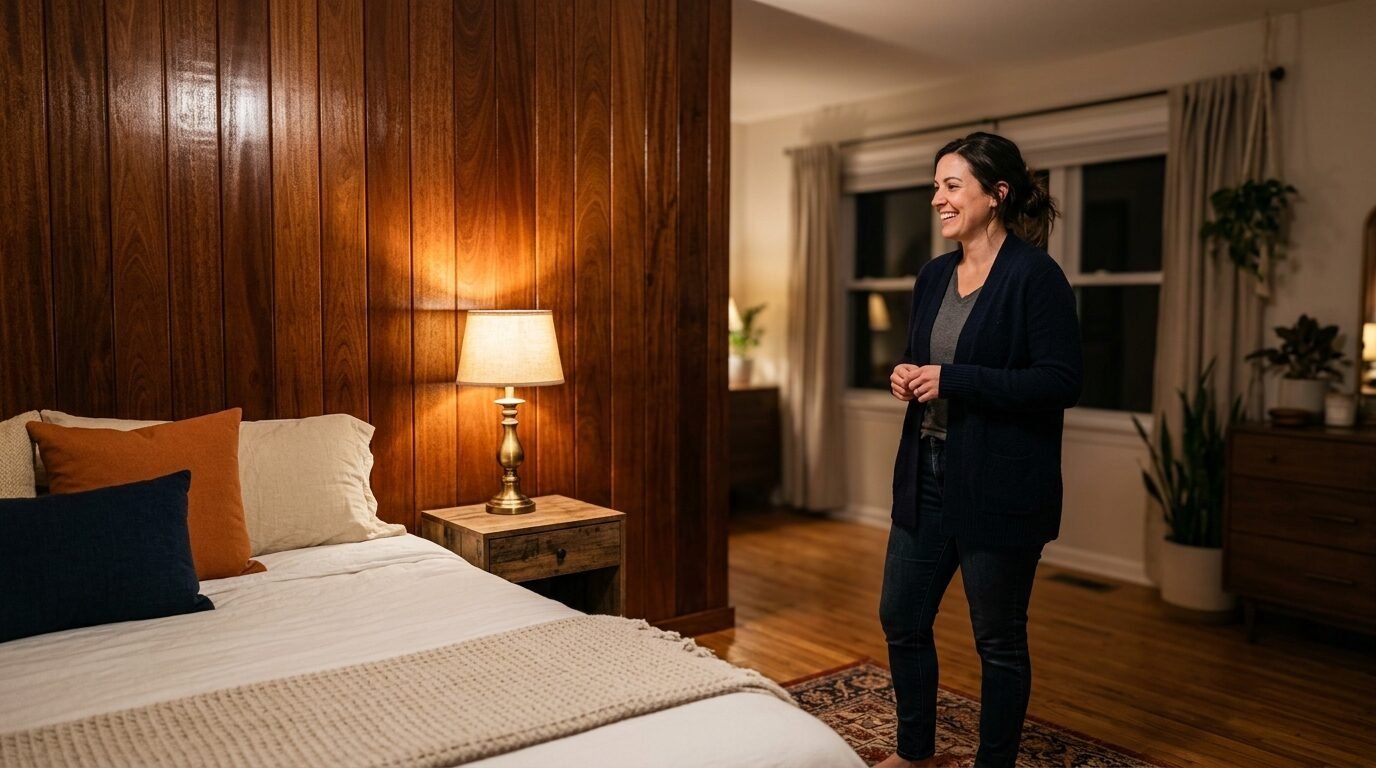
Sealing your wood accent wall is the final step in a successful DIY project. It takes a little extra time but the benefits are massive. You protect the natural beauty of the wood and make your home easier to maintain. My living room wall is now the highlight of my house because I took the time to do it right.
In my experience, the effort you put into preparation pays off. Clean the boards, sand them smooth, and apply thin and even coats. You will be rewarded with a wall that looks like it was done by a professional. People will ask how you kept the wood looking so fresh.
Do not be afraid to experiment with different finishes on a scrap piece of wood first. This helps you see exactly how the color and sheen will look in your room. Once you find the perfect match, go for it. Your home deserves that extra touch of quality.

Anya Castellan is the Founder and Editor-in-Chief of Home Wall Trends. An art history graduate of the Rhode Island School of Design with twelve years of experience writing for leading American design publications, she specializes in composition, gallery wall theory, and the quiet architecture of domestic space. A former contributing editor at Architectural Digest and guest lecturer at Parsons School of Design, Anya personally reads and signs off on every piece before it is published.