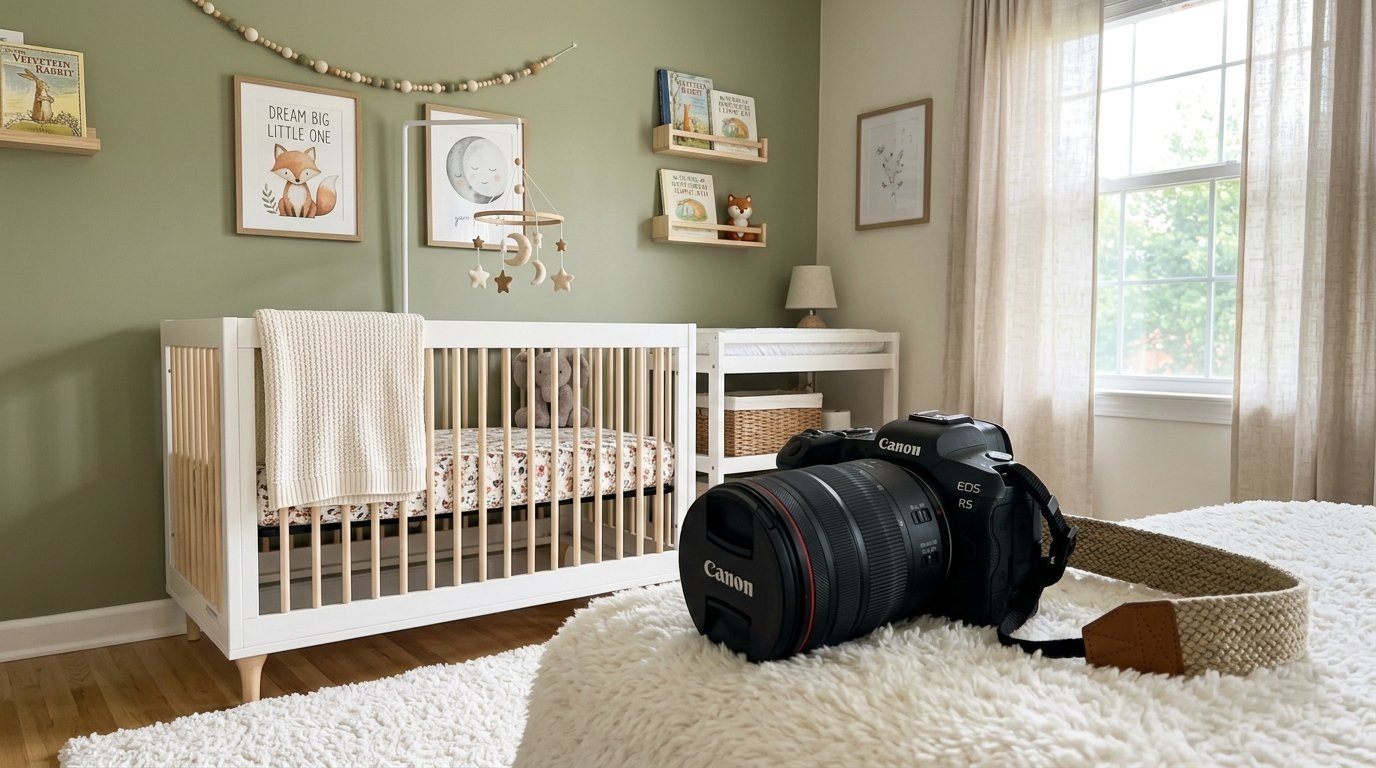
Your baby is home for the holidays. You want beautiful baby Christmas photos to remember this exact time. The walls of your room provide the absolute best background for these memories. Natural light hits the walls beautifully during winter mornings. Soft textures photograph perfectly on camera. Good nursery room design makes every picture look professional without booking a studio. I see parents spend hundreds of dollars on professional sessions. You can set up something much better right next to the crib. You just need a few basic supplies and a clear plan. Your walls offer a blank canvas for festive magic. The right setup captures the true feeling of the season.

This guide breaks down 15 exact wall setups for your baby announcement or holiday pictures. We look at exact costs. We list the exact tools you need. Most setups cost under fifty dollars. Most take less than two hours to complete. We prioritize safe baby care above everything else. Everything stays securely fastened and strictly out of reach. You get a beautiful background. Your baby stays safe. You will have everything you need to start shooting beautiful pictures this weekend.
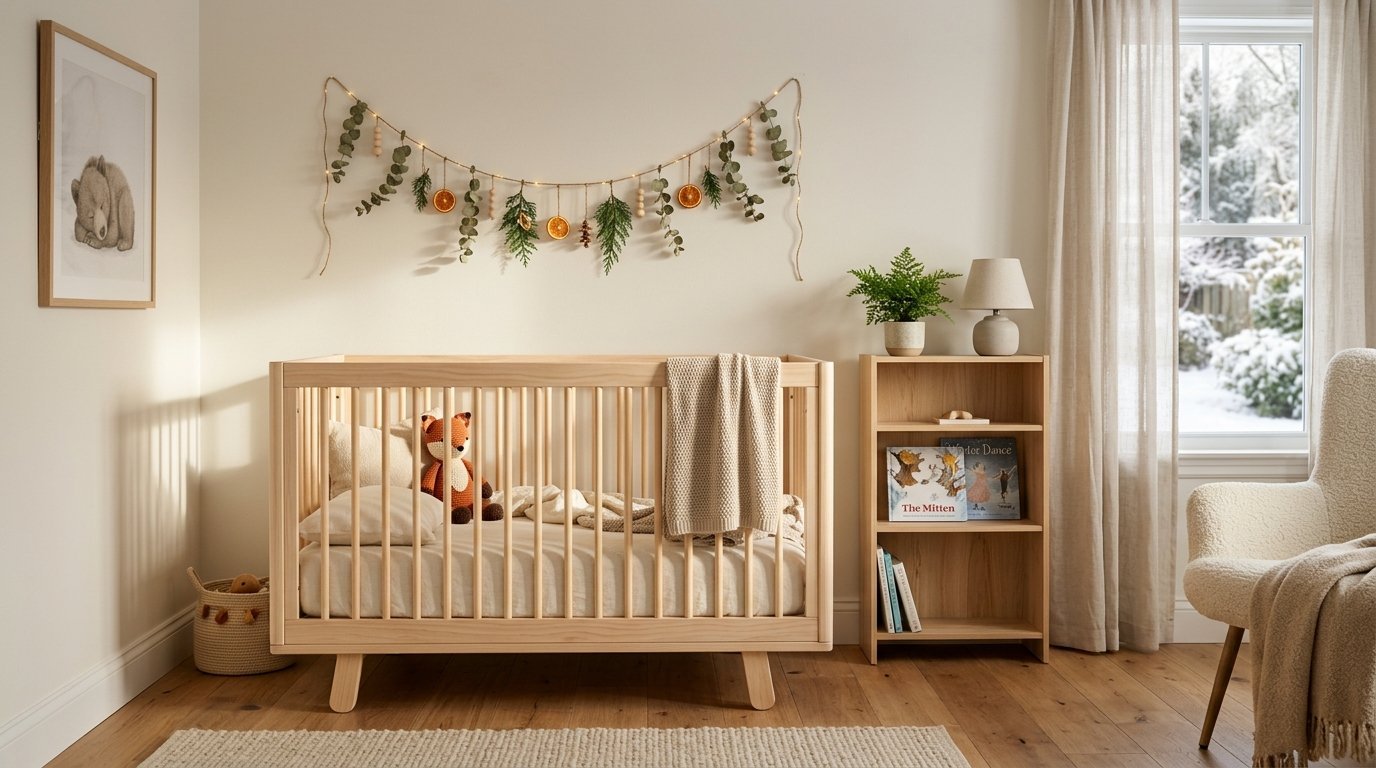
1. Minimalist Pine Wood Name Signs
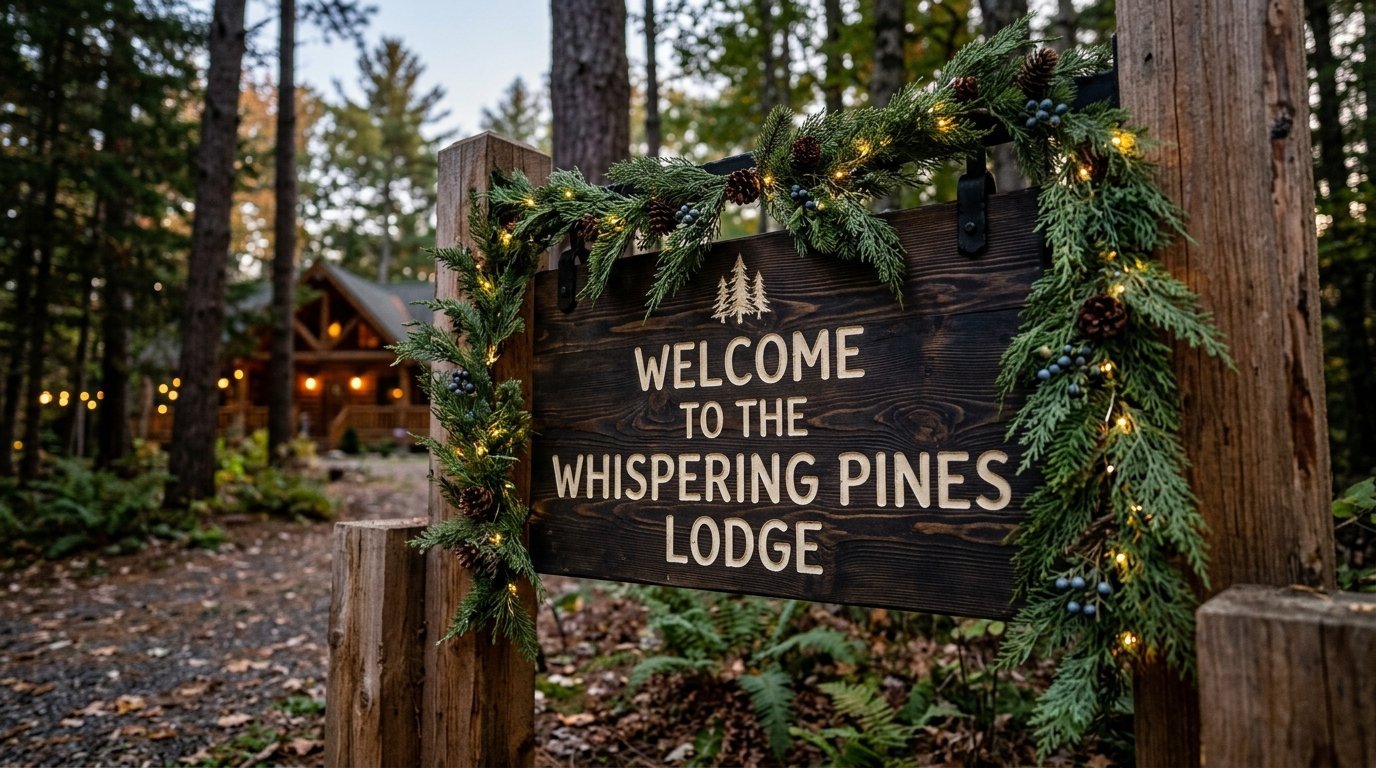
A custom wooden sign gives a personal touch to your space. Showcasing unique baby names above the crib creates a permanent focal point. You can decorate around the sign for the holidays. I tried to craft a farmhouse welcome sign from pine wood three months ago. It did not turn out as intended. The wood grain soaked up the stain unevenly. You need to apply a pre-stain wood conditioner first. Let it dry for thirty minutes. Then apply your color. This gives you a smooth finish for the camera.
Hang a simple artificial cedar garland gently draped over the top corner of the wood frame. The green needles contrast beautifully against the dark stain. Shoot your photos from a low angle. Get the baby in the foreground and the name sign slightly blurred in the background. This depth makes the picture look professional. Secure the heavy wood directly into wall studs. Never rely on drywall anchors above a sleeping space.
2. Farmhouse Macrame Wall Hangings
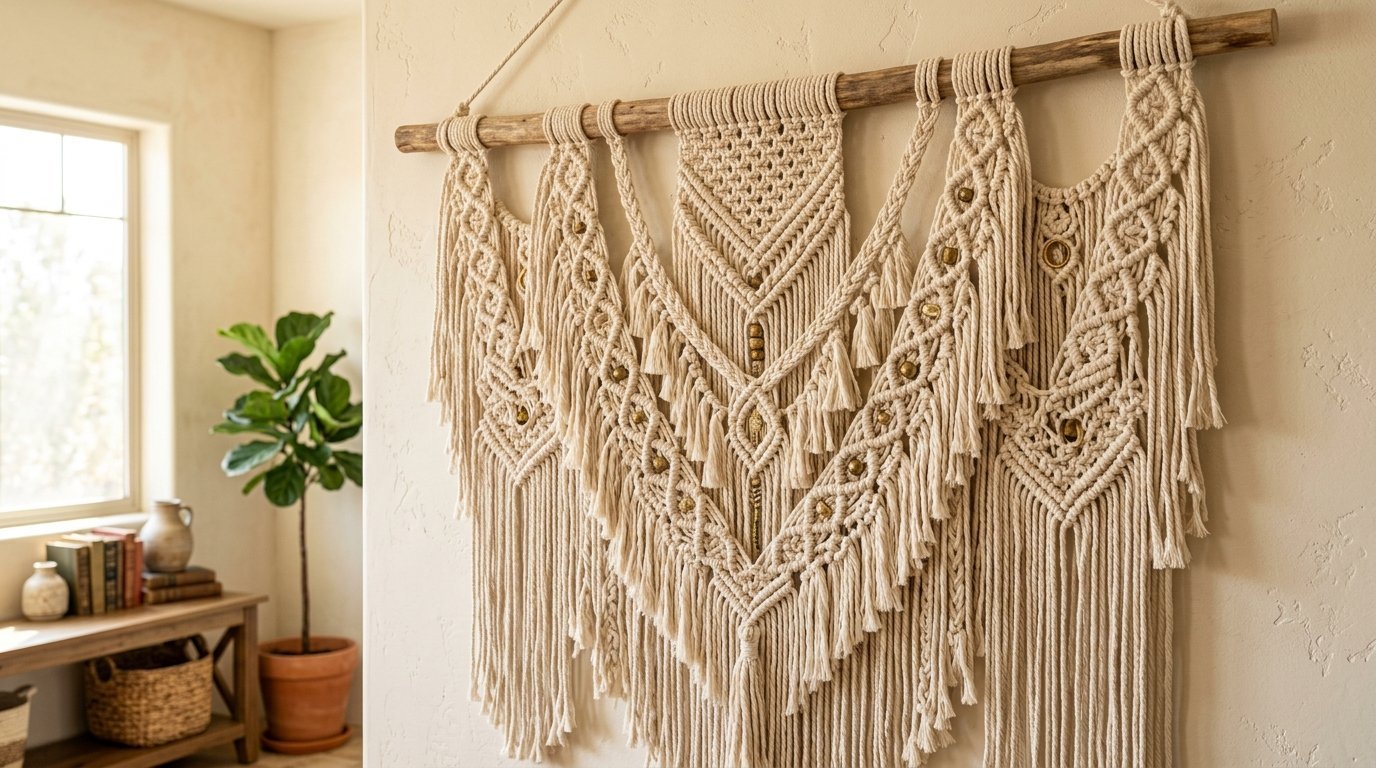
Woven textiles bring massive warmth to a cold winter room. A large ivory macrame piece fills empty wall space instantly. The heavy cotton cords provide a beautiful soft texture. This texture catches the light perfectly during afternoon photo sessions. You can weave small metallic ornaments directly into the cotton knots.
This creates a subtle sparkle behind your baby. It makes a perfect backdrop for monthly baby photos. Sit your child on a soft rug right beneath the hanging. The vertical lines of the macrame draw the eye straight down to the baby. Buy a pre-made macrame piece from a local artisan to save time. It usually costs around forty dollars. Use a heavy duty ceiling hook to hang it. Keep the bottom fringes at least three feet above the mattress. Babies grab anything within reach.
3. Gold Framed Circle Mirrors With Wreaths
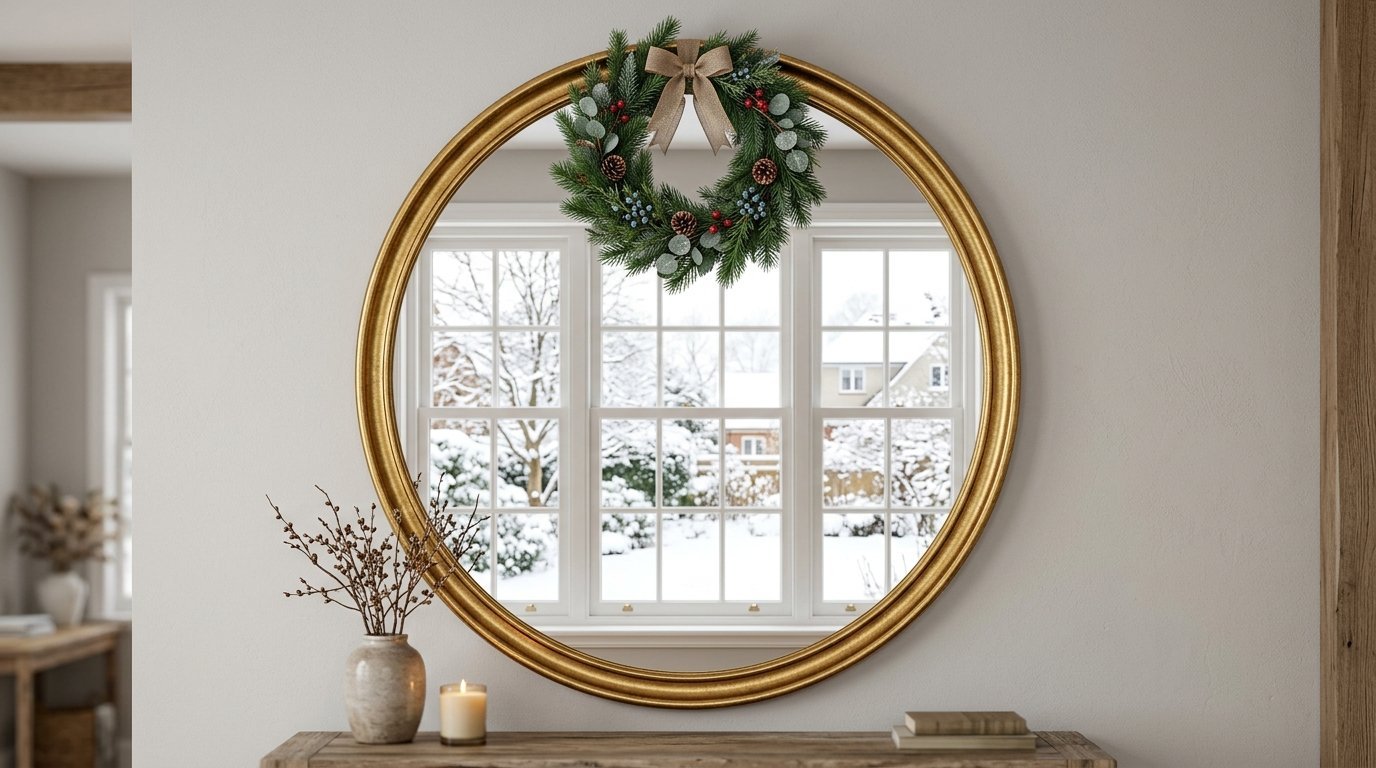
Mirrors bounce natural light around a dark room. A large gold circle mirror reflects window light perfectly. Place a small, lightweight winter wreath directly over the top of the frame. This creates a halo effect. I have a gold-framed circle mirror in my own bedroom. Last summer, water gathered in the bottom crease of the gold frame during cleaning. The moisture pooled and sat there. Never spray liquid directly onto the glass. Spray your cloth first.
Also, I used cheap paper towels last year. They ruined the look of my home glass with tiny scratches and lint residue. The camera picks up every piece of lint. Buy premium microfiber glass cloths. They cost about ten dollars for a pack of six. Wipe the mirror down completely before your baby Christmas photos. Position yourself so the camera does not show in the reflection.
4. Vintage Framed Baby Announcement Prints
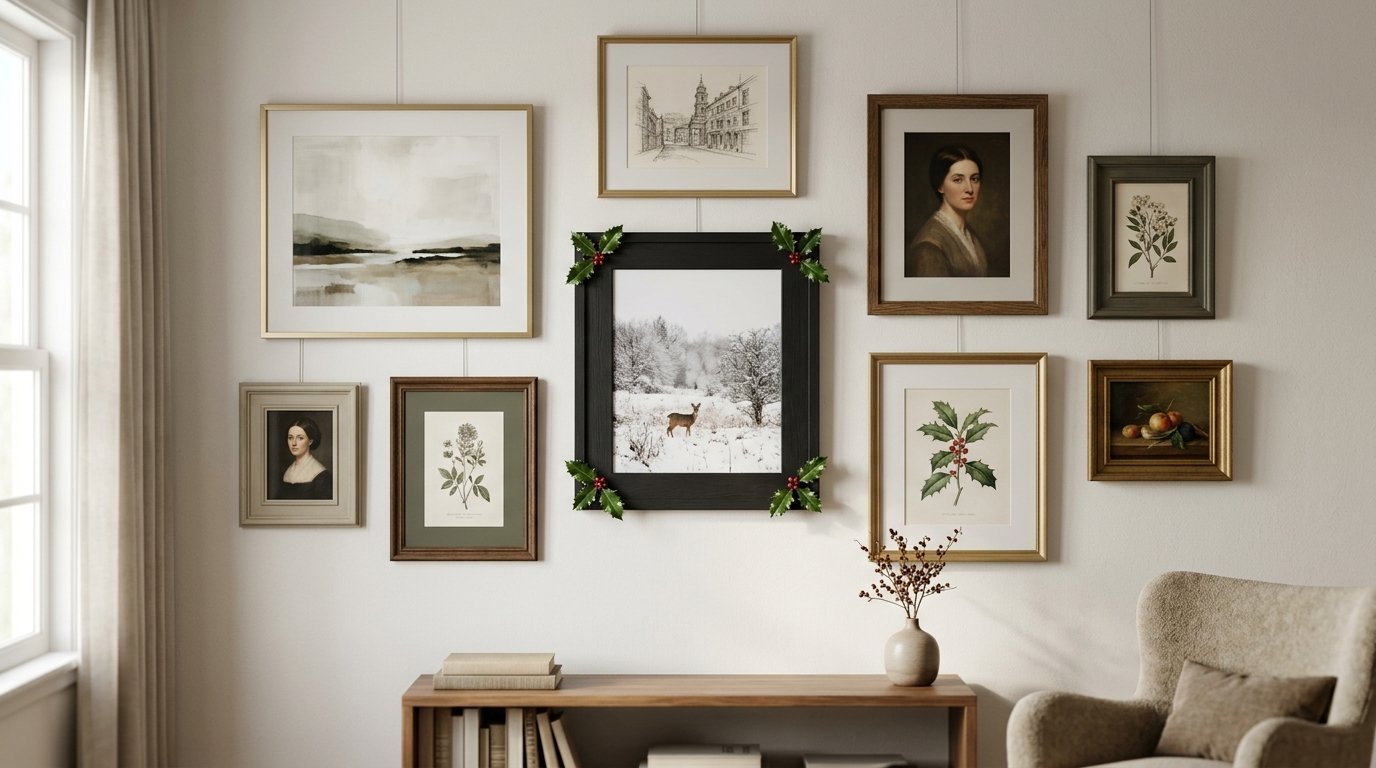
Your original pregnancy news deserves a permanent spot. Frame the actual paper or cardstock. Surround it with a matte finish frame. Add small sprigs of artificial holly to the corners of the frame using double-sided tape. This honors the journey to your first holiday together. It looks beautiful on a gallery wall.
Keep a close eye on the walls you use. Three years ago, moisture destroyed a piece in my hallway. Damp air got behind the frame and ruined the backing paper. Always place small felt bumpers on the bottom corners of your picture frames. This pushes the frame away from the wall. Air can flow behind the art. You save your walls and your pictures. Shoot these frames straight on. Use natural side lighting to avoid harsh glare on the glass.
5. Floating Shelves With Vintage Christmas Stockings

Wood shelves provide a safe place for small decorations. Install two parallel floating shelves high on the wall. Drape a single, high-quality velvet stocking off the edge. Fill the shelves with small wooden toys and soft fabric trees. This keeps the holiday spirit completely out of reach. It follows strict baby care guidelines perfectly.
You can arrange different items every week. This gives you new backgrounds for your pictures. Buy heavy velvet stockings. The thick material hangs straight down. Thin cotton stockings look wrinkled and messy on camera. Put a small weight inside the toe of the stocking. This pulls the fabric tight. Shoot straight across the shelves. Keep the baby on your shoulder in the foreground. The blurred shelves create a rich, festive background.
6. Vida De Luxo Inspired Velvet Bows

Sometimes simple is best. Tie oversized, luxurious velvet bows directly onto wall hooks. Use deep burgundy or dark forest green colors. This look brings a high-end feel to the room. The thick velvet absorbs light and looks incredibly rich in photographs. It costs very little money. You just need five yards of premium ribbon.
Cut the ends of the ribbon at a sharp angle. This stops the fabric from fraying. Use a lighter to gently melt the very edge of the cut ribbon. Do this outside the house. Attach the bows to existing curtain tie-backs or picture hooks. You get an instant holiday feel without adding heavy items to the room. Dress your baby in a matching velvet outfit. The connection between the wall and the clothing looks incredibly professional.
7. Asymmetrical Winter Wreath Installations
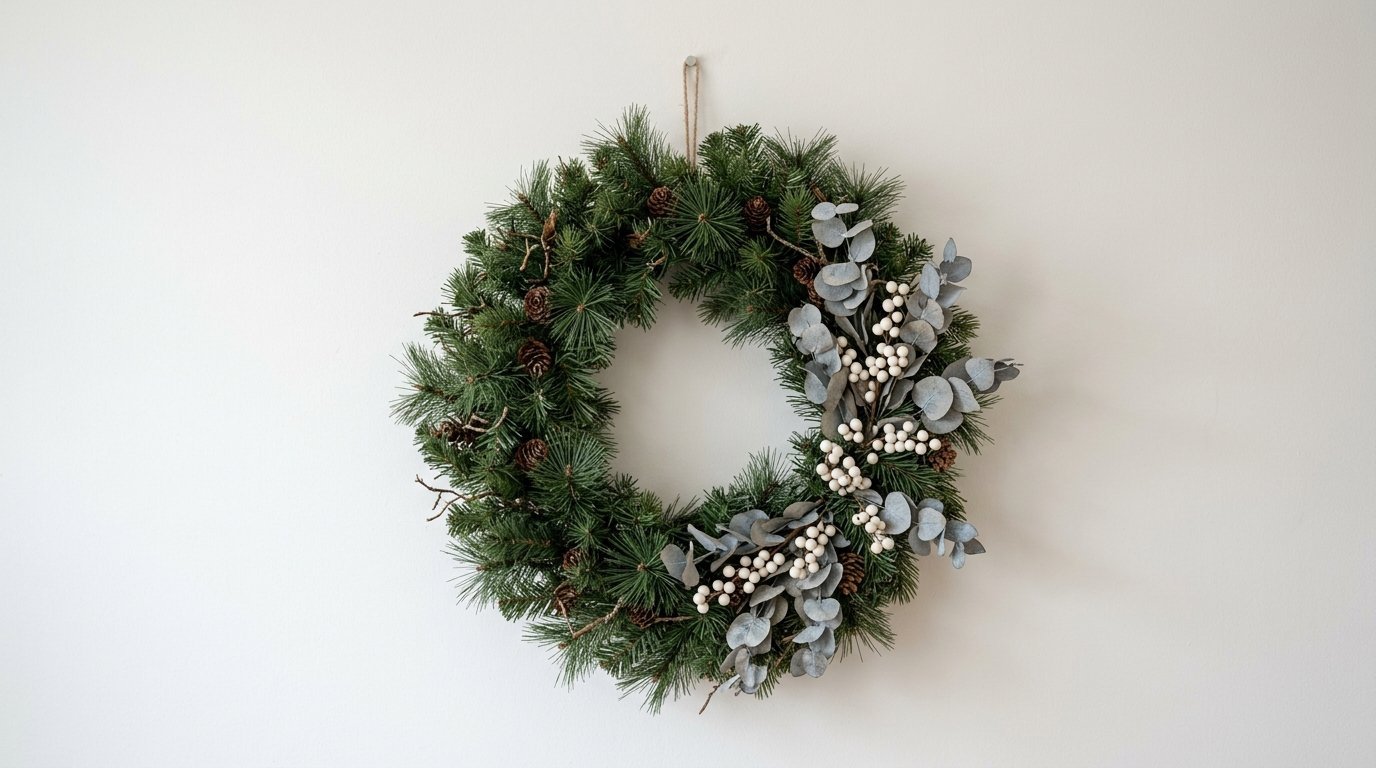
Traditional wreaths hang right in the middle of a wall. We break that rule here. Hang a large, realistic artificial wreath off-center. Place it in the upper left corner of the crib wall. This draws the eye diagonally across the space. It looks modern and fresh. This is one of the easiest baby Christmas crafts you can do.
Buy a plain faux pine wreath. Use floral wire to attach dried eucalyptus and faux white berries to one side only. This asymmetrical look photographs beautifully. It leaves negative space on the right side of the wall. You can add text to that empty space later when you print the pictures. Always use artificial greenery. Real pine needles drop daily. They pose a severe choking hazard for a crawling baby.
8. Canvas Banners With Favorite Holiday Quotes
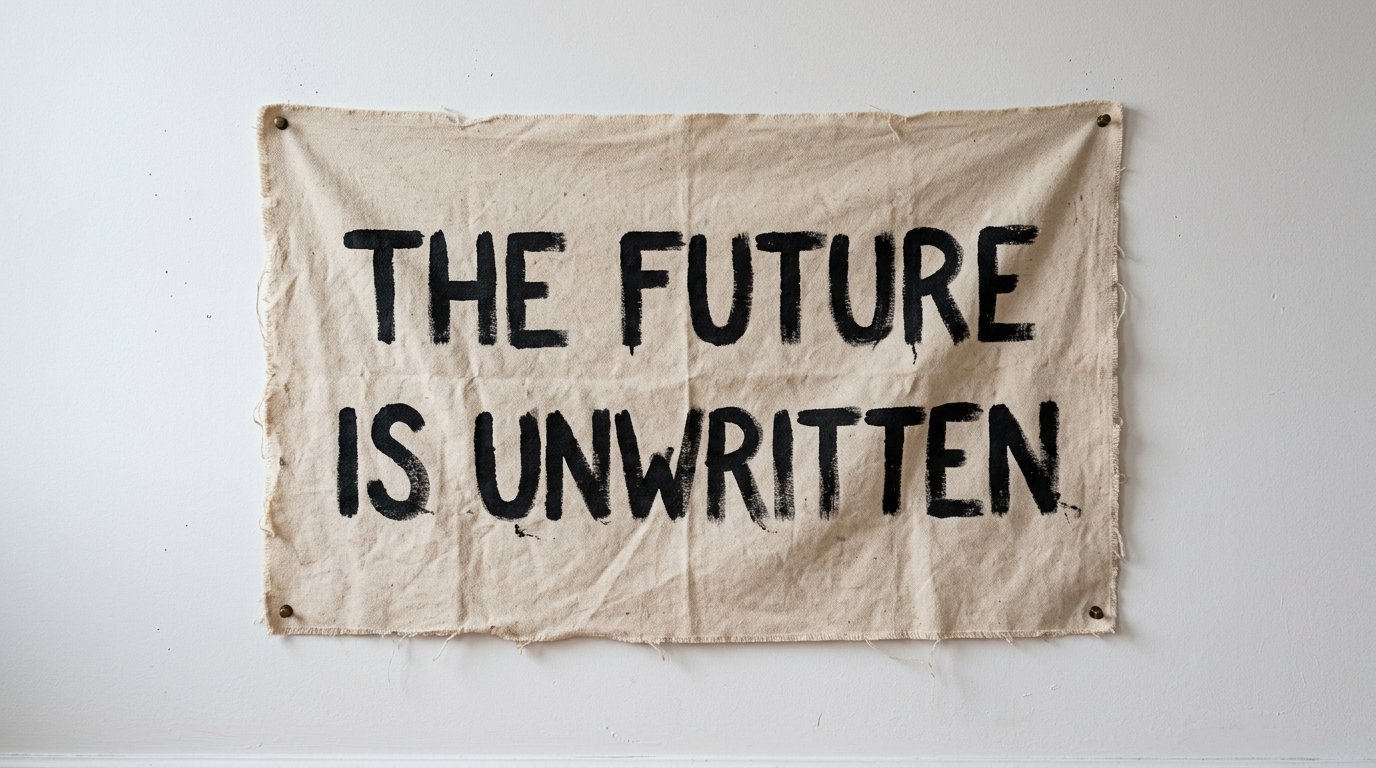
Fabric banners add words without heavy frames. Buy a plain canvas flag. Use fabric paint to write a simple holiday message. Keep it short. “First Noel” or “Silent Night” works perfectly. The raw edge of the canvas gives a relaxed, organic feel. Pin the banner flat against the wall using clear thumb tacks.
The flat canvas does not cast weird shadows. This makes lighting the room very easy. Hang the banner low enough to be in the frame when you sit on the floor. Take your monthly baby photos right in front of the words. The black paint on white canvas creates high contrast. The camera autofocuses quickly on this setup. Wash the canvas first. Iron it completely flat. Wrinkles ruin the text in pictures.
9. Boho Dried Orange Garland Displays
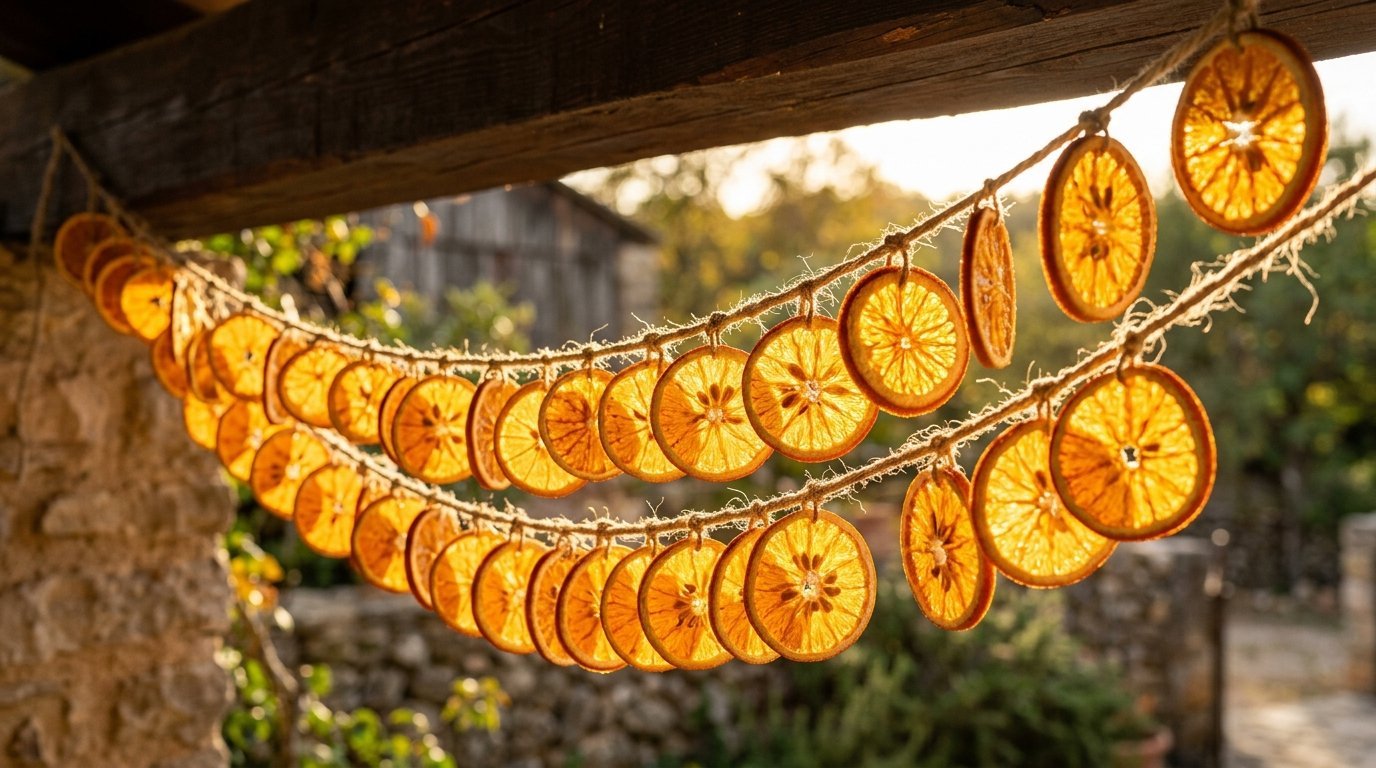
Natural elements bring warmth to cold days. Dried orange slices look beautiful strung on a thick twine. They catch the sunlight and glow bright orange. You can make this in your oven. Slice navel oranges very thin. Bake them at two hundred degrees for four hours. Let them dry completely overnight.
String them together. Hang the garland in a simple swoop above the changing table. The citrus smell freshens the room naturally. The orange color pops against white walls. Dress your baby in a neutral cream outfit. The orange garland provides all the necessary color. Keep the garland very high. The dried fruit will break if pulled. Small pieces break off easily. Keep your floor completely clean after hanging this.
10. Classic Plaid Fabric Accent Walls
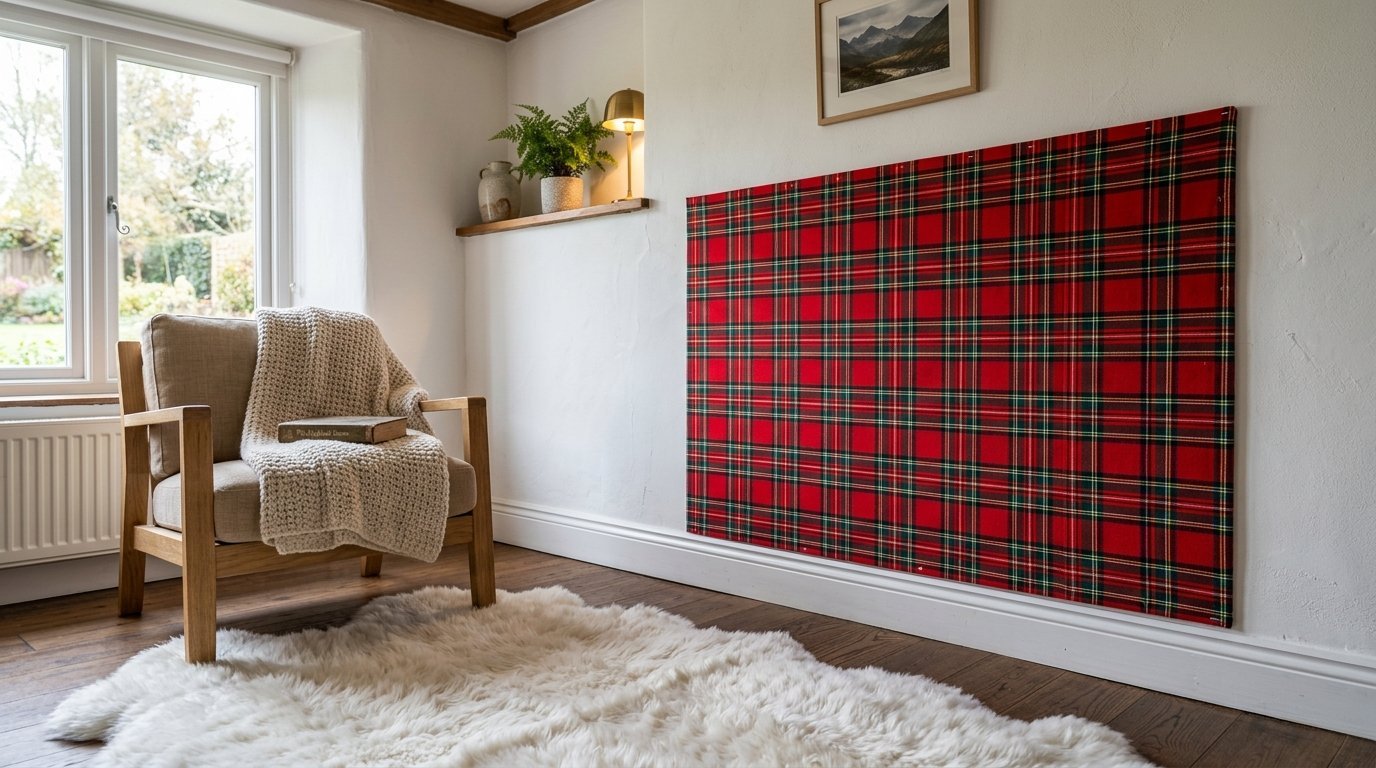
You do not need paint to change a wall. Buy a large piece of classic red and green plaid fabric. Use liquid starch to stick the fabric directly to the drywall. The starch acts like temporary glue. You brush it on the wall, press the fabric flat, and let it dry. It peels right off after the holidays.
You get an entire wall of rich pattern. Wash the wall with warm water afterward. The starch dissolves immediately. This creates a massive, immersive background. It looks exactly like a professional photo studio. Keep all other decorations minimal. The plaid pattern is very loud. Place a white faux fur rug on the floor. Lay the baby on the rug. Shoot down from above.
11. Antique Frame Collections For Family Photos
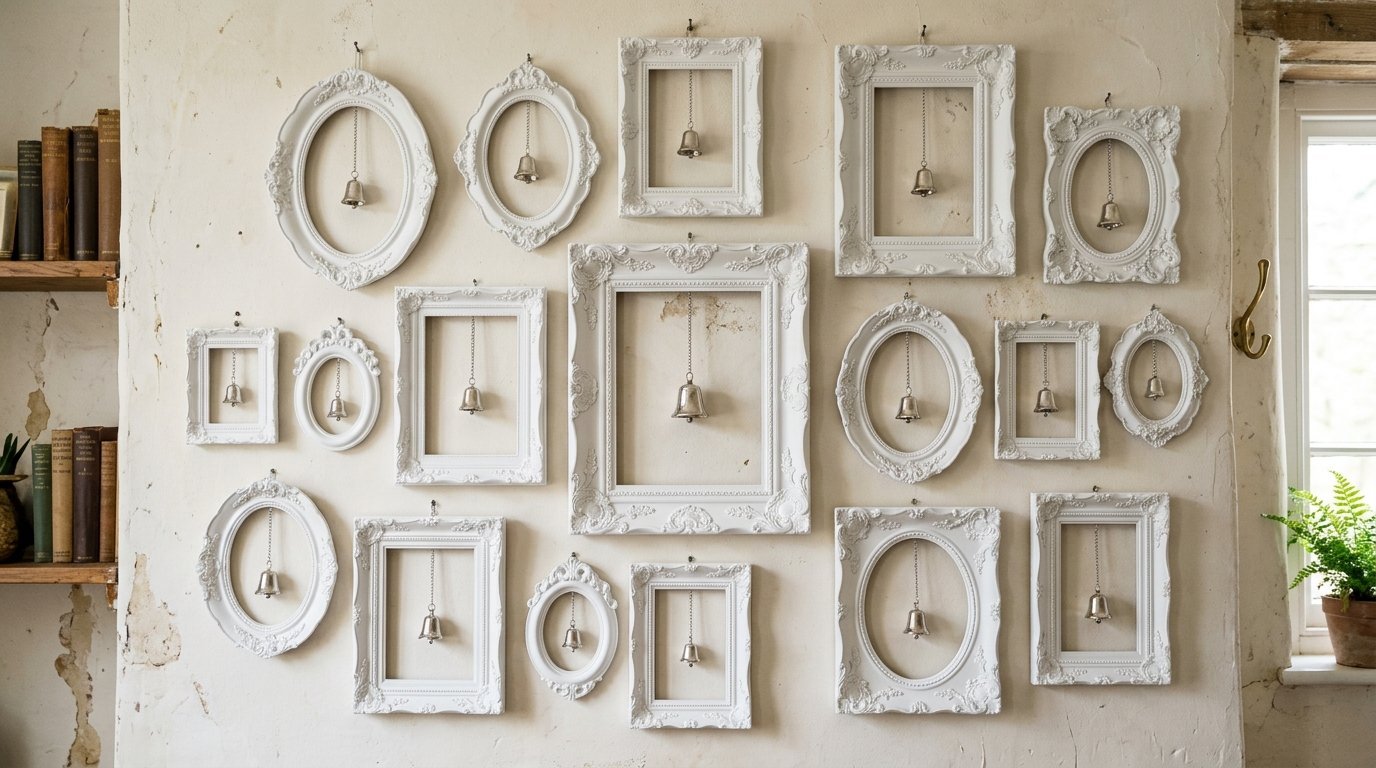
Mix the old with the new. Gather five or six empty, ornate antique frames. Paint them all the same flat white color. Hang them in a tight group on the wall. Leave the centers completely empty. This creates a highly textured, three-dimensional wall feature.
Hang a tiny silver bell inside the center of each frame using clear fishing line. The bells catch the light. The matching frames unify the wall. You get a beautiful vintage aesthetic. The flat white paint prevents harsh glares from your camera flash. Take close up shots of the baby with just one or two frames visible behind them. You can find these heavy frames at any local thrift store for a few dollars. Clean them thoroughly before painting.
12. Soft Twinkle Light Canopy Walls
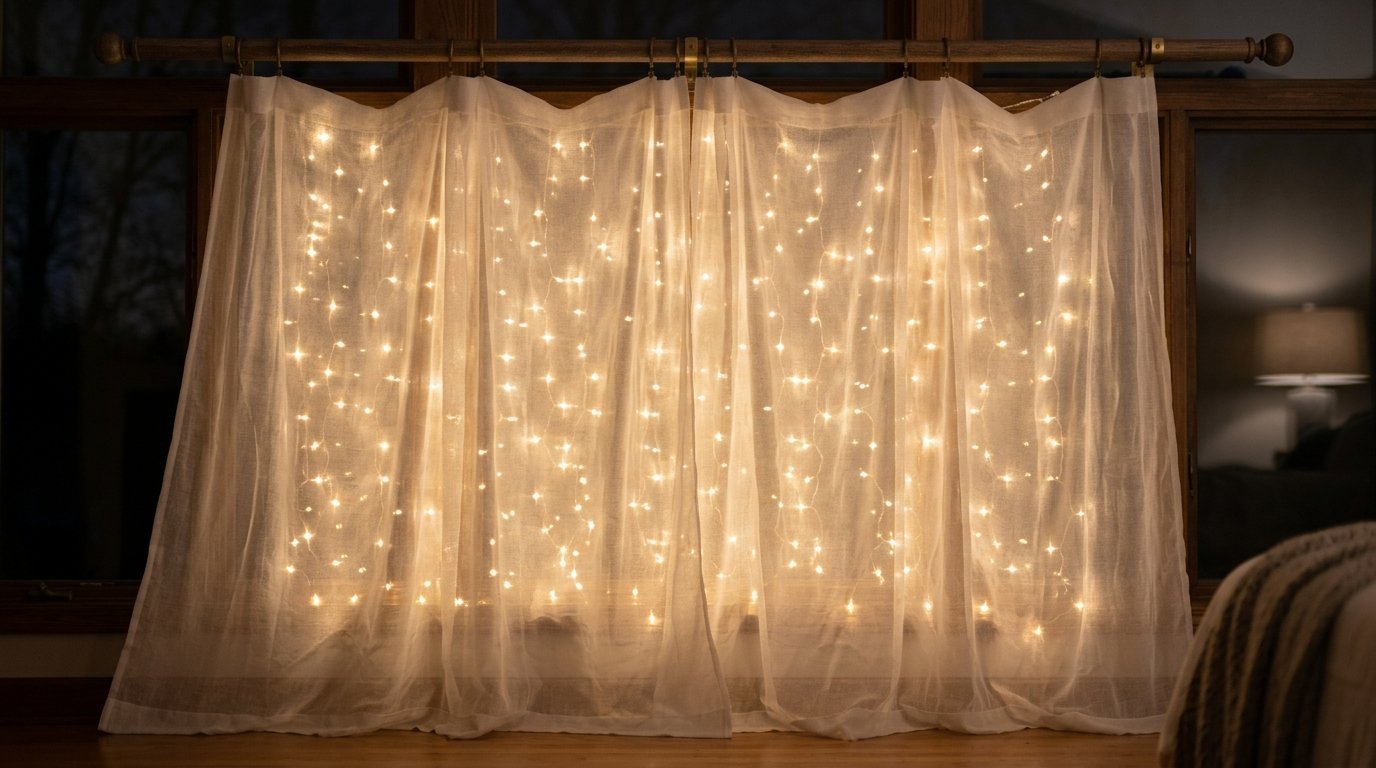
Lighting changes everything in photography. Buy a large curtain of LED twinkle lights. Pin the strings vertically down the wall behind a sheer white curtain panel. The sheer fabric diffuses the bright bulbs. It creates a soft, glowing wall of light. This is the absolute best setup for evening baby Christmas photos.
Use warm white bulbs. Cold white bulbs make the skin look blue. Turn off the main overhead light. Let the wall lights illuminate the baby’s face. The soft glow hides imperfections and creates a magical feeling. Secure the battery pack high on the wall with heavy tape. Tape the bottom of every light string firmly to the baseboard. Loose wires near the floor are dangerous.
13. Personalized Wooden Ornaments As Wall Art
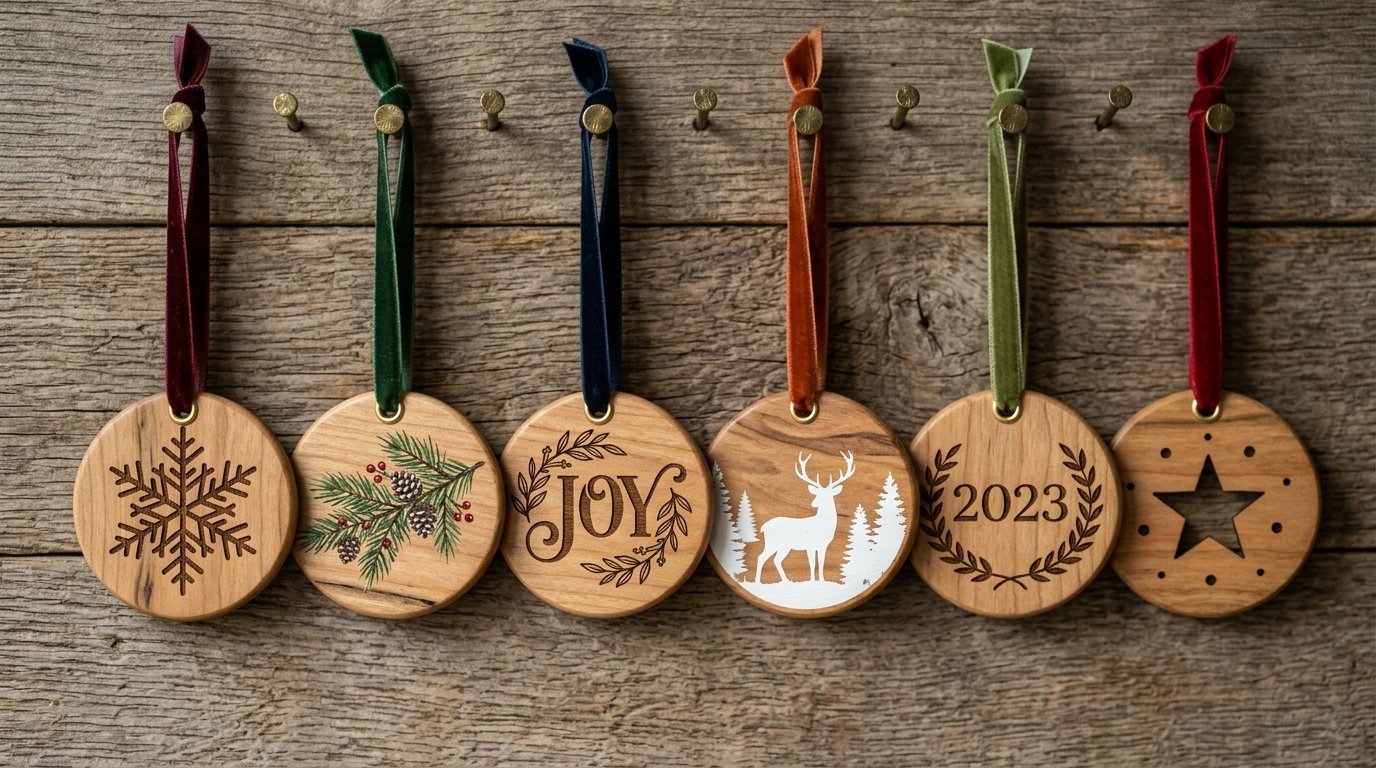
Ornaments belong on the wall, not just the tree. Buy six large, flat wooden disc ornaments. Use a wood burner or paint pen to write a different word on each. Tell the story of your first holiday. Hang them in a straight horizontal line across the wall. Use velvet ribbon to suspend them from small brass nails.
This simple gallery tells a complete story. You can photograph each ornament individually. Then photograph the baby looking at them. The wood grain adds warmth. The repeating shapes create rhythm in your photographs. Sand the edges of the wood discs until perfectly smooth. Rough edges catch the ribbon and look messy. Use a level when tapping in the brass nails. Even a slight tilt ruins the straight line.
14. Holiday Themed Monthly Milestone Boards
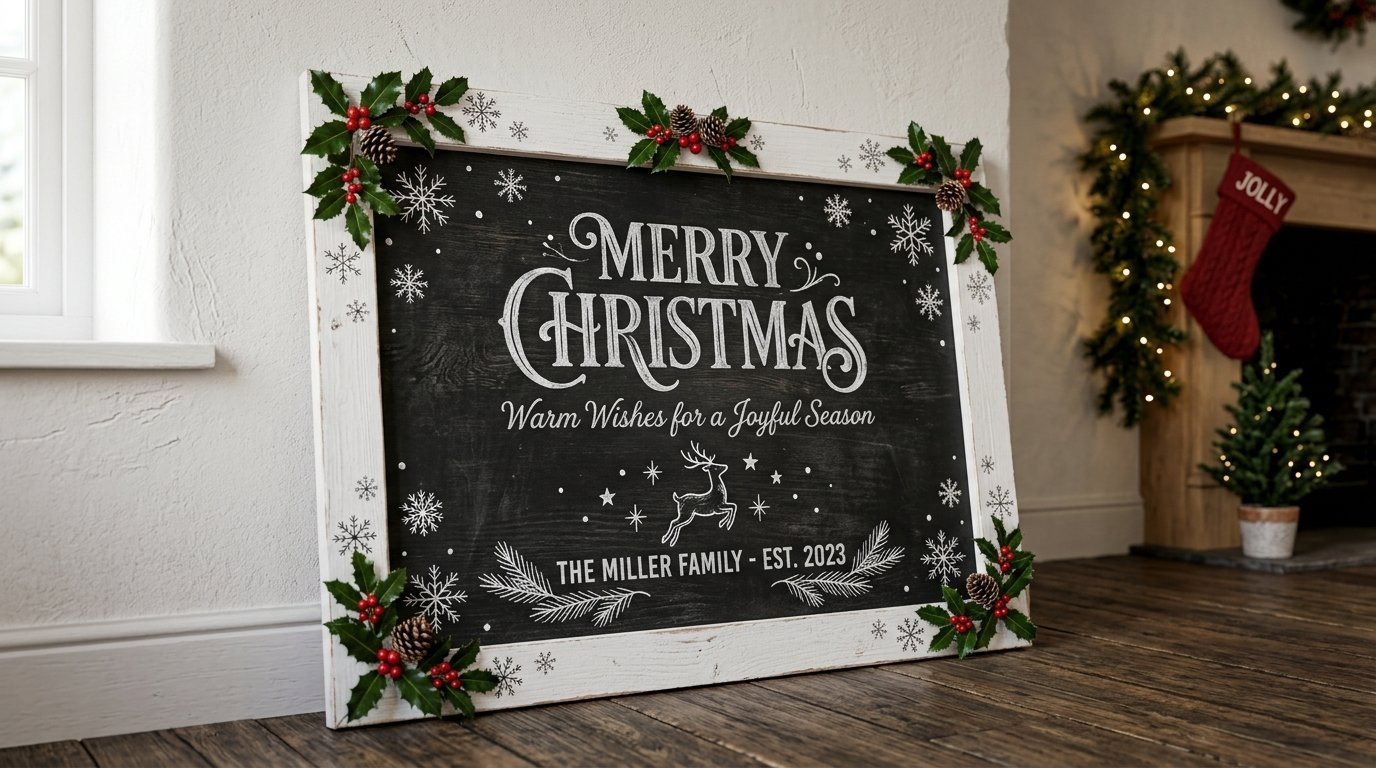
You track your baby’s growth every month. Give your regular milestone board a holiday upgrade. Paint a large piece of smooth plywood with chalkboard paint. Draw a festive border using permanent white paint pens. Draw holly leaves, snowflakes, or simple stars around the edges. Leave the middle blank for the monthly stats.
Prop the heavy board securely against the wall. Sit the baby right next to it. The dark black background makes the baby’s bright holiday clothes stand out. The permanent border stays perfect all month long. Write the changing stats with regular chalk. Wipe it clean easily. Frame the entire board in a thick wood trim. This finishes the edges and makes it look like real furniture.
15. Winter Wonderland Shadow Boxes
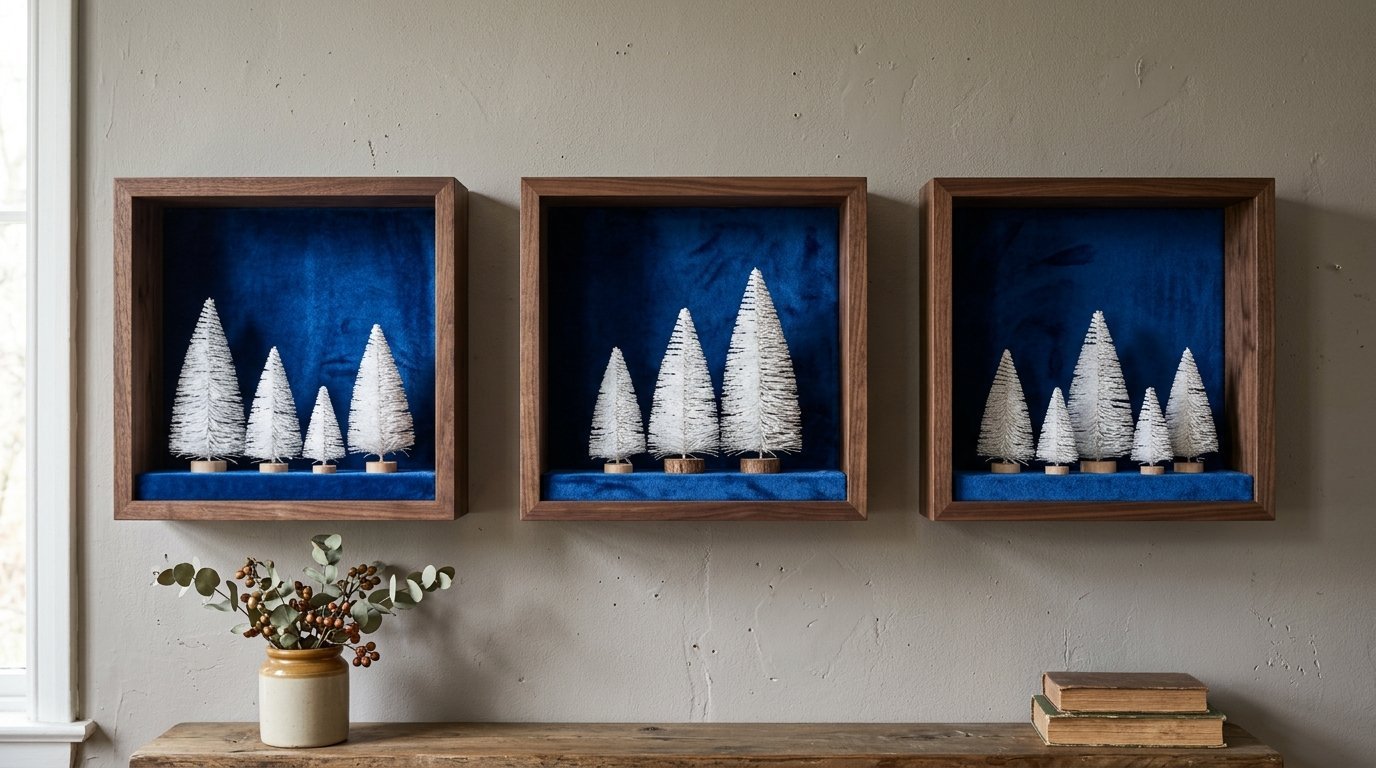
Shadow boxes add actual depth to your walls. Buy three deep square frames. Remove the glass completely. This stops all glare. Line the back of the boxes with dark blue velvet paper. Glue small, white bottle-brush trees inside the boxes. Add tiny fake snow piles at the base of the trees.
Hang the three boxes vertically on a narrow wall. You create tiny winter scenes. The camera loves depth. When you blur the background slightly, these boxes look incredibly realistic. Keep the snow glued down tight. Loose faux snow creates a massive mess and is unsafe for babies. Spray the finished boxes with a clear sealant. This freezes everything in place securely.
Frequently Asked Questions
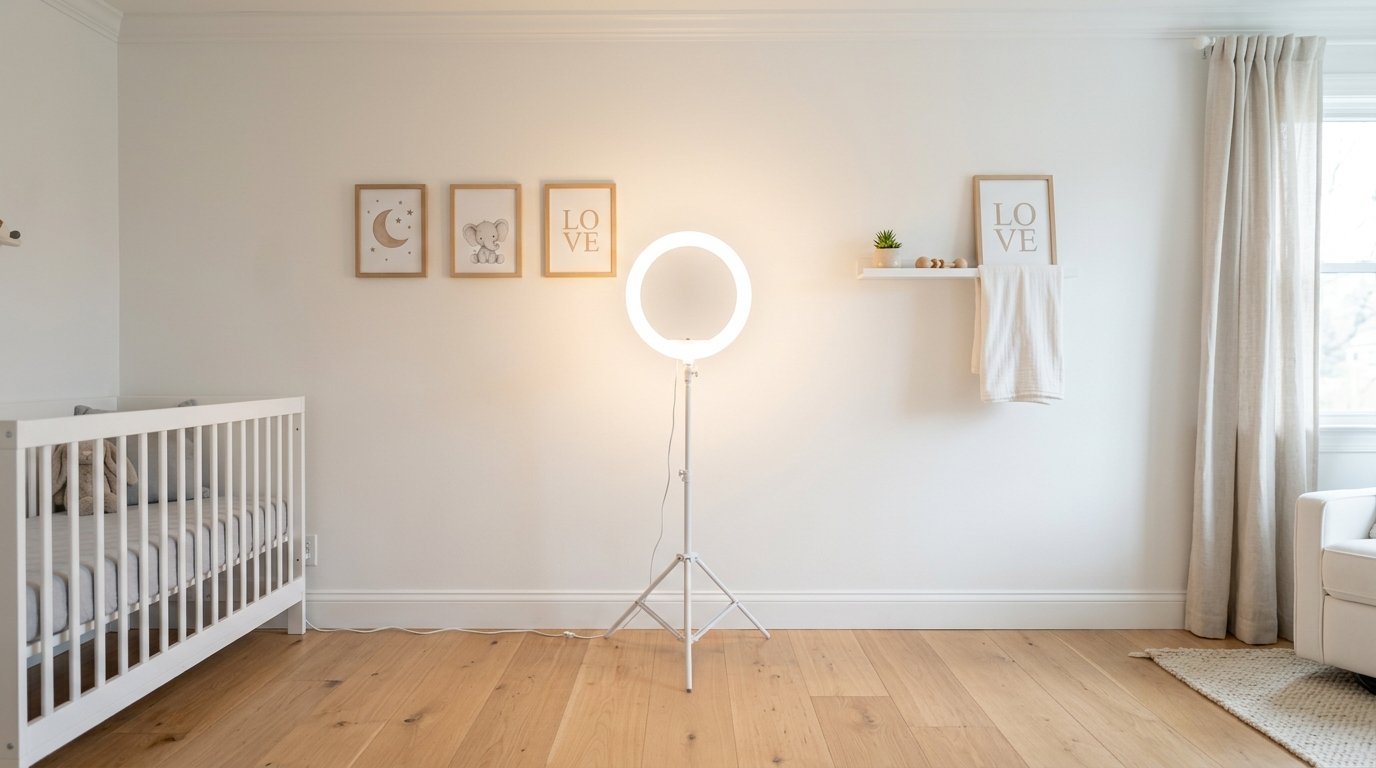
How do I light the room for pictures?
Turn off your yellow overhead lights immediately. They cast terrible shadows under the eyes. Open all the blinds. Stand with your back to the window. Let the natural light hit the baby and the decorated wall directly. Shoot between ten in the morning and two in the afternoon. The light is brightest then. If the room is dark, bring in a simple white ring light. Bounce the light off the ceiling, not directly into the baby’s face.
What are safe baby Christmas crafts for the wall?
Stick to soft materials. Felt cutouts work perfectly. You can make shapes of trees, stars, and stockings from thick wool felt. Tape them to the wall. They weigh nothing. If they fall, no one gets hurt. Avoid anything with glitter. Glitter sheds constantly. It gets into eyes easily. Avoid anything with small glued pieces like beads or buttons. Keep it simple, large, and soft.
How early should I start my holiday nursery room design?
Start planning by the second week of November. You need time to order materials. You need daylight hours on the weekends to craft and build. Hanging things properly takes time. You want to take the photos by the first week of December. This gives you time to print the pictures and mail the baby announcement before the holiday rush. Rushing leads to mistakes and unsafe wall hangings.
Can I use real pine branches near the crib?
Never bring real pine branches into a baby’s room. Pine needles are incredibly sharp. They drop constantly as the branch dries out. A crawling baby will find them on the floor immediately. Real branches also carry sap. The sap ruins fabrics and carpets permanently. Buy high-quality artificial stems. You can bend them exactly how you want them. You can use them again next year.
Final Thoughts For Your Holiday Space
Your first holiday together passes quickly. Taking the time to set up a dedicated space makes a huge difference. You freeze these moments perfectly. The walls provide the safest, easiest canvas for your ideas. Stick to the simple setups first. Make sure everything is bolted, tied, and taped securely. Put the baby’s safety above the perfect shot every single time.
Grab your camera. Use the natural morning light. Get down on the floor at eye level with your baby. Try different angles. Take more photos than you think you need. These simple wall decorations give you a stunning, professional look right in your own home. Enjoy the process of creating the space. Enjoy the memories you capture.

Anya Castellan is the Founder and Editor-in-Chief of Home Wall Trends. An art history graduate of the Rhode Island School of Design with twelve years of experience writing for leading American design publications, she specializes in composition, gallery wall theory, and the quiet architecture of domestic space. A former contributing editor at Architectural Digest and guest lecturer at Parsons School of Design, Anya personally reads and signs off on every piece before it is published.