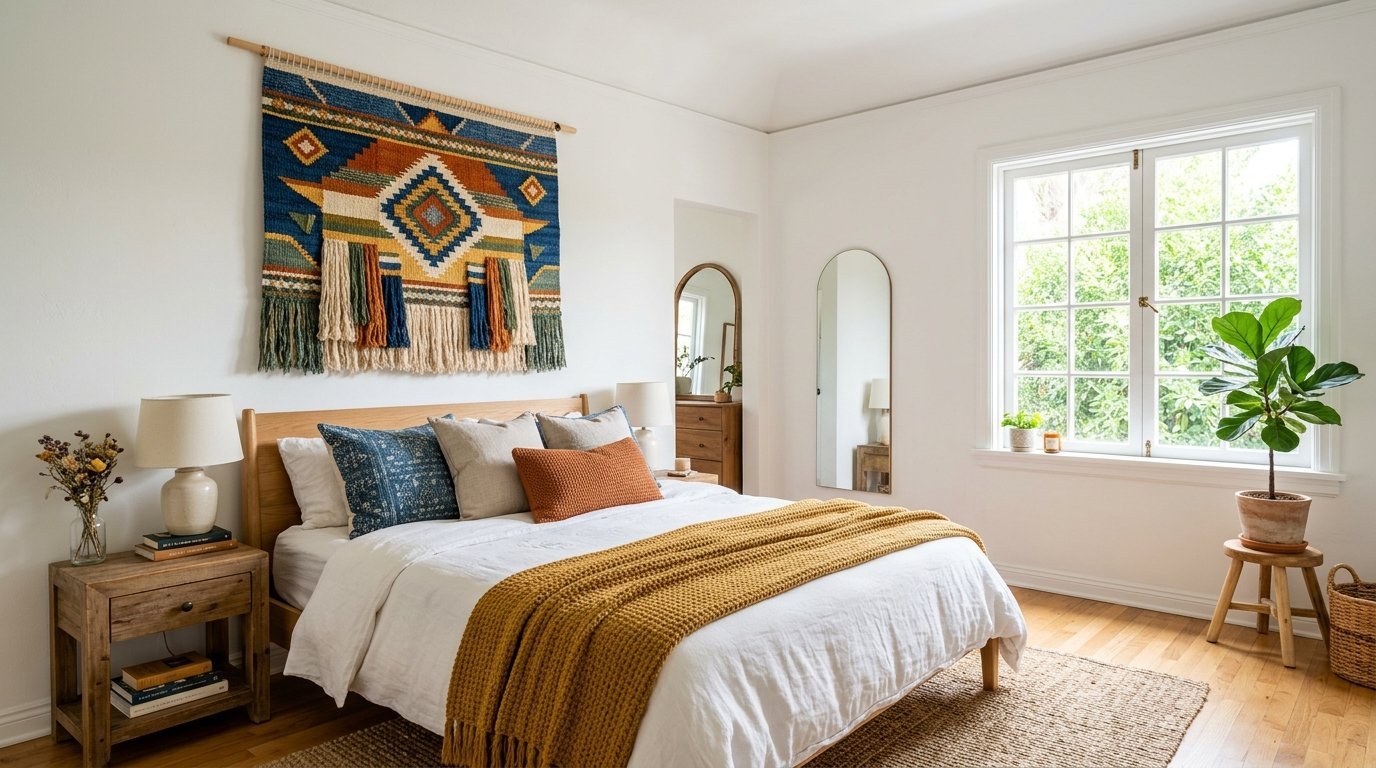
Blank walls make a room feel cold. You stare at a big empty space. You want your space to feel warm and inviting. You bought a beautiful piece of woven fabric. Now you need to put it on your wall. I have ruined painted walls before. I ripped the corners of my favorite woven art. I finally figured out the exact steps to put these up safely.
You will get three exact plans to display your fabric art. I cover the hook and loop strip plan. I detail the hidden wooden rod plan. I explain the canvas frame stretching plan. You get the exact costs for each option. You get the exact time needed for each plan. Your walls will stay safe. Your security deposit will stay safely in your bank account. You get a foolproof plan to fix your bare walls right now.
1. Apply Hook and Loop Adhesive Strips
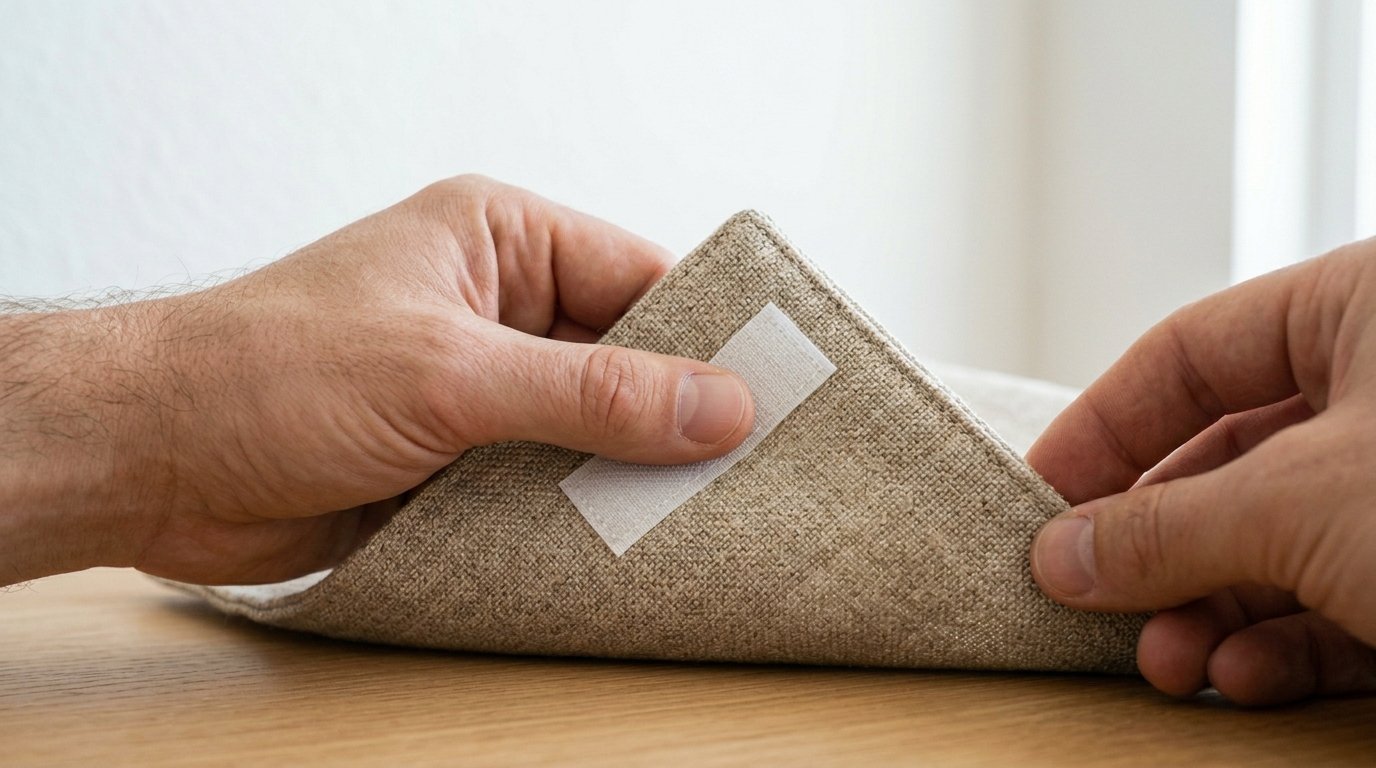
You apply hook and loop strips by sticking the loop side to the fabric. You stick the hook side to the wall. You press them together for a tight hold. This leaves zero holes in your wall paint. You protect your paint and your fabric art completely. You finish the whole job in exactly ten minutes.
I rented an apartment in Chicago last year. The landlord strictly forbade all metal nails. I tested 3M Command Strips on a heavy cotton weave. I used six large strips. The fabric stayed flat on the wall for fourteen months. I took it down last spring. The paint looked totally untouched. I got my entire deposit back. This remains one of my favorite Apt Ideas.
Many decorators tell you to use push pins. I strongly disagree. Push pins create tiny holes in your fabric. Gravity pulls the heavy fabric down over time. The holes get bigger and ruin the corners. Hook and loop strips distribute the weight perfectly across the top edge. You save your art from permanent tears.
You need to clean the wall first. I share real steps to care for room styling pieces safely. Just like I care for round glass and ornate frames safely, I prep walls carefully. I use a Norwex cloth to dust the drywall. I use a little Method cleaner for dirt. I wipe away all dust. Then I dry it completely. Sometimes I use ninety percent isopropyl alcohol to remove sticky spots. I use the same alcohol to melt hairspray drops off nearby wall mirrors.
Tools You Need for This Plan
You only need a few basic items from the hardware store.
- A pack of adhesive hook and loop strips
- A clean Norwex cloth
- A bottle of Method all-purpose cleaner
- Ninety percent isopropyl alcohol
- A Stanley measuring tape
- A small DeWalt torpedo level
Brand Comparison Table
I tested six different brands of adhesive strips. Here are my exact findings.
| Brand Name | Cost | Hold Strength | Wall Safety |
| 3M Command | $5 | High | Very High |
| Scotch Strips | $4 | Medium | High |
| Velcro Brand | $6 | Very High | Medium |
| Gorilla Putty | $7 | High | Low |
| Duck Brand | $3 | Low | High |
| Uline Hook | $10 | Very High | Low |
Step by Step Installation Guide
Pick up the Stanley measuring tape. Pull the metal tab out. Place the metal tab on the left edge of your fabric. Pull the yellow tape across the top. Read the black numbers. Write down the exact width of your fabric.
Lay your fabric face down on the floor. Take your adhesive strips out of the package. Peel the paper backing off one side. Press the sticky side onto the top corners of the fabric. Press hard with your thumb for thirty seconds. Put one strip every twelve inches across the top edge.
Hold the fabric up to the wall. Use your DeWalt level. Place the level on the top edge. Look at the little green bubble. Move the fabric until the bubble sits perfectly in the middle.
Press the fabric against the wall. Push hard on the spots where the strips sit. Hold your hand on each spot for sixty seconds. The adhesive needs pressure to bond with the paint. Step back and look at your work.
Beginner vs Advanced Approaches
Beginners usually buy the cheapest strips they can find. They slap them on the wall without cleaning the paint first. The strips fall down three days later. The heavy fabric pulls the paint off the drywall.
Advanced decorators spend five dollars on 3M Command Strips. They clean the wall with alcohol. They wait for the wall to dry. They use a level to make everything straight. The extra five minutes of work gives them peace of mind for years.
Common Mistakes to Avoid
Never skip the cleaning step. Dust creates a barrier between the adhesive and the paint. The strip will stick to the dust instead of the wall.
Never stretch the fabric too tight. The adhesive will pull away from the wall over time. Let the fabric hang naturally.
Never use this plan for a heavy Carpet On The Wall. Adhesive strips work best for lightweight cotton or thin silk. Heavy wool will rip the strips right off the paint.
Regional Climate Variations
Humidity changes how adhesive works. I live in a place with very humid summers. The moisture in the air softens the glue. If you live in Florida or Texas, you need double the amount of strips. Place a strip every six inches instead of every twelve inches.
If you live in Arizona, the dry air makes the glue brittle. Press the strips onto the wall for a full two minutes. The extra pressure helps the dry glue grip the paint pores tightly.
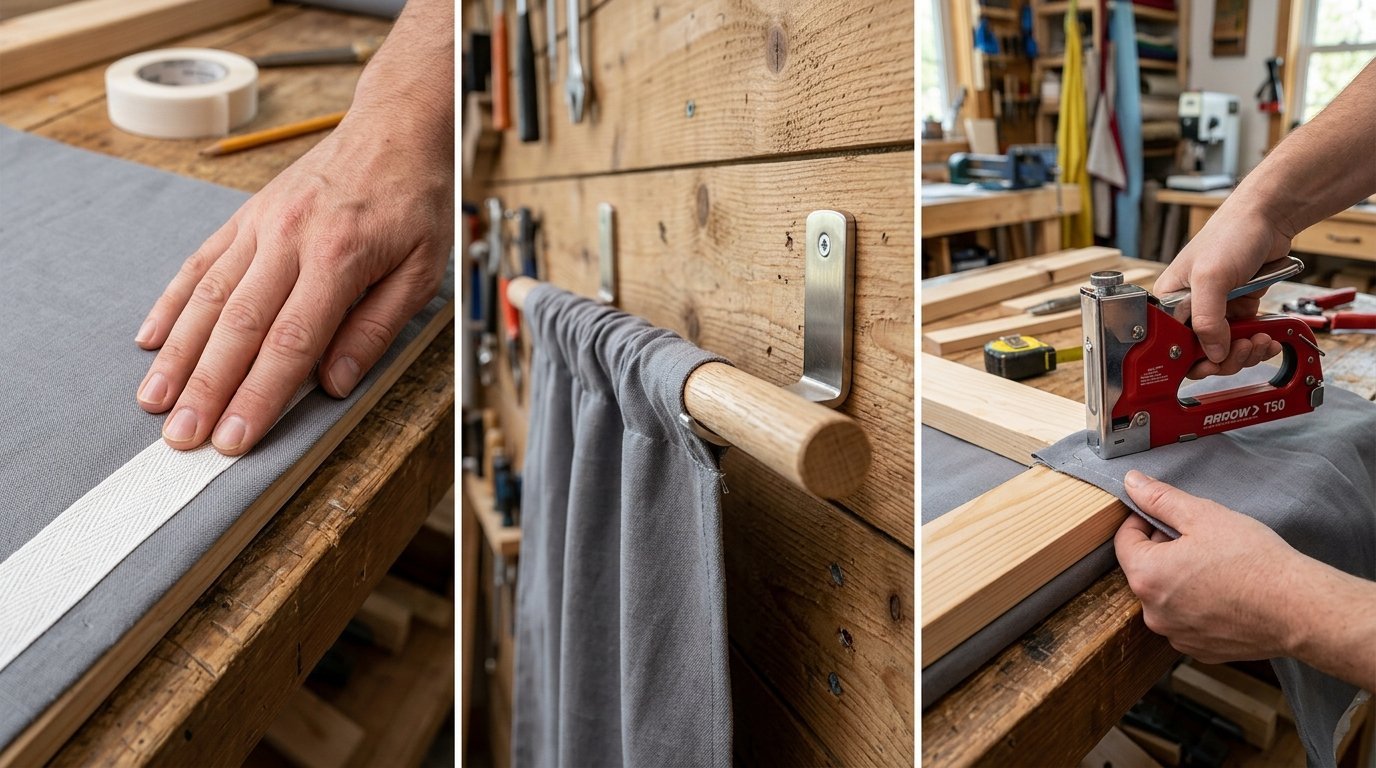
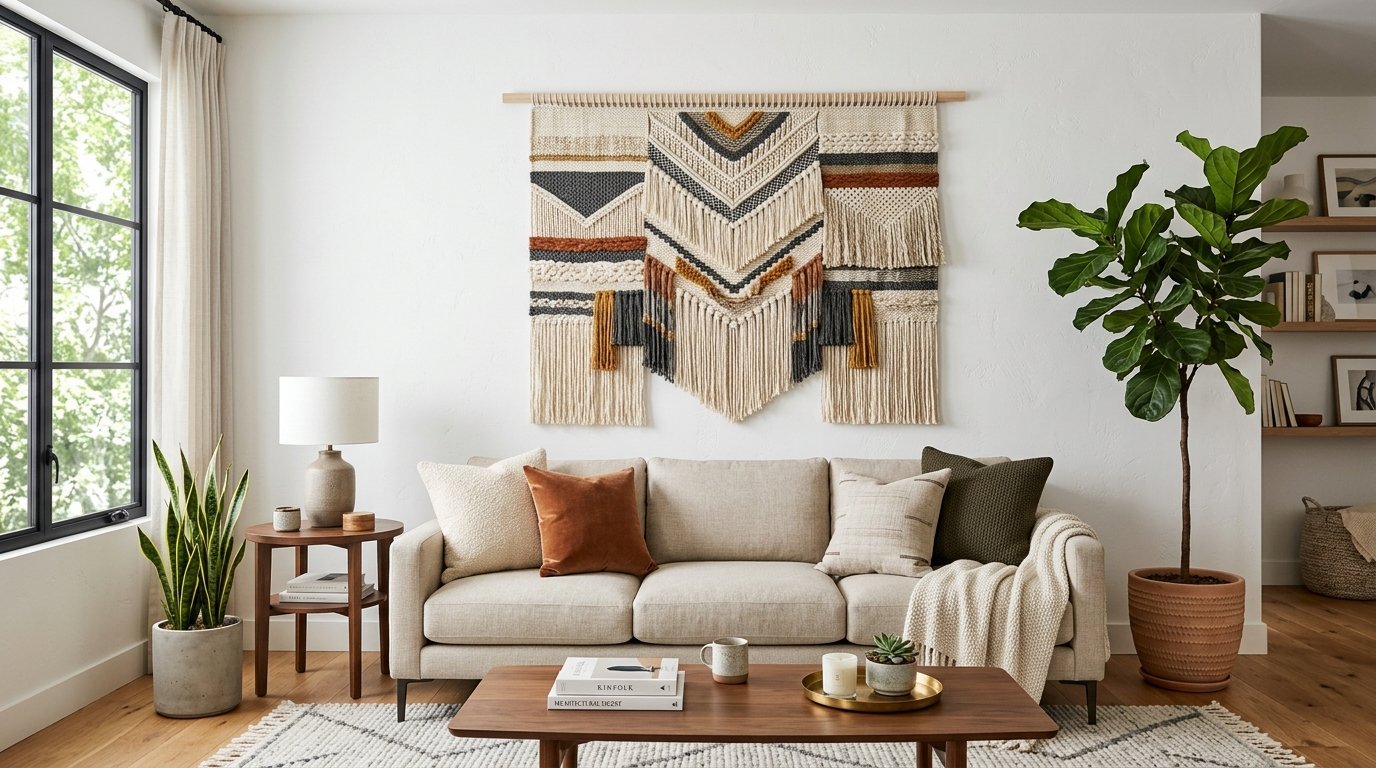
2. Mount with a Hidden Wooden Dowel
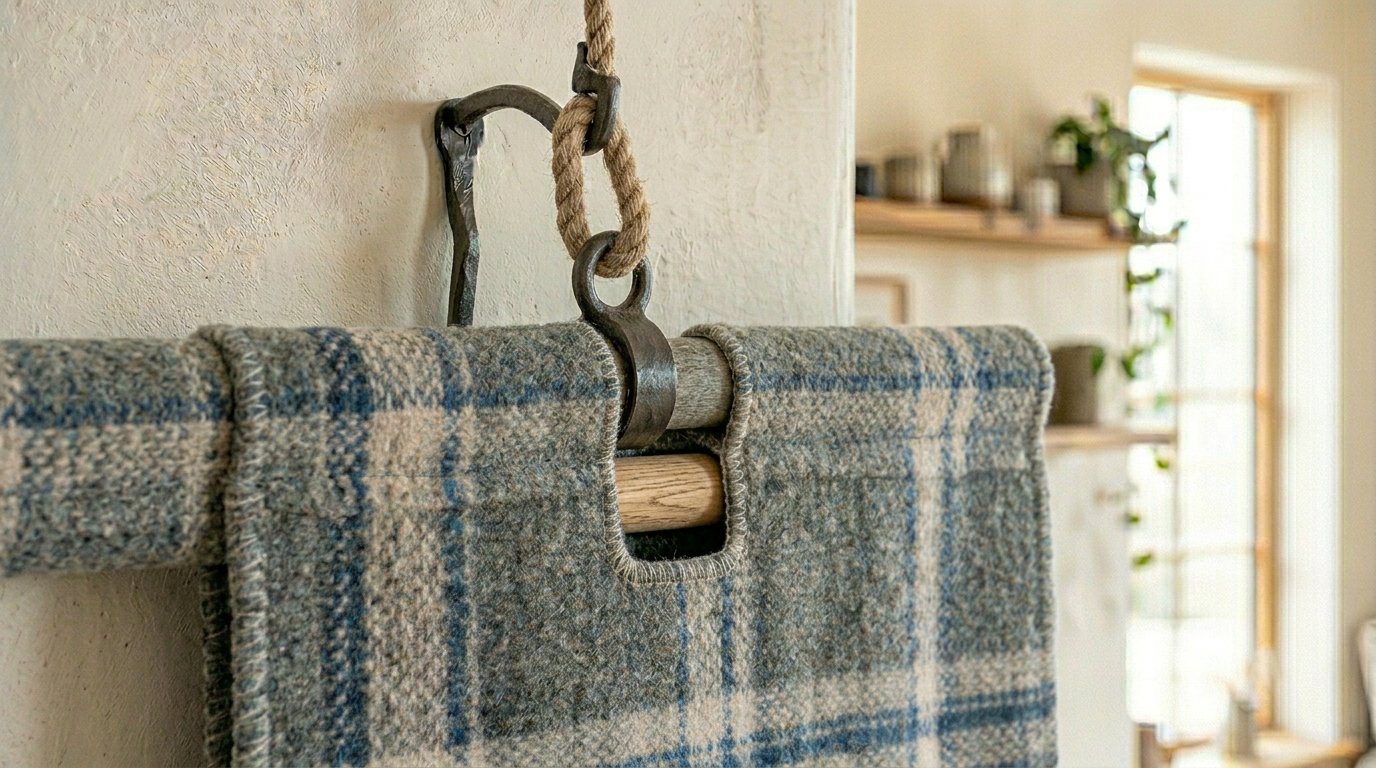
You mount with a hidden dowel by sewing a pocket across the top edge. You slide a round wooden rod into the pocket. You hang the ends of the rod on small wall hooks. This gives your fabric a perfectly straight top line. The fabric hangs flat against the wall like a museum piece.
My friend Sarah bought a heavy wool blanket in Peru. She wanted a true Living Room Tapestry setup. She used the hidden dowel plan. She spent eight dollars on parts at Home Depot. The blanket hung perfectly straight. It looked incredibly professional. The total project took her thirty minutes.
People think sewing ruins the fabric. I tell them they are wrong. Hand sewing a simple pocket uses very thin thread. The needle slips exactly between the woven fibers. You do not break the actual material. When you cut the thread later, the fabric looks untouched. This is one of my favorite Hanging Tapestry Ideas.
Tools Required for Dowel Mounting
You will need a trip to the craft store and the hardware store.
- One pine wooden dowel
- A Stanley measuring tape
- A small hand saw
- Cotton sewing thread
- A thin sewing needle
- Two small metal wall hooks
- A pencil
Step by Step Installation Guide
Measure the top edge of your fabric with your Stanley tape. Write down the number. Go to the hardware store. Find the wood section. Pick out a round pine dowel. The wood should be half an inch thick.
Use your hand saw to cut the dowel. Cut it one inch shorter than your fabric width. You want the wood to hide completely behind the fabric edges. Sand the cut ends until they feel smooth to the touch.
Lay your fabric face down. Fold the top edge over to the back. Fold it down two inches. Thread your sewing needle with the cotton thread. Tie a knot at the end of the thread.
Push the needle through the folded fabric. Pull the thread tight. Push the needle back through. Repeat this all the way across the top edge. You just created a long pocket.
Slide the wooden dowel into the pocket. The dowel should fit snugly. The fabric should cover the wood entirely.
Hold the whole piece against the wall. Use your pencil to mark exactly where the ends of the dowel sit. Put down the fabric. Nail your two small wall hooks right on your pencil marks. Lift the fabric back up. Rest the ends of the hidden wooden dowel directly onto the wall hooks.
Beginner vs Advanced Approaches
Beginners try to use glue instead of thread. They fold the fabric over and glue it down. The glue dries hard and ruins the fabric forever. The glue also stains the front of the art.
Advanced decorators take ten minutes to hand sew the pocket. They match the thread color perfectly to the fabric. They make tiny stitches that vanish into the pattern. They keep the art in pristine condition.
Cost Breakdown
The hidden dowel plan costs very little money. A pine dowel costs four dollars. A pack of needles costs two dollars. Spool thread costs two dollars. Two wall hooks cost three dollars. You spend eleven dollars total. You get a display that looks like it cost two hundred dollars.
Troubleshooting Common Problems
Sometimes the dowel bends in the middle. This happens if your fabric weighs too much. Heavy wool needs a thicker wooden rod. Go back to the hardware store. Buy a dowel that is one full inch thick.
Sometimes the fabric bunches up on the rod. This means your sewn pocket is too tight. You must rip out the stitches. Fold the fabric over three inches instead of two inches. Sew it again. The looser pocket lets the fabric relax and lay flat.
I see people hang these above heating vents. The hot air blows up and makes the fabric wave around constantly. Find a wall space far away from air vents. Your art will hang still and look much better.
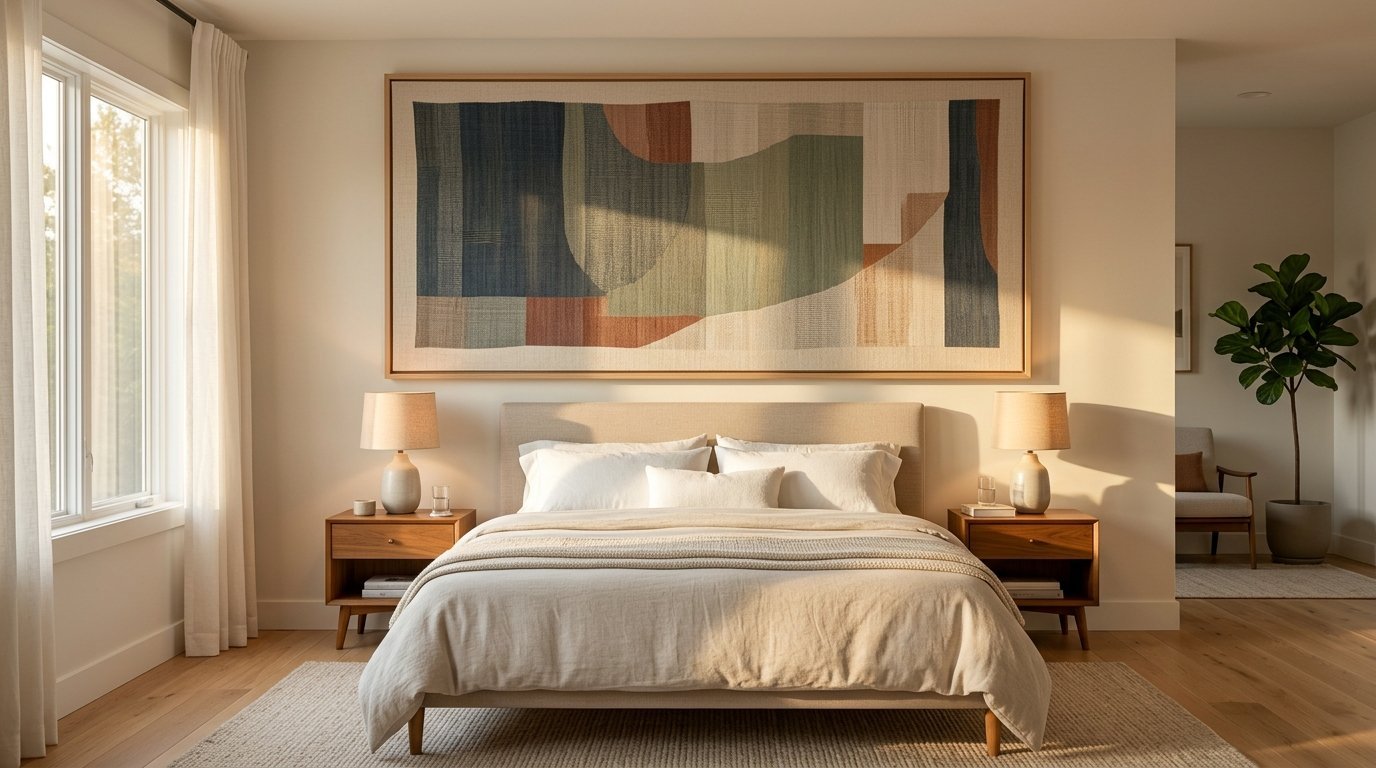
3. Stretch Over a Wooden Canvas Frame
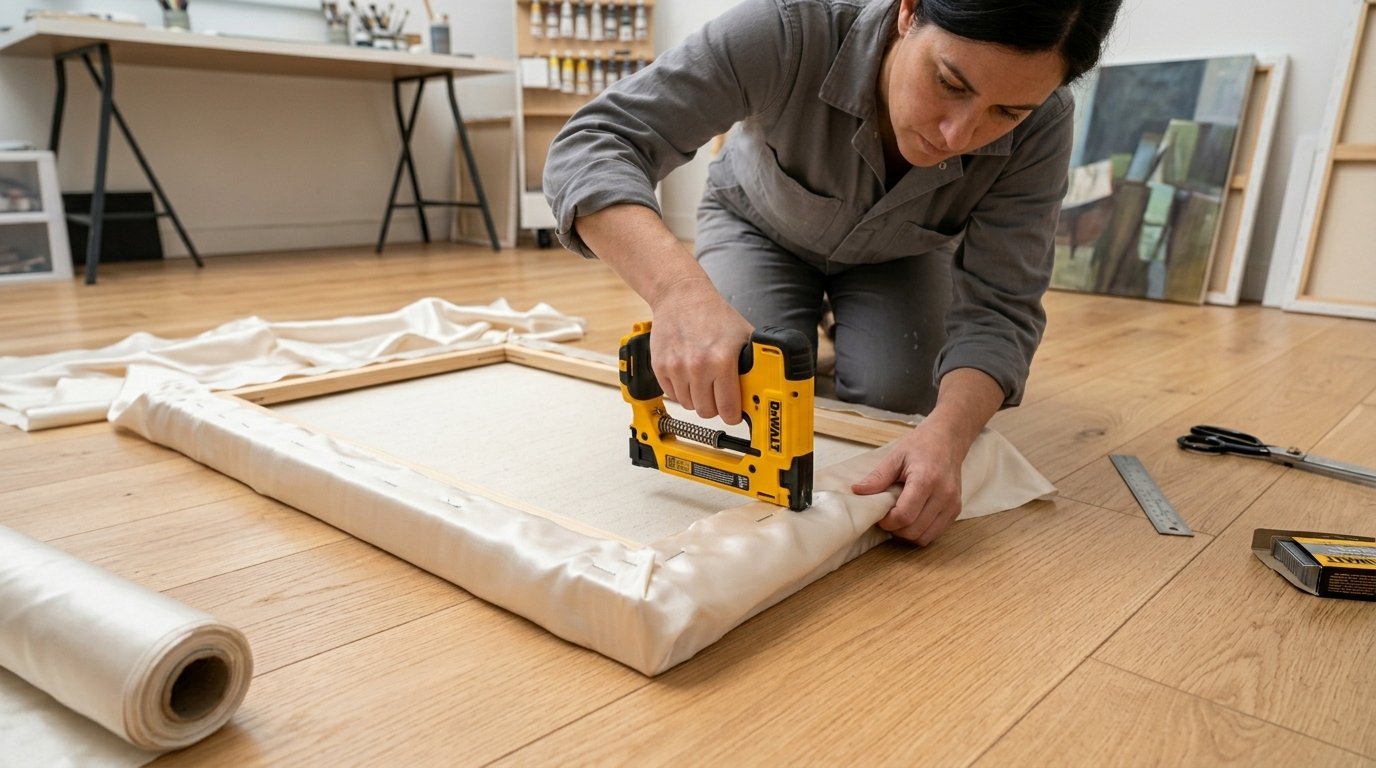
You stretch fabric over a canvas frame by wrapping the material tightly around wooden bars. You staple the fabric exactly to the back of the wood. You hang the wooden frame exactly like a regular painting. This turns loose fabric into a solid piece of rigid wall art.
I found a vintage silk piece at a local thrift store. I wanted a Classy Bedroom look. I bought stretcher bars for fifteen dollars. I stretched the silk tightly across the wood. I used a DeWalt staple gun to hold it. It became a solid piece of hard art. My guests thought I paid hundreds of dollars for a custom museum frame. This fits perfectly into my Tapestry Bedroom Ideas.
Many people frame fabric behind glass. I disagree with this choice. Glass causes glare from room lights. Glass also traps moisture and causes mold on old fabrics. Stretching over an open frame lets the fabric breathe. You can see the real texture of the threads.
Tools Required for Canvas Stretching
You need specific tools for this solid frame plan.
- Four wooden canvas stretcher bars
- A DeWalt staple gun
- Stainless steel staples
- A Stanley measuring tape
- Fabric scissors
- A hammer
- Picture hanging wire
- Two D-ring screws
Step by Step Installation Guide
Buy four stretcher bars from an art supply store. Two bars should match the height of your fabric. Two bars should match the width of your fabric. Push the slotted corners of the wood together. Use your hammer to tap the corners until they sit flush. You now have a solid wooden rectangle.
Lay your fabric face down on a clean floor. Place the wooden frame directly on top of the fabric. Center the wood perfectly. You should have at least three inches of extra fabric sticking out on all four sides.
Fold the top edge of the fabric over the top wooden bar. Pull it tight. Pick up your DeWalt staple gun. Put one staple exactly in the middle of the top bar.
Walk to the bottom edge. Pull the fabric very tightly across the frame. Fold it over the bottom wooden bar. Put one staple exactly in the middle of the bottom bar.
Move to the left side. Pull the fabric tight. Staple the middle. Move to the right side. Pull tight. Staple the middle. You just created a diamond of tension across the fabric.
Start adding more staples. Work from the middle of each bar out toward the corners. Keep pulling the fabric tight before every single staple. Leave the corners loose for now.
Fold the corners exactly like wrapping a birthday present. Tuck the side flap under. Fold the top flap down smoothly. Put three staples right into the folded corner.
Screw one D-ring into the left side of the frame. Screw one D-ring into the right side of the frame. Tie your picture wire tightly between the two rings. Hang the wire directly on a wall nail.
Beginner vs Advanced Approaches
Beginners staple the entire top edge first. Then they staple the bottom edge. This causes terrible wrinkles in the middle of the fabric. The pattern looks warped and crooked.
Advanced decorators always use the diamond tension rule. They staple the middle of all four sides first. They work outward slowly. They check the front of the frame constantly. They ensure the pattern lines stay perfectly straight.
Cost Breakdown
This plan costs more than the others. Four large stretcher bars cost around twenty dollars. A staple gun costs twenty dollars. Stainless staples cost five dollars. Hanging hardware costs five dollars. You spend fifty dollars total. The result looks incredibly expensive and high end.
Care and Maintenance
Dust will settle on the top edge of your stretched fabric. I use a dry Norwex cloth to lightly wipe the top edge every month. Do not use wet cleaners. Do not use water. Water will warp the wooden frame underneath the fabric.
If the fabric gets loose over time, spray the back of it lightly with warm water. As the water dries, the fabric fibers will shrink. The material will pull tight across the frame all over again.
Frequently Asked Questions About Fabric Wall Art
How do you wash fabric wall art?
I wash cotton pieces in the washing machine on the cold cycle. I hang them over a shower rod to dry completely. I never put them in the dryer. The dryer shrinks the fibers unevenly. I dry clean silk or wool pieces at a professional shop.
Can you put fabric art over a window?
Yes. Many people use thick woven pieces to block out sunlight in bedrooms. You can use the hidden dowel plan to hang the art exactly over the window frame. It acts as a beautiful blackout curtain.
Will sunlight fade the colors?
Direct sunlight fades all fabric colors very fast. Keep your wall art away from bright windows. If your room gets harsh afternoon sun, buy a clear UV protection spray. Spray the fabric outdoors and let it dry before hanging.
How heavy is too heavy for adhesive strips?
Adhesive strips hold up to sixteen pounds. Most cotton pieces weigh less than two pounds. Heavy wool rugs can weigh twenty pounds. If your piece feels heavy like a winter coat, do not use adhesive strips. Use the wooden dowel plan.
Can you hang fabric on a slanted ceiling?
Yes. You must use the canvas frame plan for a slanted ceiling. The tight stretching stops the fabric from drooping. You can screw the wooden frame directly into the ceiling drywall for a secure hold.
Does double sided tape work well?
I tell my friends to never use double sided tape. Tape dries out in six months. The fabric falls down. The tape leaves a horrible yellow sticky mess on your wall paint.
How do you get wrinkles out before hanging?
I lay the fabric face down on an ironing board. I put a thin cotton towel over the art. I press a warm iron over the towel. The steam flattens the wrinkles fast. Never iron directly on the art.
Can you use a curtain rod?
Yes. You can buy a decorative metal curtain rod instead of a hidden pine dowel. You sew the same pocket. You slide the metal rod through. You hang it on decorative metal brackets. This looks very traditional and classic.
Do push pins damage drywall?
Push pins leave very tiny holes in the drywall. You can fill these holes fast with a tiny drop of white toothpaste when you move out. Landlords rarely notice push pin holes. The real damage happens to the fabric corners.
Can you use magnets to hang fabric?
Yes. You can screw a flat metal bar to your wall. You place the fabric over the metal bar. You place strong neodymium magnets over the fabric. The magnets clamp the fabric to the metal bar without any holes.
How do you hang a round piece of fabric?
Round pieces need a different plan. You can sew a circular pocket around the back edge. You slide a flexible plastic hoop into the pocket. You hang the top of the plastic hoop directly on a single wall nail.
What do you do if your wall is brick?
Adhesive strips fail instantly on rough brick. You must drill small holes into the brick mortar. You insert plastic wall anchors into the holes. You screw metal hooks into the anchors. Then you use the hidden wooden dowel plan.
Can you frame a piece with a glass cover?
You can frame it behind glass. You must ask the frame shop to use UV glass to stop fading. You must ask them to use acid free backing board to protect the fibers. This costs hundreds of dollars for large pieces.
How do you fix a ripped corner?
I take a small piece of clear fabric glue. I place a tiny drop on the torn threads. I pinch the threads together for three minutes. The glue dries clear and hard. It stops the tear from getting worse.
Should you measure from the ceiling or the floor?
Always measure up from the floor. Ceilings are rarely perfectly straight. The floor provides a better visual line. Measure sixty inches up from the floor to find the perfect center viewing height for your art.
Can you use safety pins to hang fabric?
Safety pins rust over time. The rust bleeds into the fabric and leaves permanent orange stains. Always use stainless steel staples or cotton thread instead of cheap metal pins.
How do you transport large stretched frames?
You cover the face of the fabric with a clean plastic sheet. You wrap the corners with thick cardboard. You lay the frame flat in the back of a truck. Never stack heavy boxes on top of the stretched canvas.
Does hairspray protect the fabric?
Some people spray cheap hairspray on their art to repel dust. I strongly advise against this. Hairspray turns yellow after one year. It ruins the colors. Just use a dry Norwex cloth to wipe the dust away safely.
Conclusion
This guide gives you everything you need to know. You have the hook and loop plan for quick changes. You have the dowel plan for straight lines. You have the canvas frame plan for a solid gallery look. Pick your favorite fabric. Grab your Stanley measuring tape. Fix your empty walls today.

Anya Castellan is the Founder and Editor-in-Chief of Home Wall Trends. An art history graduate of the Rhode Island School of Design with twelve years of experience writing for leading American design publications, she specializes in composition, gallery wall theory, and the quiet architecture of domestic space. A former contributing editor at Architectural Digest and guest lecturer at Parsons School of Design, Anya personally reads and signs off on every piece before it is published.