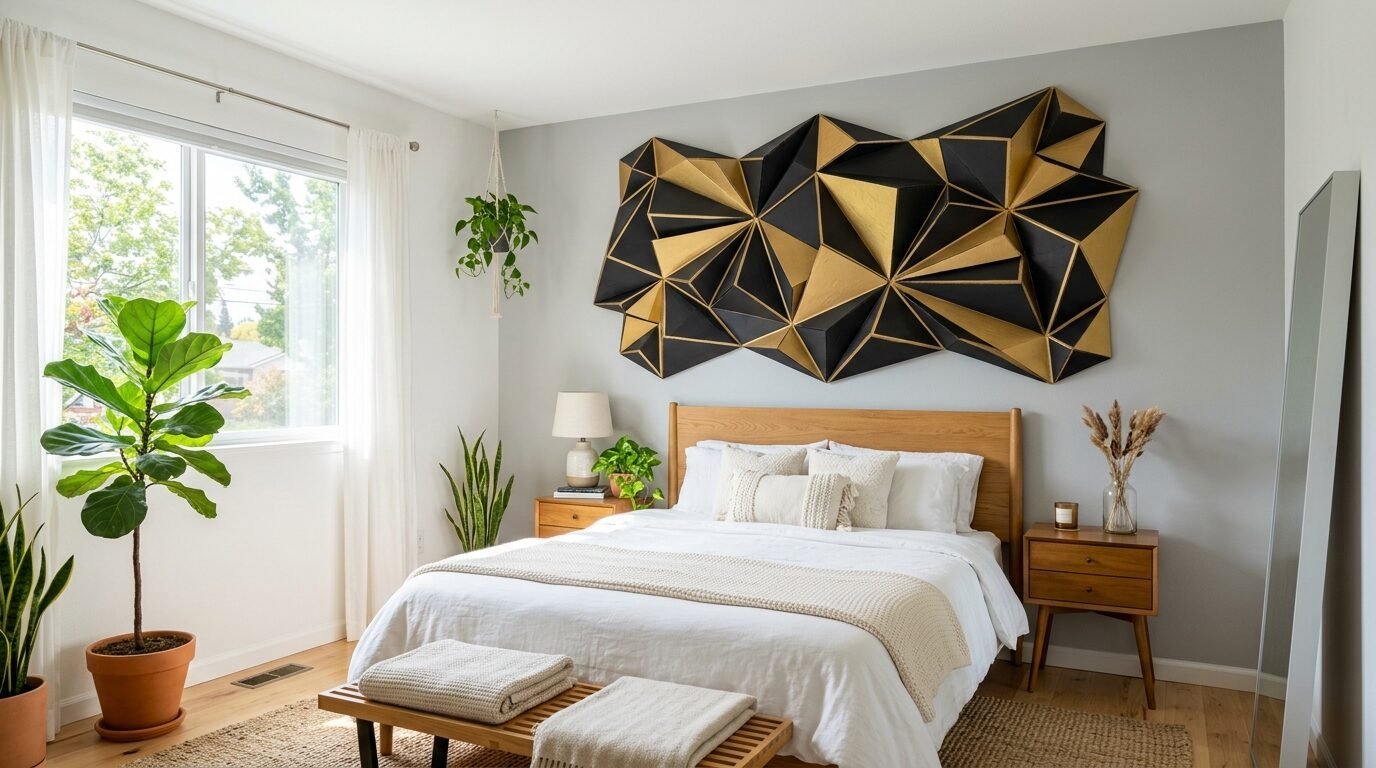
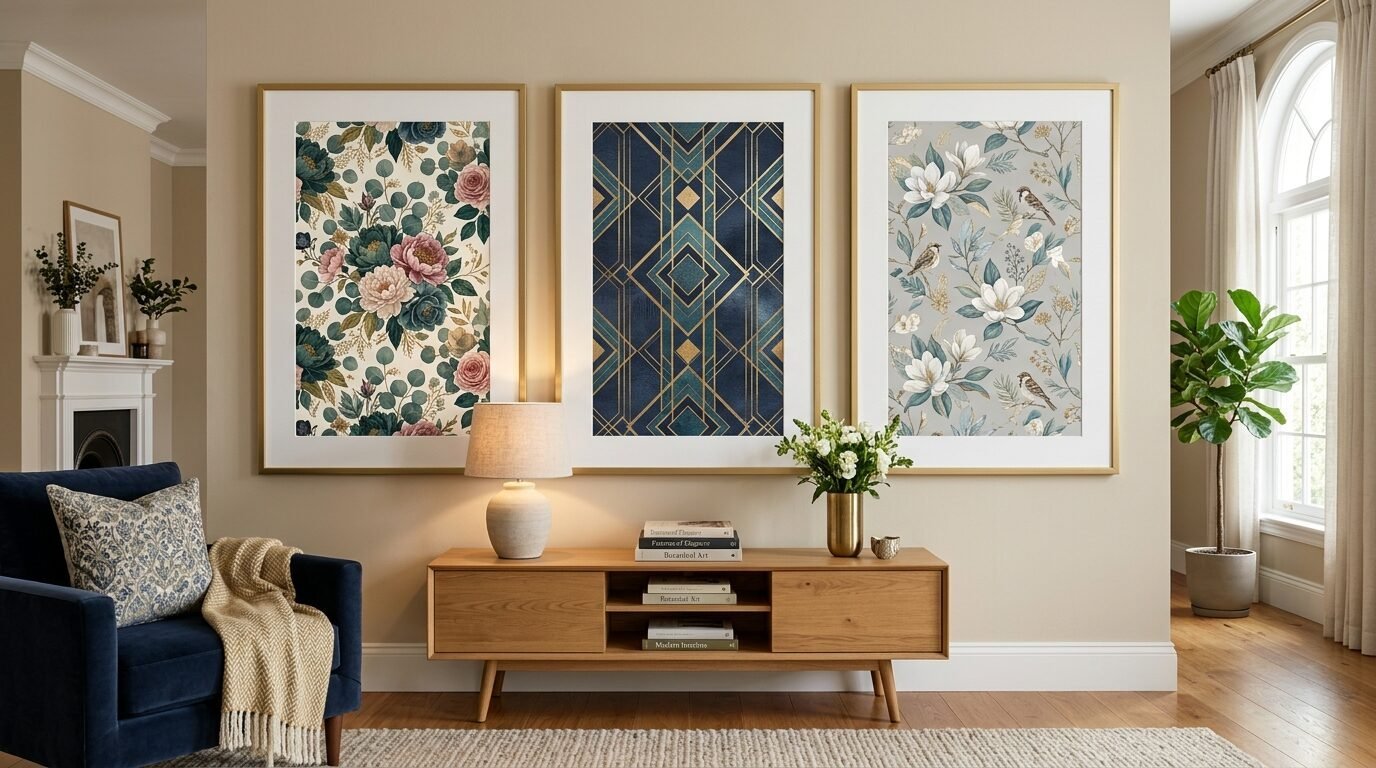
Last Tuesday, I stared at a pile of empty cereal boxes and glass jars destined for the curb. My bank account showed exactly $14.22 until Friday. I needed a room refresh for a video call the next morning. This tension between wanting a beautiful space and having a zero dollar budget creates a specific kind of stress. You want your room to look like a Pinterest board, but the price tags at home decor stores feel like a personal insult. In my experience, the best art comes from the things we usually throw away without a second thought. I have seen basic cardboard become high-end geometric art with just a bit of patience and some leftover paint. This guide focuses on turning your recycling bin into a gallery. We will look at how to take common household waste and turn it into something your friends will actually ask to buy from you. These projects are fast. They are cheap. Most importantly, they look expensive.
Executive Summary
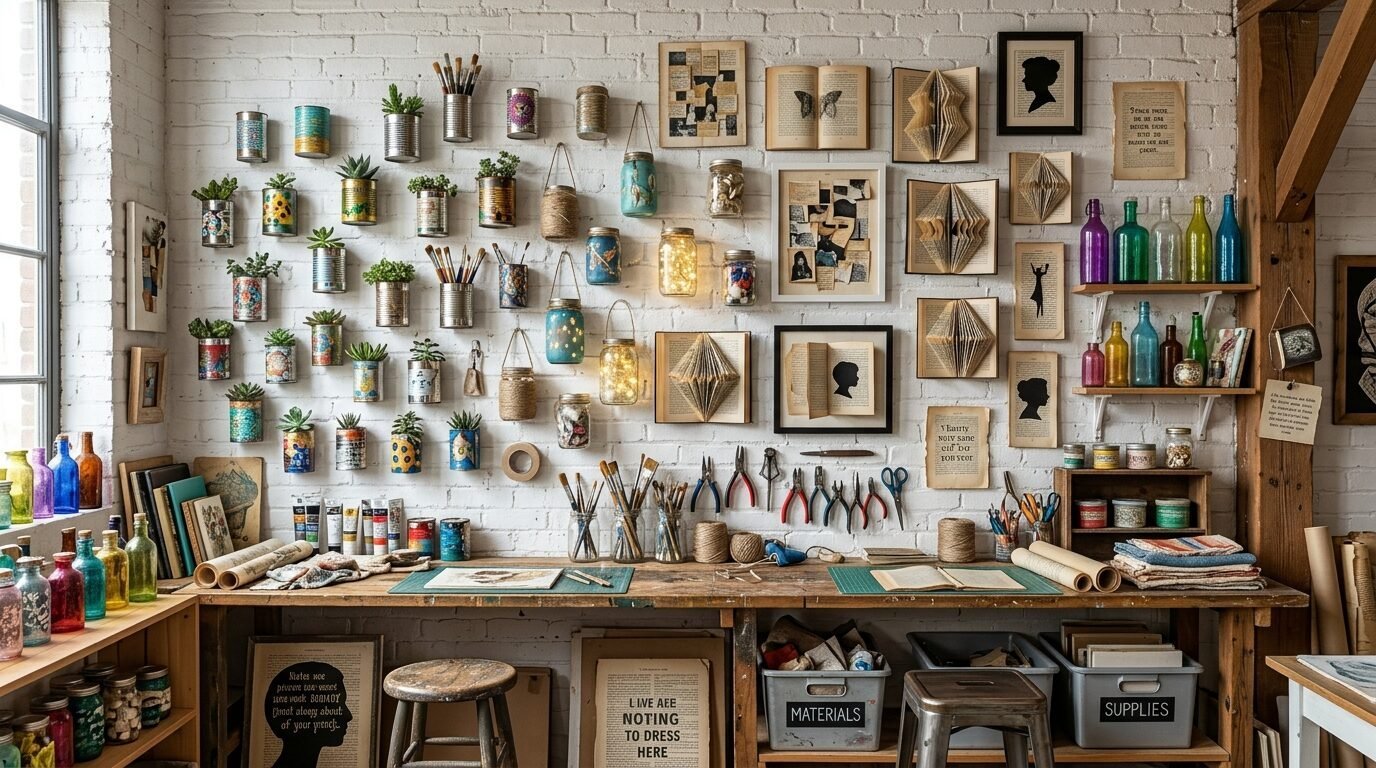
You will learn how to turn everyday waste into professional-looking wall art. This article provides 21 specific projects that use cardboard, plastic, glass, and paper. I include real costs for supplies like glue and paint. Most of these projects take less than two hours to finish. You will see how to avoid common mistakes like using the wrong adhesive or picking colors that look muddy. We focus on styles like modern minimal, boho, and eclectic. I provide a list of 12 essential tools every beginner needs. You will find ways to use old books and maps that would otherwise sit in a box. The goal is to give you a room that feels personal and curated. This guide excludes heavy carpentry or expensive power tools. We stick to items you already have in your kitchen or craft drawer. By the end, you will have a clear plan to decorate your walls for nearly zero dollars.
1. Cardboard Geometric Wall Sculptures
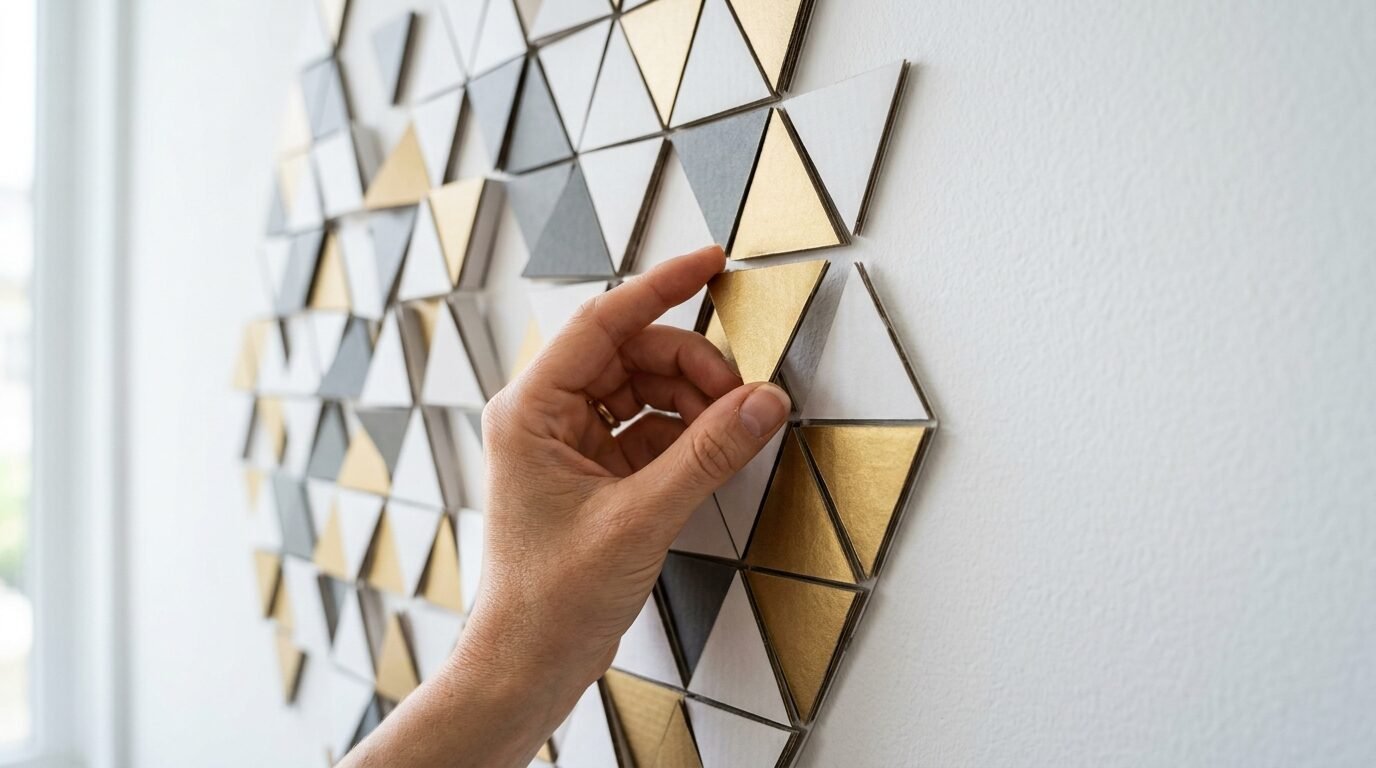
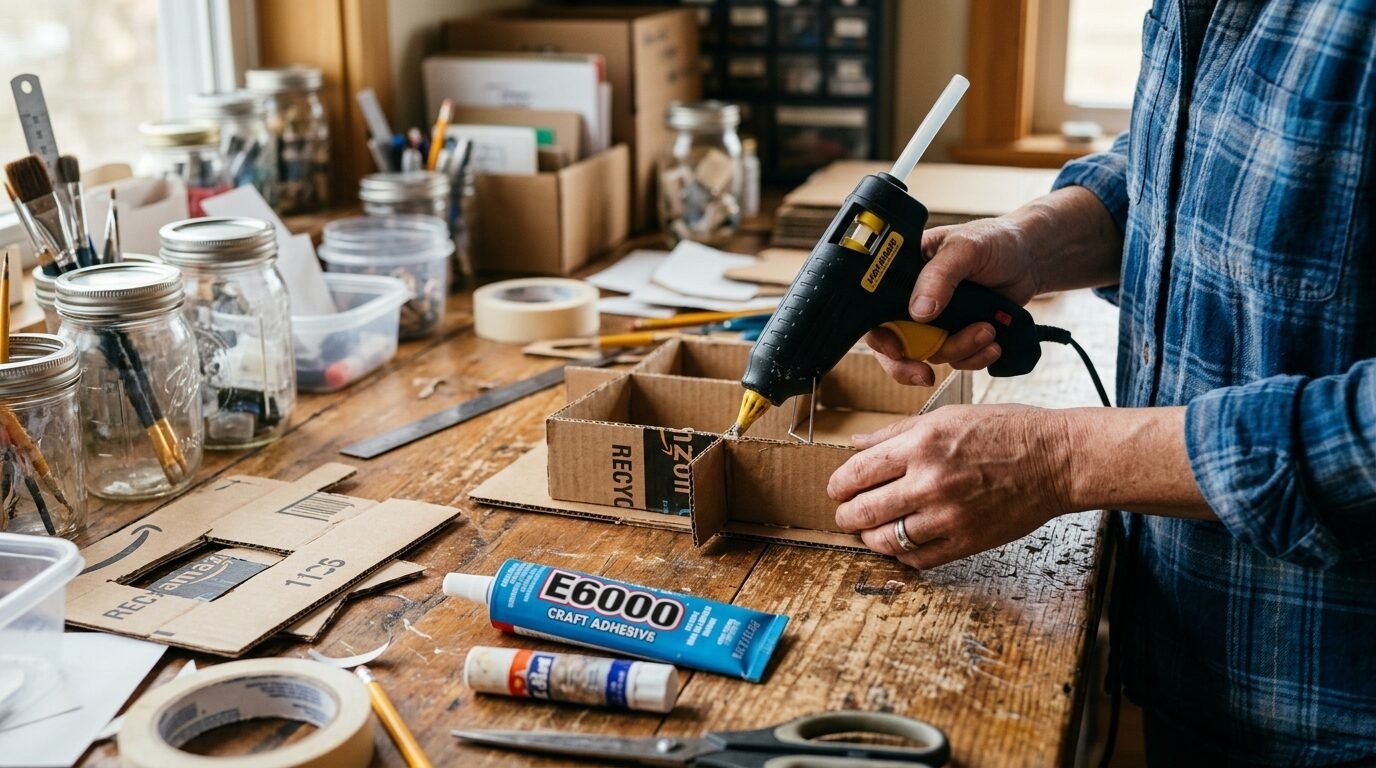
Cardboard is the most undervalued resource in your home. I once tried to build a large wall piece using expensive wood slats. It fell off the wall and cost $60. Then I tried double-walled cardboard from a shipping box. I cut it into triangles and spray painted them with Rust-Oleum Metallic Gold. The result looked like heavy brass art. Use a sharp Fiskars craft knife for this. Dull blades tear the edges and make it look like a school project. I suggest using E6000 glue instead of a hot glue gun. Hot glue can peel off when the room gets warm. Space your shapes 2 inches apart to create a professional gallery feel. This project costs about $5 if you already have the paint.
2. Glass Jar Floating Succulent Vases
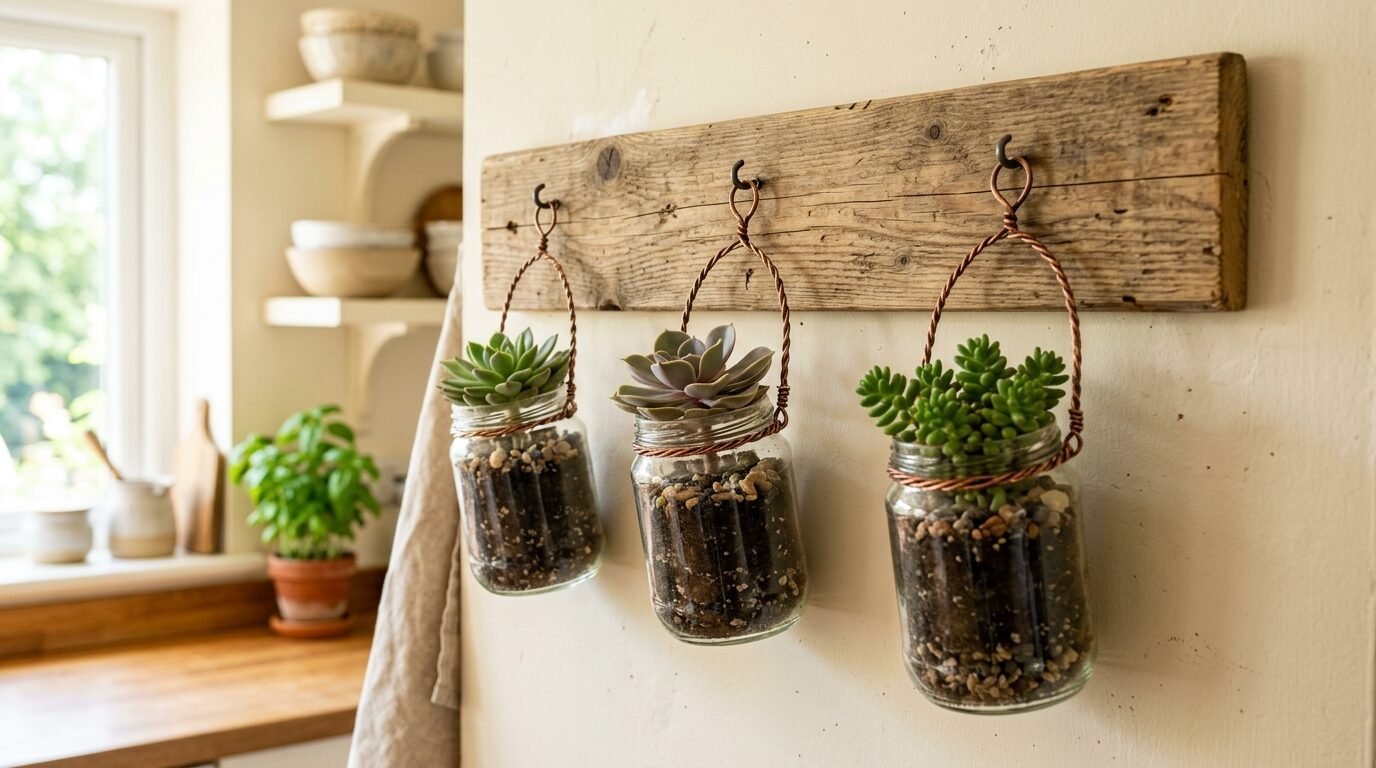
Empty pasta jars often end up in the bin. I started saving mine after seeing a boutique sell similar wall vases for $45 each. You need wire and a piece of scrap wood. Wrap the wire around the neck of the jar twice. Secure it to the wood with a small screw. I noticed that using different jar heights creates a more natural look. Use clear Gorilla Glue to ensure the wire stays put. I saw this work best in kitchens with bright light. If you do not have a green thumb, use high-quality fake plants. It gives the same look without the dirt.
3. Newspaper Silhouette Canvas Art
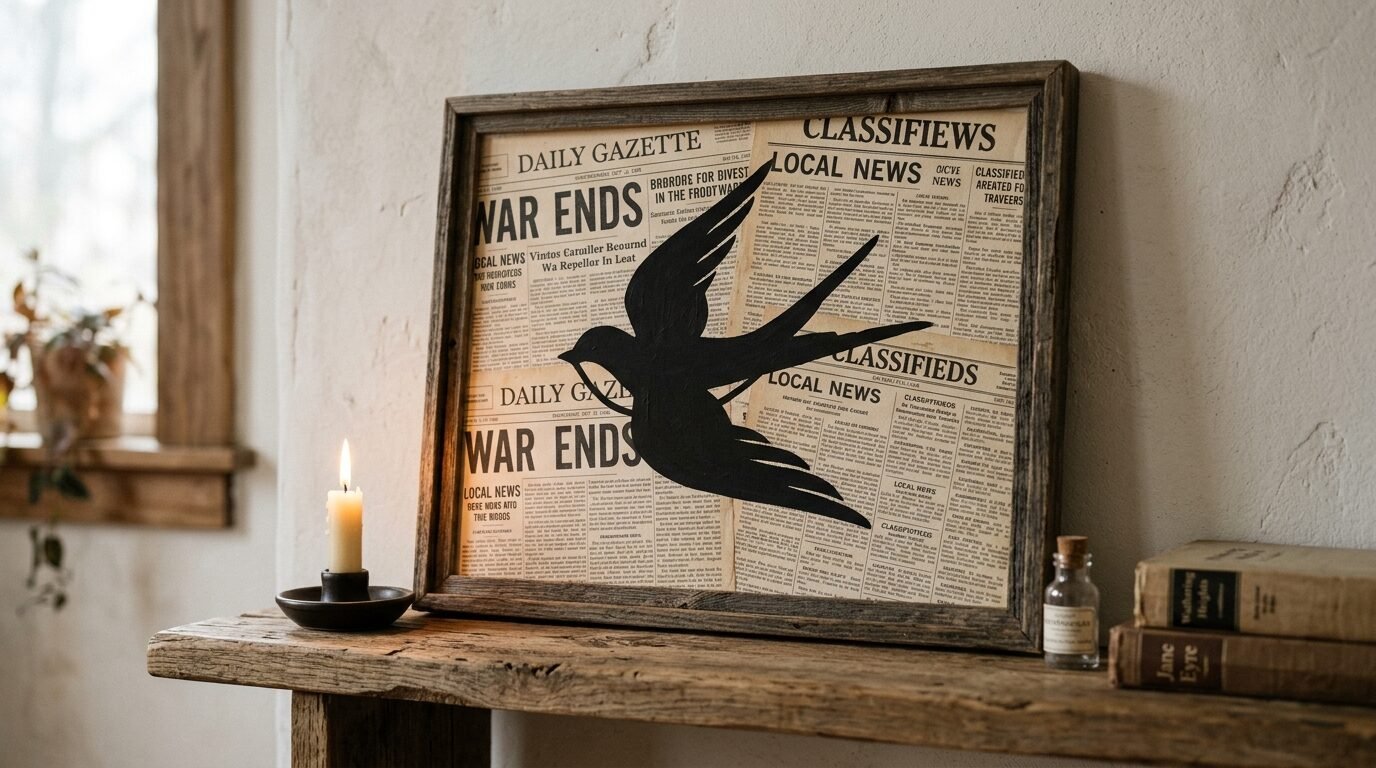
Old newspapers have a beautiful texture that modern paper lacks. I tried painting a silhouette directly on a white wall once. It looked flat and boring. Instead, glue newspaper strips to a piece of cardboard using Mod Podge. Once it dries, paint a simple black shape over it. I like to paint a bird or a simple leaf. Use a foam brush for a smooth finish. I found that the newsprint peaks through the black paint just enough to look like a vintage find. This is a perfect project for teens wanting a cool vibe.
4. Tin Can Wall Pockets
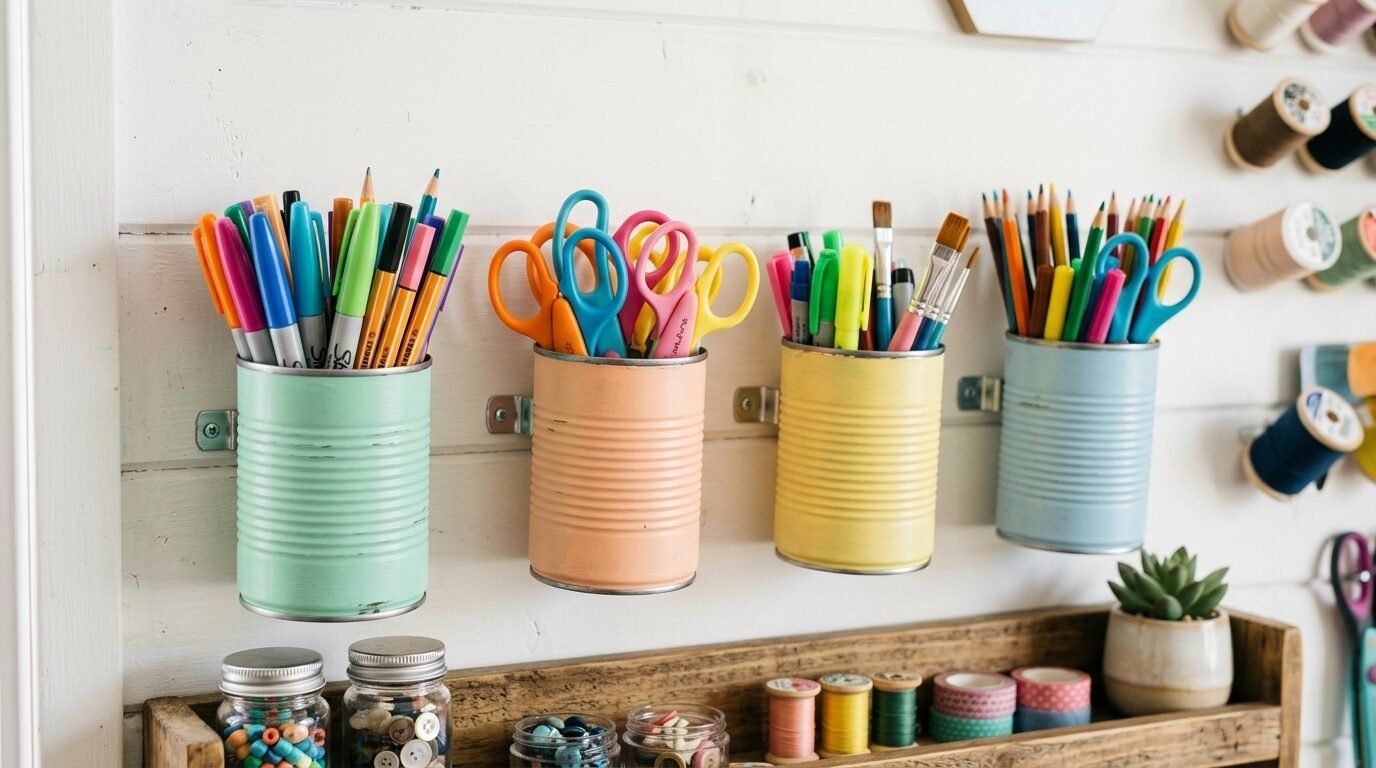
Stop throwing away your soup cans. I saw a craft room where the owner used these to hold pens and scissors on the wall. First, sand the sharp edges down. I used a 120-grit sandpaper for this. It takes about two minutes per can. Paint them with a matte spray paint. I prefer Krylon Chalky Finish for a soft look. Attach them to the wall using heavy-duty Command strips. In my experience, these strips hold the weight better than nails for small cans. It keeps your desk clear and your walls functional.
5. Plastic Bottle Flower Wall Hanging
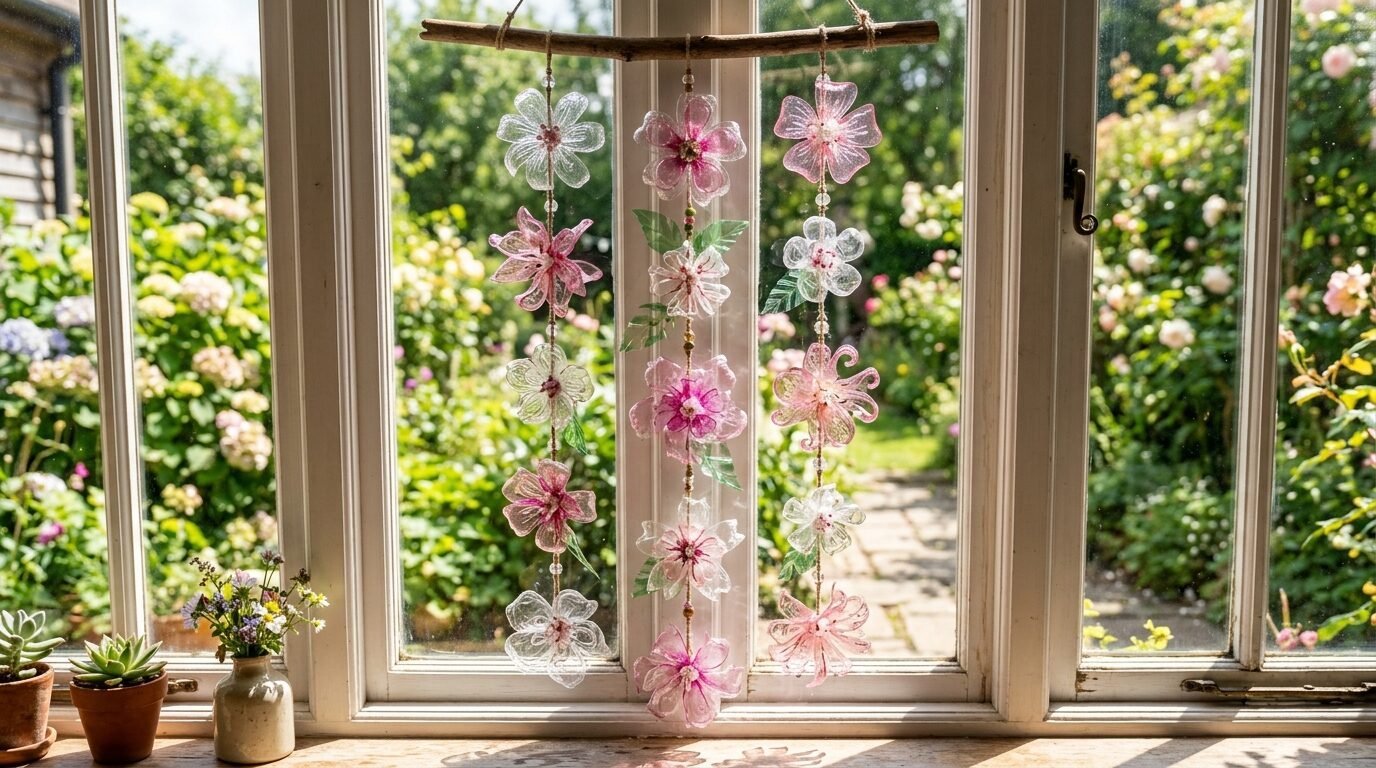
Soda bottles are usually a disaster for the planet. You can turn them into art instead. Cut the bottoms off 10 plastic bottles. They naturally look like flower petals. I tried using acrylic paint on the inside of the plastic. This keeps the outside shiny and smooth. String them together using fishing line. I have seen this work as a room divider or a headboard piece. It creates a soft, ethereal look that catches the light. This project is almost free and keeps plastic out of the landfill.
6. Old Book Page Wall Fans

If you have a book that is falling apart, do not toss it. I had an old dictionary with a broken spine. I folded the pages into accordion fans. I glued the fans together to create large circles. Use a staple gun to fix them to a thin piece of cardboard. I noticed that aging the edges with a bit of tea or coffee makes them look like antiques. Hang a group of three in different sizes. It fills a large wall space for the price of a glue stick.
7. CD Mosaic Mirror Frame
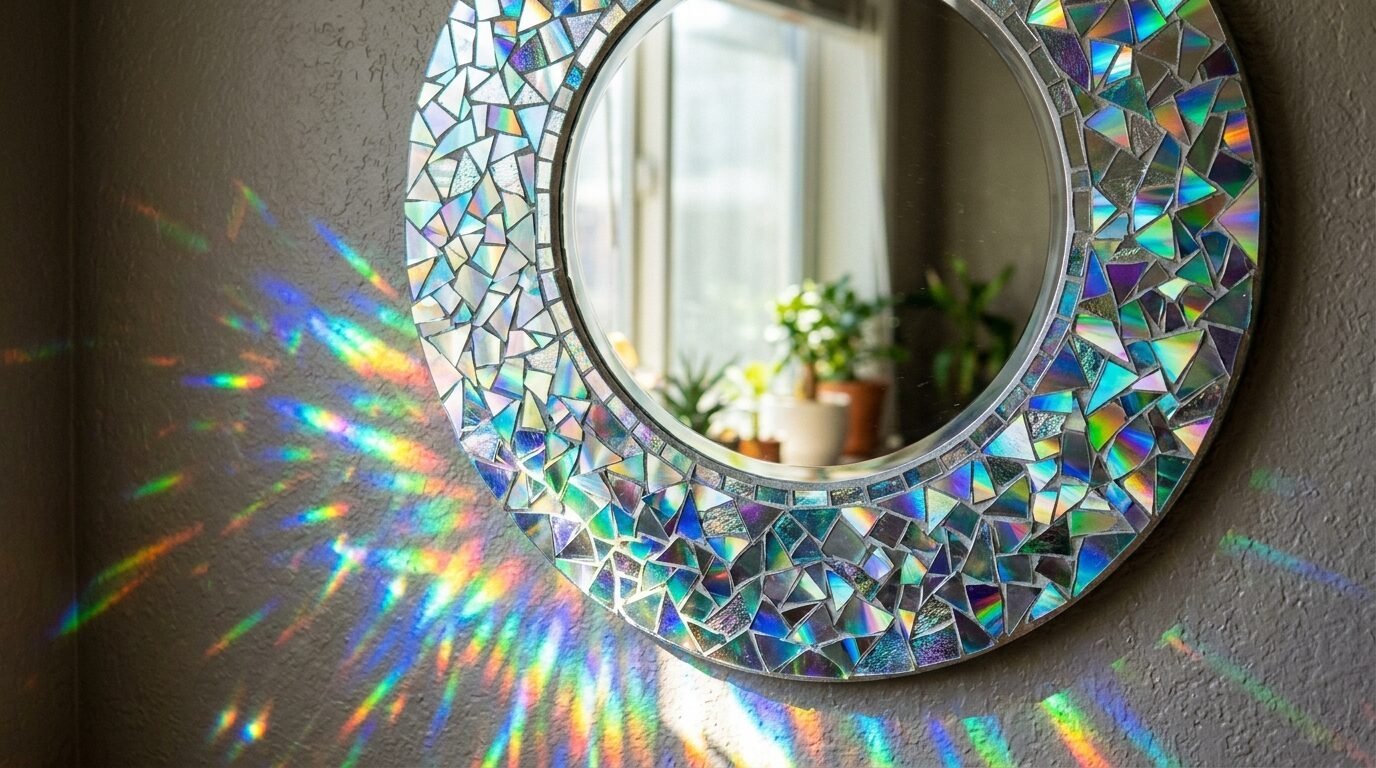
Nobody uses CDs anymore. I found a stack of 50 in my attic. I broke them into small pieces using heavy kitchen shears. Wear eye protection for this part. I used the shiny pieces to cover a plain, cheap mirror frame. Glue each piece down like a puzzle. I saw this work best when you leave tiny gaps between the shards. Fill the gaps with white grout or even thick acrylic paint. It reflects light across the room like a disco ball. It turns a $2 mirror into a statement piece.
8. Magazine Page Wall Coils
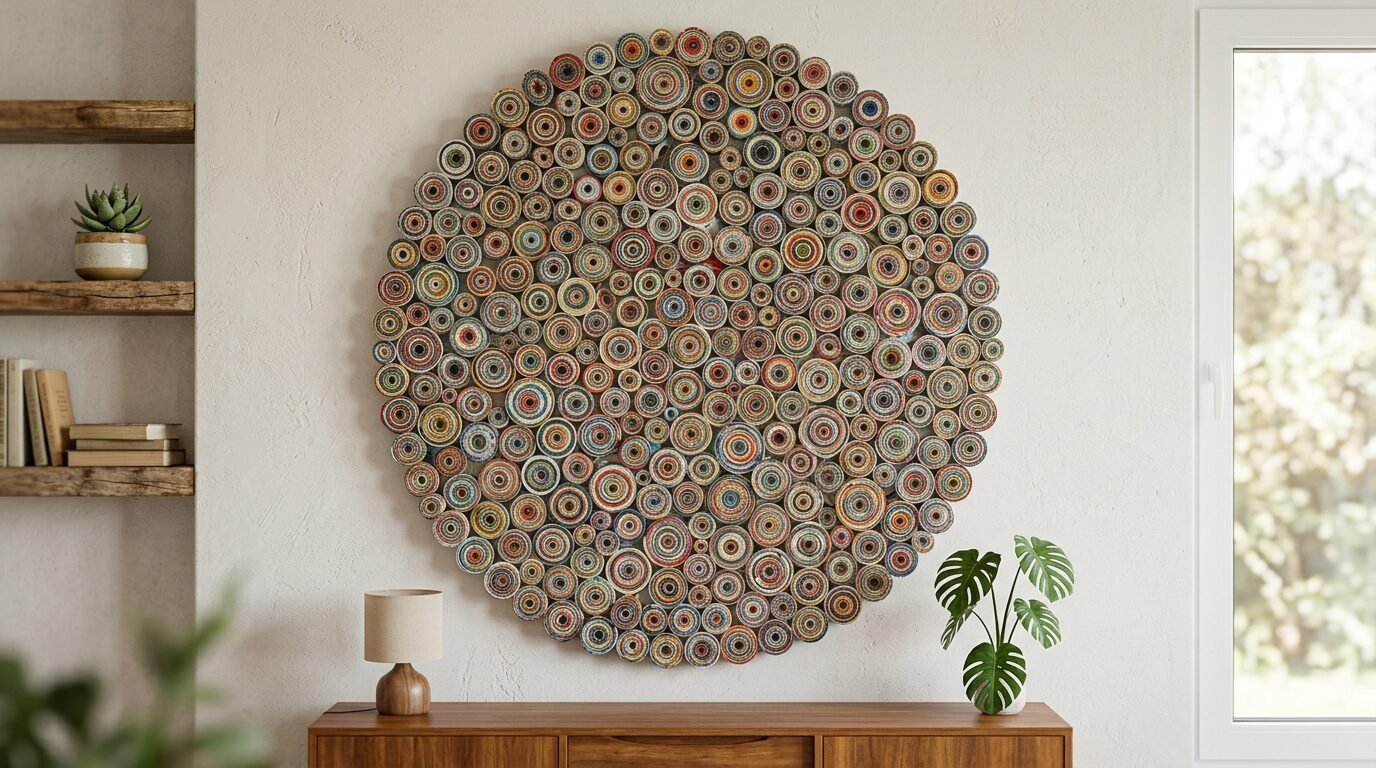
Magazines are full of bright colors. I started rolling pages into tight tubes. I coiled these tubes into circles of different sizes. Use a bit of clear tape to hold the ends. I glued 20 of these circles together to make a large wall sculpture. I noticed that grouping colors together, like all blues or all reds, makes it look more intentional. It takes time, so do this while watching a show. It is a great way to use up those glossy fashion magazines.
9. Wine Cork State Map Art
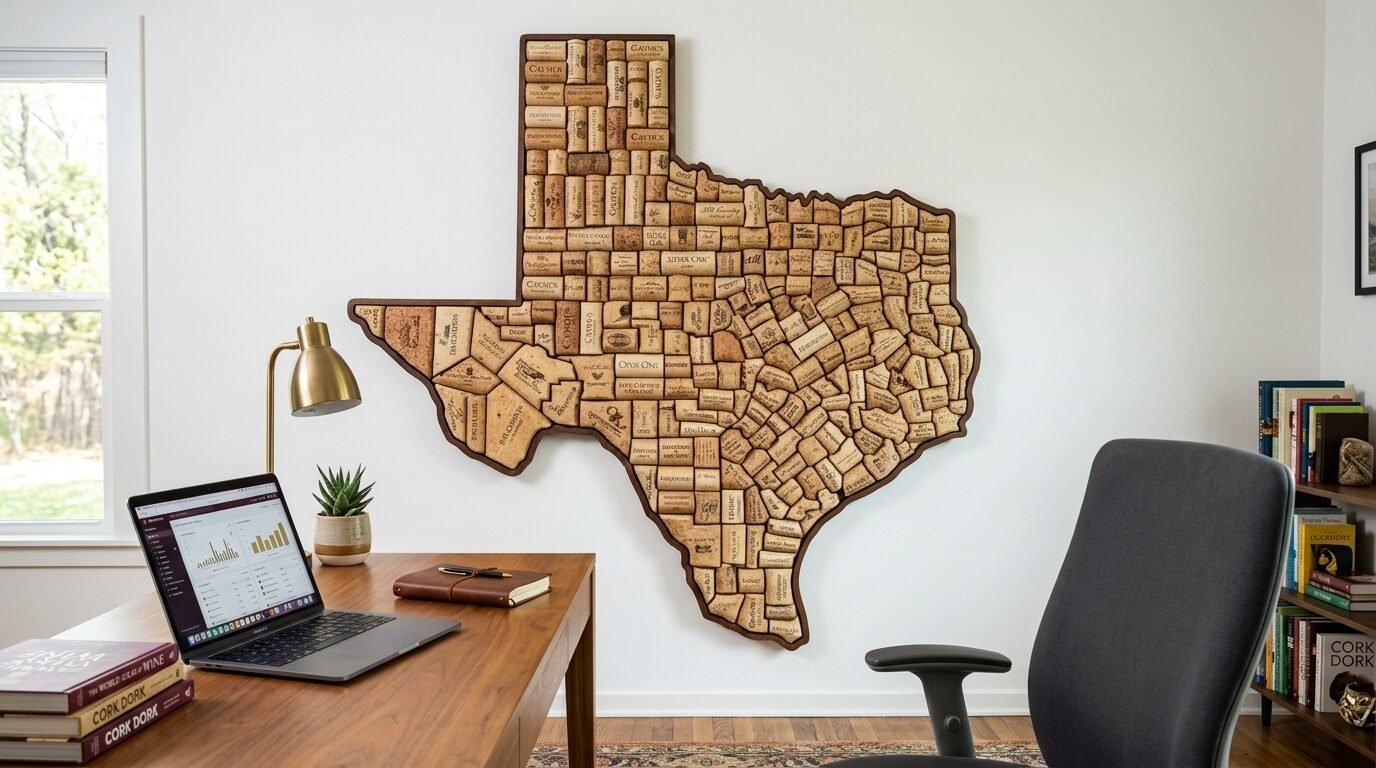
I saved wine corks for a year without a plan. I finally cut a piece of cardboard into the shape of my home state. I glued the corks vertically onto the cardboard. Use a hot glue gun for this because cork is porous and takes the glue well. I saw a version where the person painted the tips of the corks in an ombre pattern. It adds a pop of color to a home office or kitchen. It feels personal and tells a story of the events where you saved the corks.
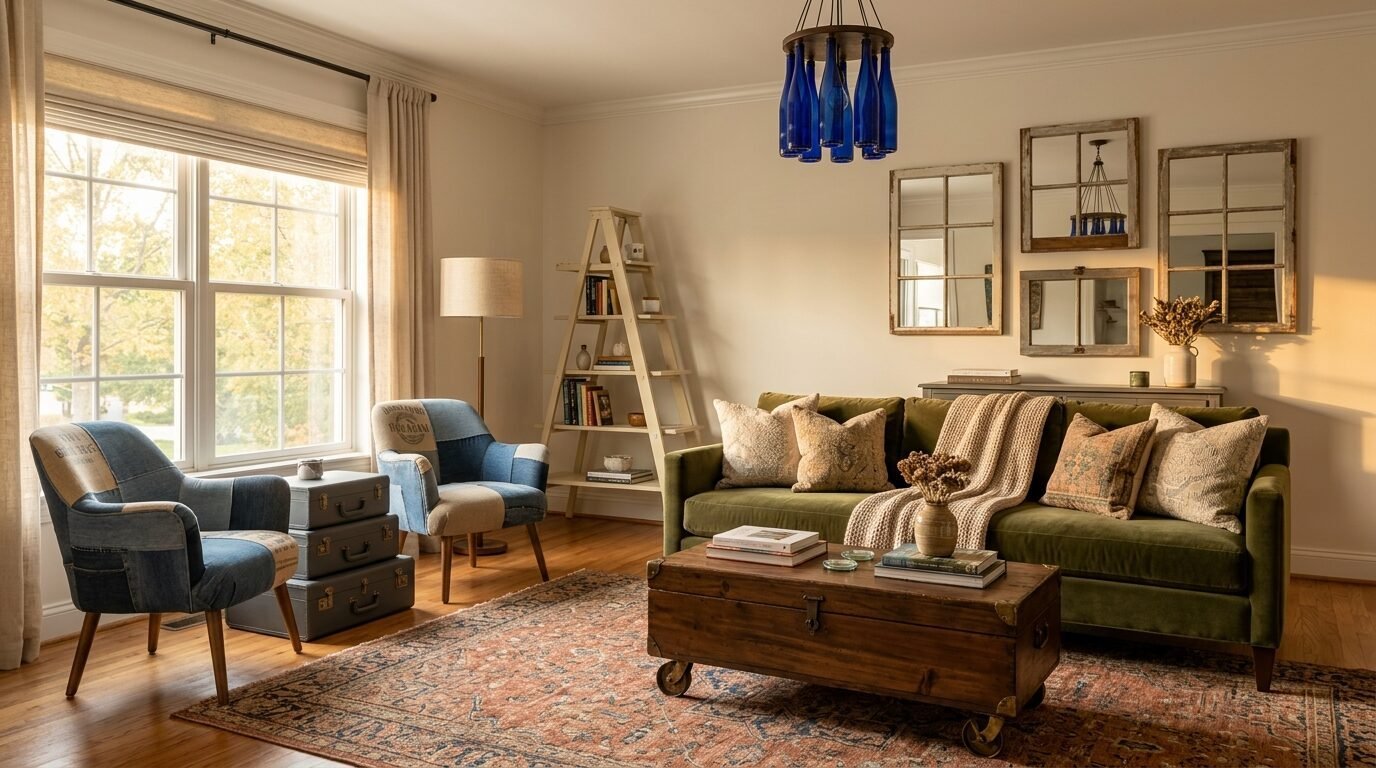
10. Fabric Scrap Wall Hanging
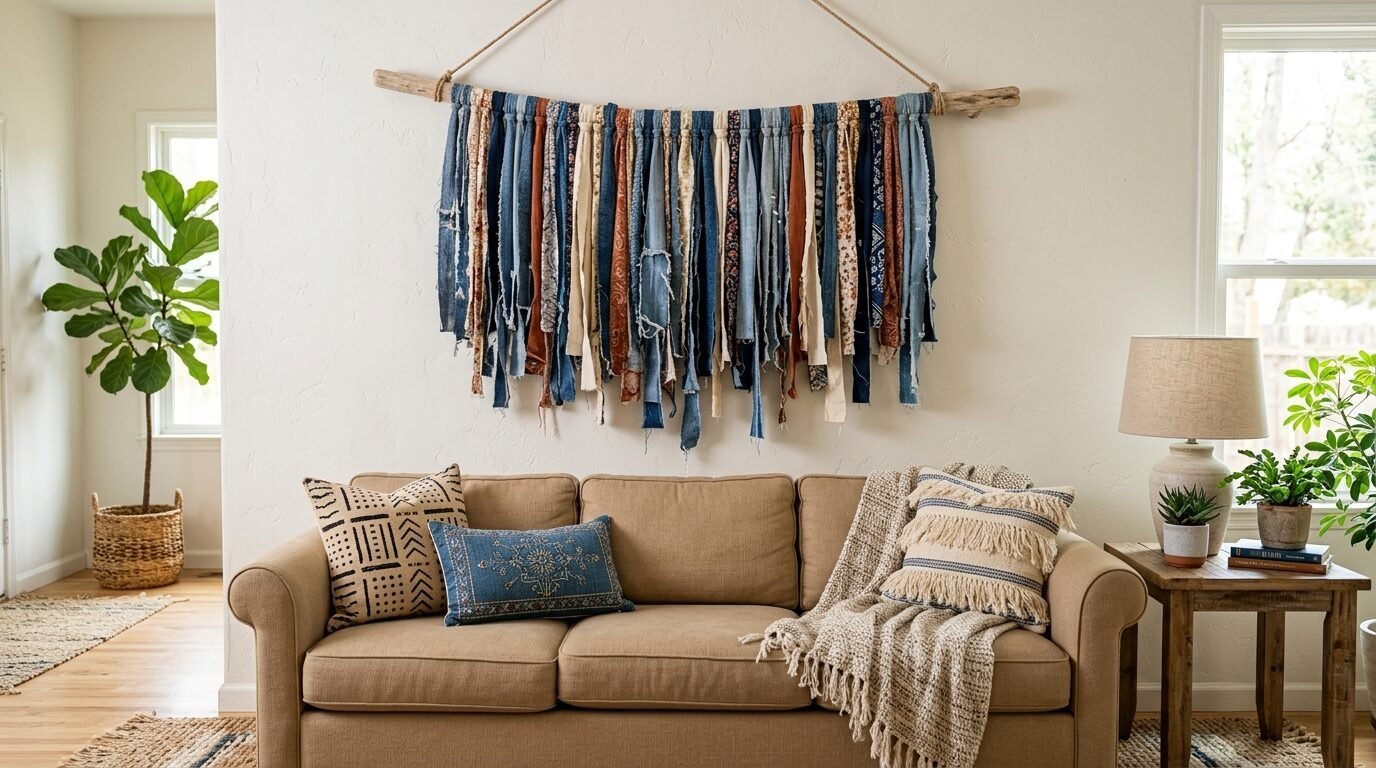
Old clothes or curtains can become a boho wall piece. I had a pair of jeans and a floral shirt that did not fit. I cut them into long strips. I tied the strips to a fallen branch I found in the park. In my experience, using different textures like denim and silk looks best. I saw this work as a soft alternative to a heavy framed picture. It adds warmth to a room instantly. You do not need to sew anything for this. Just tie simple knots.
11. Cereal Box Wall Organizers
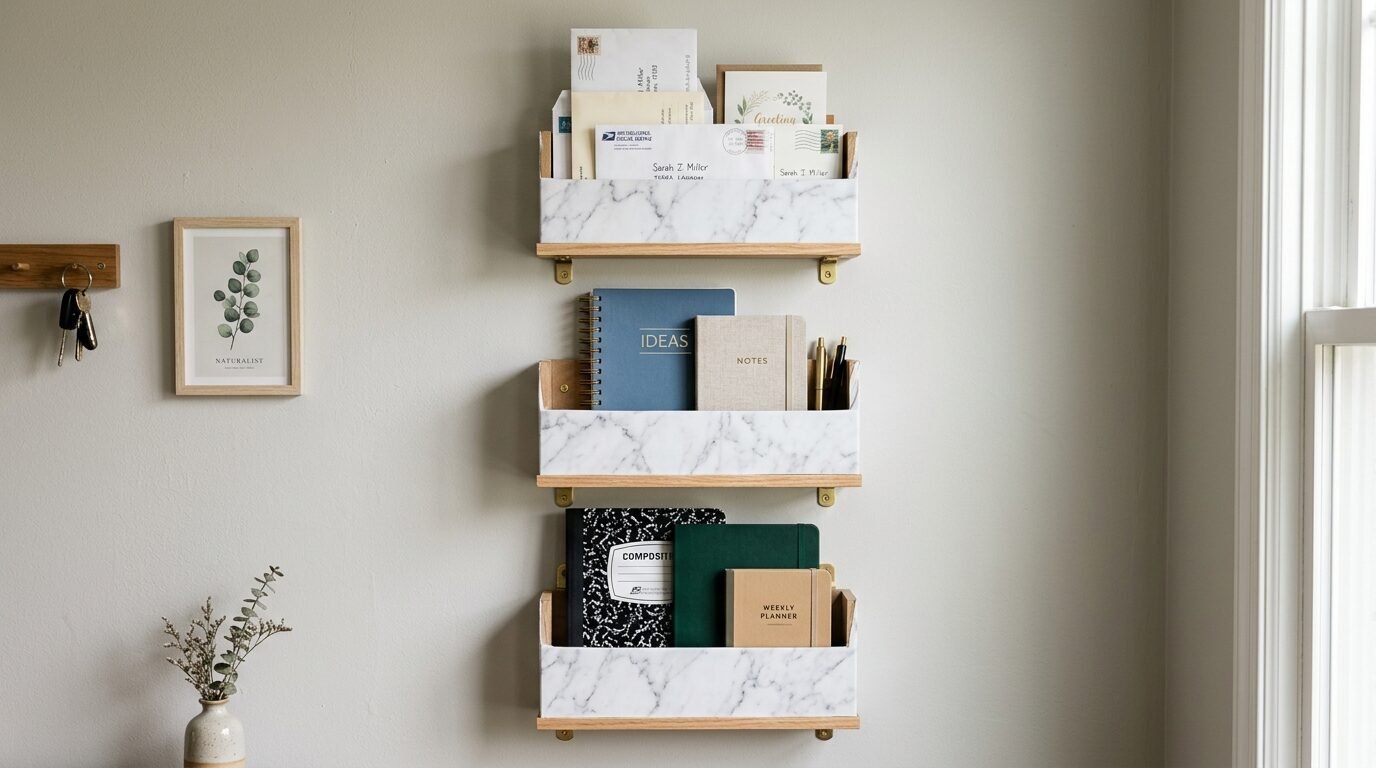
Cereal boxes are the perfect size for mail or notebooks. Cut the top off at an angle. Wrap the box in leftover gift wrap or fabric. I used a spray adhesive like 3M Super 77. It keeps the fabric from bubbling. Mount three of these in a vertical line near your door. I noticed that using a bold pattern makes them look like high-end office decor. It is a simple way to stay organized without spending $30 at a container store.
12. Egg Carton Wall Flowers
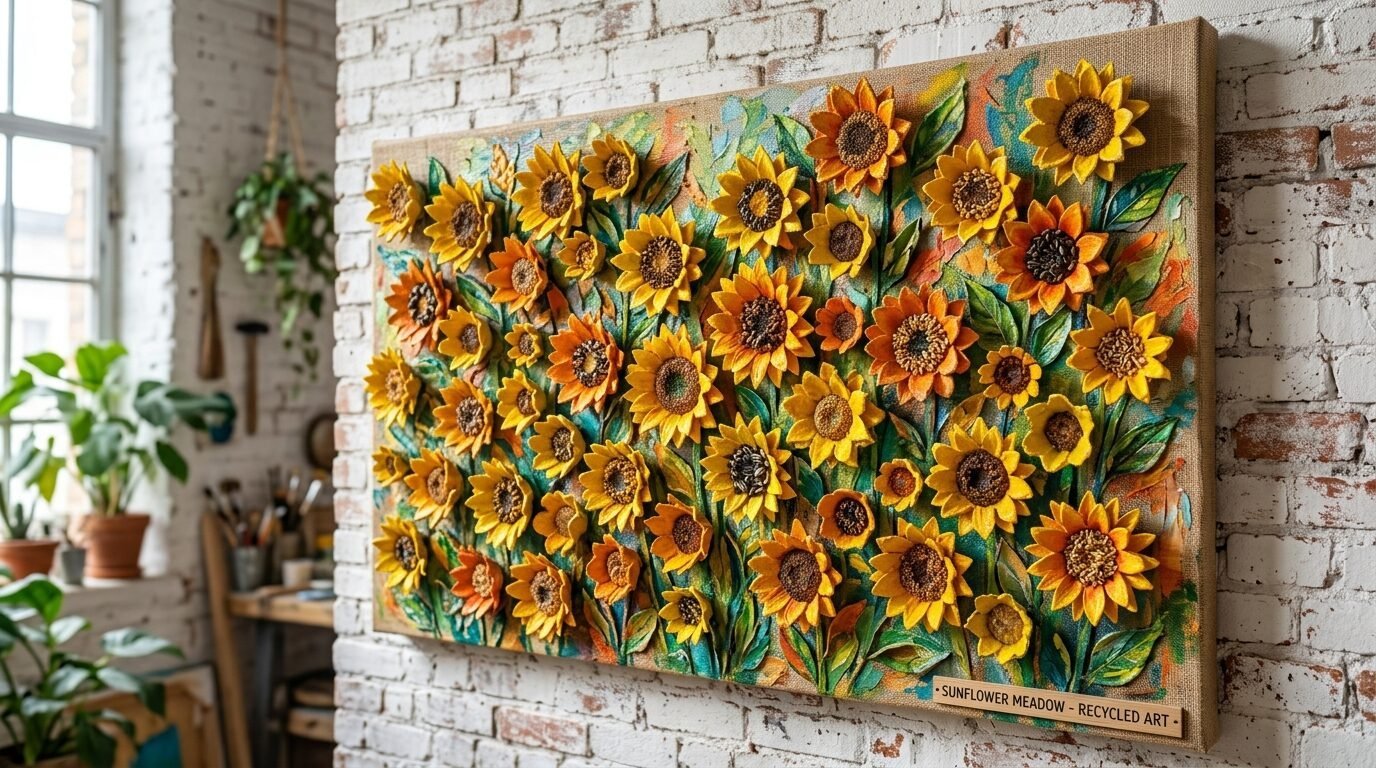
Most people think egg cartons are just trash. I cut the individual cups out. I trimmed the edges to look like petals. I painted them with bright yellow and pink acrylics. I glued them to a canvas in a floral pattern. I have seen this work in a nursery or a bright bedroom. It provides a 3D texture that flat paintings cannot match. Use a dot of green paint in the center of each flower for a finished look.
13. Puzzle Piece Wall Map
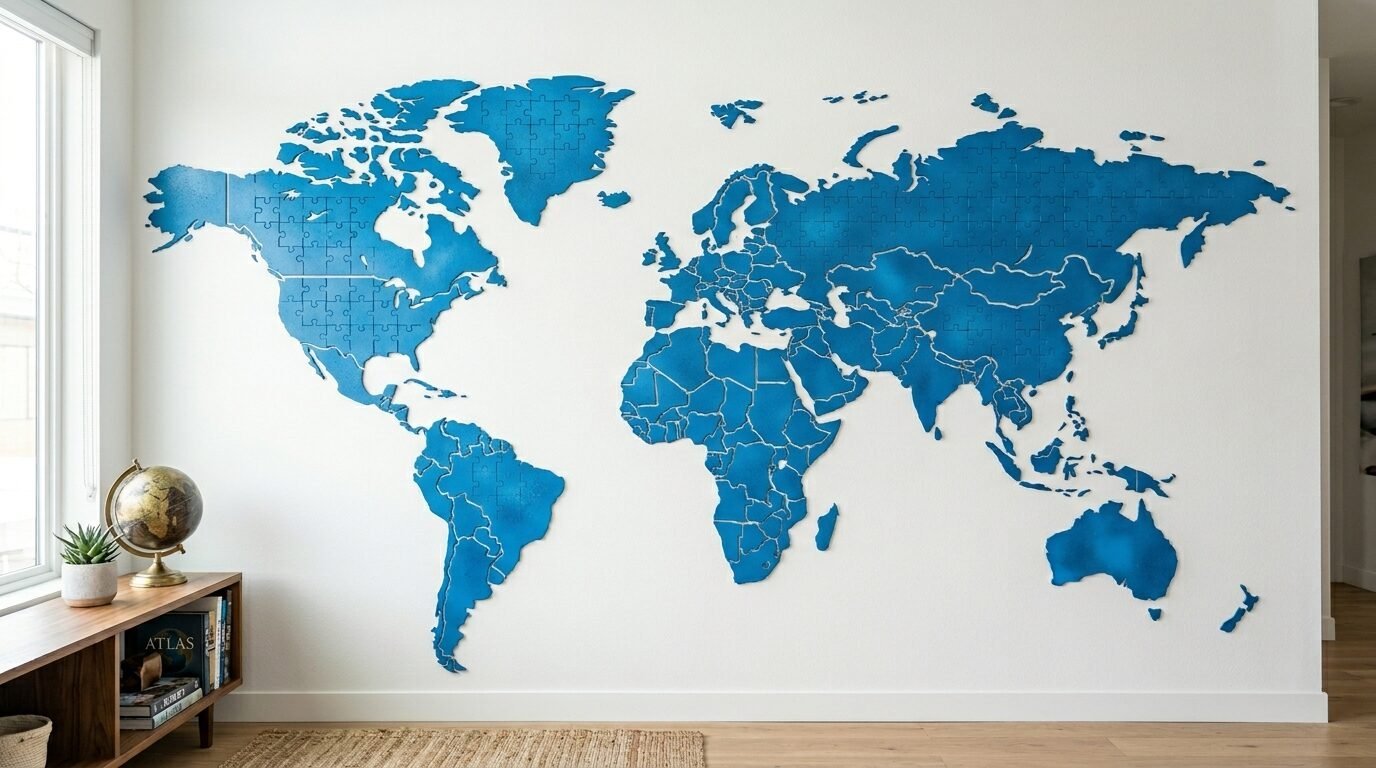
We all have that one puzzle with missing pieces. I took the remaining pieces and spray painted them all one color. I then glued them onto a piece of foam board in the shape of a world map. It creates a cool, fragmented look. I noticed that using a dark blue background makes the colored pieces stand out. It is a clever way to repurpose a toy that is no longer playable. This project is a big hit with kids.
14. T-shirt Yarn Macrame
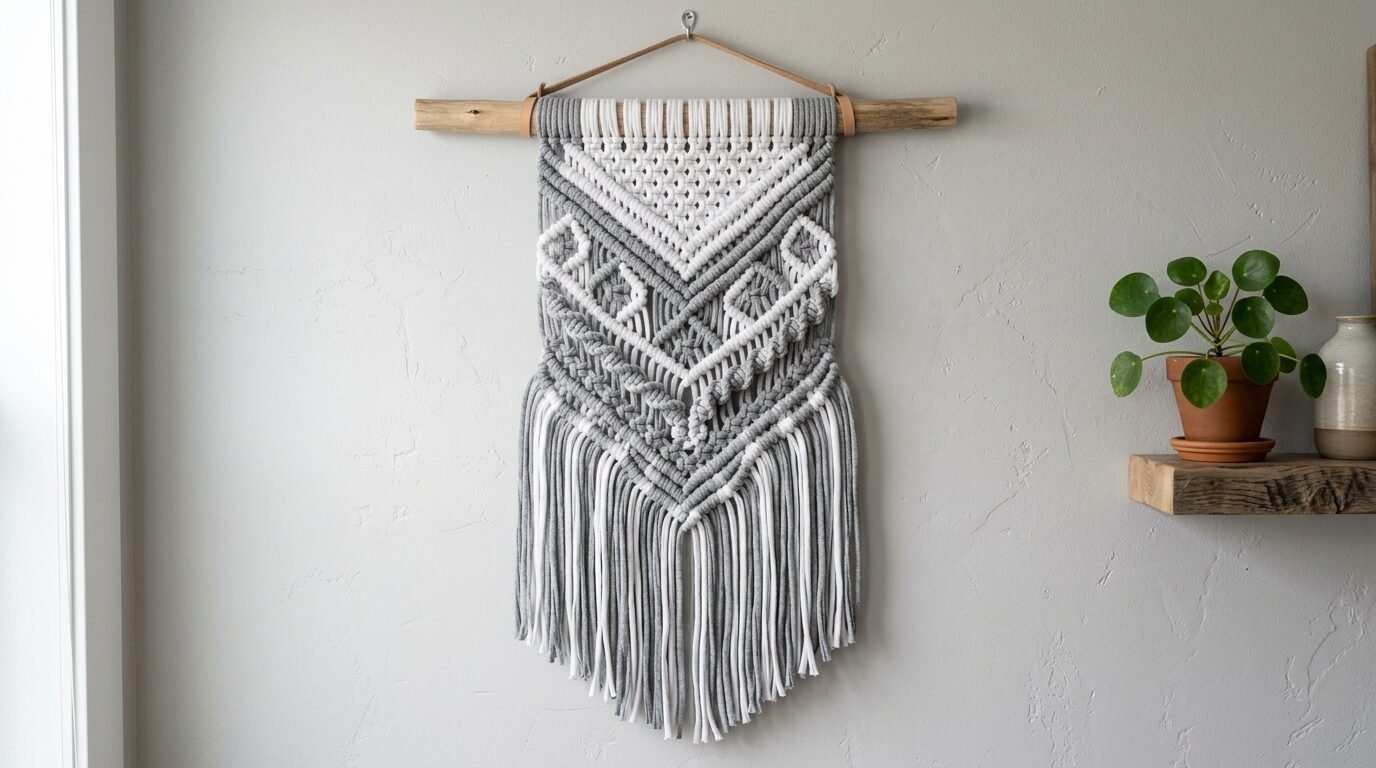
Do not throw away old cotton shirts. I cut mine into thin loops and pulled them until they curled into yarn. I used this yarn to make a simple wall macrame. I saw this work best with a simple lark’s head knot. It is much softer than traditional rope and comes in whatever colors your shirts were. I tried this with three different shades of grey shirts. It looked like a professional textile piece. It is a great way to keep sentimental shirts in your life.
15. Bottle Cap Wall Sign
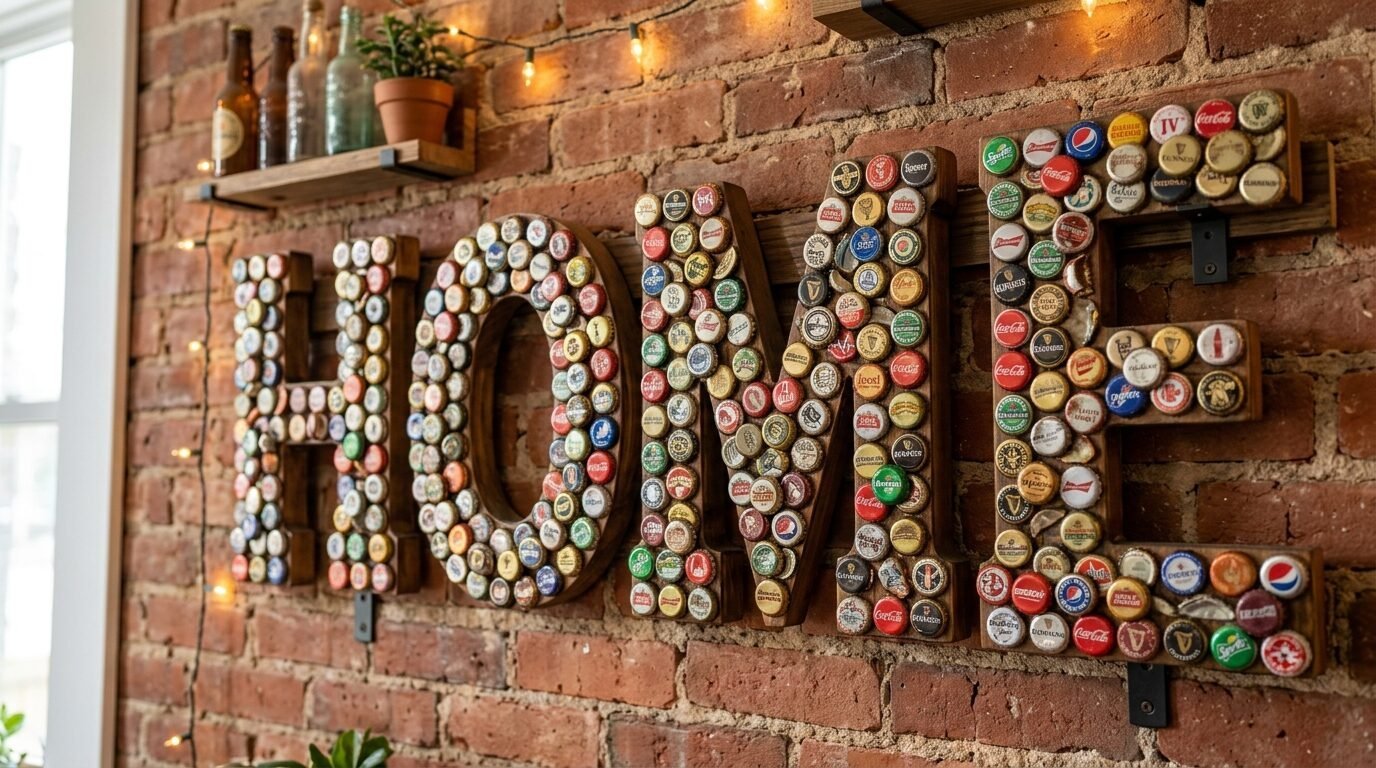
Metal bottle caps have great colors and logos. I glued mine to a wooden letter I found at a thrift store. You can also just use a piece of cardboard cut into a letter. I used a strong adhesive like Loctite Super Glue. I saw a version where someone spelled out “BAR” or “HOME.” It has a fun, industrial feel. I noticed that mixing different brands of caps makes it look more authentic. It is a perfect addition to a game room.
16. Toilet Paper Roll Wall Lattice
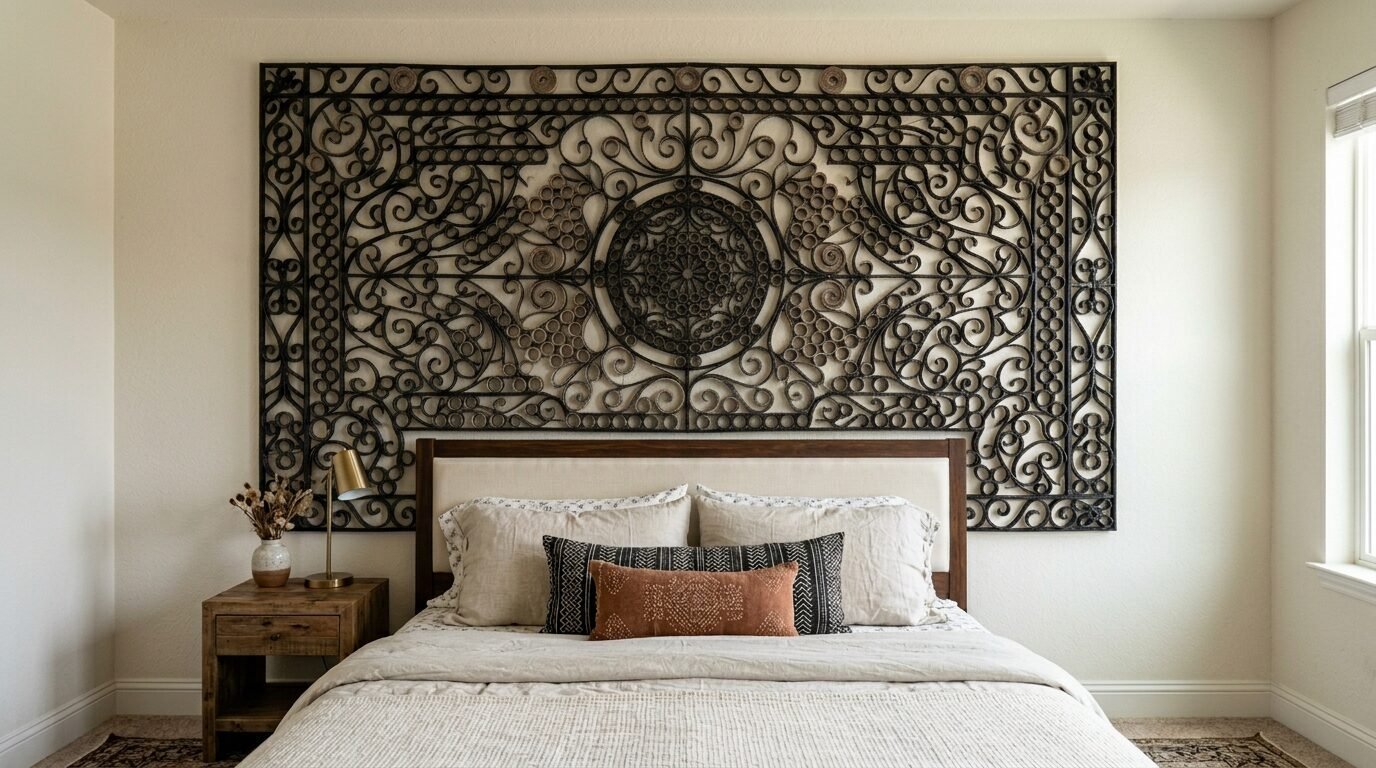
This sounds strange until you see it. I flattened empty toilet paper rolls and cut them into 1-inch rings. I glued the rings together to form a large floral lattice. I painted the whole thing black. From a distance, it looks like wrought iron. I saw this work as a large headboard piece. It is incredibly light, so you can hang it with just two small nails. It is the ultimate trash to treasure project.
17. Plastic Spoon Sunburst Clock
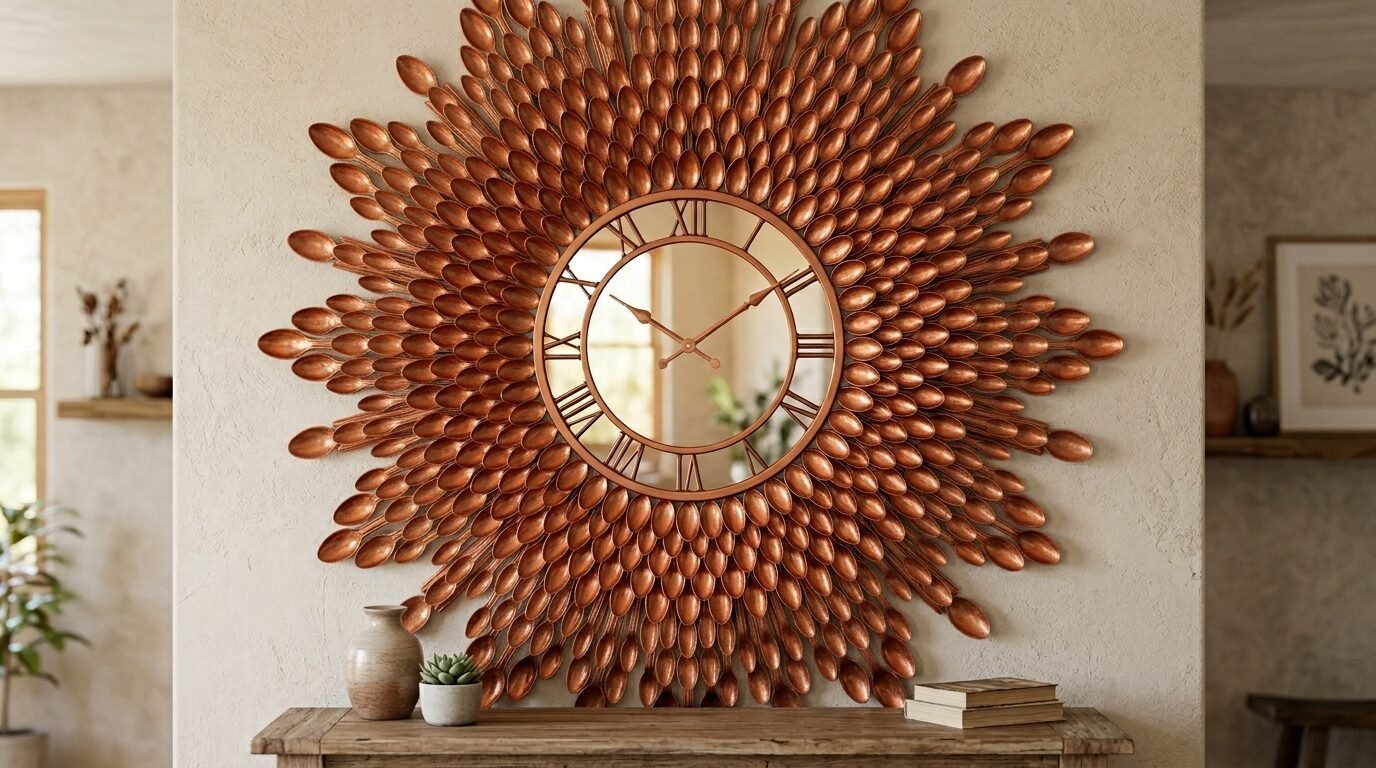
I had a box of 100 plastic spoons left from a party. I cut the handles off. I glued the spoon heads in rows around a cheap circular mirror. I painted the spoons with a metallic copper spray paint. I noticed that layering the spoons makes it look like a chrysanthemum flower. It looks like a heavy metal piece once the paint dries. I saw this work as a centerpiece in a dining room. It takes about an hour to glue everything down.
18. Soda Tab Wall Chain
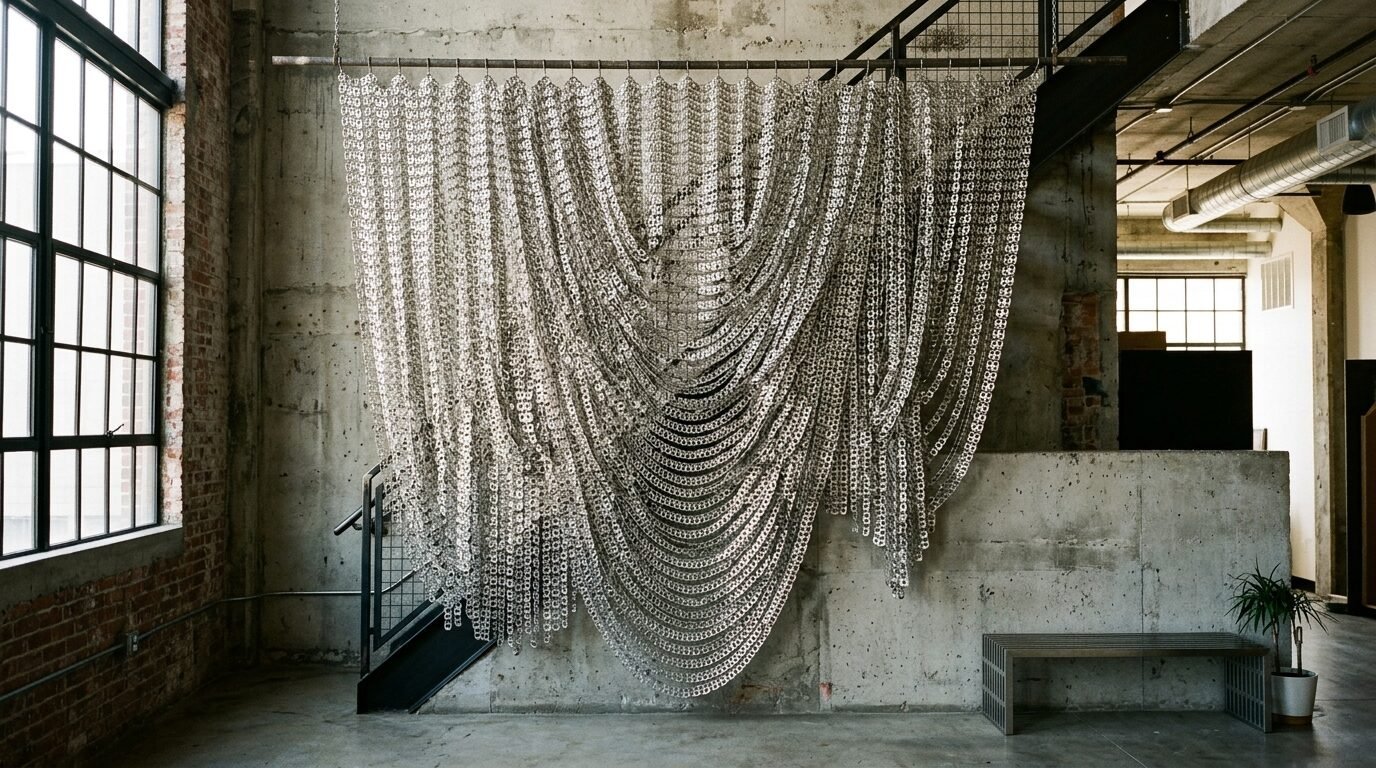
Soda tabs are small but strong. I linked 200 of them together to create a metallic curtain. I hung this on a rod as a wall accent. I noticed that the way the metal reflects light is very modern. It feels like chainmail art. I tried this in a small corner that needed some shine. It costs nothing but the time it takes to collect the tabs. Ask your friends to save theirs for you.
19. Old Map Wall Decor
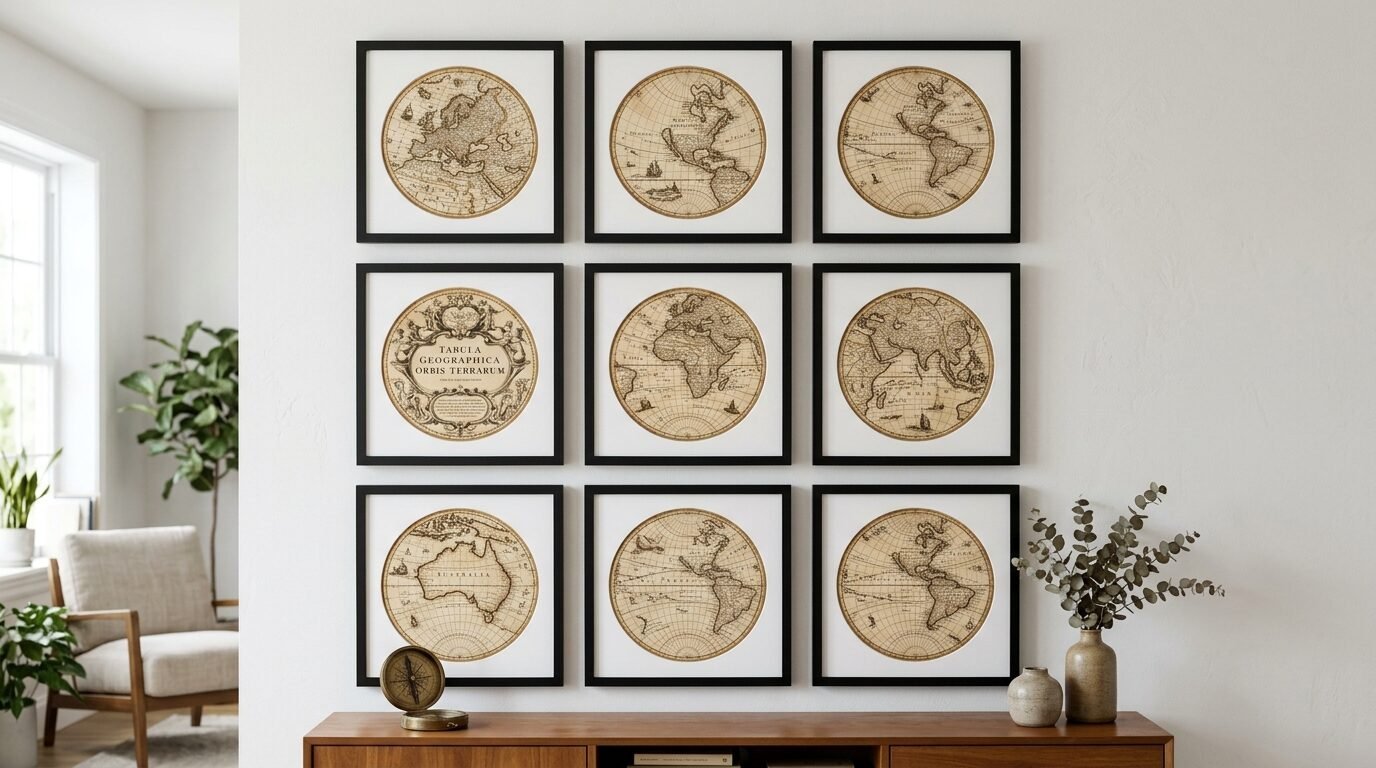
Paper maps are rare now that we have phones. I found an old atlas at a garage sale for 50 cents. I cut out circles of the places I have visited. I glued them into a grid on a large piece of white cardboard. I saw this work best in a black frame. It looks like a high-end custom travel map. I noticed that using a consistent shape, like all hexagons or all circles, keeps it looking clean. It is a great conversation starter.
20. Wooden Pallet Wall Rack

Pallets are often left behind stores for free. I took one apart and used the boards to create a rustic wall rack. I added some old mismatched spoons that I bent into hooks. I saw this work in an entryway for coats and bags. I noticed that a light sanding and some wood stain makes the pallet wood look like expensive reclaimed timber. It is a sturdy and useful piece of art.
21. Gift Wrap Wall Art
We all save scraps of pretty gift wrap. I took several small pieces and placed them in matching frames. I hung them in a tight grid of nine frames. I noticed that this fills a large wall for very little money. If you do not have frames, use thin wooden slats to clamp the top and bottom of the paper. It gives a scroll-like look. This is the fastest way to add color to a room.
Frequently Asked Questions
What is the best glue for upcycling projects?
I have tried many types. For most cardboard and paper, a high-quality glue stick or Mod Podge works. For heavier items like glass or metal, I always reach for E6000. It stays flexible and has a very strong bond. Hot glue is good for quick fixes, but I have seen it fail in high heat. I noticed that Gorilla Glue is great for wood to metal connections. Always let the glue cure for 24 hours before hanging your art.
How do I make cardboard look like real wood or metal?
The secret is in the paint and the edges. I always sand the edges of my cardboard pieces. I use a primer first. This prevents the cardboard from soaking up too much paint. I saw that metallic spray paints work best for a metal look. For a wood look, I use a base coat of tan paint. Then I use a dry brush with a darker brown to create grain lines. I noticed that a matte clear coat at the end removes the “crafty” shine.
Can I do these projects if I am not artistic?
Yes. Most of these rely on repetition and simple shapes. I saw that even a simple grid of circles looks professional if they are all the same size. I suggest using a template. Cut one shape perfectly, then trace it for the others. I noticed that symmetry helps a lot. If you are worried, start with the map or gift wrap ideas. They require the least amount of “drawing” or “creating” from scratch.
Where can I find free supplies for upcycling?
I look in my own recycling bin first. Then I check Facebook Marketplace for “free” listings. I have seen people giving away piles of magazines, jars, and even old tiles. I noticed that local coffee shops often have extra milk cartons or cardboard. Just ask politely. Most people are happy to see their trash go to a good home. I saw that thrift stores often have a “clearance” bin with frames or old books for pennies.
Is upcycled wall decor durable?
It can be if you treat it right. I noticed that sealing paper or cardboard art with a clear spray helps it last. It protects it from moisture and dust. I have had a cardboard sculpture on my wall for three years and it still looks new. I saw that avoiding direct sunlight prevents colors from fading. If you use strong adhesives and light frames, your art will stay put. It is much more durable than most people think.
Conclusion
Decorating your home does not require a huge budget. I have learned that the most unique pieces come from a bit of creativity and a lot of recycling. These 21 ideas are just a starting point. I saw that once you start looking at trash as a resource, you see possibilities everywhere. You can create a room that reflects your personality without supporting big box stores. I noticed that my guests always comment on the handmade pieces first. They have a story that a store-bought print never will. Start with one small project this weekend. You will see how satisfying it is to take something meant for the bin and turn it into beauty. Take that first step and see where your creativity leads you.

Anya Castellan is the Founder and Editor-in-Chief of Home Wall Trends. An art history graduate of the Rhode Island School of Design with twelve years of experience writing for leading American design publications, she specializes in composition, gallery wall theory, and the quiet architecture of domestic space. A former contributing editor at Architectural Digest and guest lecturer at Parsons School of Design, Anya personally reads and signs off on every piece before it is published.