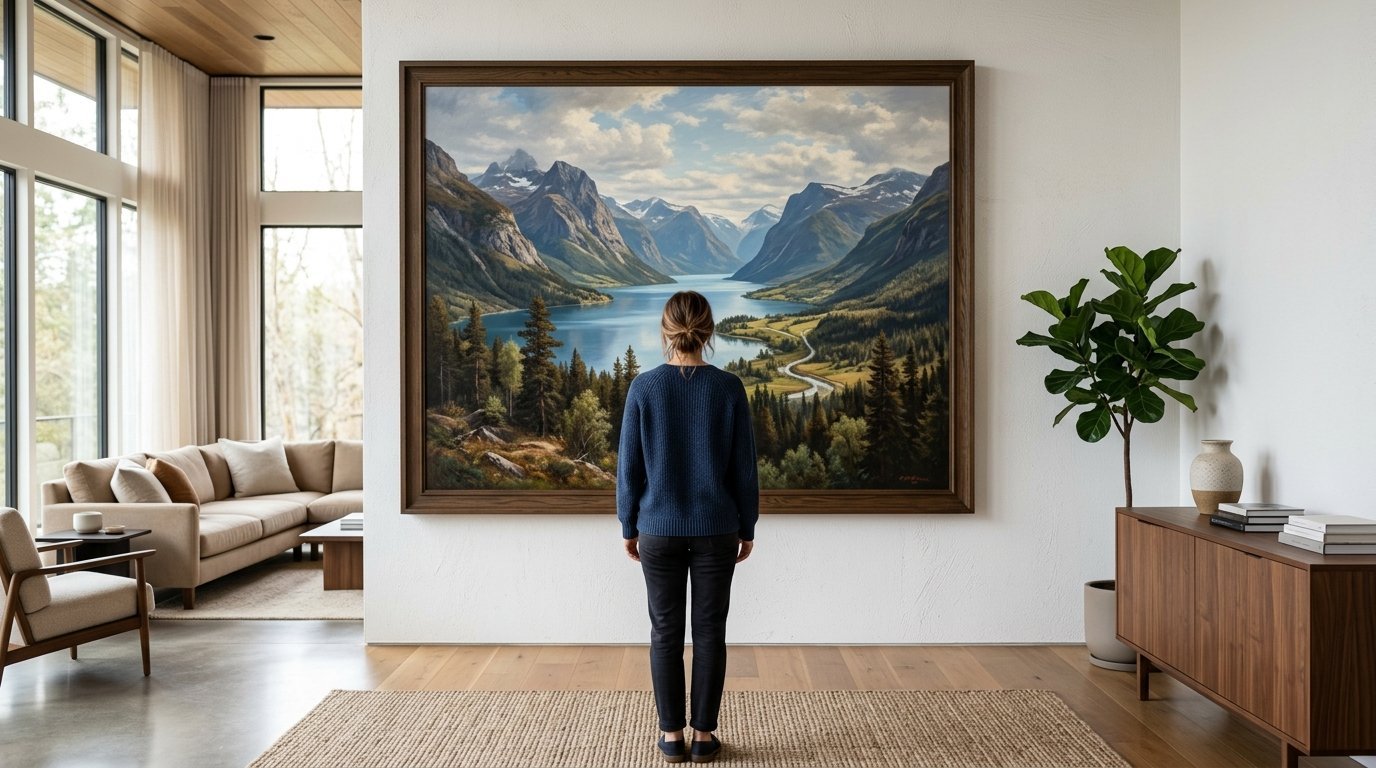
That moment when you finally find the perfect piece for your empty wall is thrilling. Then reality sets in. You are staring at a massive frame, a blank wall, and realizing you have to get it up there completely by yourself. It feels like a recipe for crooked frames and extra holes in the drywall.
Hanging big artwork alone is entirely possible. You don’t need to call a friend or hire a professional if you know the right techniques. The secret is preparation and trusting the math before you ever lift a hammer. This guide breaks down the exact steps to get that statement piece perfectly positioned on the first try.
Executive Summary
This guide provides a comprehensive method for installing oversized art without a second pair of hands. You will learn the paper template method for perfect placement, how to select the correct hardware for the weight of your piece, and specific techniques for dealing with different formats like heavy frames, canvas, diptychs, and tapestries. By following these steps, you eliminate the guesswork and physical strain of solo installation.
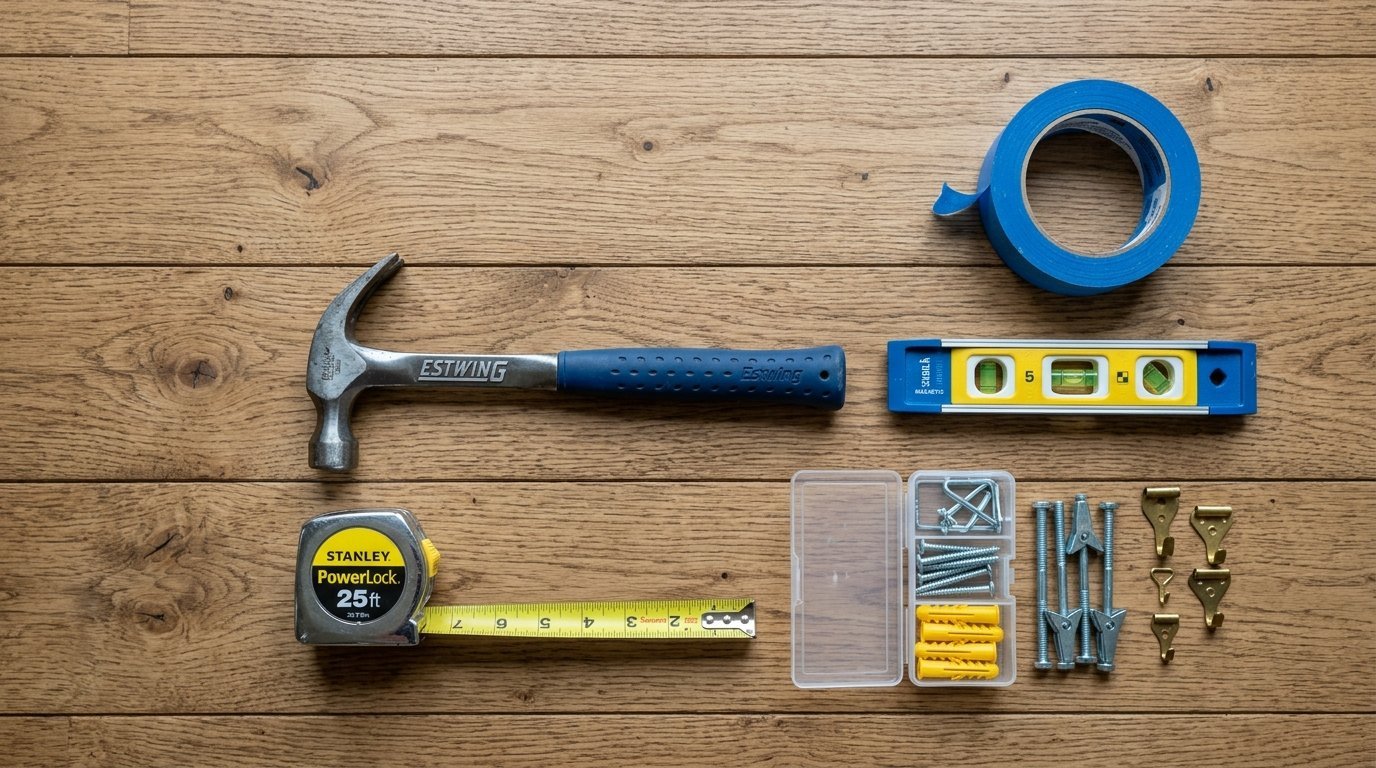
1. Gather Your Arsenal
Before you touch the wall, get your tools organized. Running back and forth for a pencil while balancing a heavy frame is how accidents happen.
- Tape measure
- Level
- Painter’s tape
- Kraft paper or wrapping paper
- Scissors
- Pencil
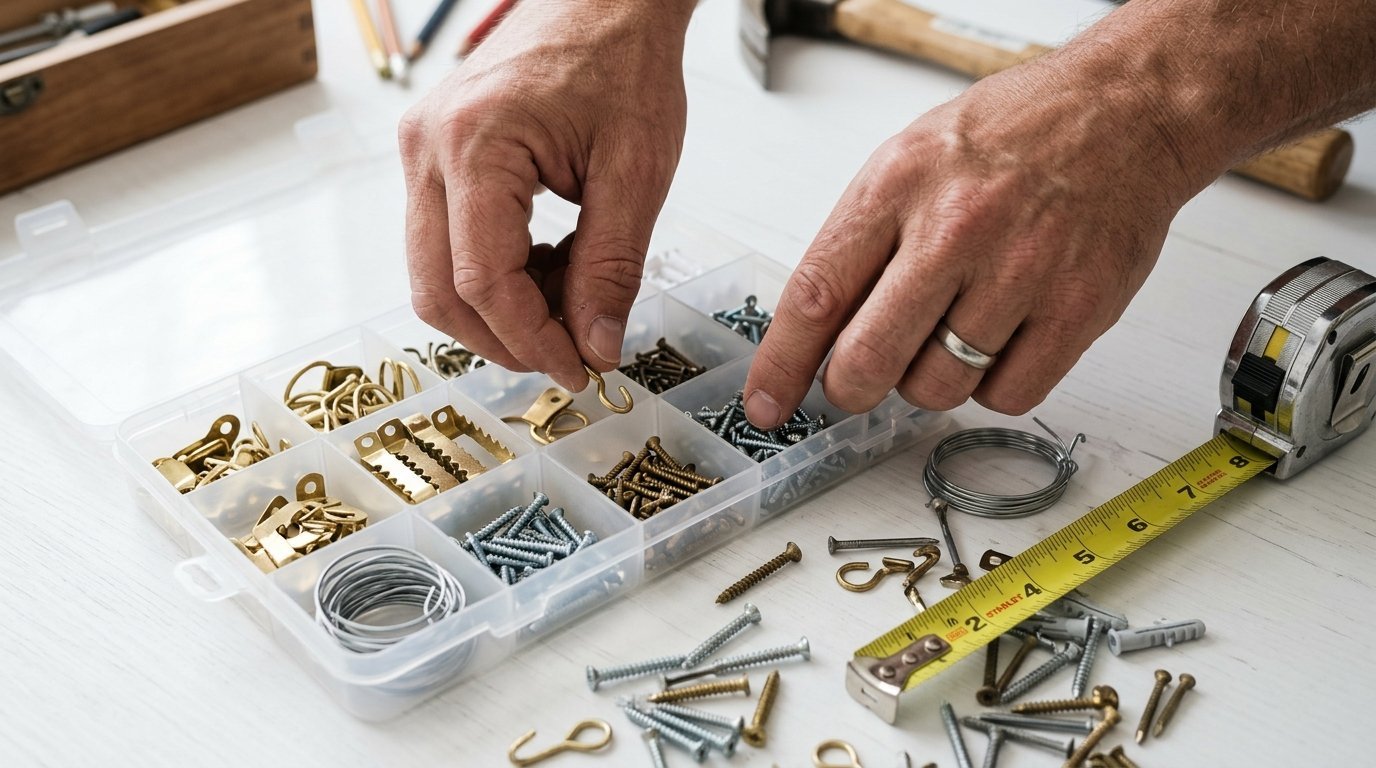
- Appropriate hardware (anchors, screws, or hooks)
- Hammer or drill
- A soft cloth (like a microfiber cloth) for handling the frame
2. Assess the Environment and the Art
Placement is about more than just finding the center of the wall. Consider the conditions of the space. Large pieces, especially vintage frames or delicate materials, need stable environments. Avoid hanging valuable art in damp hallways or directly above radiators where fluctuating moisture or heat can warp the wood or ruin the finish over time.
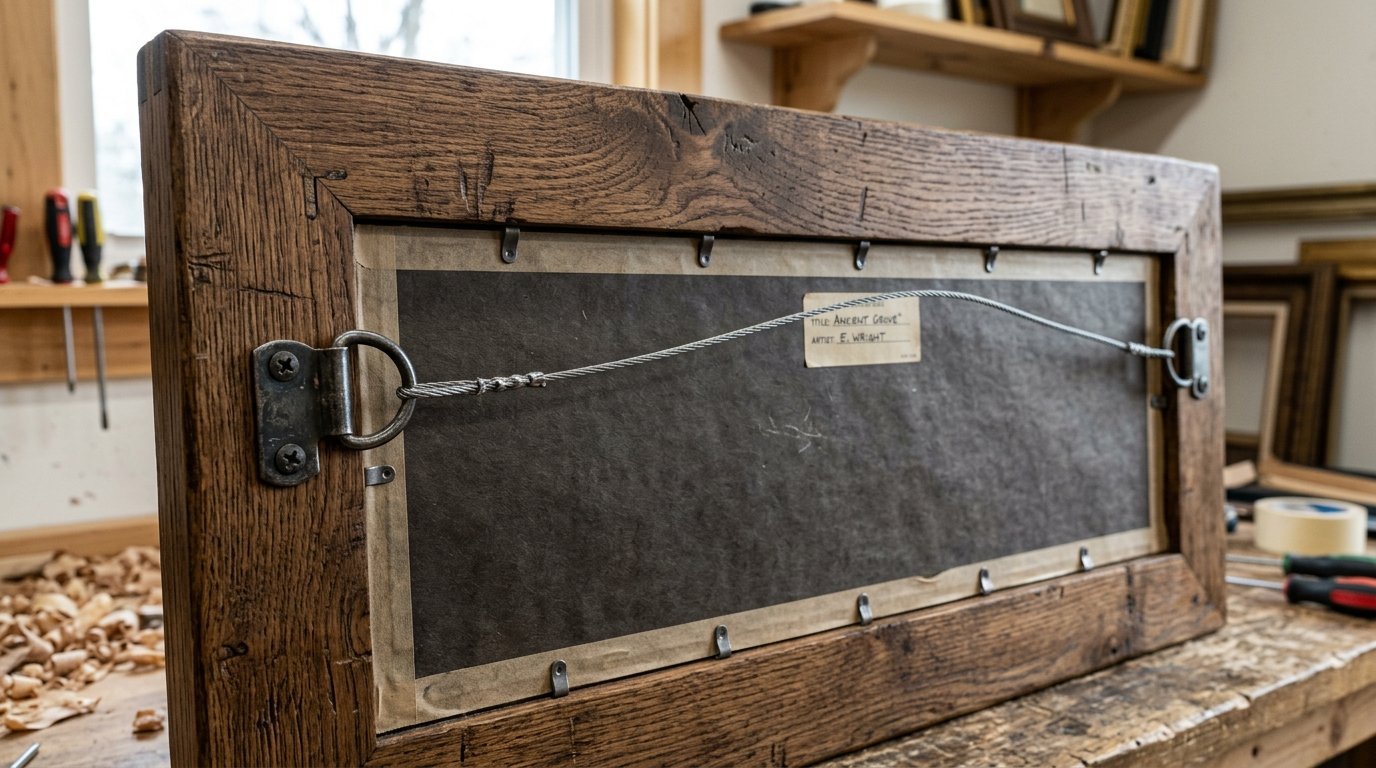
Examine the back of your art. Does it have a wire, two D-rings, or sawtooth hangers? The hanging mechanism dictates your approach. For oversized pieces, two D-rings are always the most secure option because they distribute the weight evenly and prevent the art from shifting over time.
3. The Paper Template Strategy
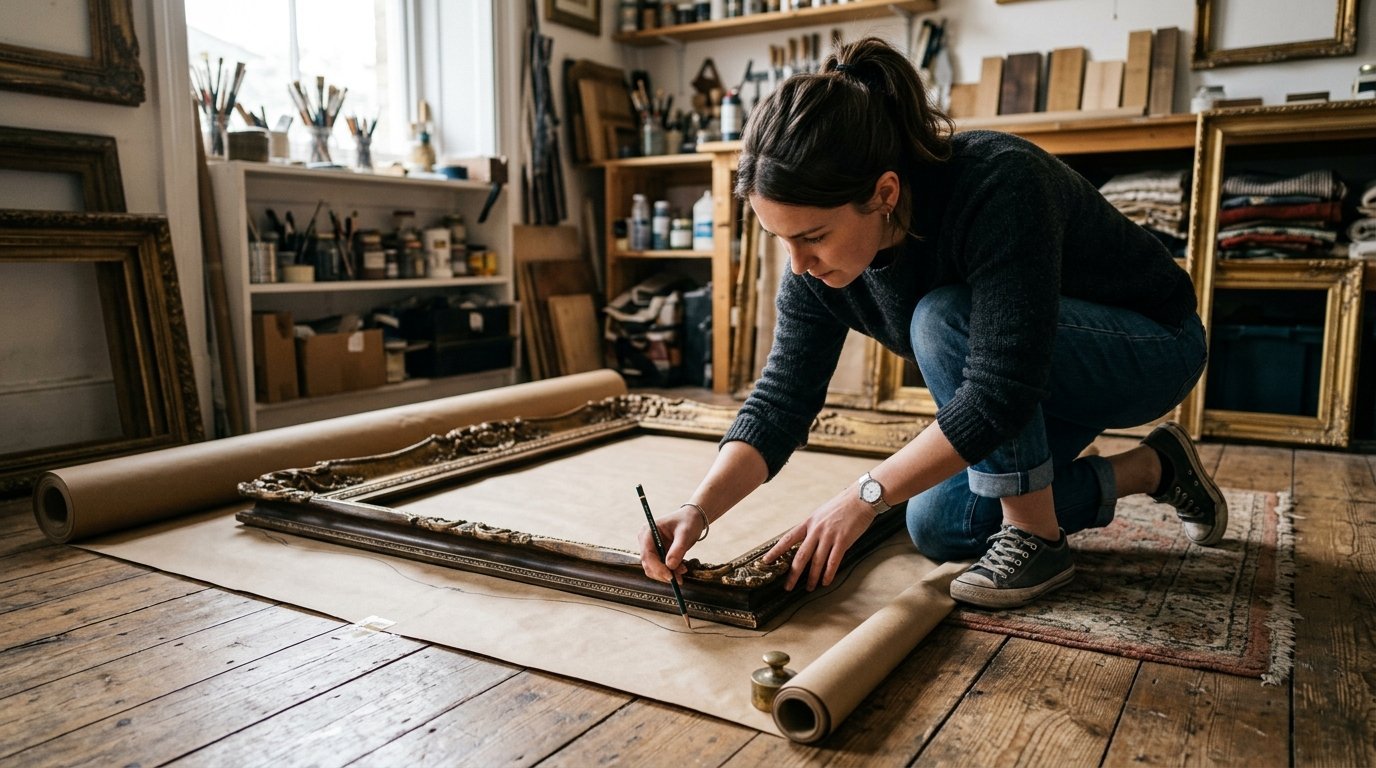
This is the most critical step for solo hanging. You cannot hold a heavy frame against the wall and mark holes simultaneously.
- Roll out your kraft paper.
- Place your art face down on the paper. Use a soft cloth underneath if you are working on a hard floor to protect the frame’s finish.
- Trace the exact outline of the frame.
- Cut out the paper rectangle. You now have a weightless replica of your art.
4. Map the Hanging Points
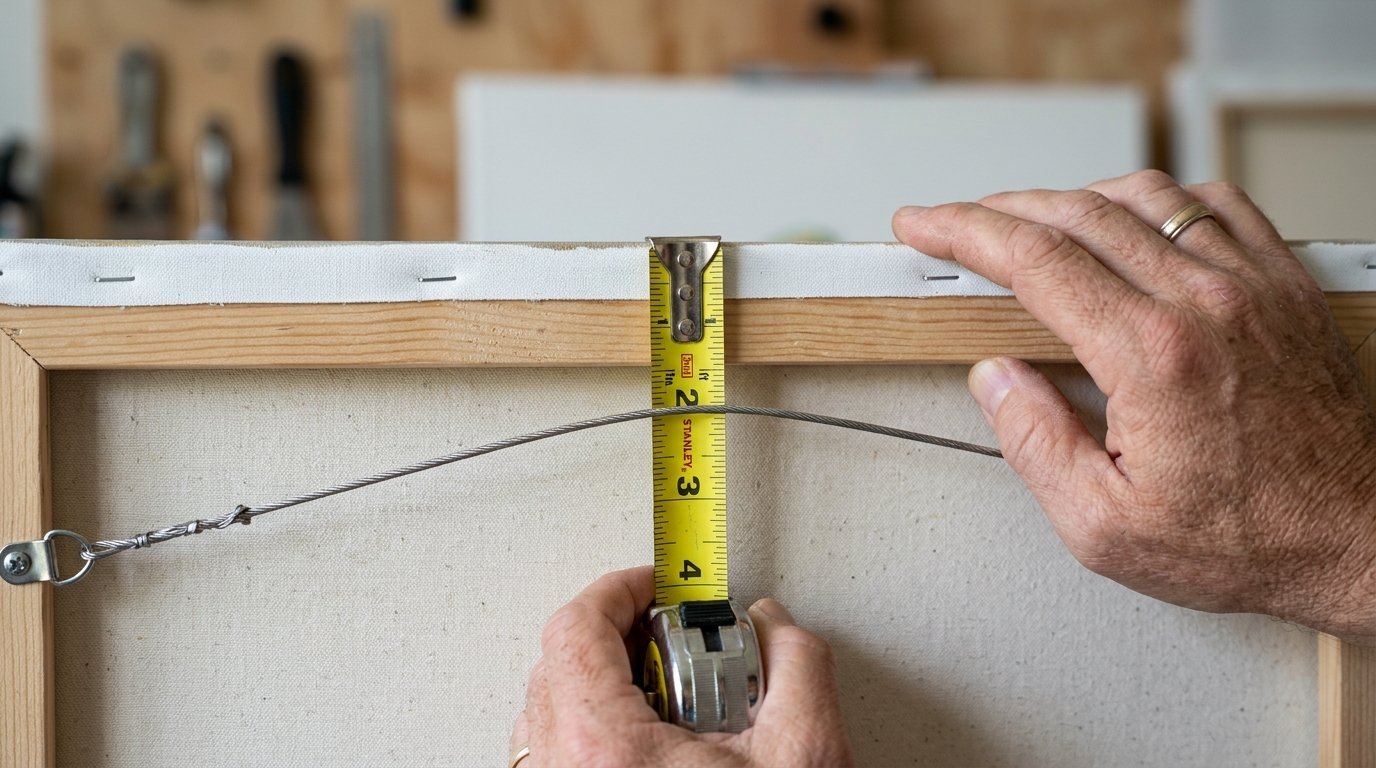
Now, transfer the hardware locations from the art to your paper template.
- Measure the distance from the top of the frame to the hanging hardware (the D-rings or the highest point of the taut wire).
- Measure the distance from the sides of the frame to the hardware.
- Mark these exact coordinates on your paper template. Punch a small hole through the paper at these marks.
5. Position the Template on the Wall
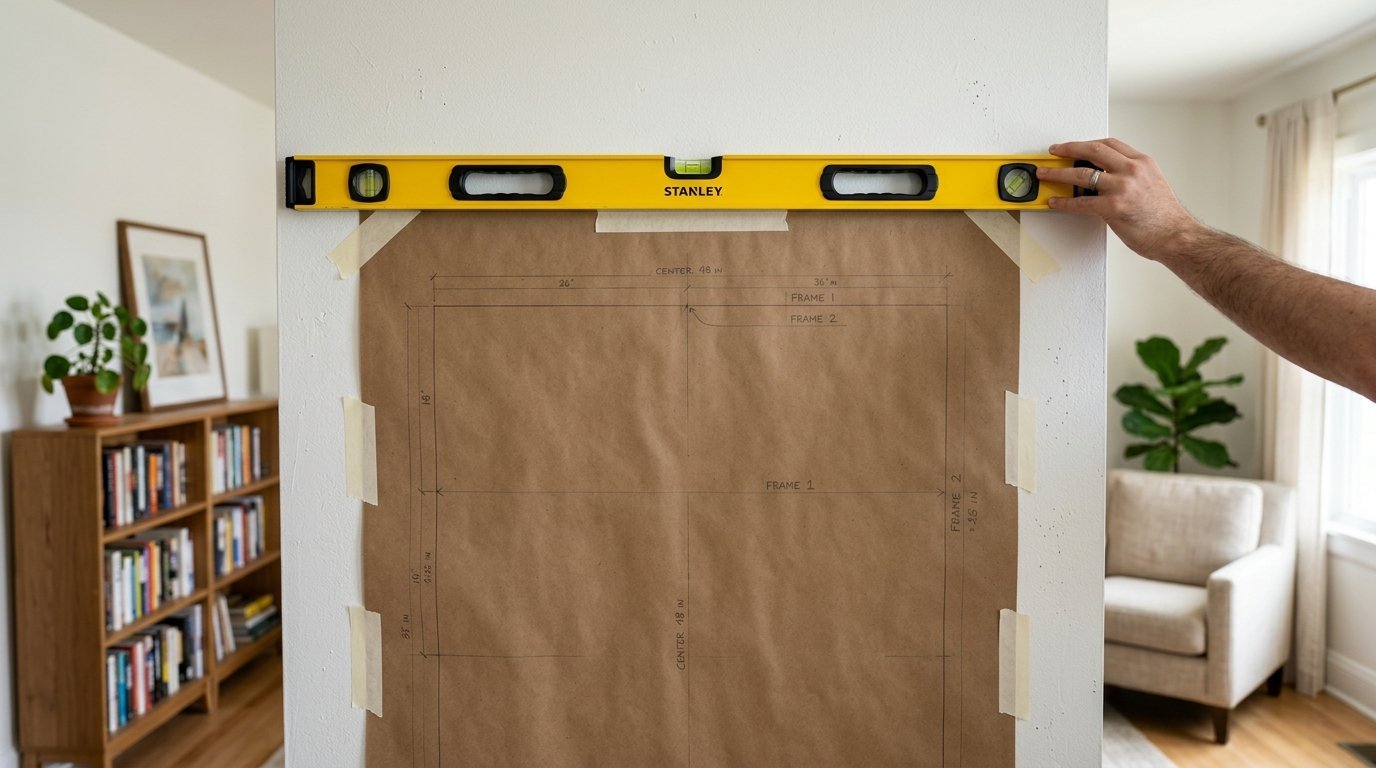
Take your paper template and your painter’s tape to the wall.
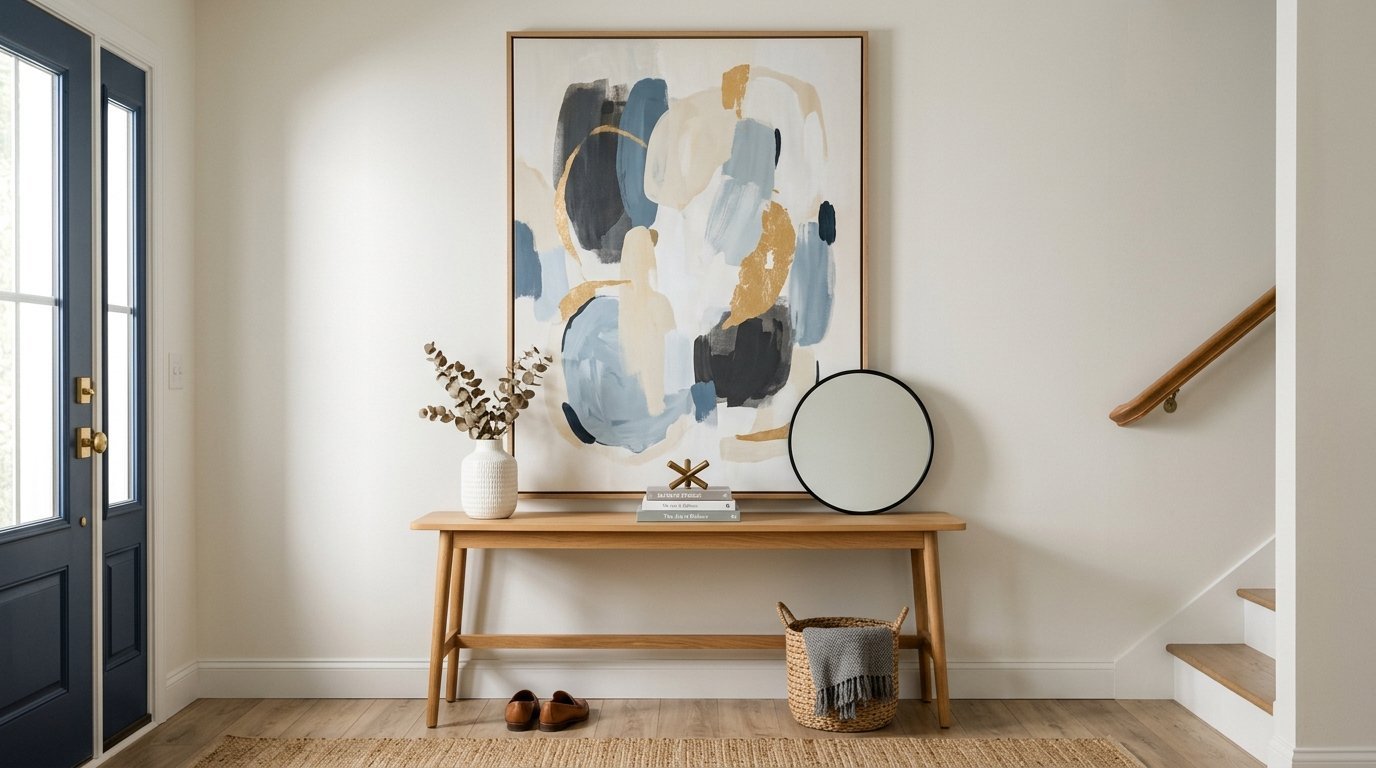
- Position the paper where you want the art to live. The standard rule is the center of the piece should be around 57 to 60 inches from the floor, at eye level.
- Tape the top corners of the paper to the wall.
- Step back and evaluate. This is your chance to adjust the height and centering without lifting anything heavy.
- Place your level across the top edge of the paper to ensure it is perfectly straight. Adjust the tape as necessary.
6. Install the Hardware
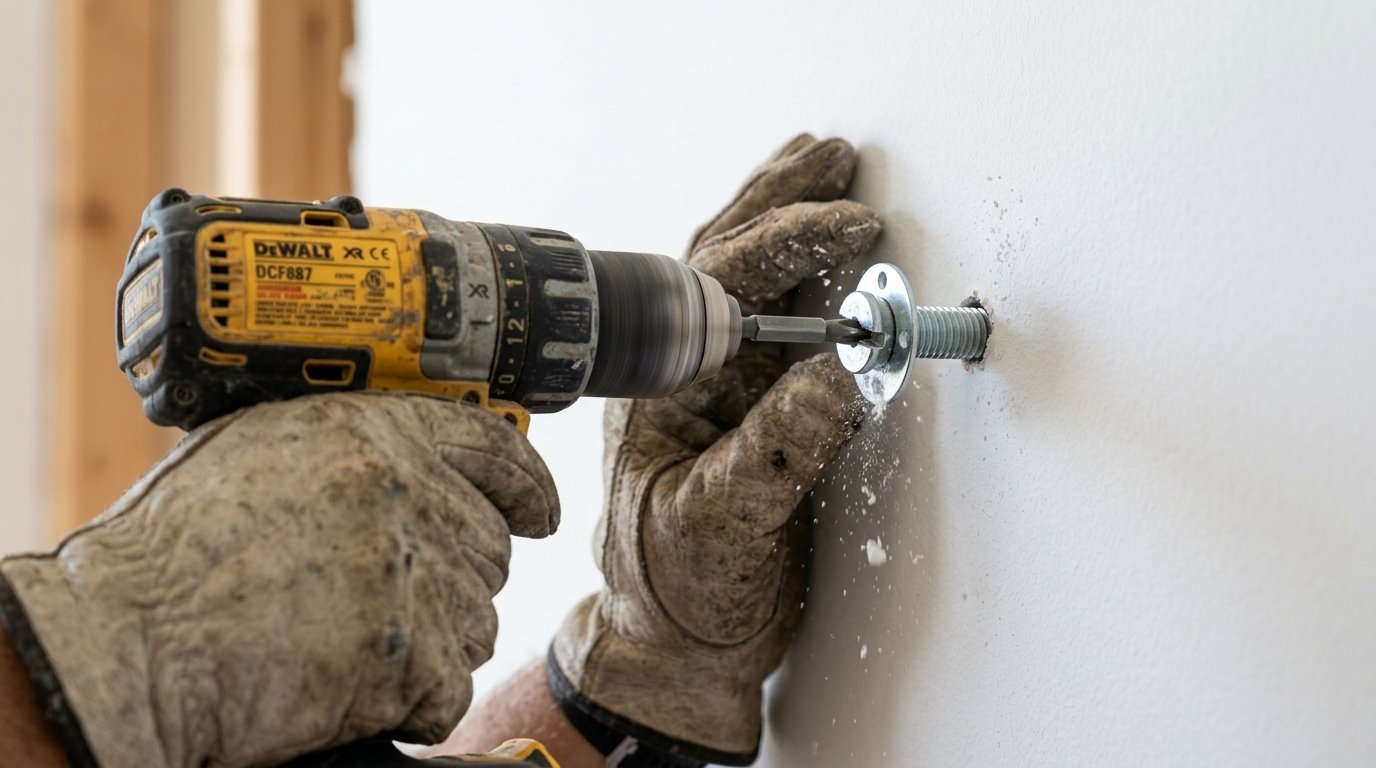
With your template taped securely and perfectly level, the hard work is done.
- Look for the holes you punched in the template. These indicate exactly where your screws or hooks need to go.
- Mark the wall through the holes with your pencil.
- Remove the paper template.
- Install your wall anchors and screws directly into those pencil marks. Always use anchors rated for the weight of your art unless you are drilling directly into a stud.
7. The Final Lift
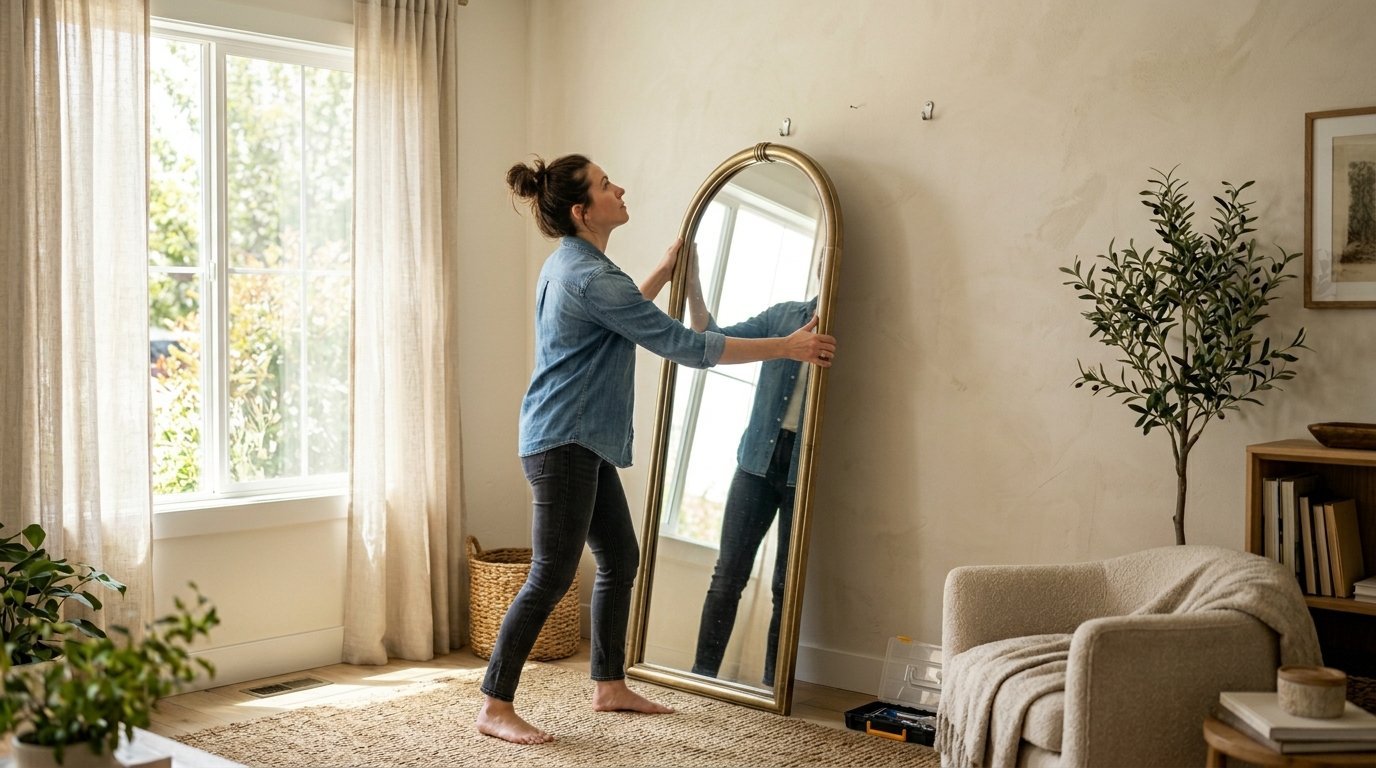
Your hardware is installed. Now for the moment of truth.
- Lift the art carefully.
- Guide the wire or D-rings onto the installed screws or hooks.
- Step back. Your piece should be perfectly level and exactly where you planned.
- Wipe down the glass and frame to remove any fingerprints. When cleaning delicate or vintage frames, always spray your glass cleaner onto the cloth first, never directly onto the piece. Harsh sprays can easily strip paint or damage finishes if they drip onto the wood.
Handling Specific Art Formats

Different types of oversized art require slight adjustments to the process.
Large Painting Ideas On Canvas
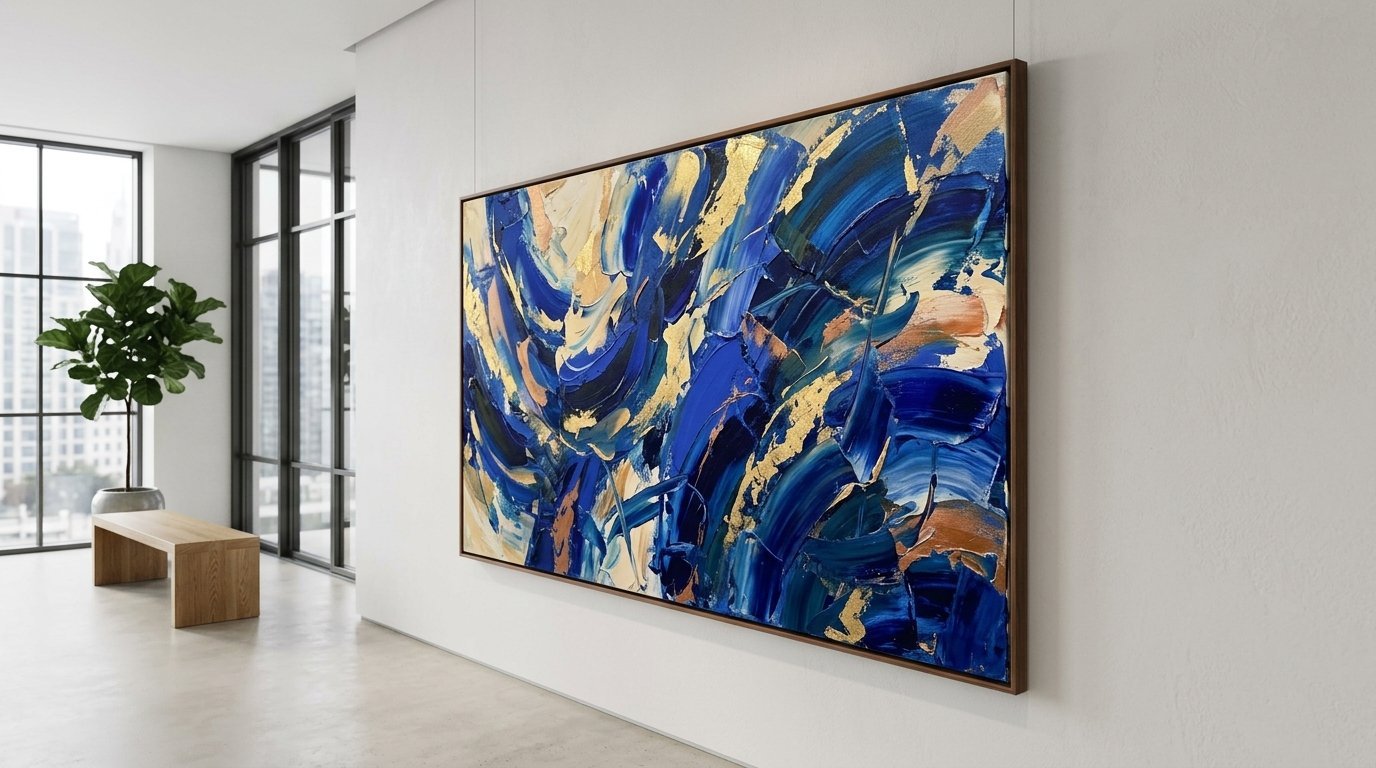
Large canvases are often lighter than framed pieces but can be bulky to handle. A wire across the back is common here. When measuring for your template, pull the wire taut toward the top of the canvas to simulate how it will hang on the hook, and measure from that peak point.
Big Prints and Heavy Frames
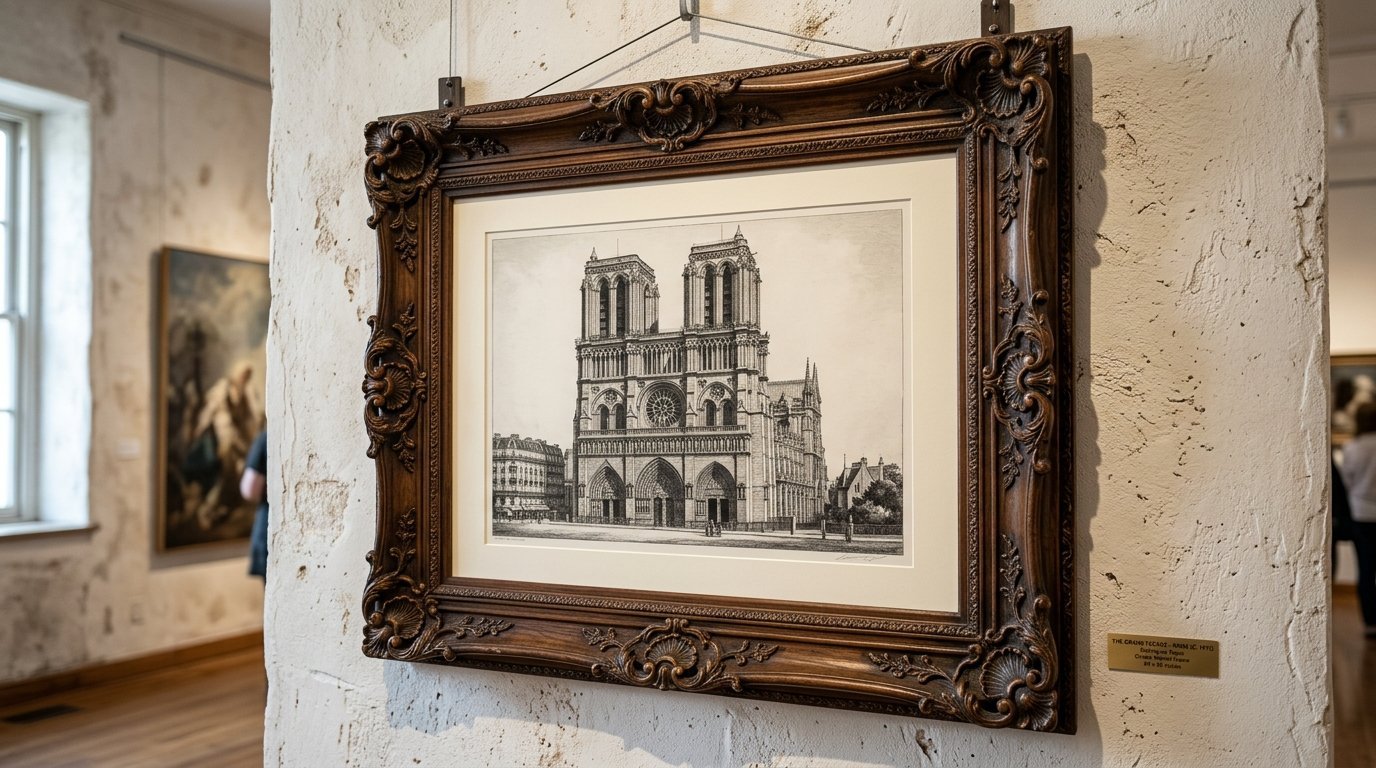
Heavy frames require robust hardware. Never rely on a single nail for a massive frame. Always use two hanging points (like D-rings) to distribute the weight. This prevents the frame from bowing over time and keeps it perfectly level.
Diptych Art
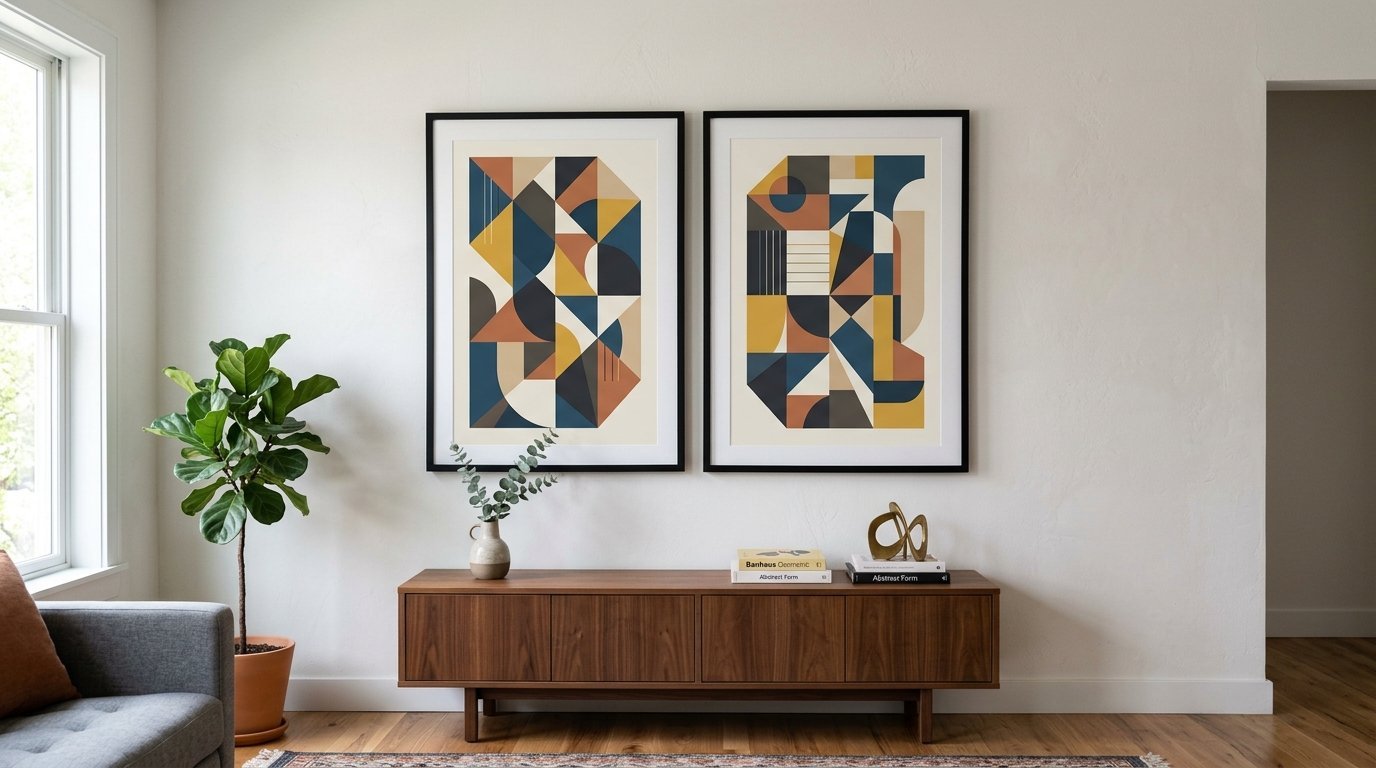
Hanging two related pieces side-by-side requires precision.
- Make a paper template for both pieces.
- Determine your spacing. A gap of 2 to 3 inches usually looks best for large diptychs.
- Tape both templates to the wall simultaneously, using your level across both to ensure they align perfectly.
Tapestry Hanging
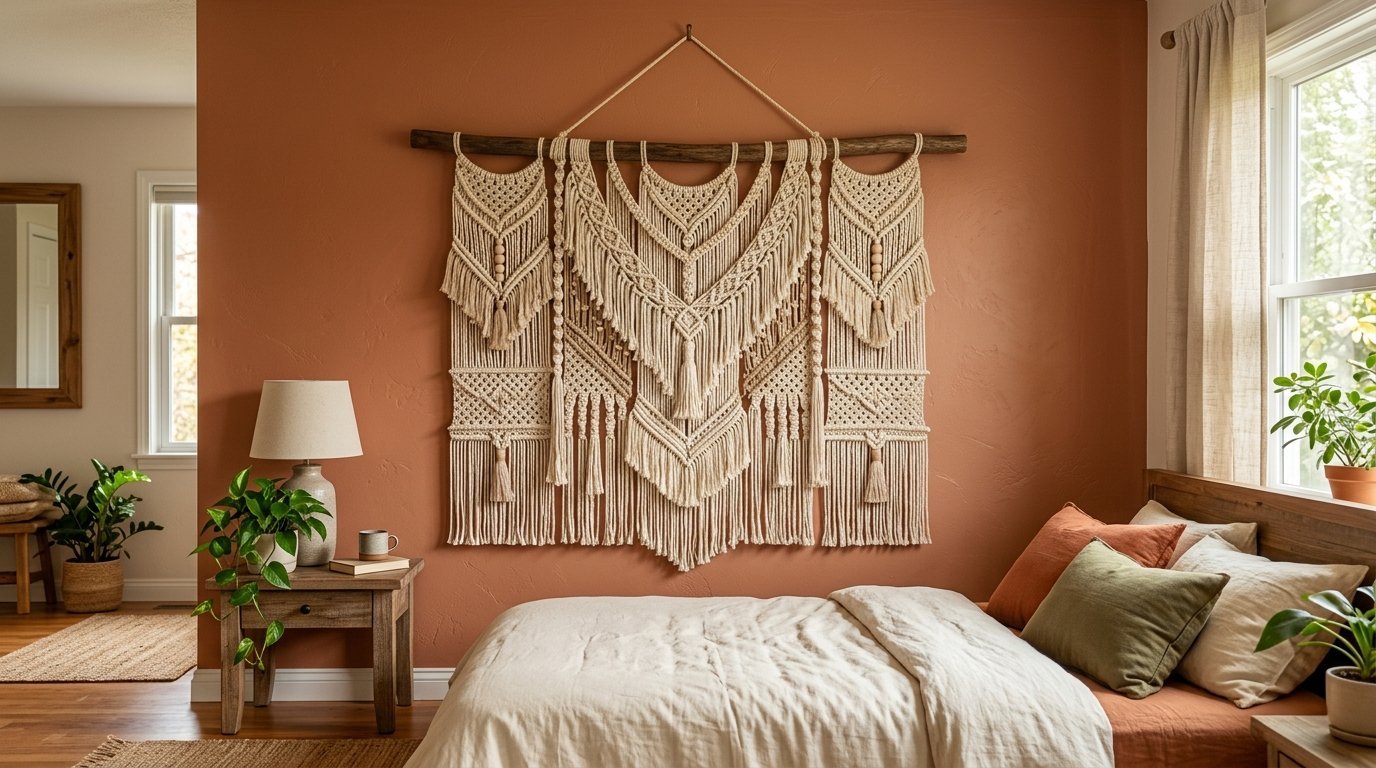
Textiles bring great texture to a room, especially for boho or relaxed styling. Hanging them straight can be tricky. The easiest solo method is using a curtain rod. Attach a rod casing to the back of the tapestry and mount the rod brackets to the wall. Alternatively, for a flush look, attach a strip of heavy-duty hook-and-loop fastener (like Velcro) to a wooden batten screwed into the wall, and the opposing strip to the top back edge of the tapestry.
Conclusion
Hanging big artwork by yourself feels daunting, but relying on the paper template method changes the entire process. By taking the weight out of the equation during the measuring and planning phases, you guarantee a perfect result. Take your time, trust your measurements, and enjoy the impact that a perfectly hung statement piece brings to your space.

Anya Castellan is the Founder and Editor-in-Chief of Home Wall Trends. An art history graduate of the Rhode Island School of Design with twelve years of experience writing for leading American design publications, she specializes in composition, gallery wall theory, and the quiet architecture of domestic space. A former contributing editor at Architectural Digest and guest lecturer at Parsons School of Design, Anya personally reads and signs off on every piece before it is published.