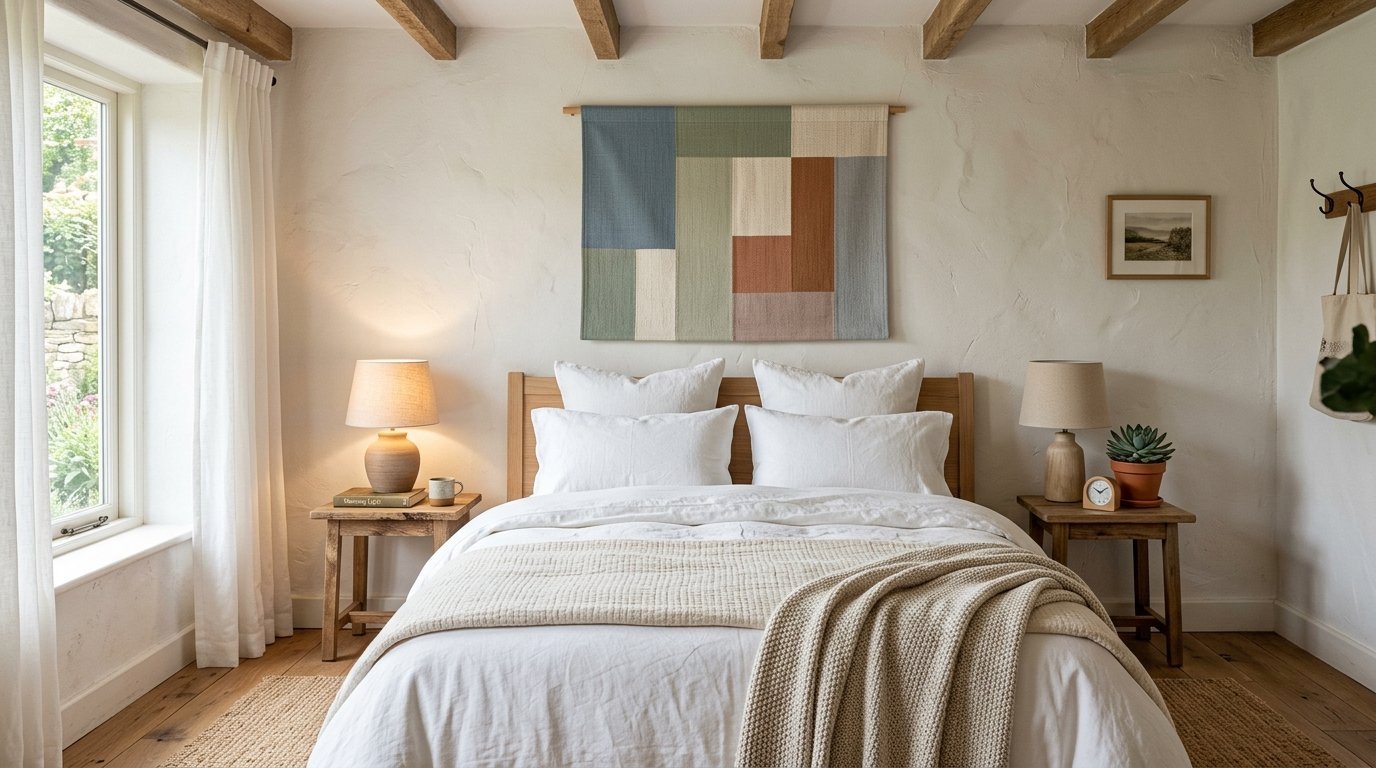
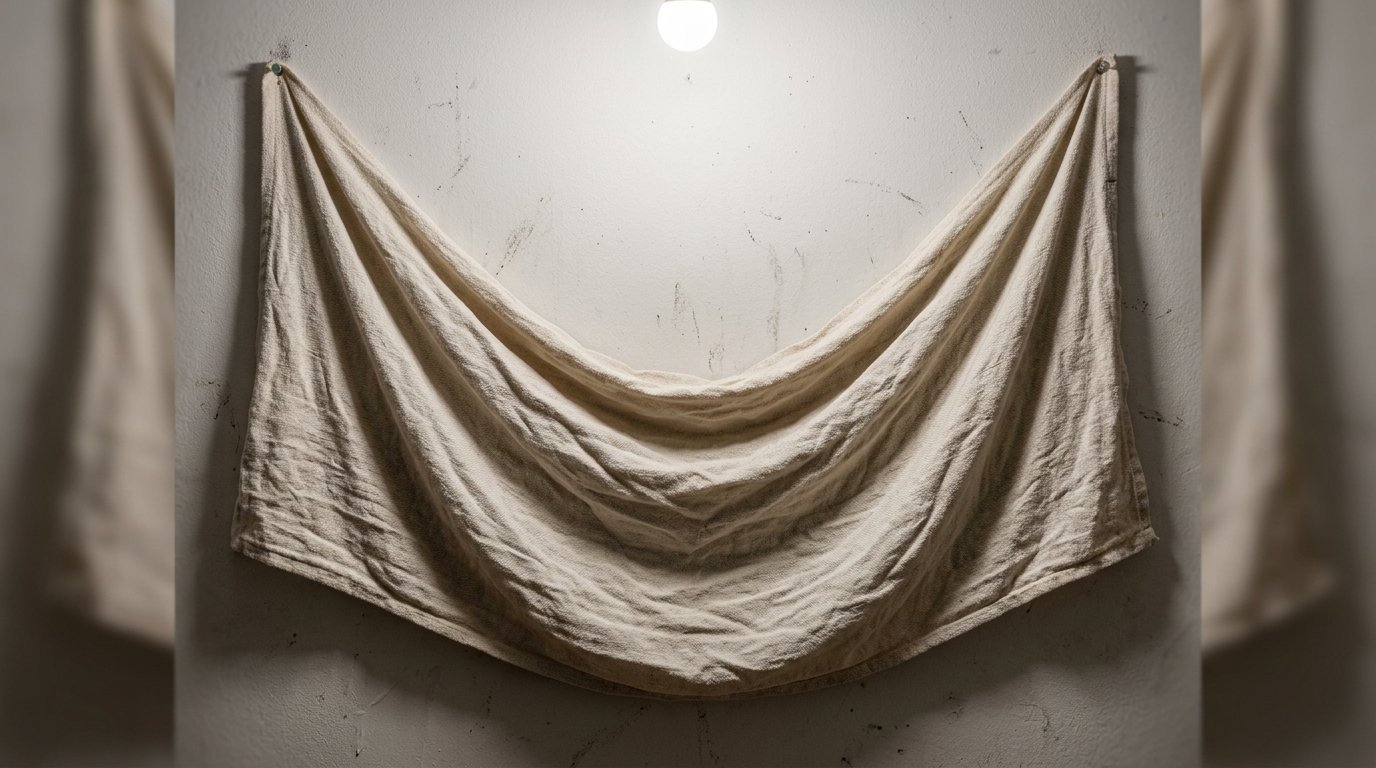
You look at the blank wall behind your bed and feel stuck. A heavy wooden bed frame costs too much money and takes up floor space you do not have. I faced this exact problem last year when my apartment felt entirely too cramped. I wanted a cozy cottage room vibe without buying heavy timber. Bulky pieces make tiny rooms feel closed and dark. I found a lightweight fabric piece and hung it behind my pillows instead. It changed the entire mood of my sleeping area in ten minutes. You can do this exact project this weekend with bare minimum supplies.
This guide shows you exactly how to mount fabric wall decor above your mattress. You will save money and preserve your floor space. I share my exact step by step process and the exact tools I keep in my house. We use simple supplies like 3M adhesive strips and lightweight cotton blends. I share my past mistakes with wall damage so you do not repeat them. You will finish your gorgeous diy headboard before dinner time tonight.
Why choose a fabric headboard for your sleeping space?
Traditional headboards present problems for renters and people living in small spaces. Heavy wood frames block electrical outlets. Metal frames scratch your painted walls when you move in your sleep.
I love the look of upcycled furniture in a bedroom. I once tried to build a farmhouse bed piece. Three months ago, I threw a fresh piece of pine right into the trash. I tried to craft a farmhouse welcome sign. I failed because wood is heavy, requires expensive saws, and splinters easily.
Fabric solves all these structural problems immediately. A woven piece sits perfectly flat against the plaster. You retain every inch of your walking space. You can wash the material when it gets dusty. You can swap the pattern when the seasons shift.
A warm color block design brings immediate comfort to a cold rental room. You do not need a drill. You do not need heavy anchors. You keep your security deposit safe.
What tools do you need for this project?
You need specific items to make this work perfectly. Do not buy cheap tape. Cheap tape falls down in the middle of the night.
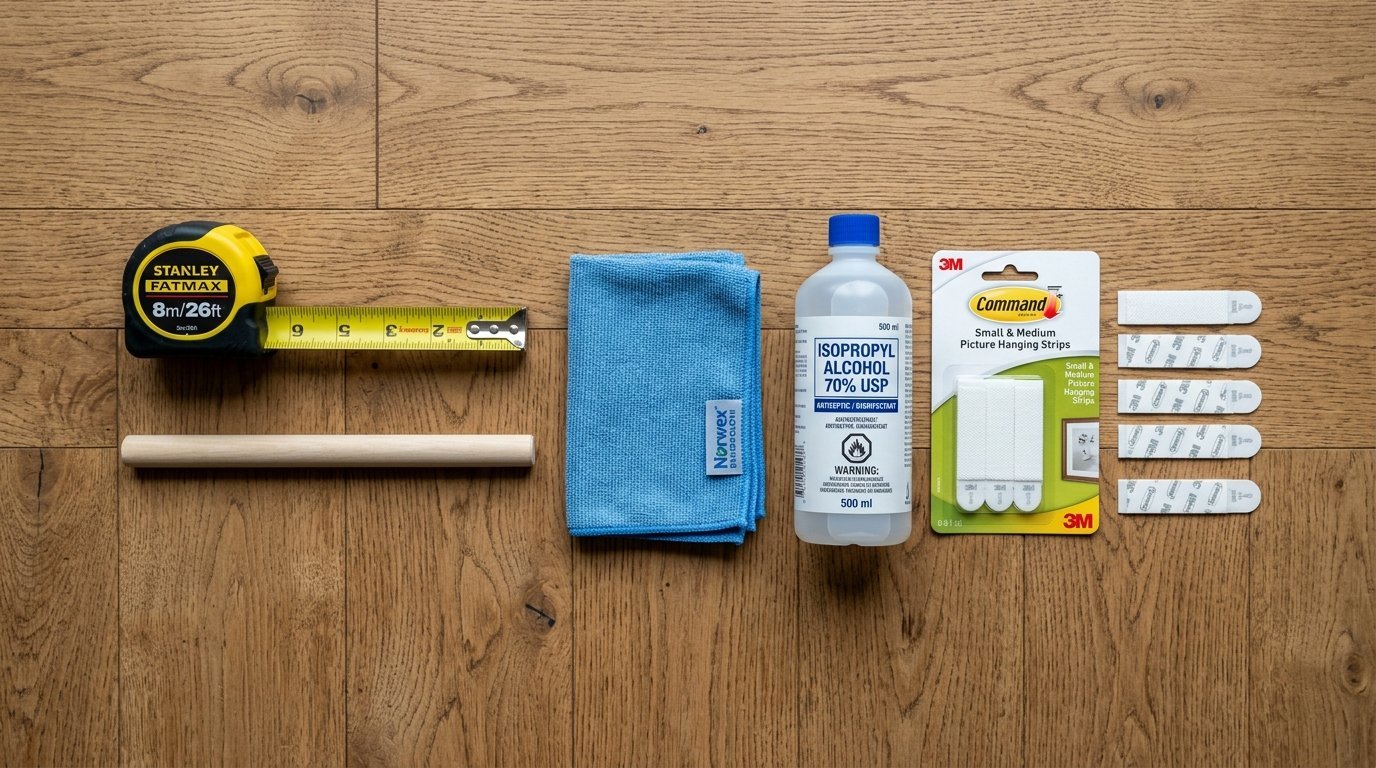
I keep a specific kit in my closet for hanging things. You need items that hold tight but release cleanly.
- 3M Command hook and loop strips for weight bearing.
- A wooden dowel rod from your local hardware store.
- A tape measure.
- A light pencil for marking corners.
- Quality fabric wall decor.
- High purity isopropyl alcohol.
- Distilled water.
- A Norwex microfiber cloth.
- Small safety pins.
You likely have half of these items in your house right now. The rest cost very little at your local hardware store.
How do you prepare your bedroom wall?
You must clean your plaster before sticking anything to it. Dust blocks adhesive from doing its job. I learned a hard lesson about wall preparation three years ago.
I saw this destroy a beautiful piece in my hallway three years ago. The damp air got behind the frame and caused black spots. The silver backing completely peeled away. I never clean walls with tap water anymore.
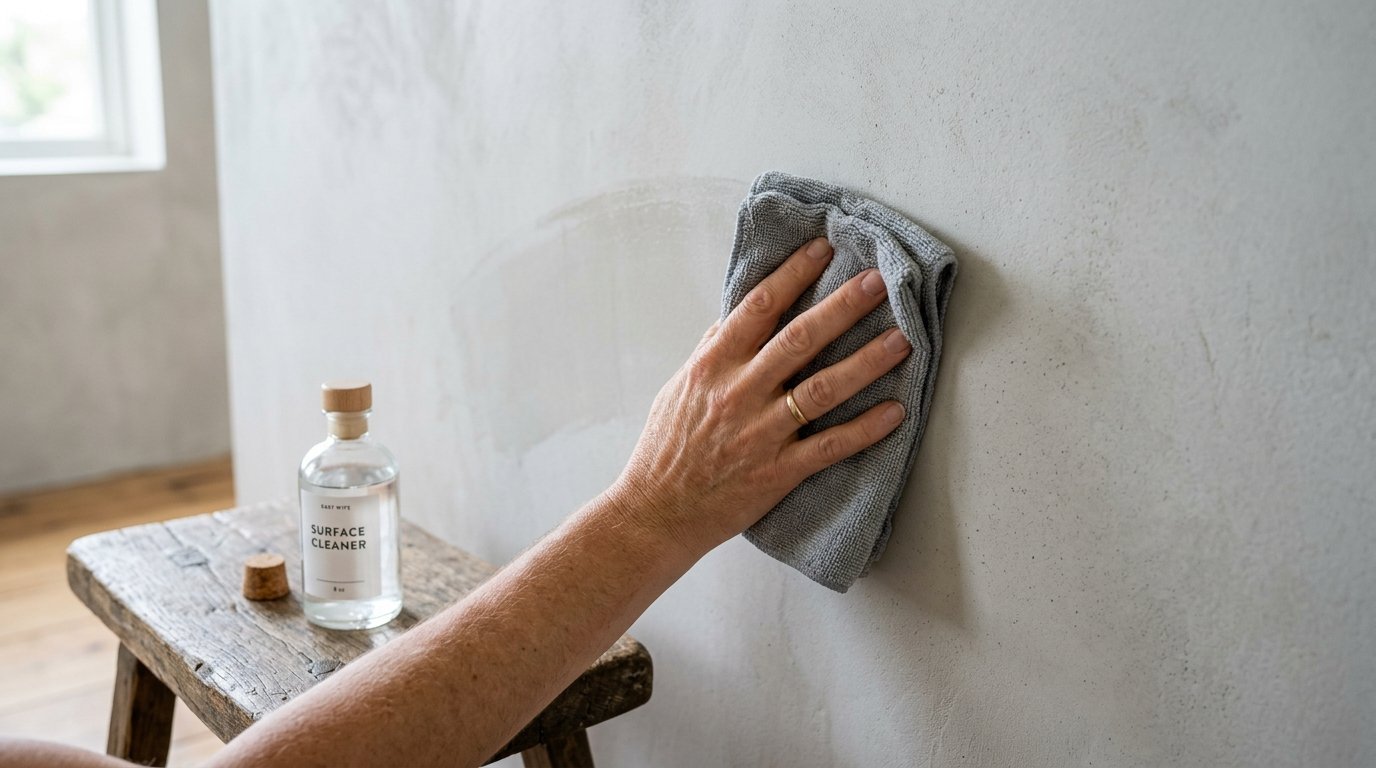
I follow a very specific cleaning routine now. I take my Norwex microfiber cloth and wet it with plain distilled water. I wipe the entire square area where the fabric will hang.
I then pour high purity isopropyl alcohol onto a dry section of the cloth. I wipe the spots where the sticky strips will go. The alcohol eats away invisible oils. It dries in seconds. Your adhesive strips will bind perfectly to this clean surface.
Which materials work best for small spaces?

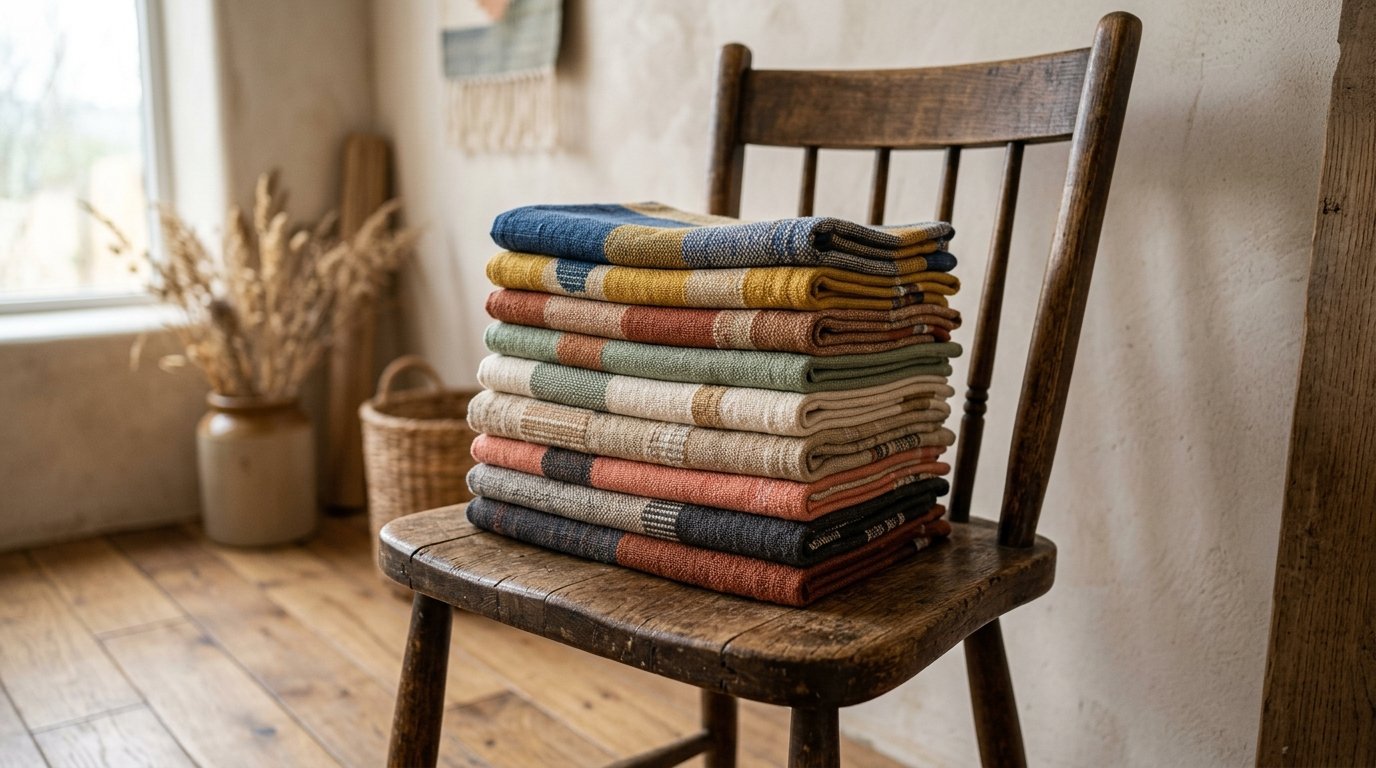
You have many options for your diy headboard material. Cotton blends work beautifully because they weigh very little. Linen hangs with a beautiful natural drape.
Heavy wool looks gorgeous but requires metal hardware. Avoid heavy wool if you live in a rental unit. Stick to light woven cotton.
Your pattern matters just as much as your material. You want soft visuals in a room meant for sleep. A harsh geometric print feels loud. I look for faded botanical prints.
A muted color block piece works incredibly well. Warm whites and soft greens look great together. Mustard yellow brings morning warmth. Keep the colors gentle. Your bedroom should feel like a safe retreat.
How do you measure your space correctly?
You need a straight placement for this to look professional. A crooked hanging piece looks sloppy and chaotic.
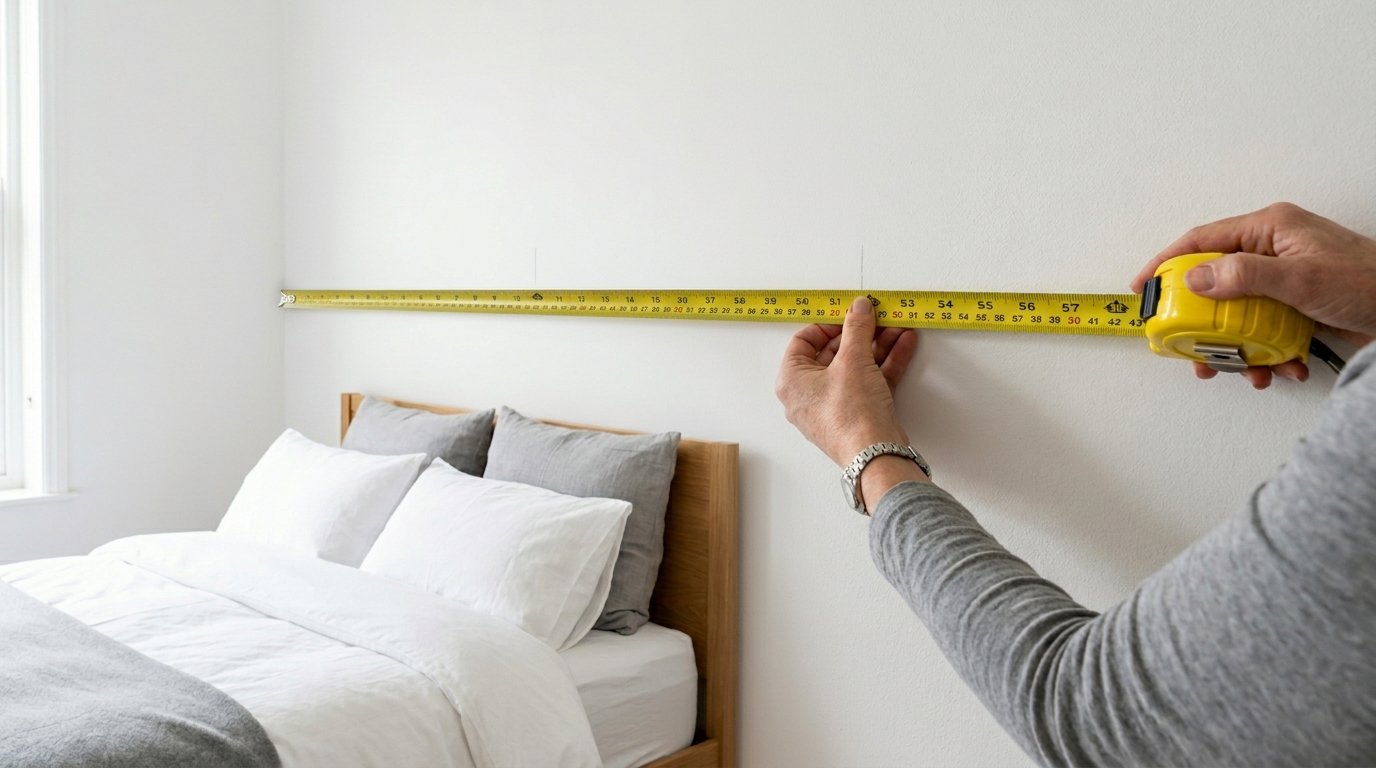
Grab your tape measure and find the exact center of your mattress. Mark that center point lightly on the wall with your pencil.
Measure the entire width of your fabric piece. Divide that number in half. Measure that distance out from your center wall mark to the left. Make a small mark. Do the same to the right.
You now have the exact width mapped out. You must decide how high you want the piece to sit. Tuck the bottom edge at least four inches behind your mattress. Your pillows will hide the bottom edge. This makes the fabric look like a real piece of furniture.
How do you hang the fabric without making holes?
You can mount your piece without a drill. I rely heavily on 3M Command hook and loop strips for this job.
Press the two sides of the Command strip together until they click. Peel the paper off one side. Press that sticky side firmly against the top left corner of your fabric.
Repeat this for the top right corner. Place another strip right in the top center. Peel the remaining paper off the wall facing sides.
Hold the fabric up to your pencil marks. Press the corners firmly into the plaster. Push hard against the wall for thirty seconds. The pressure activates the adhesive gel.
How do you keep the top edge perfectly straight?
Soft materials stretch over time. Gravity pulls the center section down. You wake up and see wrinkles sagging in the middle. I hate waking up to a messy room.
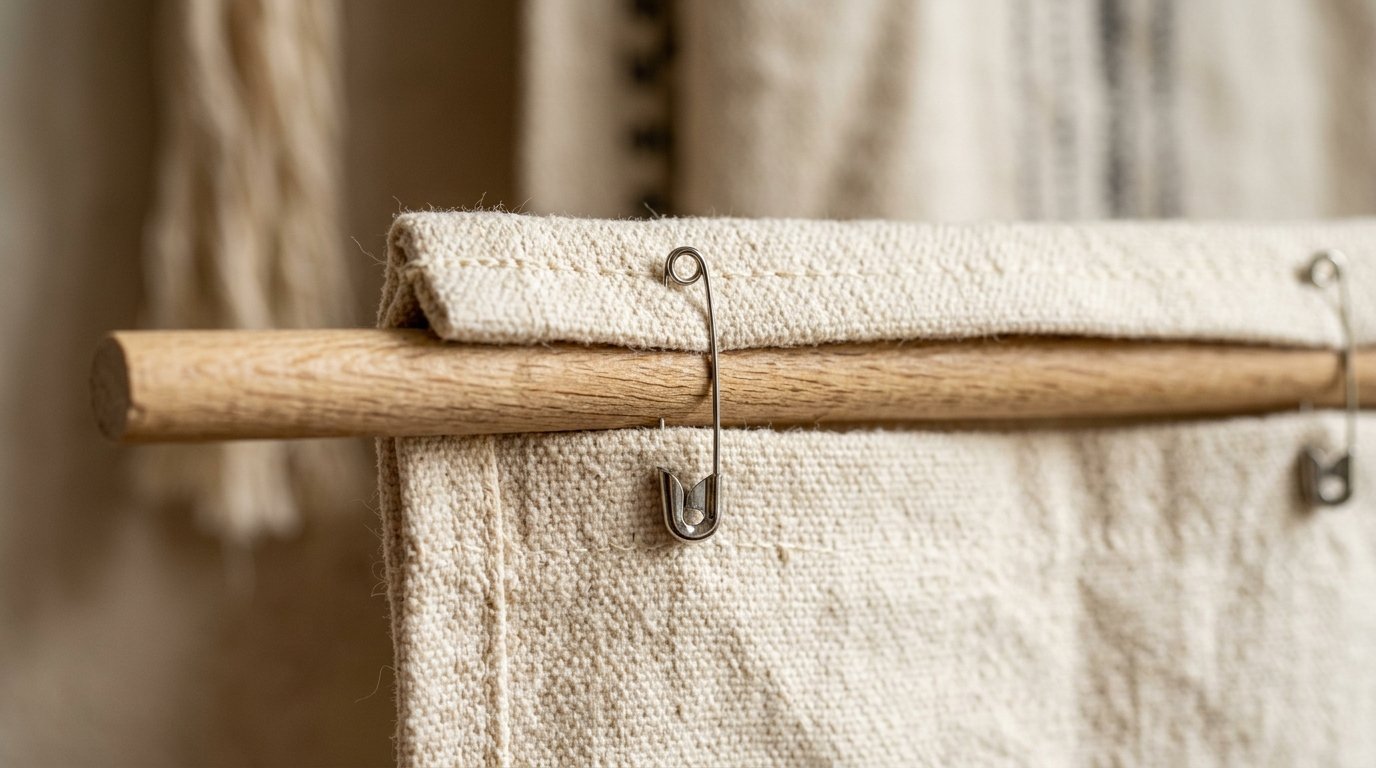
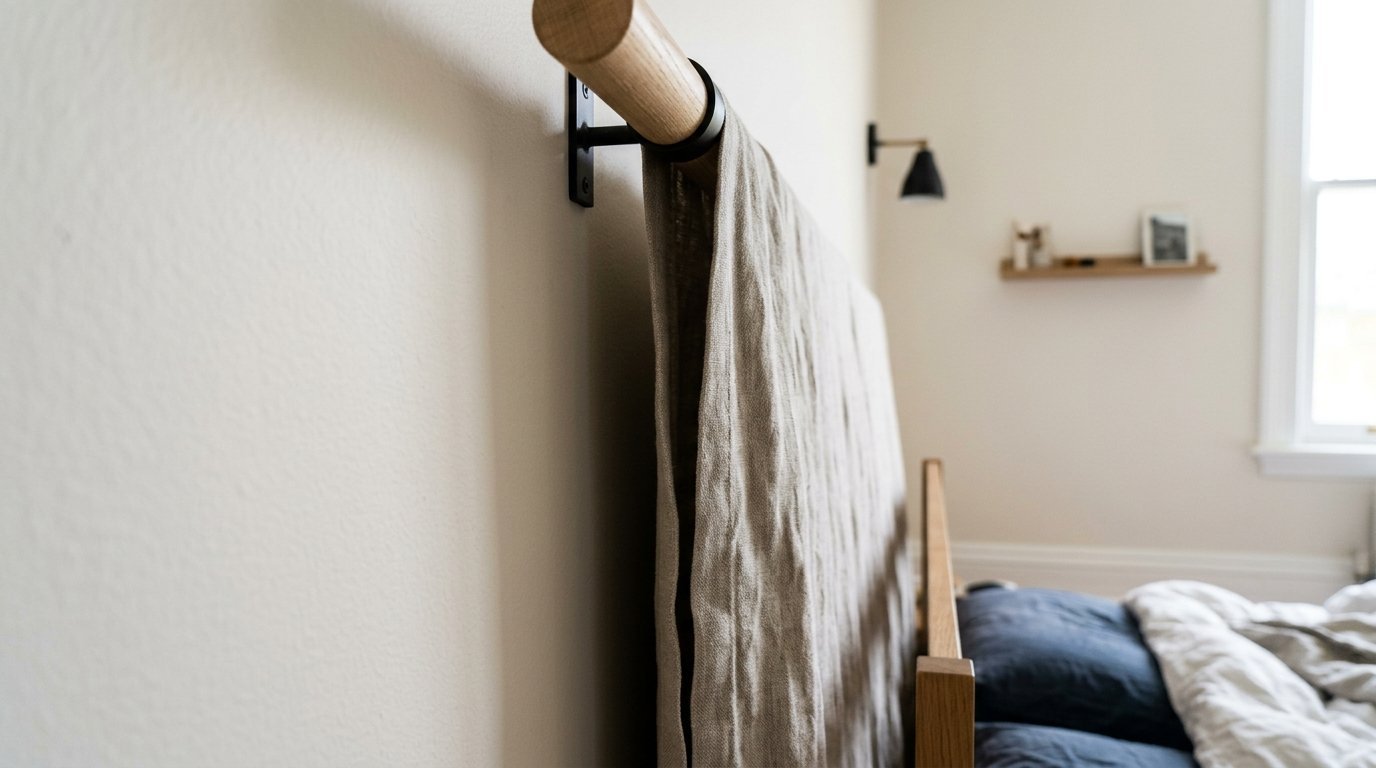
You can create a hidden top rail to fix this entirely. Go buy a thin wooden dowel rod. Cut it to match the exact width of your fabric piece.
Fold the top edge of your material over the wooden dowel. Pin the fabric tight on the back side using small safety pins. The wood sits inside a small fabric pocket.
You then mount the wooden dowel to the wall using three small adhesive hooks. The wood keeps the top line rigid and completely straight. Your diy headboard looks incredibly sharp and tailored.
How do you protect the wall from winter moisture?
Bedrooms get humid while we sleep. Human breath puts moisture into the air. Cold walls attract this moisture quickly.
I noticed this issue with a gold frame in my bedroom last summer. Every time I wiped the glass water gathered at the absolute bottom curve. Mold grows fast in trapped wet spaces.
Fabric breathes much better than glass or metal. You still need to create a small air gap. Do not press the material flat against a freezing exterior wall.
The wooden dowel trick creates a perfect quarter inch gap. Air flows freely behind your fabric piece. This stops trapped moisture from forming. Your walls stay dry and your paint remains safe.
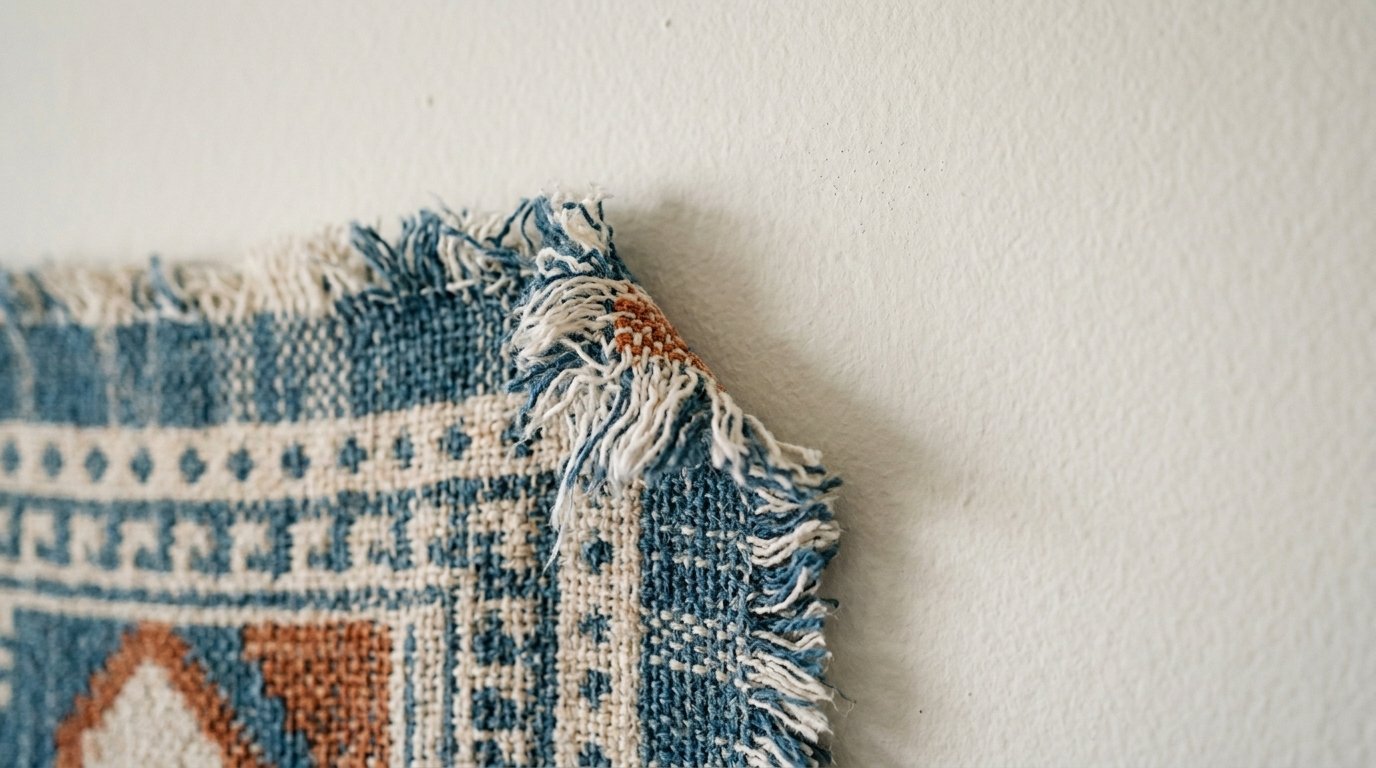
What do you do about frayed fabric edges?
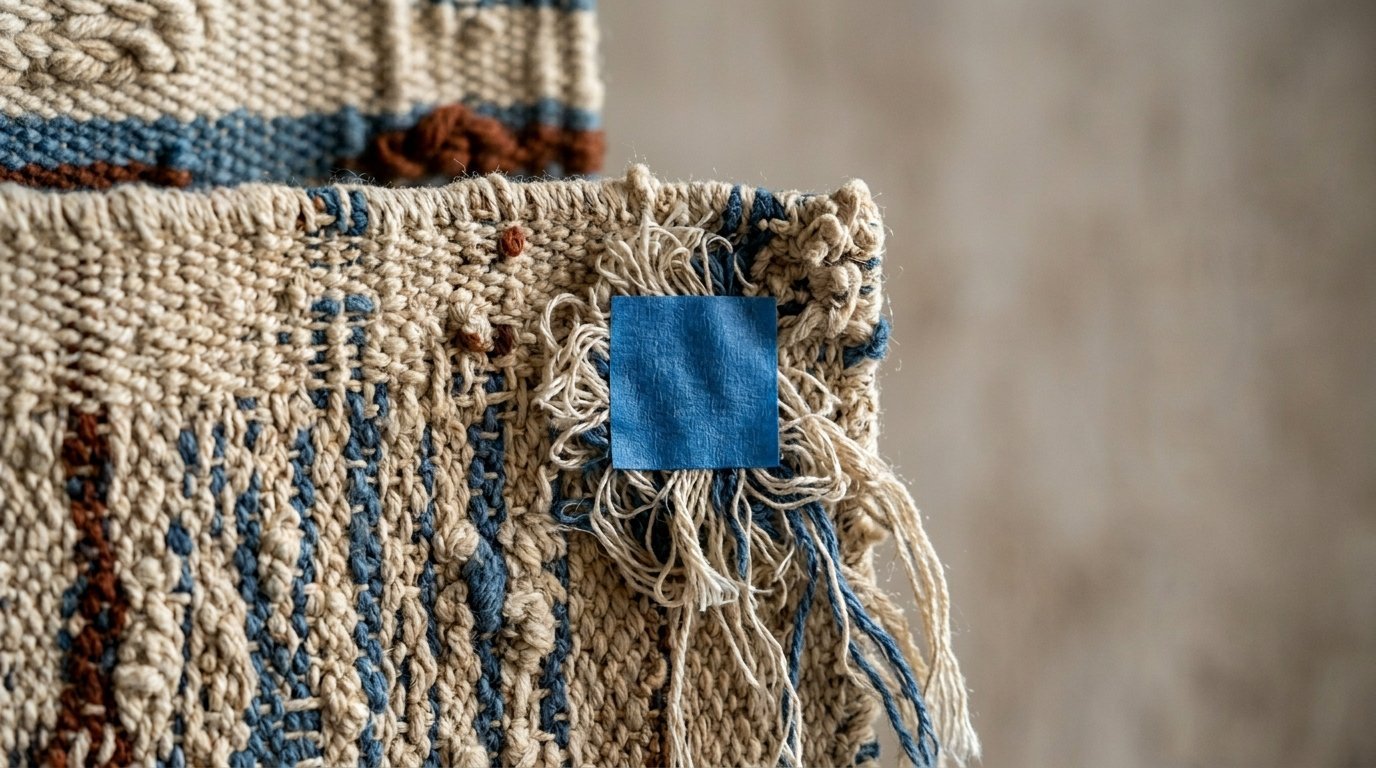
Sometimes woven edges start to pull apart. Thin cotton threads loosen over time. Your adhesive strips might pull the threads right out of the weave.
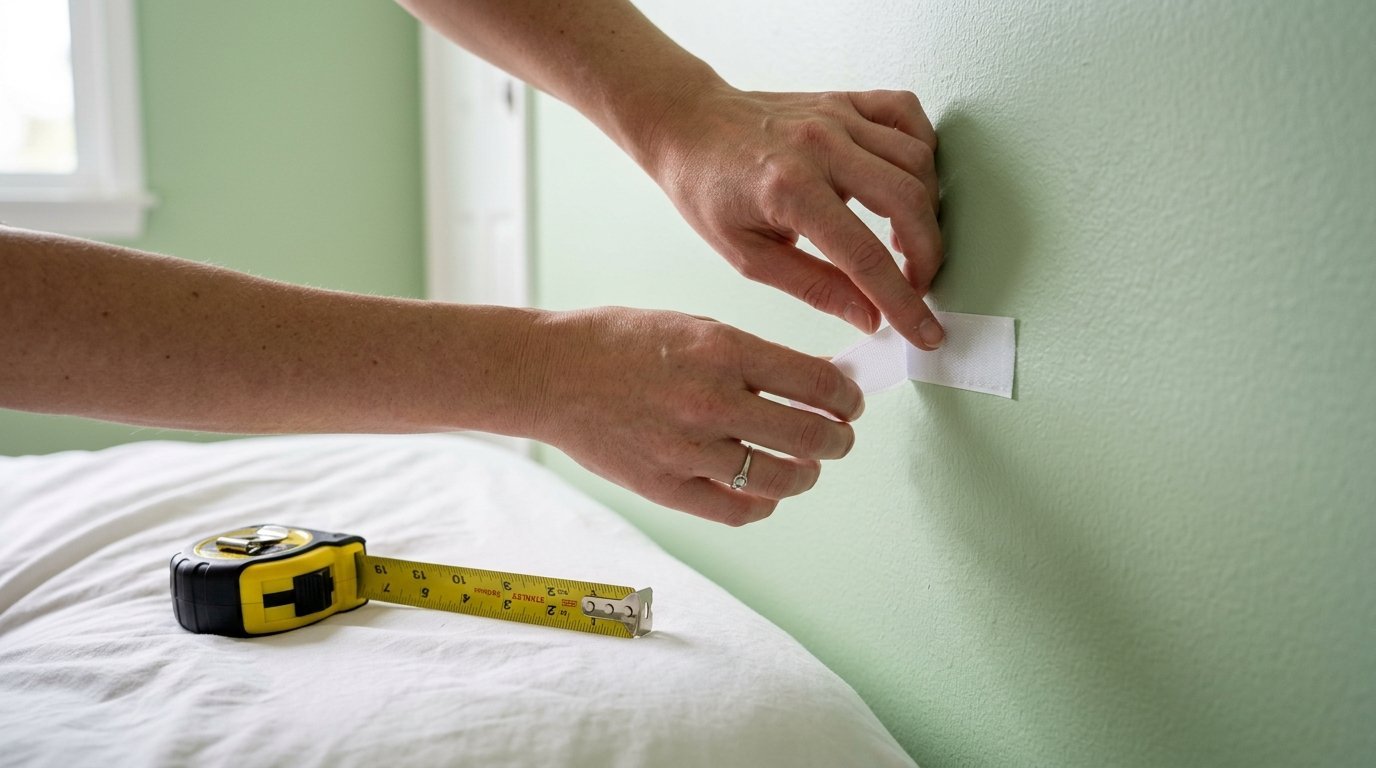
You can fix this easily with a simple trick. Buy a roll of blue painter tape. Cut a tiny square of tape. Press it firmly onto the back corner of your fabric.
Apply your Command strip directly over the blue tape. The tape binds the loose threads together. The Command strip sticks firmly to the tape surface.
Your fabric stays intact. You can remove the tape later without ruining the woven pattern.
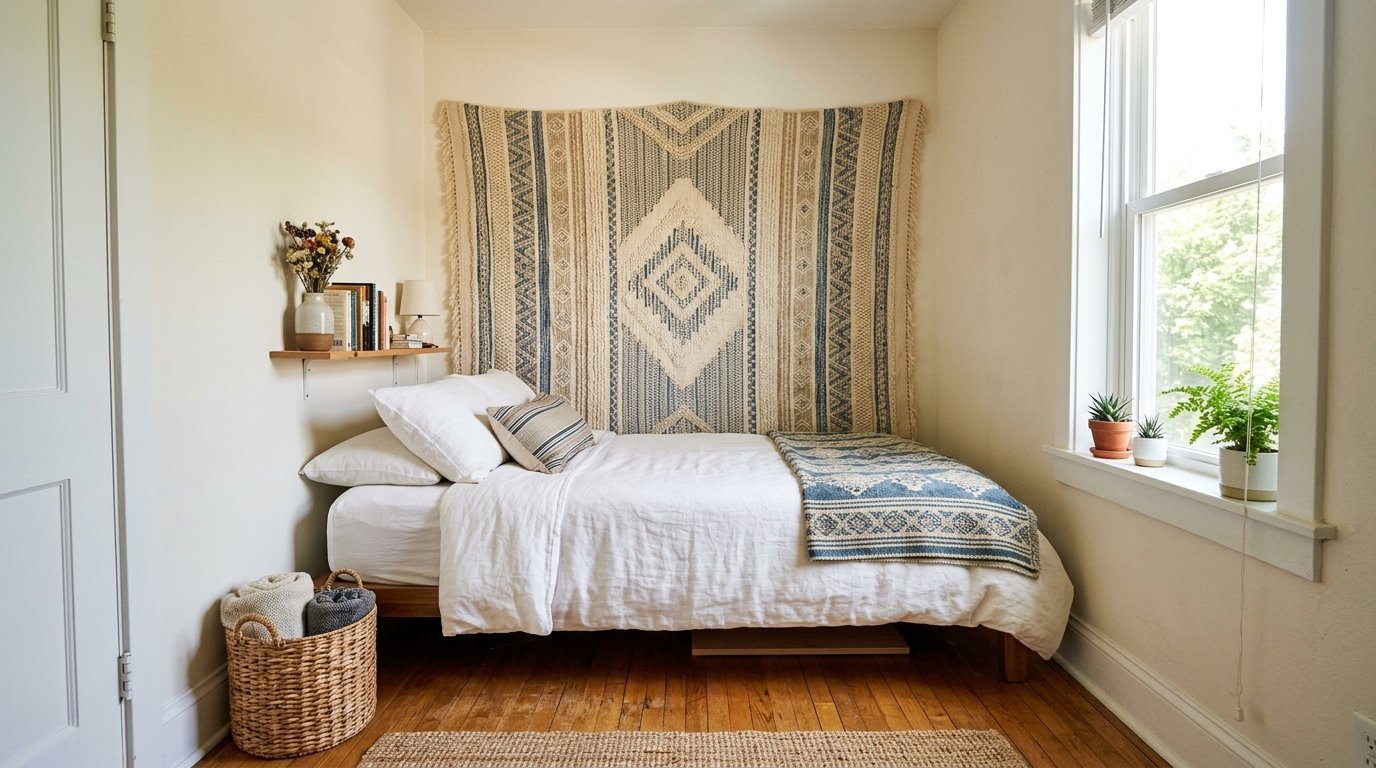
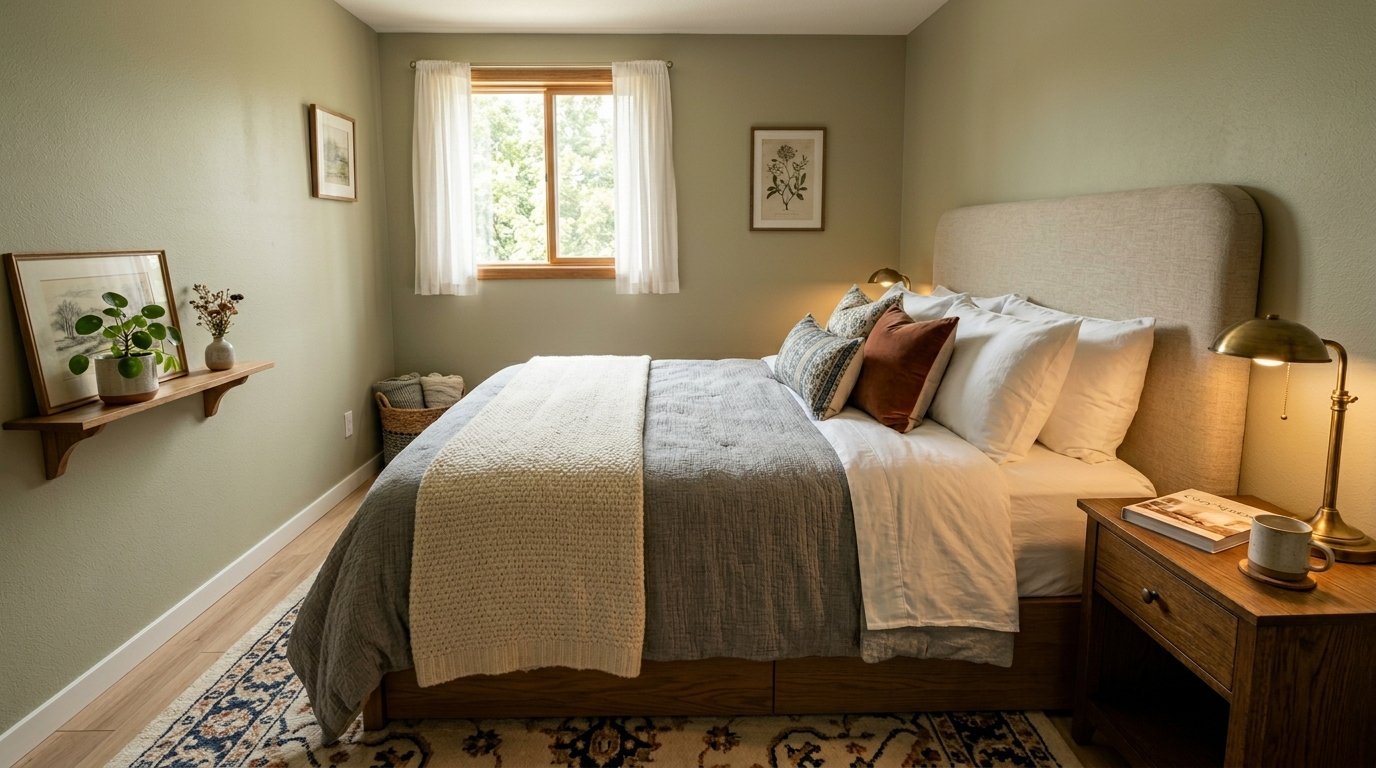
How do you style the rest of your cottage room?

Your new fabric wall decor acts as the visual anchor. You must style the rest of the room to match it.
Keep your bedding simple and clean. White sheets let the wall piece stand out. Pile four large pillows against the bottom edge of the fabric.
Place two small nightstands on either side. I use small upcycled furniture pieces for my nightstands. A vintage wooden stool holds my evening book perfectly.
Keep clutter off the floor. Small spaces feel larger when you can see the baseboards. A simple woven rug at the foot of the bed completes the entire look.
How do you wash your fabric wall decor?
Dust gathers on vertical surfaces over time. You must wash your fabric piece every few months.
Grab the top corners and pull gently. The hook and loop strips will separate with a tearing sound. Pull the fabric completely down.
Remove any tape or safety pins from the back. Put the piece into your washing machine. Run a cold delicate cycle. Hot water shrinks cotton rapidly.
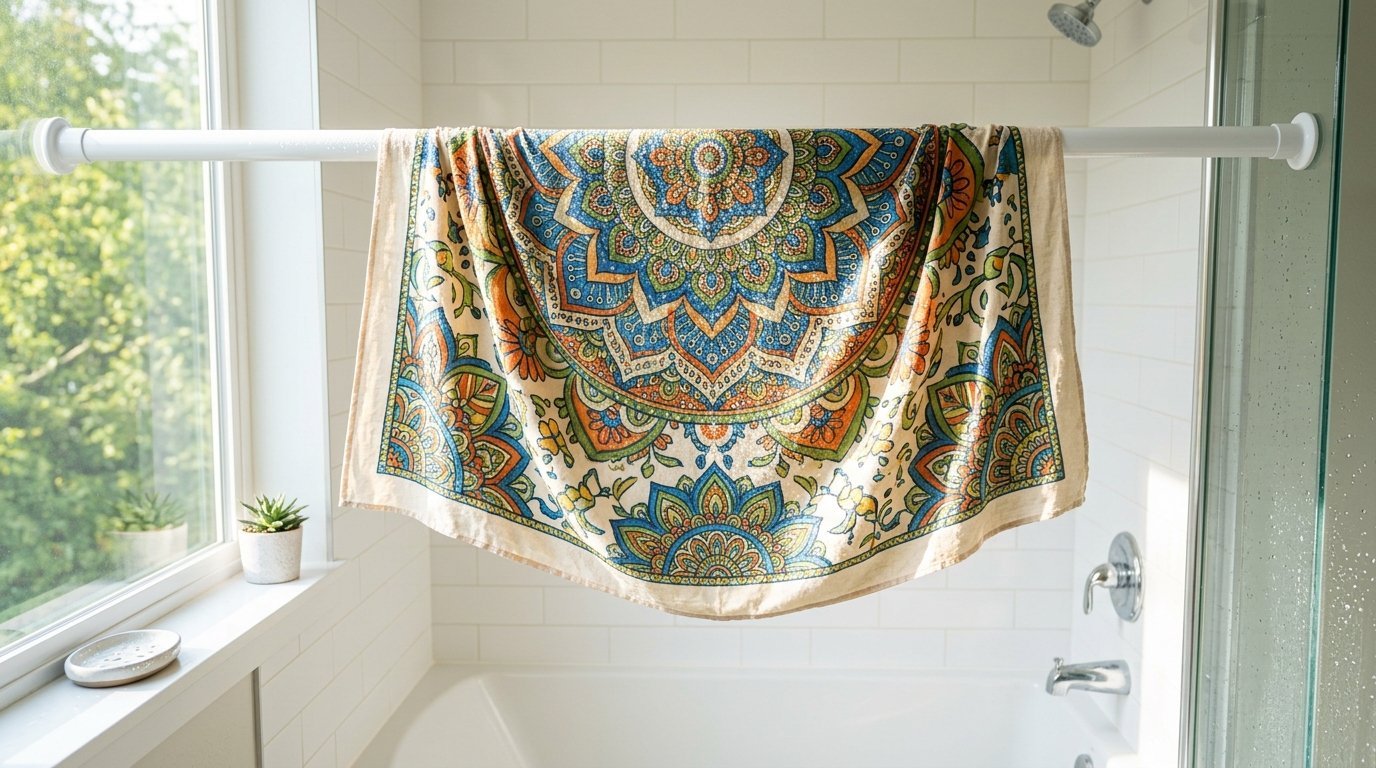
Hang the wet fabric over a shower rod. Let it air dry completely. Never put it in a hot dryer. Iron the back side on a low heat setting. Click the strips back together on your wall.
How do you set up the right lighting?
Your diy headboard looks entirely different depending on your lighting choices. Bright overhead bulbs wash out the soft colors.
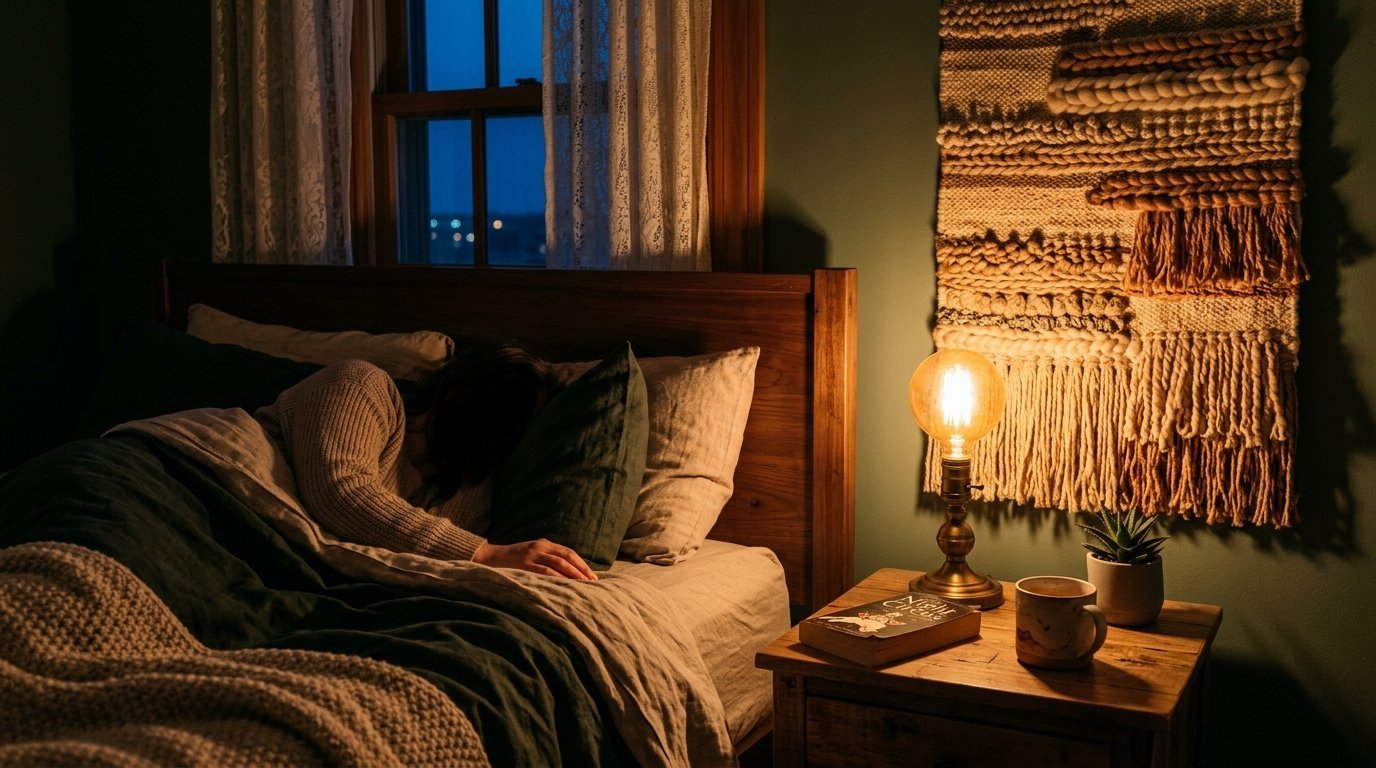
You want warm side lighting instead. Place a small lamp on your upcycled furniture nightstand. Use a warm amber bulb.
The low light hits the fabric texture beautifully. The weave catches the shadows. The room feels immediately calmer and ready for sleep.
You can also drape small battery powered fairy lights over your wooden dowel. The tiny bulbs create a magical cottage room feeling. Hide the battery pack behind your mattress.
What mistakes should you avoid during hanging?
People rush this project and make simple errors. I want you to avoid the headache of redoing your work.
Do not guess the center point. Always use your tape measure. Your eyes lie to you in an empty room.
Do not stick adhesive to dirty walls. The strips will fail by midnight. Your piece will fall on your head while you sleep.
Do not stretch the fabric horizontally too tight. Pulling too hard warps the pattern. The side edges will curl inward toward the wall. Let the material hang with natural gravity.
How do you safely remove the adhesive strips?
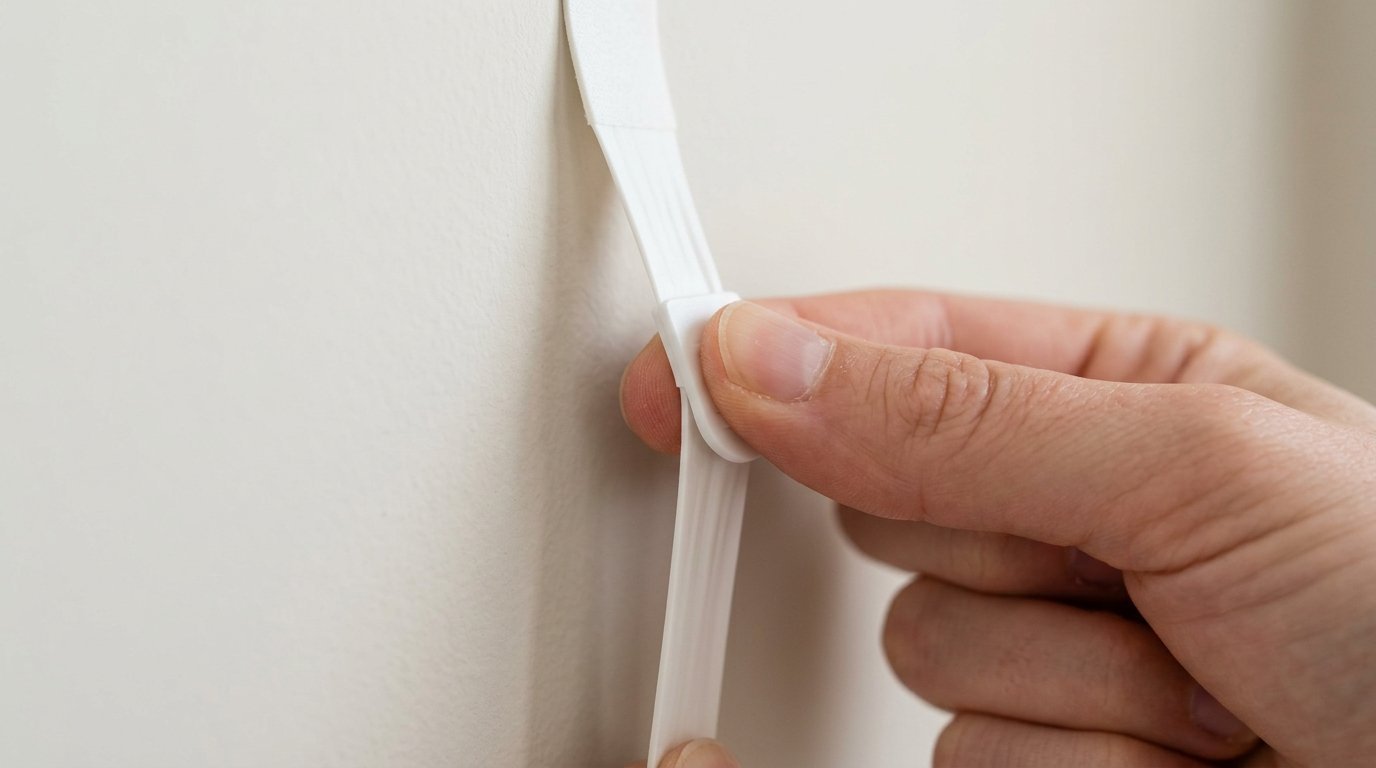
Moving out requires careful tear down. You want your full security deposit returned. You must remove the 3M strips correctly.
Pull the fabric piece off the wall first. Look at the wall strip. You will see a small tab hanging down at the bottom.
Grab that tab firmly. Pull it straight down toward the floor. Do not pull it away from the wall. Pulling away rips the drywall paper off.
Keep pulling straight down slowly. The adhesive stretches out like a long rubber band. It snaps softly and drops into your hand. The wall remains perfectly clean.
Frequently Asked Questions
Can I use push pins instead of adhesive strips?
Yes you can use push pins if your landlord allows tiny holes. Push pins leave very small marks. You can fill them later with a tiny dab of white toothpaste. Adhesive strips hold heavier fabrics better.
Will double sided tape work for this project?
No. Standard double sided tape ruins paint. It leaves a horrible sticky residue behind. It also lacks the strength to hold fabric vertically for long periods. Stick to hooks or Command strips.
How high should my mattress sit off the floor?
Your mattress height dictates your hanging height. Keep your bed frame low in small spaces. A low bed makes the ceiling feel taller. Let the fabric start right where your pillows end.
Can I hang a rug as a headboard?
Yes but you cannot use adhesive strips. Rugs weigh far too much. You must locate the wooden studs behind your plaster. You must drive metal screws through the rug and directly into the solid wood studs.
Does this block the electrical outlets?
No. Fabric sits completely flat against the wall. You can plug your phone charger in easily. Upcycled furniture headboards often block the bottom half of the wall. Fabric keeps your outlets completely free and usable.
What do I do if the room has no natural light?
Choose a very bright color block pattern. Crisp whites and bright yellows act like a fake window. They reflect your interior lamps beautifully. Avoid dark blues or deep reds in a windowless room.
Final Thoughts on Your Bedroom Setup
You just upgraded your sleeping space entirely. It took barely any time out of your weekend. You bypassed heavy and expensive wood frames completely. You kept your walkways open and bright. You created a gorgeous focal point above your pillows. I still smile every single time I walk into my room and see my botanical fabric hanging there. Grab your tape measure and start your prep work today.

Anya Castellan is the Founder and Editor-in-Chief of Home Wall Trends. An art history graduate of the Rhode Island School of Design with twelve years of experience writing for leading American design publications, she specializes in composition, gallery wall theory, and the quiet architecture of domestic space. A former contributing editor at Architectural Digest and guest lecturer at Parsons School of Design, Anya personally reads and signs off on every piece before it is published.