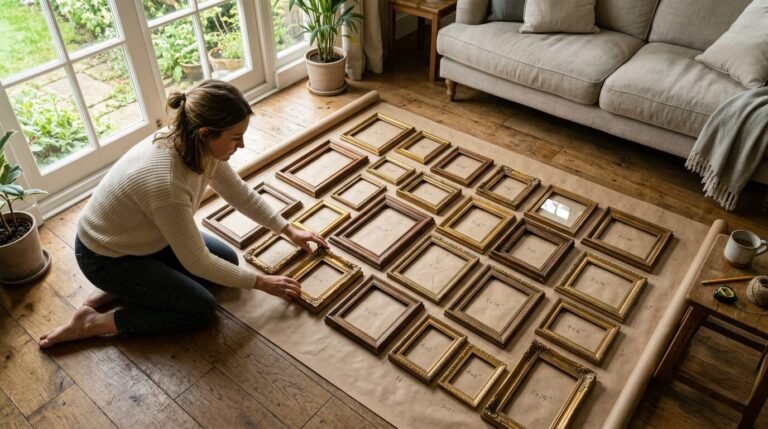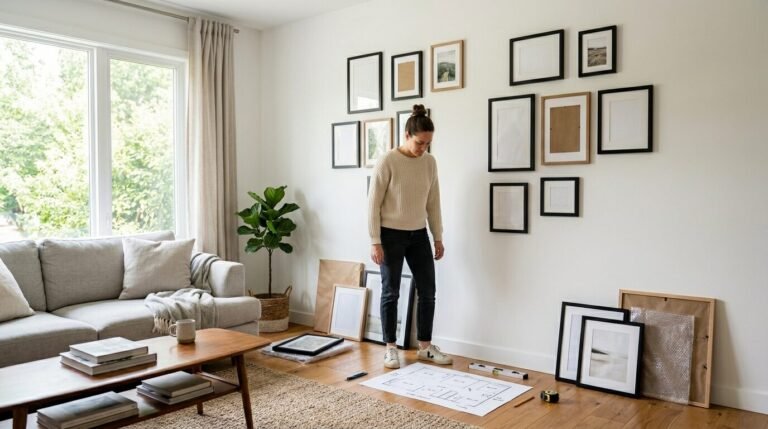
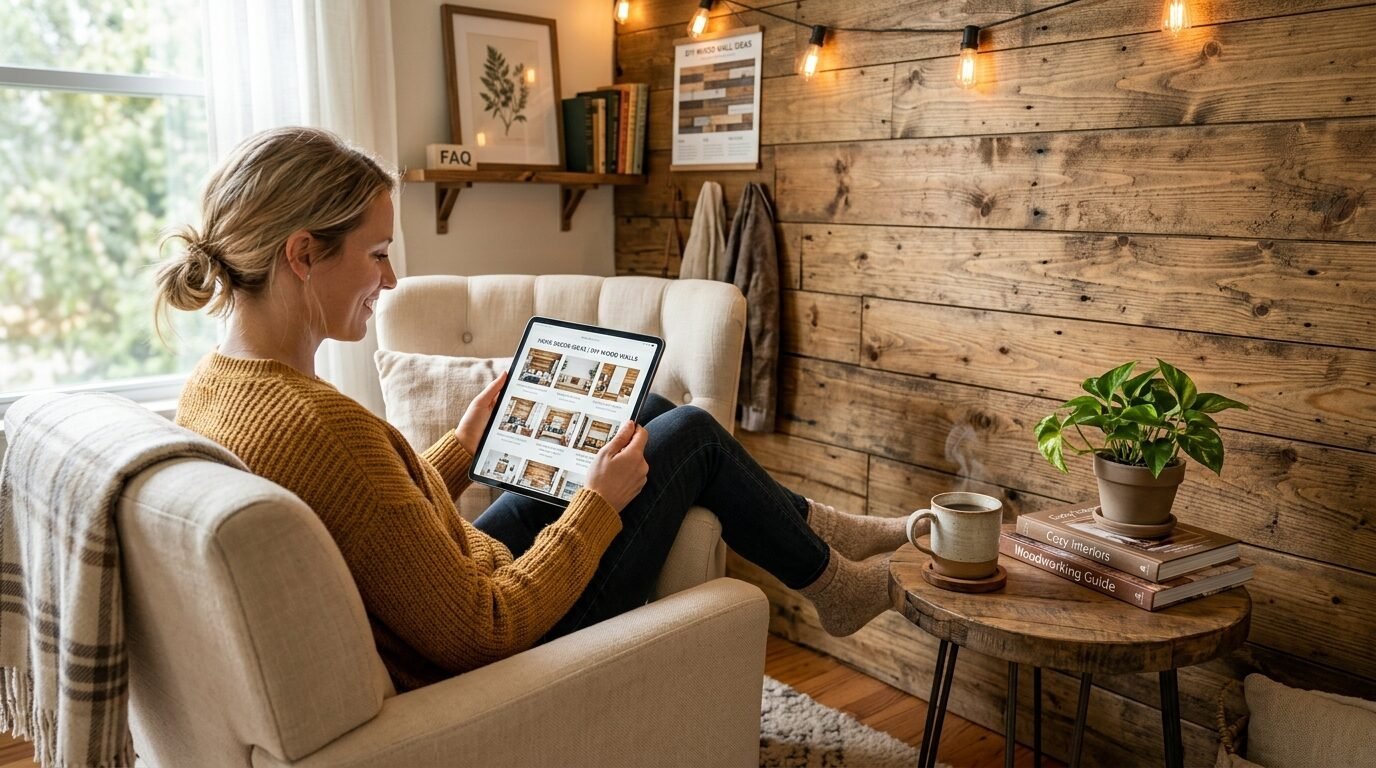
Two years ago, I stared at a plain, white wall in my guest bedroom. It felt cold. It felt empty. I wanted that cozy, high-end cabin look but my bank account said no. I priced out professional installers. They wanted over one thousand dollars for a single accent wall. That was when I decided to take matters into my own hands. Using wooden planks on wall surfaces is the fastest way to change a room. You do not need a massive budget. You do not need a contractor. You only need a few basic tools and a weekend. This guide shows you exactly how to create a stunning feature without the stress.
1. Why are wooden planks on wall so popular right now?
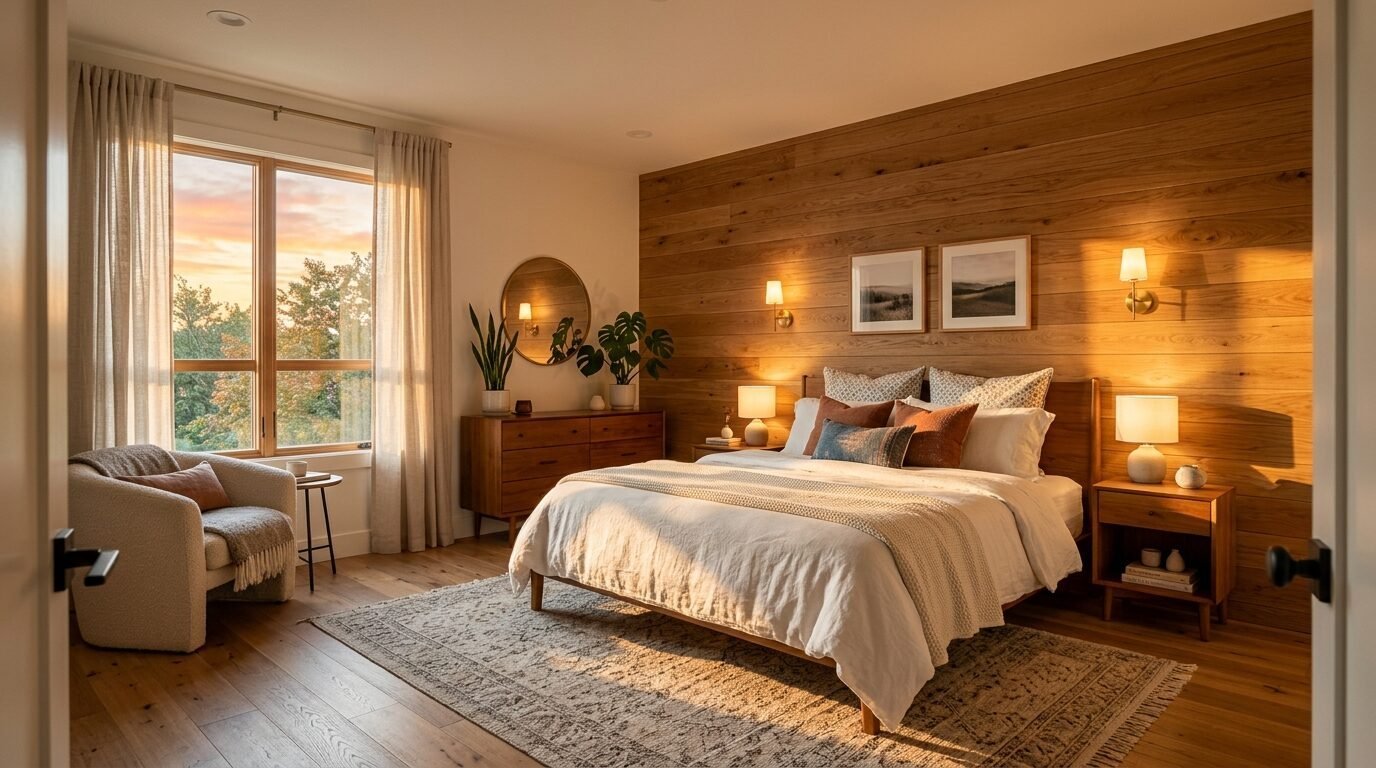
Wood brings warmth that paint cannot match. I have noticed that people crave texture in 2026. A flat wall is boring. A wood wall tells a story. It creates a focal point that grounds the entire room. In my experience, wood accents make small rooms feel larger. They draw the eye upward. They provide a natural element that reduces stress.
I once helped a friend who lived in a sterile apartment. We installed a small section of wood planks behind her bed. The transformation was instant. It went from a “rental box” to a custom suite. Wood also helps with sound. If you have an echo in your room, wood planks soften the noise. It is a practical choice that looks like a luxury upgrade.
2. Can plywood walls actually look expensive?
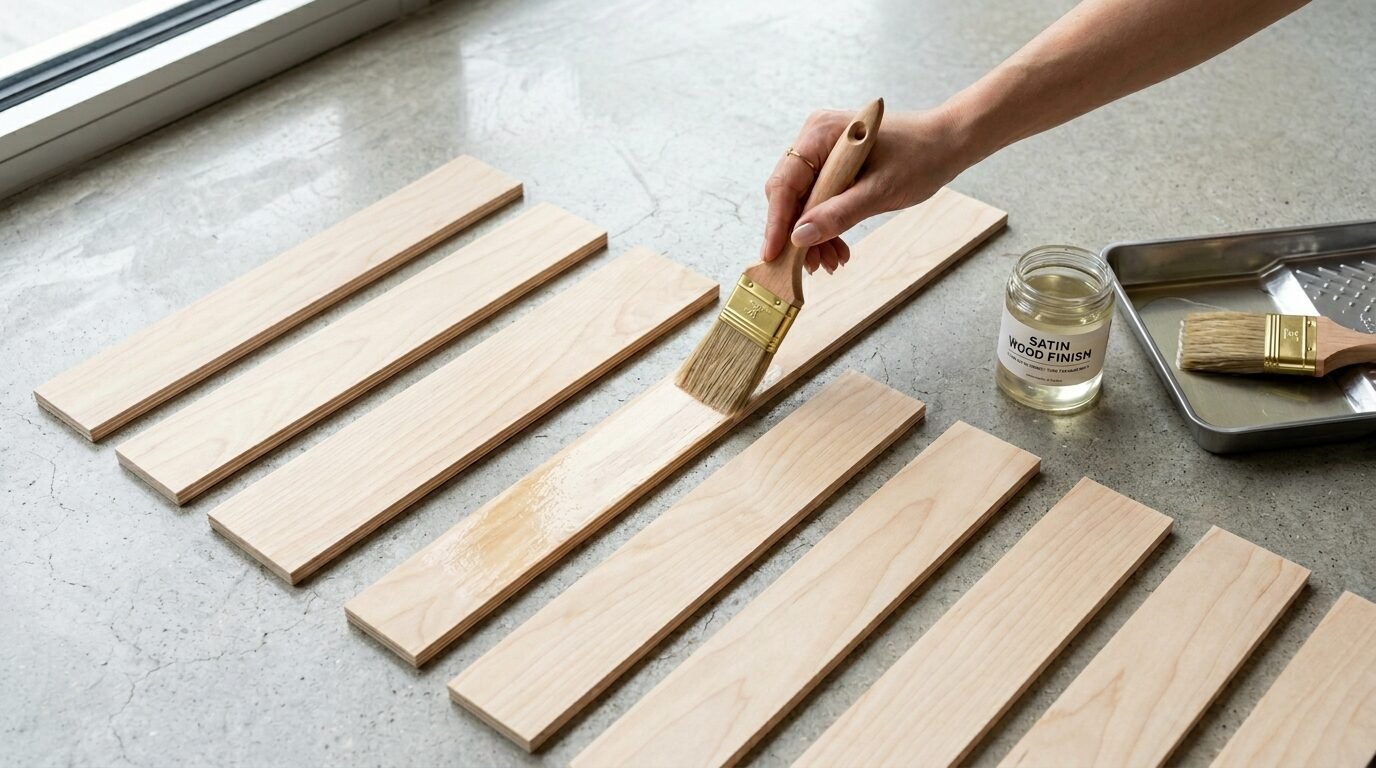
Most people think of cheap subfloors when they hear about plywood walls. That is a mistake. I have seen plywood look better than expensive hardwood when handled correctly. The secret is the grade of wood you buy. I always suggest Birch or Maple plywood from stores like Home Depot.
You can have the store rip the large sheets into six inch strips. This saves you so much time. I tried cutting them myself on my first project. It was a disaster. The edges were jagged. The planks did not line up. Since then, I always use the professional saw at the lumber yard. Once you sand the edges and apply a clear coat, these strips look like high-end designer planks. It is a secret weapon for budget renovators.
3. How do tongue and groove walls compare to shiplap?
Everyone knows shiplap because of home renovation shows. However, tongue and groove walls are often superior for DIYers. The pieces lock together. This creates a much stronger bond. It also hides the nails perfectly. I’ve seen shiplap gaps grow over time as the wood dries out. With tongue and groove, the joint stays tight.
I recently used Pine tongue and groove for a living room project. The installation was like putting together a puzzle. It was satisfying. You do not have to worry about spacing. The boards do the work for you. If you want a wall that looks professional with zero visible nail holes, this is your best path. It costs slightly more than plywood but saves hours of frustration.
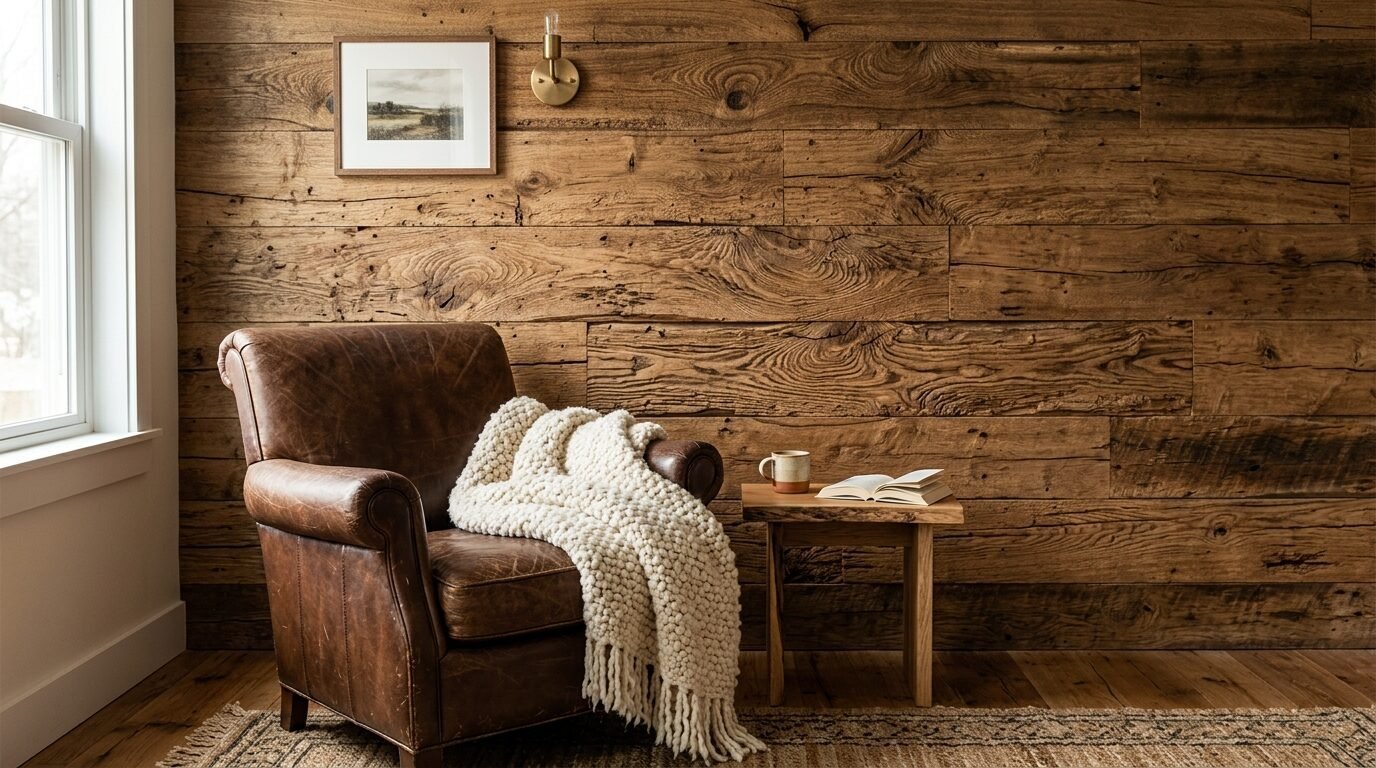
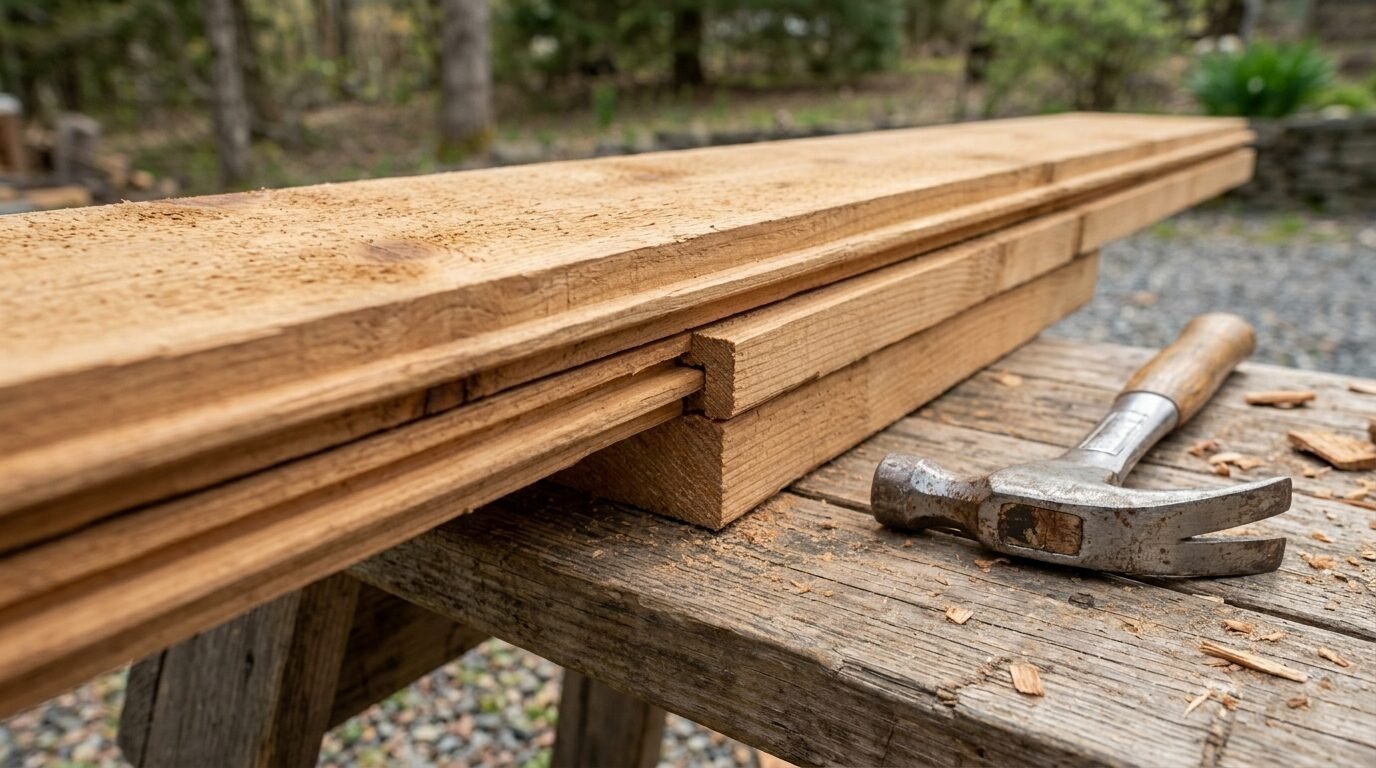
4. Is rough cut lumber walls the right choice for your space?
If you love the farmhouse or industrial look, rough cut lumber walls are perfect. This wood is not sanded smooth. It has visible saw marks and grit. It feels raw and authentic. I used this in a basement office last year. The texture was incredible under soft lighting.
Be careful with splinters though. I learned this the hard way. I didn’t seal the rough wood in a high traffic area. My kids ended up with tiny splinters just by walking past. Now, I always apply a matte polycrylic spray. It keeps the rough look but protects your skin. This style works best in rooms with plenty of natural light. The shadows highlight the uneven surface beautifully.
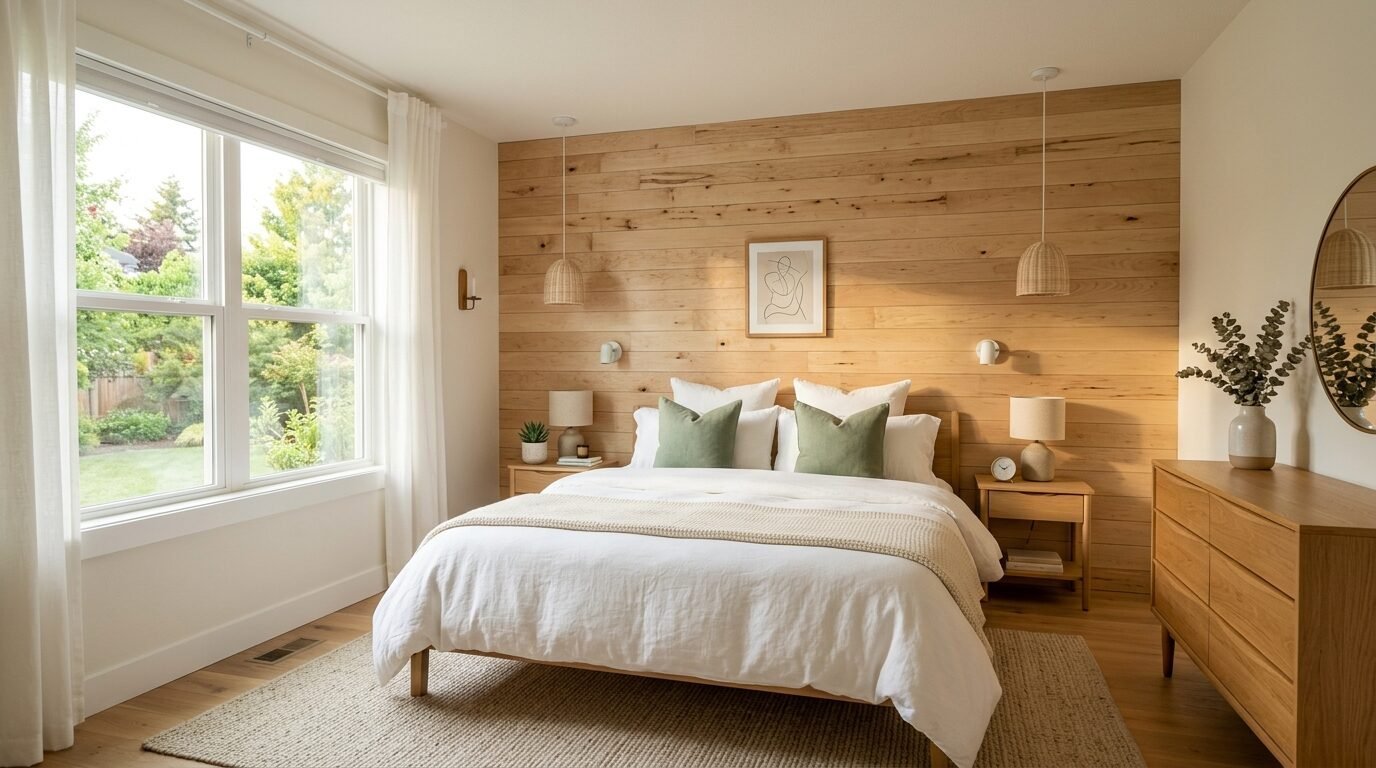
5. What is the best room colour combination for wood accents?
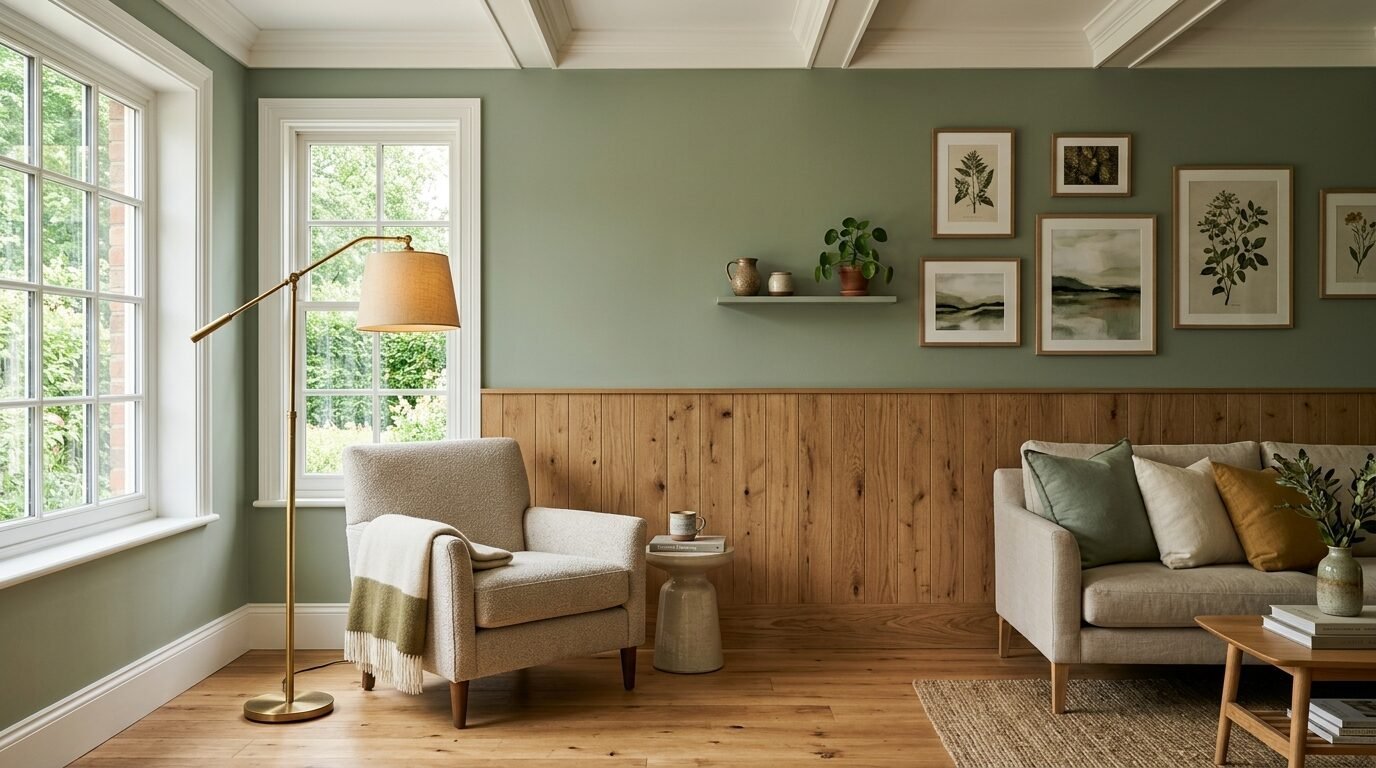
Choosing a room colour combination is where most people get stuck. You do not want the wood to clash with your paint. In my experience, cool tones balance out the warmth of the wood. Think of sage greens, dusty blues, or charcoal grays. These colors make the wood “pop” rather than blend in.
I once paired a dark walnut wood wall with a bright yellow paint. It was a mistake. The room felt frantic and loud. I repainted the surrounding walls in a soft cream called Alabaster by Sherwin Williams. The difference was night and day. The wood became the star. Always test your wood stain against a large paint swatch before you start nailing boards.
6. How do you incorporate pop design for bedroom with wood?
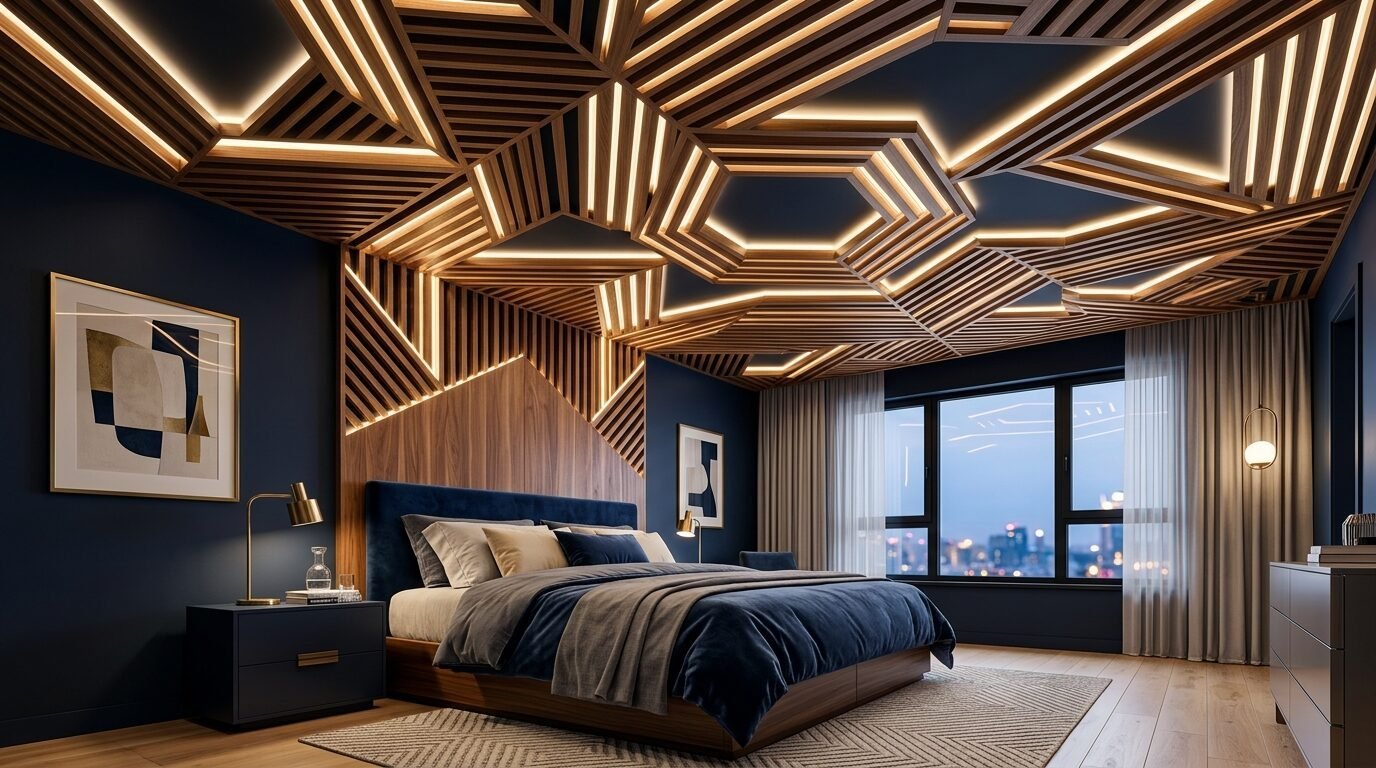
You might think wood belongs in cabins. Modern pop design for bedroom styles prove otherwise. You can create geometric patterns with wood strips on the ceiling or walls. This creates a 3D effect that looks very futuristic. I have seen designers use thin wood slats over a dark painted wall. It looks like a five star hotel.
I tried a herringbone pattern using thin plywood strips in my master bedroom. It took longer than a straight horizontal layout. However, the result was breathtaking. It combined traditional materials with a modern layout. If you want a “pop” of interest, do not just go horizontal. Try vertical lines or chevrons. It breaks the traditional mold and shows real design confidence.
7. What tools do you need for a DIY wood wall project?
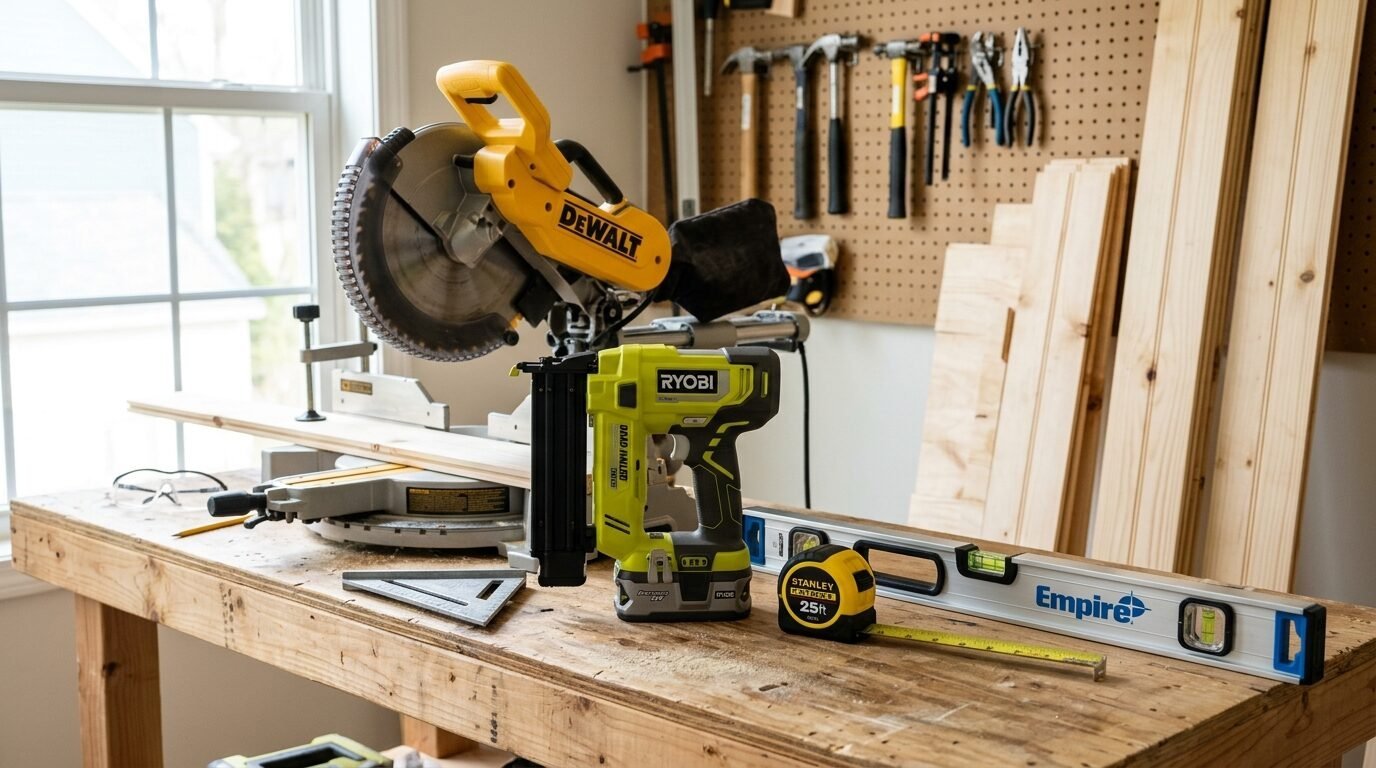
You do not need a full woodshop. I started with just three tools. You need a miter saw for clean cuts. A Ryobi battery powered brad nailer is my top recommendation. It is affordable and reliable. You also need a level. A wall that is slightly tilted will haunt you forever.
I also suggest keeping a stud finder handy. Nailing into drywall alone will not hold the weight of the wood. You must hit the wooden studs. I use a magnetic stud finder from C.H. Hanson. It is cheap and never runs out of batteries. Other basics include wood glue, a measuring tape, and 3M sandpaper. Having everything ready before you start prevents those mid-project trips to the store.
8. What is the step-by-step process for a budget wood wall?
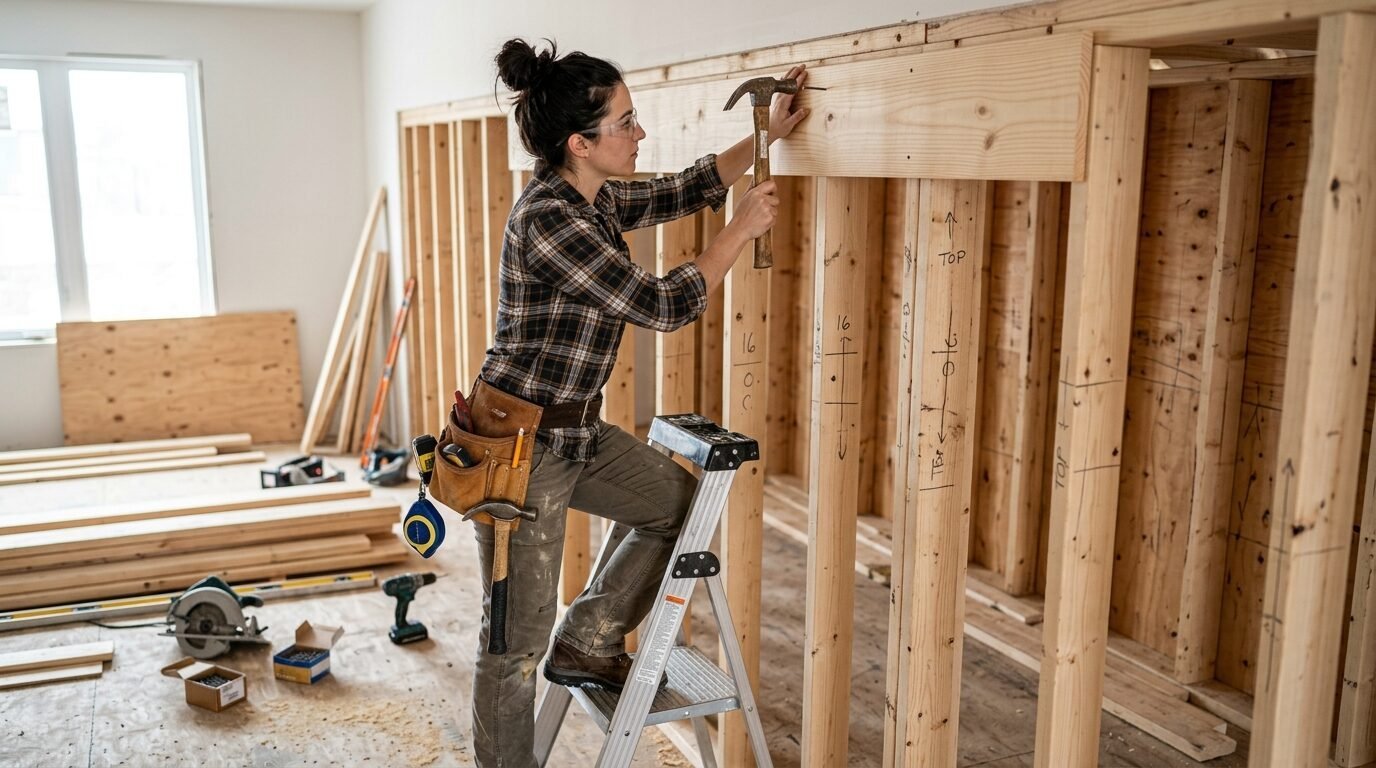
Start by prepping your surface. Remove the baseboards and outlet covers. I’ve tried working around baseboards. It always looks messy. Just pull them off carefully with a pry bar. Next, find and mark your studs with a pencil. This is your roadmap for nailing.
Measure your wall width. Cut your first board. I always start from the top. If the ceiling is crooked, it is easier to hide a gap at the floor level. Apply a small bead of Titebond wood glue to the back of the board. Press it against the wall. Level it. Fire two nails into every stud. Repeat this process until you reach the bottom. It is a repetitive process that becomes meditative after the first few rows.
9. Common DIY failures and how to avoid them
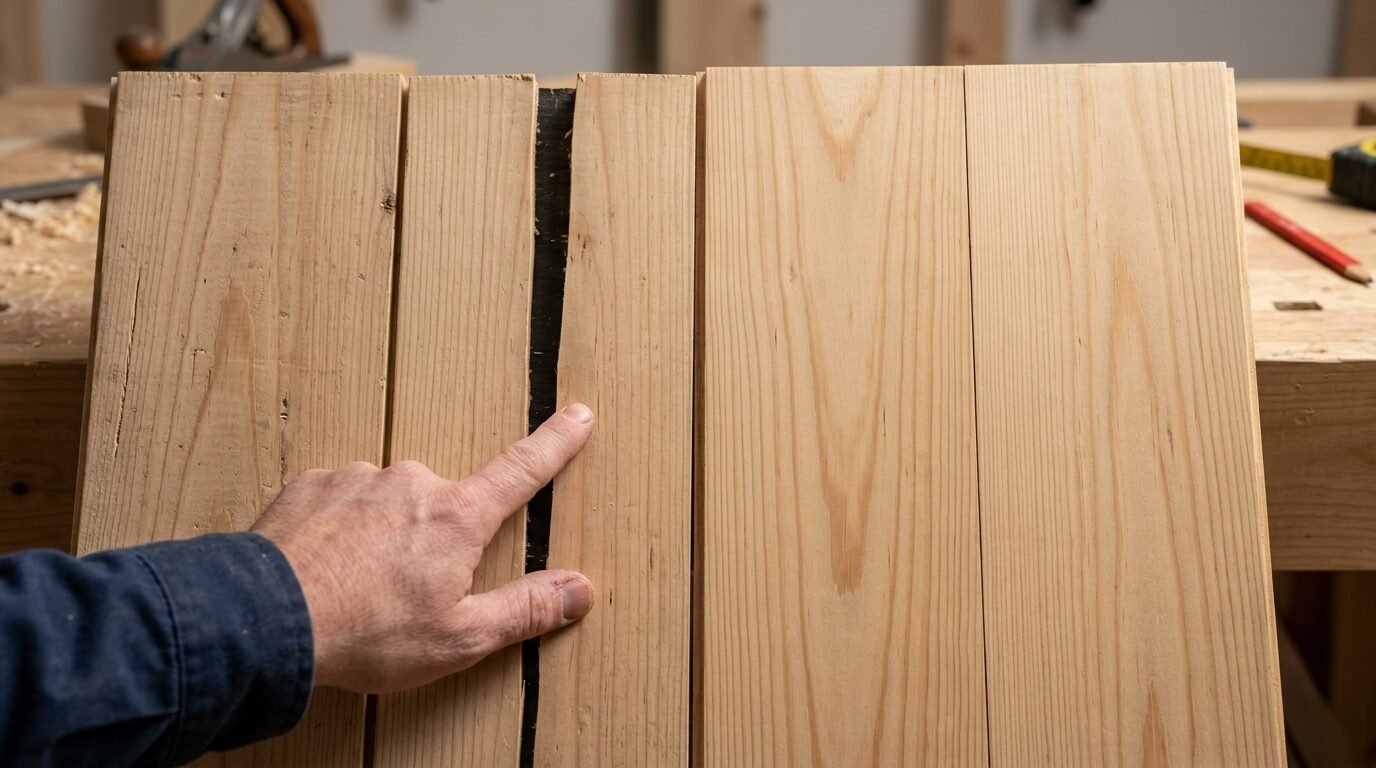
I have made every mistake possible. My biggest failure was forgetting to let the wood acclimate. I bought wood from a damp warehouse and installed it immediately. Two weeks later, the boards shrunk. Huge gaps appeared between every plank. Now, I always let the wood sit in the room for at least 48 hours.
Another common error is ignoring the outlets. Do not just cut a hole and hope for the best. Use outlet extenders. This brings the plug flush with the new wood surface. It is a safety requirement and makes the job look professional. Finally, do not skip the wood filler. Filling those tiny nail holes with a matching putty makes the wall look like a solid piece of furniture.
10. Cost Breakdown: Wood Walls Under $100
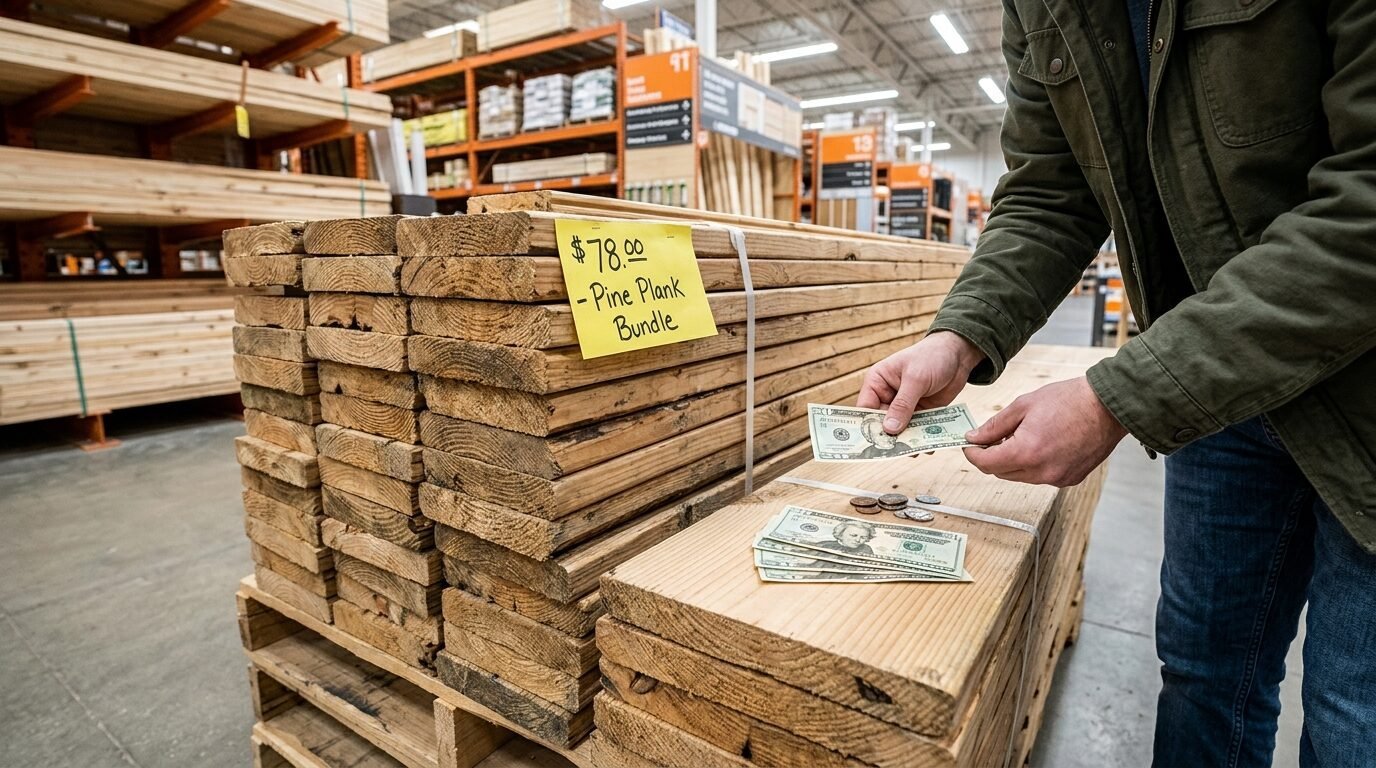
People ask me how I keep costs so low. It is about material choice. For a standard ten foot wall, here is my typical budget. Two sheets of 1/4 inch birch plywood cost about $60. Getting them ripped at the store is often free or very cheap. A gallon of stain and a box of nails adds another $30.
I once completed a project for $45 by using reclaimed pallets. It took a lot of work to clean and sand the wood. However, the price was unbeatable. If you are on a tight budget, look for “cull wood” piles at hardware stores. These are slightly damaged boards sold at a 70% discount. You can often cut off the bad parts and use the rest for your wall.
11. Frequently Asked Questions about DIY wood walls
Is a wood wall hard to remove?
It depends on how much glue you use. If you use a lot of construction adhesive, you will damage the drywall during removal. I prefer using just a few dots of wood glue and mostly nails. This makes it easier to pry off if you change your mind in five years. You will have nail holes to fill, but the wall stays intact.
Can I install wood planks over wallpaper?
I do not recommend it. The glue needs a solid surface to bond. Wallpaper can peel off under the weight of the wood. I always suggest stripping the wallpaper or at least sanding it down to create a rough surface. If the wallpaper is stuck tight, you can screw a thin layer of plywood over it first. Then, nail your planks to that plywood.
How do I clean my wood wall?
Dust is the main enemy. I use a vacuum with a soft brush attachment once a month. For deeper cleaning, a slightly damp microfiber cloth works well. Avoid harsh chemicals. They can strip the finish or change the color of the wood. A simple mixture of water and a drop of dish soap is usually enough for any smudges.
Will wood planks make my room dark?
Wood does absorb light. If you are worried about a cave-like feeling, choose a light stain. White oak or natural pine keeps the room bright. You can also use a “white wash” technique. This allows the wood grain to show through while keeping the surface bright white. Pair it with good lighting to keep the space feeling open.
Do I need to paint the wall behind the planks?
Yes. This is a pro tip many people miss. If you are using planks that might have tiny gaps, paint the wall a dark color first. If the wall is white and your wood is dark, those tiny white lines will scream at you. A quick coat of black or dark brown paint hides any imperfections in your spacing.
What about moisture in bathrooms?
Wood and water are not best friends. If you want wood in a bathroom, use Cedar. It resists rot naturally. You must also seal every side of the board with a high-quality marine grade sealer. Ensure your bathroom has a strong exhaust fan. This prevents steam from sitting on the wood surface and causing warp.
Conclusion: Your Room Transformation Starts Today
Building a DIY wood plank wall is one of the most rewarding home projects. You start with a stack of lumber and end with a designer space. It teaches you patience. It teaches you how to use your hands. Every time you walk into that room, you will feel a sense of pride. You did not just buy a room. You built it.
Start small if you are nervous. Try a small nook or a bathroom wall first. Once you see how easy the process is, you will want to plank every wall in your house. Grab your level. Pick your wood. Start creating the home you deserve.

Anya Castellan is the Founder and Editor-in-Chief of Home Wall Trends. An art history graduate of the Rhode Island School of Design with twelve years of experience writing for leading American design publications, she specializes in composition, gallery wall theory, and the quiet architecture of domestic space. A former contributing editor at Architectural Digest and guest lecturer at Parsons School of Design, Anya personally reads and signs off on every piece before it is published.